reset TESLA MODEL S 2015 User Guide
[x] Cancel search | Manufacturer: TESLA, Model Year: 2015, Model line: MODEL S, Model: TESLA MODEL S 2015Pages: 164, PDF Size: 4.78 MB
Page 111 of 164
Replacing Tires and Wheels
Tires degrade over time due to the effects of
ultraviolet light, extreme temperatures, high loads, and environmental conditions. It isrecommended that tires are replaced everysix years, or sooner if required.
Wheel rims and tires are matched to suit the
handling characteristics of the vehicle. Replacement tires must comply with the
original specification. If tires other than those
specified are used, ensure that the load and speed ratings marked on the tire equal orexceed those of the original specification.
Ideally, you should replace all four tires at the
same time. If this is not possible, replace the
tires in pairs (both front or both rear). When
replacing tires, always re-balance and check
the alignment of wheels.
If you replace a wheel, the TPMS (Tire
Pressure Monitoring System) sensors need to
be reset to ensure they provide accurate
warnings when tires are under- or over-
inflated (see Resetting the TPMS Sensors on
page 113).Warning: For your safety, use only tires
and wheels that match the original
specification (see Wheels and Tires on
page 143). Tires that do not match the original specification can affect the
operation of the Tire Pressure Monitoring System (TPMS).Warning: Never exceed the speed rating
of your vehicle's tires. The speed rating is
shown on the sidewall of your tires (see
Understanding Tire Markings on page
145).Asymmetric Tires
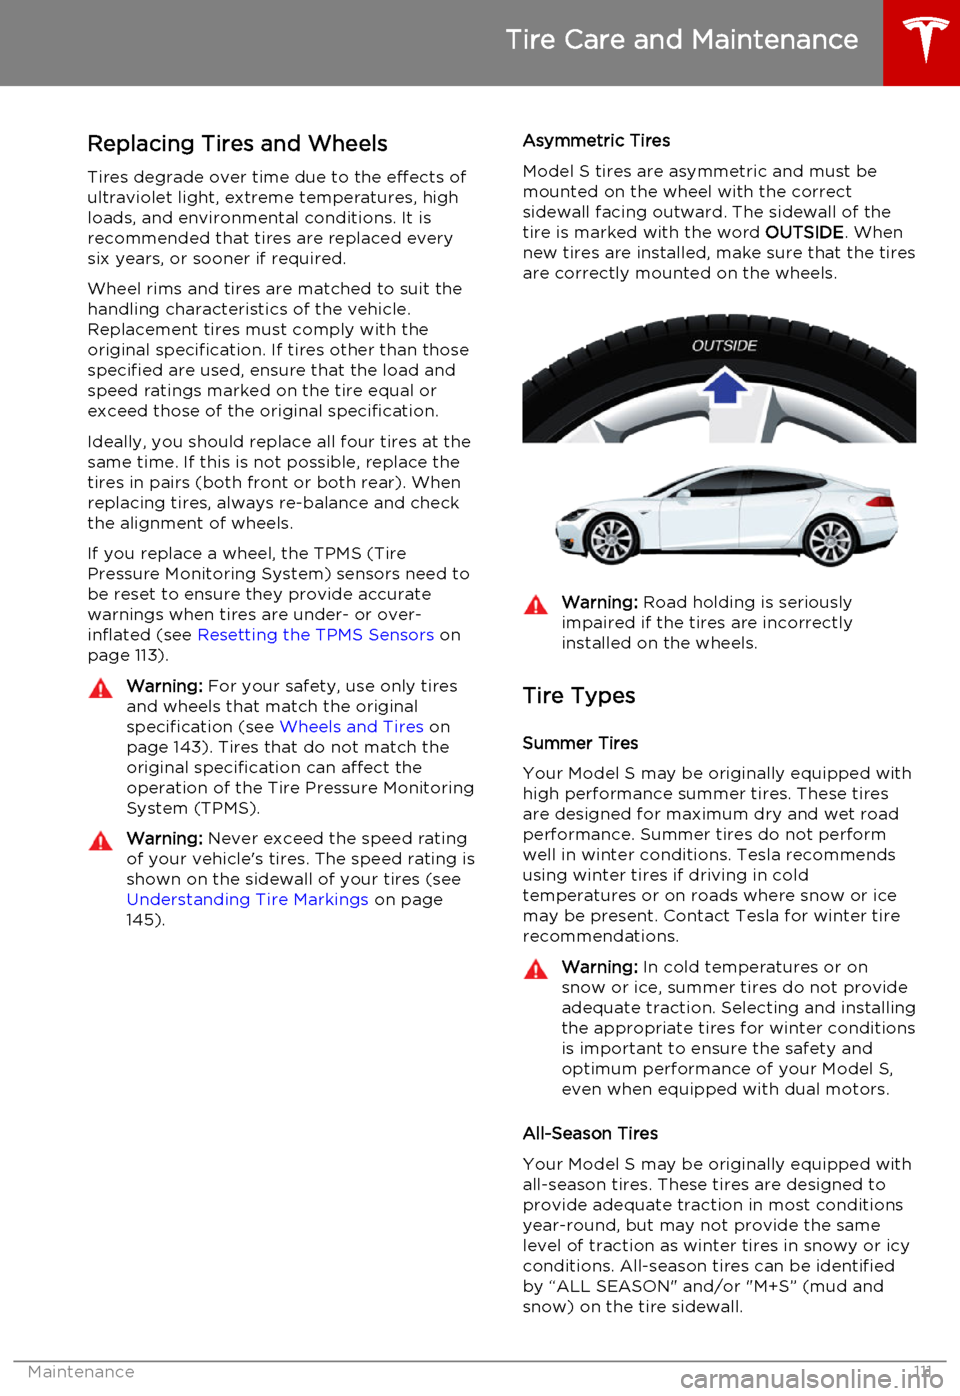
Model S tires are asymmetric and must be mounted on the wheel with the correctsidewall facing outward. The sidewall of thetire is marked with the word OUTSIDE. When
new tires are installed, make sure that the tires
are correctly mounted on the wheels.Warning: Road holding is seriously
impaired if the tires are incorrectly
installed on the wheels.
Tire Types
Summer Tires
Your Model S may be originally equipped with high performance summer tires. These tires
are designed for maximum dry and wet road performance. Summer tires do not performwell in winter conditions. Tesla recommendsusing winter tires if driving in cold
temperatures or on roads where snow or ice
may be present. Contact Tesla for winter tire recommendations.
Warning: In cold temperatures or on
snow or ice, summer tires do not provide
adequate traction. Selecting and installing the appropriate tires for winter conditionsis important to ensure the safety andoptimum performance of your Model S,
even when equipped with dual motors.
All-Season Tires
Your Model S may be originally equipped with all-season tires. These tires are designed to
provide adequate traction in most conditions
year-round, but may not provide the same
level of traction as winter tires in snowy or icy
conditions. All-season tires can be identified by “ALL SEASON" and/or "M+S” (mud and
snow) on the tire sidewall.
Tire Care and Maintenance
Maintenance111
Page 113 of 164
for the TPMS to trigger the Tire PressureWarning on the instrument panel.
Resetting the TPMS Sensors
After replacing one or more wheels, the TPMS sensors must be reset to ensure tire pressurewarnings are accurate. However, note that theTPMS sensors do not need to be reset after
replacing a tire or rotating wheels.
Note: When changing to 21" wheels
(Performance Plus models), the TPMS may
generate false tire pressure warnings. Bring
Model S to a Tesla Service center for further
adjustment.
Note: Do not reset the TPMS sensors in an
attempt to clear tire pressure warnings.
To reset TPMS sensors:
1. Inflate all tires to their recommend
pressures, as indicated on the Tire and Loading Information label located on the
driver’s door pillar.
2. Get ready to drive for ten minutes, then,
on the Model S touchscreen, touch
Controls > Settings > Service & Reset >
Tire Pressure Monitor > Reset Sensors .
3. Follow the onscreen instructions.
Replacing a Tire Sensor
If the Tire Pressure warning indicator displays frequently, contact Tesla to determine if a tiresensor needs to be replaced. Tire sensors
must be replaced by a Tesla service technician
who can perform a brief setup procedure. If a non-Tesla service center repairs or replaces atire, the tire sensor will not work until Tesla
performs the setup procedure.
TPMS Malfunction
Model S has also been equipped with a TPMS
malfunction indicator to indicate when the
system is not operating properly.
The TPMS malfunction indicator is
combined with the tire pressure
indicator light. When the system
detects a malfunction, the indicator
flashes for approximately one
minute after Model S powers on, and
then remains continuously lit. This
sequence continues upon
subsequent vehicle start-ups as long
as the malfunction exists. When the
TPMS malfunction indicator is on,
the system might not be able to
detect or signal under- and over-
inflated tires as intended.
TPMS malfunctions can occur for a variety of reasons, including installing replacement oralternate tires or wheels that prevent theTPMS from functioning properly. Alwayscheck the TPMS malfunction indicator light
after replacing one or more tires or wheels on
your vehicle to ensure that the replacement
tires or wheels allow the TPMS to continue to
function properly.
Note: If a tire has been replaced or repaired
using a different tire sealant than the one
available from Tesla, and a low tire pressure is
detected, it is possible that the tire sensor has
been damaged. Contact Tesla to have the
fault repaired as soon as possible.
Tire Care and Maintenance
Maintenance113
Page 121 of 164
Checking and Replacing Wiper
BladesCaution: Wiper blades do not lock into a
lifted position. When cleaning or
replacing a wiper blade, lift the wiper arm
only a short distance from the windshield,
just far enough to access the blade. Do not lift a wiper arm beyond its intendedposition. Doing so can cause damage thatis not covered by the warranty.
To make wiper blades easy to access, turn offthe wipers, shift Model S into Park, then use
the touchscreen to move them to the service
position. Touch Controls > Settings > Service
& Reset > Service Mode > ON .
Note: Wipers automatically return to their
normal position when you shift Model S out of
Park.
Periodically check and clean the edge of the wiper blade and check the rubber for cracks,
splits and roughness. If damaged, replace the
blade immediately to prevent damage to the glass.
Contaminants on the windshield, or on the wiper blades, can reduce the effectiveness of
the wiper blades. Contaminants include ice,
wax spray from car washes, washer fluid with
bug and/or water repellent, bird droppings,
tree sap, and other organic substances.
Follow these guidelines for cleaning:
• Clean the windshield using non-abrasive glass cleaner.
• Lift the wiper arm a short distance away from the windshield, just far enough toaccess the wiper blade, then wipe the
blade clean using isopropyl (rubbing)
alcohol or washer fluid.
If the wipers remain ineffective after cleaning,
replace the wiper blades.
For optimum performance, replace wiper
blades at least once a year.
To replace wiper blades:
1. Turn off the wipers, shift Model S into
Park, then use the touchscreen to move
the wipers to the service position. Touch
Controls > Settings > Service & Reset >
Service Mode > ON .
Note: Wipers must be OFF to turn on
Service Mode.
2. Lift the wiper arm a short distance away
from the windshield, just far enough to
access the wiper blade.
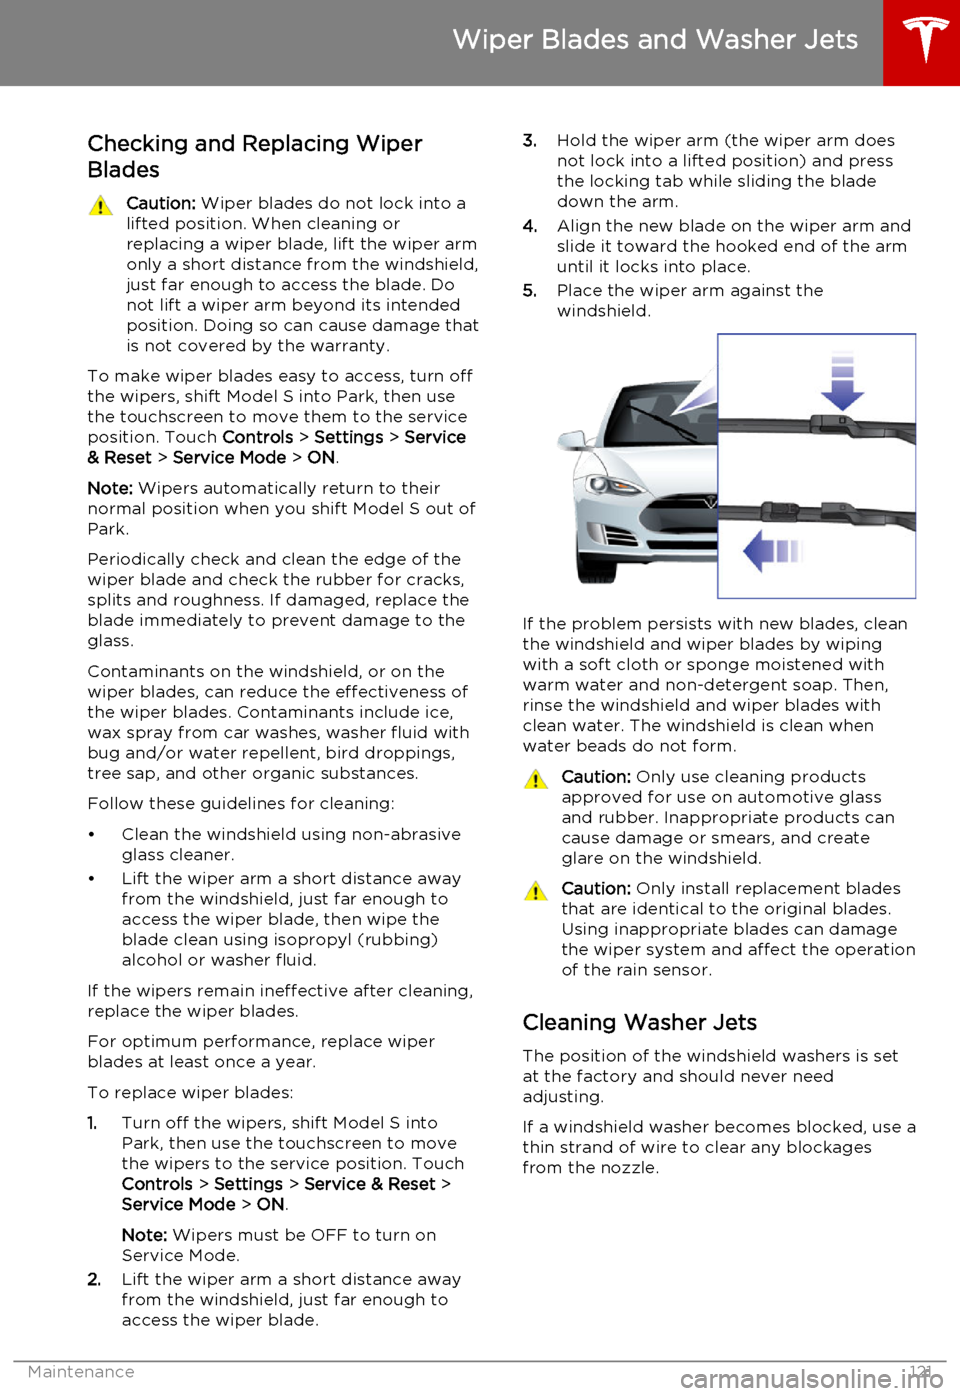
3. Hold the wiper arm (the wiper arm does
not lock into a lifted position) and press
the locking tab while sliding the blade
down the arm.
4. Align the new blade on the wiper arm and
slide it toward the hooked end of the arm
until it locks into place.
5. Place the wiper arm against the
windshield.
If the problem persists with new blades, clean
the windshield and wiper blades by wiping
with a soft cloth or sponge moistened with
warm water and non-detergent soap. Then,
rinse the windshield and wiper blades with clean water. The windshield is clean when
water beads do not form.
Caution: Only use cleaning products
approved for use on automotive glass and rubber. Inappropriate products can
cause damage or smears, and create
glare on the windshield.Caution: Only install replacement blades
that are identical to the original blades.
Using inappropriate blades can damage
the wiper system and affect the operation of the rain sensor.
Cleaning Washer Jets
The position of the windshield washers is set
at the factory and should never need adjusting.
If a windshield washer becomes blocked, use a
thin strand of wire to clear any blockages
from the nozzle.
Wiper Blades and Washer Jets
Maintenance121
Page 150 of 164
Use a Flatbed Only
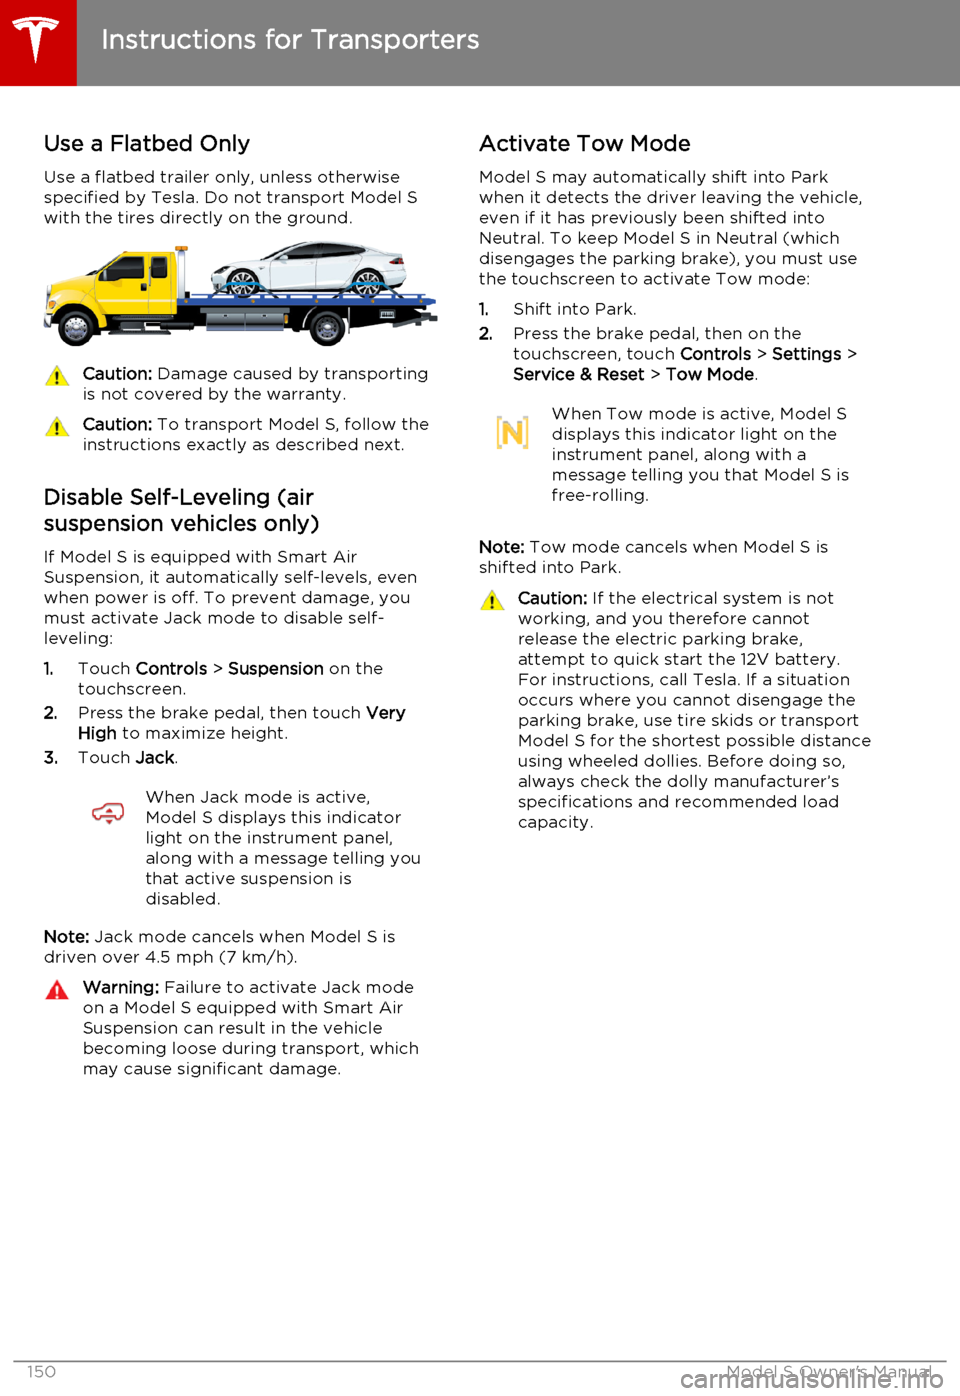
Use a flatbed trailer only, unless otherwise
specified by Tesla. Do not transport Model S with the tires directly on the ground.Caution: Damage caused by transporting
is not covered by the warranty.Caution: To transport Model S, follow the
instructions exactly as described next.
Disable Self-Leveling (air
suspension vehicles only)
If Model S is equipped with Smart Air
Suspension, it automatically self-levels, even when power is off. To prevent damage, you
must activate Jack mode to disable self- leveling:
1. Touch Controls > Suspension on the
touchscreen.
2. Press the brake pedal, then touch Very
High to maximize height.
3. Touch Jack.
When Jack mode is active,
Model S displays this indicator
light on the instrument panel,
along with a message telling you
that active suspension is
disabled.
Note: Jack mode cancels when Model S is
driven over 4.5 mph (7 km/h).
Warning: Failure to activate Jack mode
on a Model S equipped with Smart Air
Suspension can result in the vehicle becoming loose during transport, which
may cause significant damage.Activate Tow Mode
Model S may automatically shift into Park
when it detects the driver leaving the vehicle, even if it has previously been shifted into
Neutral. To keep Model S in Neutral (which disengages the parking brake), you must use
the touchscreen to activate Tow mode:
1. Shift into Park.
2. Press the brake pedal, then on the
touchscreen, touch Controls > Settings >
Service & Reset > Tow Mode .When Tow mode is active, Model S
displays this indicator light on the
instrument panel, along with a
message telling you that Model S is
free-rolling.
Note: Tow mode cancels when Model S is
shifted into Park.
Caution: If the electrical system is not
working, and you therefore cannot
release the electric parking brake,
attempt to quick start the 12V battery.
For instructions, call Tesla. If a situation
occurs where you cannot disengage the
parking brake, use tire skids or transport
Model S for the shortest possible distance
using wheeled dollies. Before doing so,
always check the dolly manufacturer’s specifications and recommended load
capacity.
Instructions for Transporters
150Model S Owner's Manual
Page 161 of 164
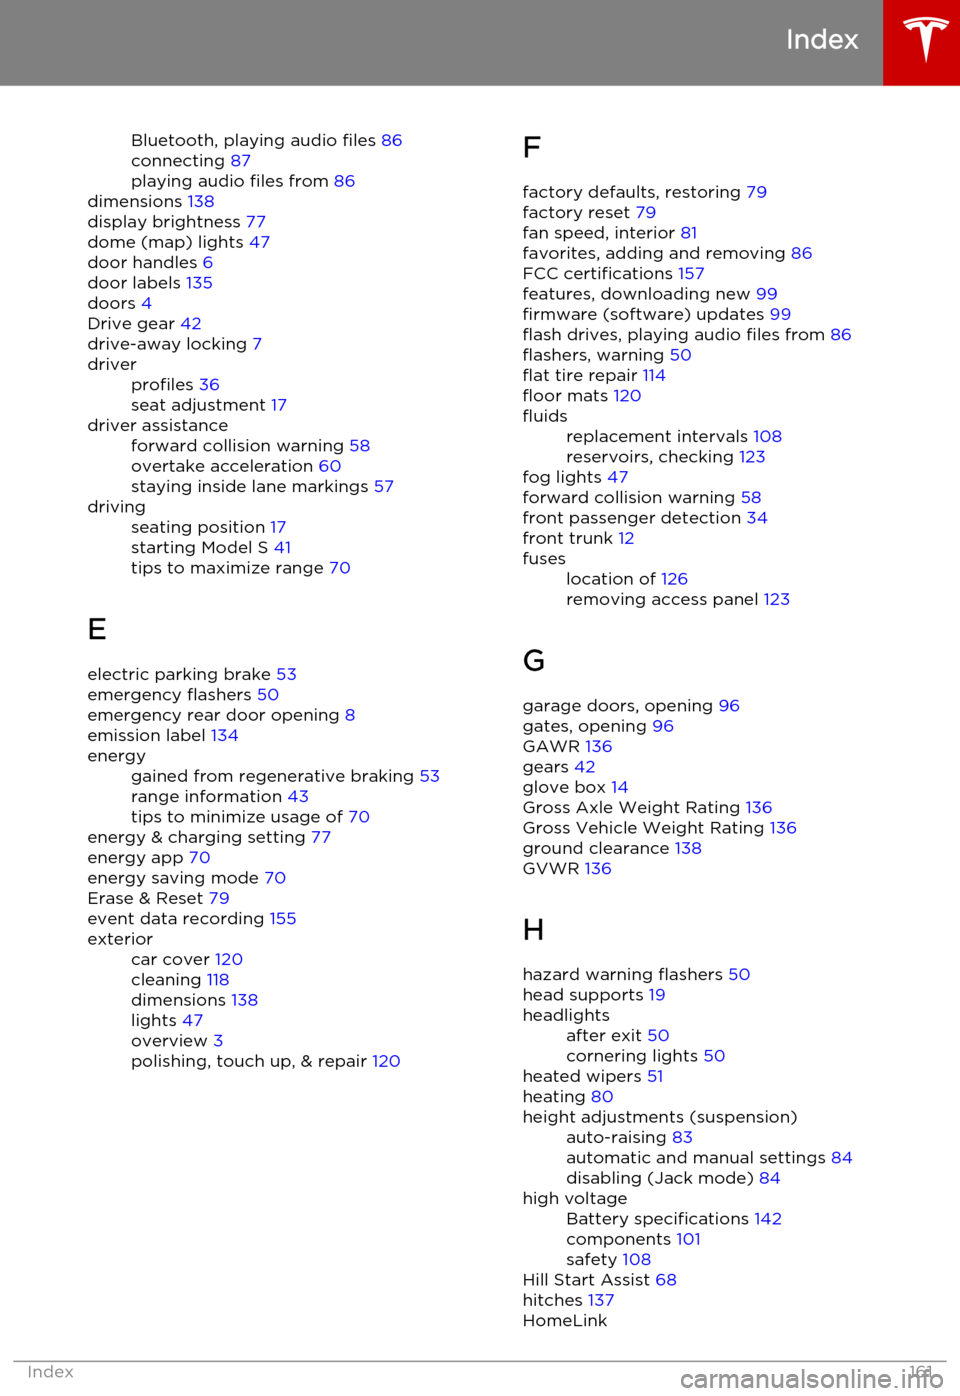
Bluetooth, playing audio files 86
connecting 87
playing audio files from 86
dimensions 138
display brightness 77
dome (map) lights 47
door handles 6
door labels 135
doors 4
Drive gear 42
drive-away locking 7driverprofiles 36
seat adjustment 17driver assistanceforward collision warning 58
overtake acceleration 60
staying inside lane markings 57drivingseating position 17
starting Model S 41
tips to maximize range 70
E
electric parking brake 53
emergency flashers 50
emergency rear door opening 8
emission label 134
energygained from regenerative braking 53
range information 43
tips to minimize usage of 70
energy & charging setting 77
energy app 70
energy saving mode 70
Erase & Reset 79
event data recording 155
exteriorcar cover 120
cleaning 118
dimensions 138
lights 47
overview 3
polishing, touch up, & repair 120F
factory defaults, restoring 79
factory reset 79
fan speed, interior 81
favorites, adding and removing 86
FCC certifications 157
features, downloading new 99
firmware (software) updates 99
flash drives, playing audio files from 86
flashers, warning 50
flat tire repair 114
floor mats 120fluidsreplacement intervals 108
reservoirs, checking 123
fog lights 47
forward collision warning 58
front passenger detection 34
front trunk 12
fuseslocation of 126
removing access panel 123
G
garage doors, opening 96
gates, opening 96
GAWR 136
gears 42
glove box 14
Gross Axle Weight Rating 136
Gross Vehicle Weight Rating 136
ground clearance 138
GVWR 136
H
hazard warning flashers 50
head supports 19
headlightsafter exit 50
cornering lights 50
heated wipers 51
heating 80
height adjustments (suspension)auto-raising 83
automatic and manual settings 84
disabling (Jack mode) 84high voltageBattery specifications 142
components 101
safety 108
Hill Start Assist 68
hitches 137
HomeLink
Index
Index161
Page 162 of 164
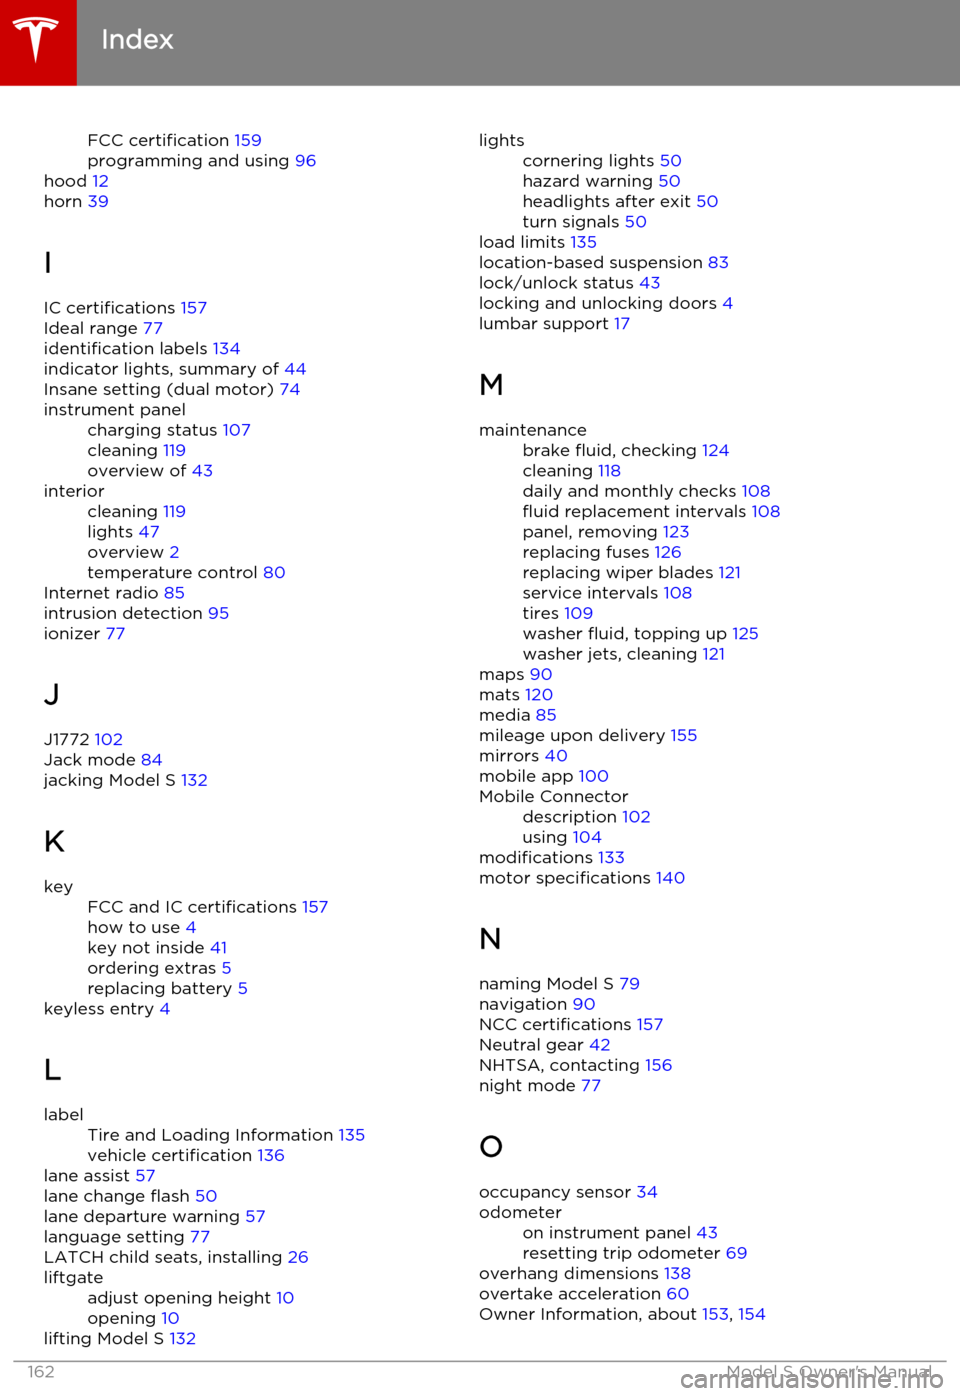
FCC certification 159
programming and using 96
hood 12
horn 39
I IC certifications 157
Ideal range 77
identification labels 134
indicator lights, summary of 44
Insane setting (dual motor) 74instrument panelcharging status 107
cleaning 119
overview of 43interiorcleaning 119
lights 47
overview 2
temperature control 80
Internet radio 85
intrusion detection 95
ionizer 77
J
J1772 102
Jack mode 84
jacking Model S 132
K
keyFCC and IC certifications 157
how to use 4
key not inside 41
ordering extras 5
replacing battery 5
keyless entry 4
L
labelTire and Loading Information 135
vehicle certification 136
lane assist 57
lane change flash 50
lane departure warning 57
language setting 77
LATCH child seats, installing 26
liftgateadjust opening height 10
opening 10
lifting Model S 132
lightscornering lights 50
hazard warning 50
headlights after exit 50
turn signals 50
load limits 135
location-based suspension 83
lock/unlock status 43
locking and unlocking doors 4
lumbar support 17
M
maintenancebrake fluid, checking 124
cleaning 118
daily and monthly checks 108
fluid replacement intervals 108
panel, removing 123
replacing fuses 126
replacing wiper blades 121
service intervals 108
tires 109
washer fluid, topping up 125
washer jets, cleaning 121
maps 90
mats 120
media 85
mileage upon delivery 155
mirrors 40
mobile app 100
Mobile Connectordescription 102
using 104
modifications 133
motor specifications 140
N
naming Model S 79
navigation 90
NCC certifications 157
Neutral gear 42
NHTSA, contacting 156
night mode 77
O occupancy sensor 34
odometeron instrument panel 43
resetting trip odometer 69
overhang dimensions 138
overtake acceleration 60
Owner Information, about 153, 154
Index
162Model S Owner's Manual
Page 163 of 164
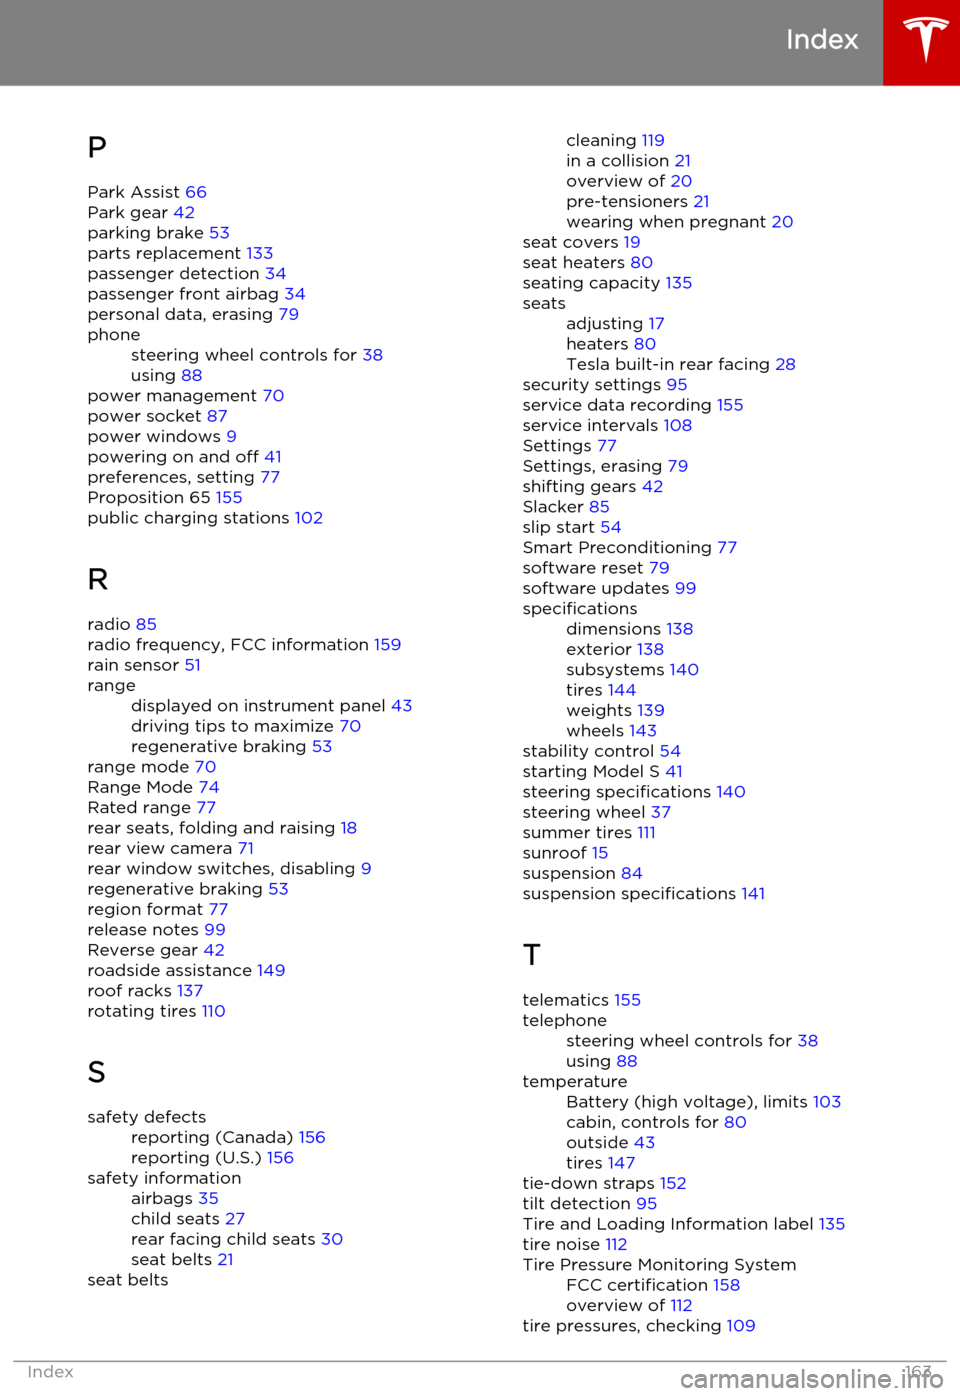
PPark Assist 66
Park gear 42
parking brake 53
parts replacement 133
passenger detection 34
passenger front airbag 34
personal data, erasing 79phonesteering wheel controls for 38
using 88
power management 70
power socket 87
power windows 9
powering on and off 41
preferences, setting 77
Proposition 65 155
public charging stations 102
R radio 85
radio frequency, FCC information 159
rain sensor 51
rangedisplayed on instrument panel 43
driving tips to maximize 70
regenerative braking 53
range mode 70
Range Mode 74
Rated range 77
rear seats, folding and raising 18
rear view camera 71
rear window switches, disabling 9
regenerative braking 53
region format 77
release notes 99
Reverse gear 42
roadside assistance 149
roof racks 137
rotating tires 110
S
safety defectsreporting (Canada) 156
reporting (U.S.) 156safety informationairbags 35
child seats 27
rear facing child seats 30
seat belts 21seat beltscleaning 119
in a collision 21
overview of 20
pre-tensioners 21
wearing when pregnant 20
seat covers 19
seat heaters 80
seating capacity 135seatsadjusting 17
heaters 80
Tesla built-in rear facing 28
security settings 95
service data recording 155
service intervals 108
Settings 77
Settings, erasing 79
shifting gears 42
Slacker 85
slip start 54
Smart Preconditioning 77
software reset 79
software updates 99
specificationsdimensions 138
exterior 138
subsystems 140
tires 144
weights 139
wheels 143
stability control 54
starting Model S 41
steering specifications 140
steering wheel 37
summer tires 111
sunroof 15
suspension 84
suspension specifications 141
T
telematics 155
telephonesteering wheel controls for 38
using 88temperatureBattery (high voltage), limits 103
cabin, controls for 80
outside 43
tires 147
tie-down straps 152
tilt detection 95
Tire and Loading Information label 135
tire noise 112
Tire Pressure Monitoring SystemFCC certification 158
overview of 112
tire pressures, checking 109
Index
Index163