warning TESLA MODEL X 2017 (UK) User Guide
[x] Cancel search | Manufacturer: TESLA, Model Year: 2017, Model line: MODEL X, Model: TESLA MODEL X 2017Pages: 202, PDF Size: 4.82 MB
Page 43 of 202

Adjusting PositionAdjust the steering wheel to the desireddriving position by moving the control on the
left side of the steering column. Using this
control, you can move the steering wheel forward and backward and up and down.Warning: Do not make adjustments while
driving.
Adjusting Sensitivity
You can adjust the feel and sensitivity of the
steering system to suit your personal
preference:
1. On the touchscreen, touch Controls. 2. Choose a steering option:
Page 56 of 202
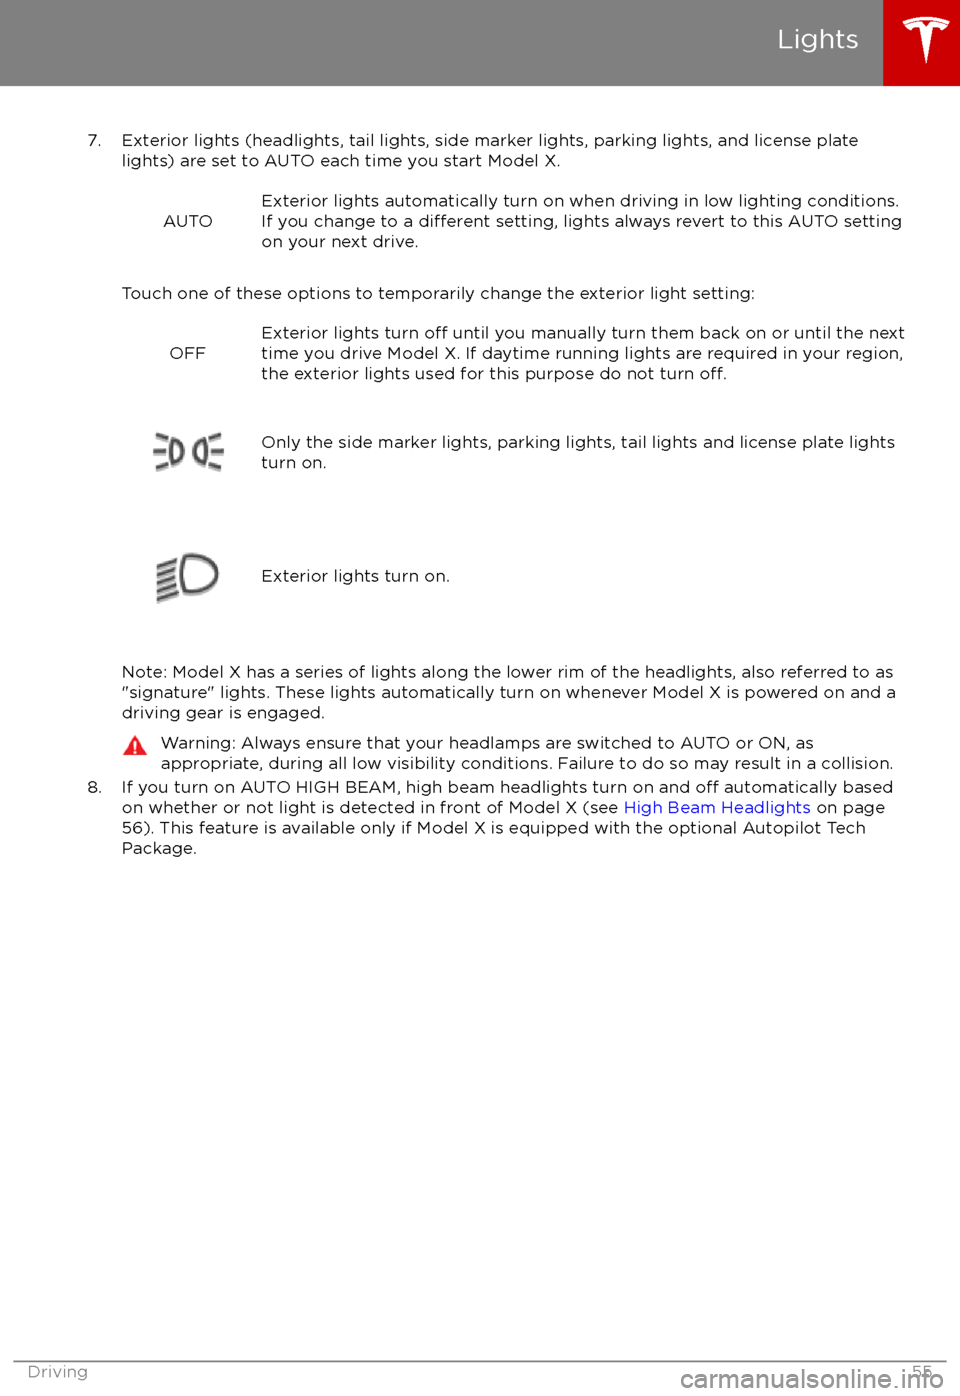
7. Exterior lights (headlights, tail lights, side marker lights, parking lights, and license platelights) are set to AUTO each time you start Model X.
AUTOExterior lights automatically turn on when driving in low lighting conditions.
If you change to a different setting, lights always revert to this AUTO setting
on your next drive.
Touch one of these options to temporarily change the exterior light setting:
OFFExterior lights turn off until you manually turn them back on or until the next
time you drive Model X. If daytime running lights are required in your region,
the exterior lights used for this purpose do not turn
off.Only the side marker lights, parking lights, tail lights and license plate lights
turn on.Exterior lights turn on.
Note: Model X has a series of lights along the lower rim of the headlights, also referred to as "signature" lights. These lights automatically turn on whenever Model X is powered on and a driving gear is engaged.
Warning: Always ensure that your headlamps are switched to AUTO or ON, as
appropriate, during all low visibility conditions. Failure to do so may result in a collision.
8. If you turn on AUTO HIGH BEAM, high beam headlights turn on and off automatically based
on whether or not light is detected in front of Model X (see High Beam Headlights on page
56). This feature is available only if Model X is equipped with the optional Autopilot Tech Package.
Lights
Driving55
Page 57 of 202
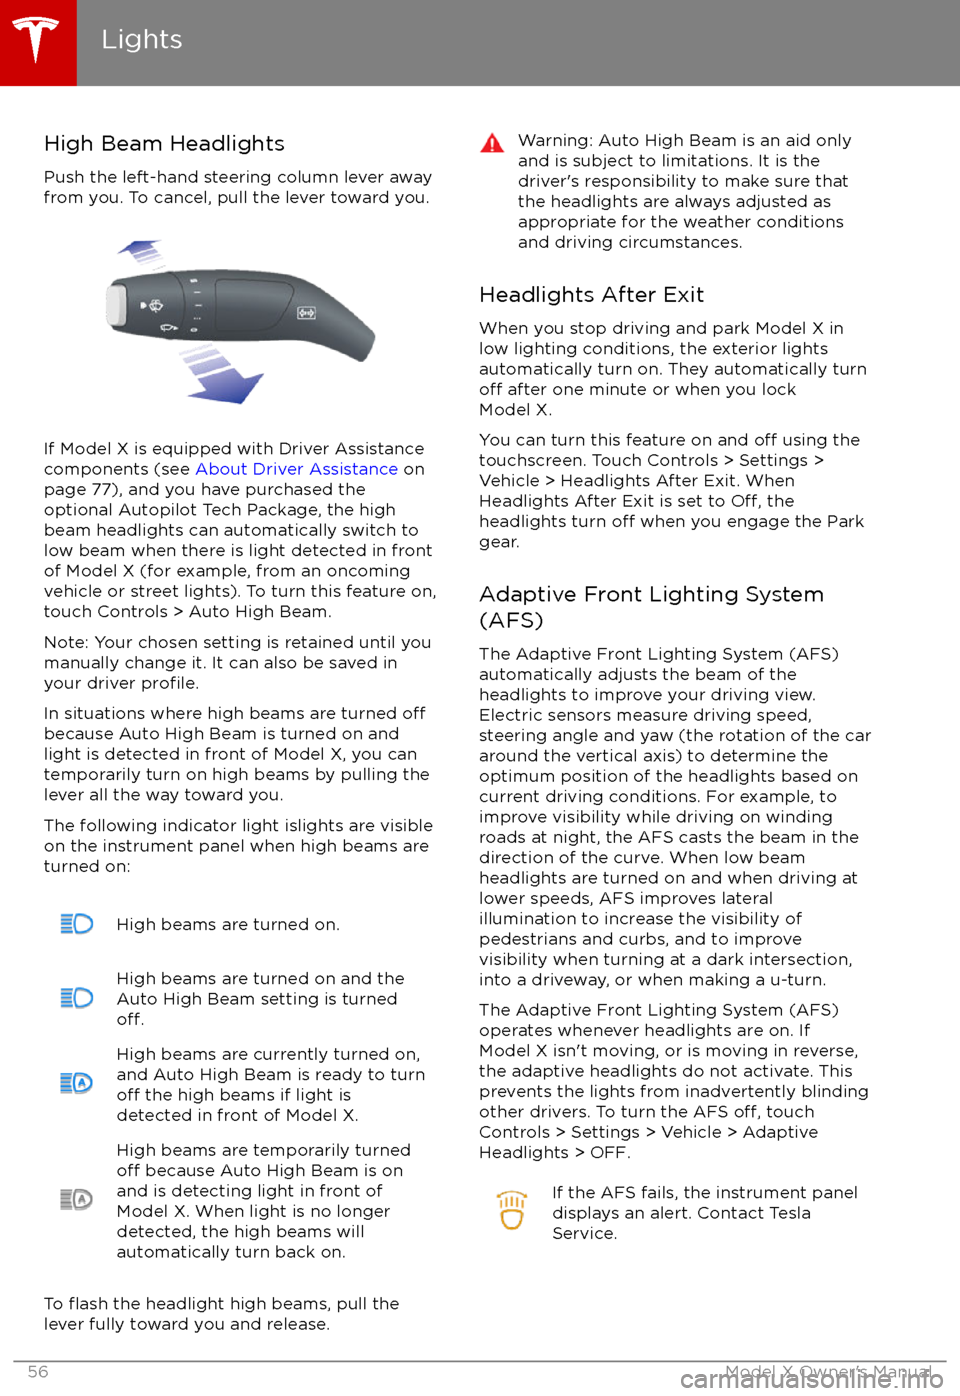
High Beam HeadlightsPush the left-hand steering column lever away
from you. To cancel, pull the lever toward you.
If Model X is equipped with Driver Assistance
components (see About Driver Assistance on
page 77), and you have purchased the
optional Autopilot Tech Package, the high
beam headlights can automatically switch to low beam when there is light detected in front
of Model X (for example, from an oncoming vehicle or street lights). To turn this feature on,touch Controls > Auto High Beam.
Note: Your chosen setting is retained until you manually change it. It can also be saved in
your driver
profile.
In situations where high beams are turned offbecause Auto High Beam is turned on and
light is detected in front of Model X, you can
temporarily turn on high beams by pulling the
lever all the way toward you.
The following indicator light islights are visible
on the instrument panel when high beams are
turned on:
High beams are turned on.High beams are turned on and the
Auto High Beam setting is turned
off.
High beams are currently turned on,
and Auto High Beam is ready to turn
off the high beams if light is
detected in front of Model X.
High beams are temporarily turnedoff because Auto High Beam is on
and is detecting light in front of
Model X. When light is no longer
detected, the high beams will
automatically turn back on.
To flash the headlight high beams, pull the
lever fully toward you and release.
Warning: Auto High Beam is an aid only and is subject to limitations. It is the
driver
Page 58 of 202
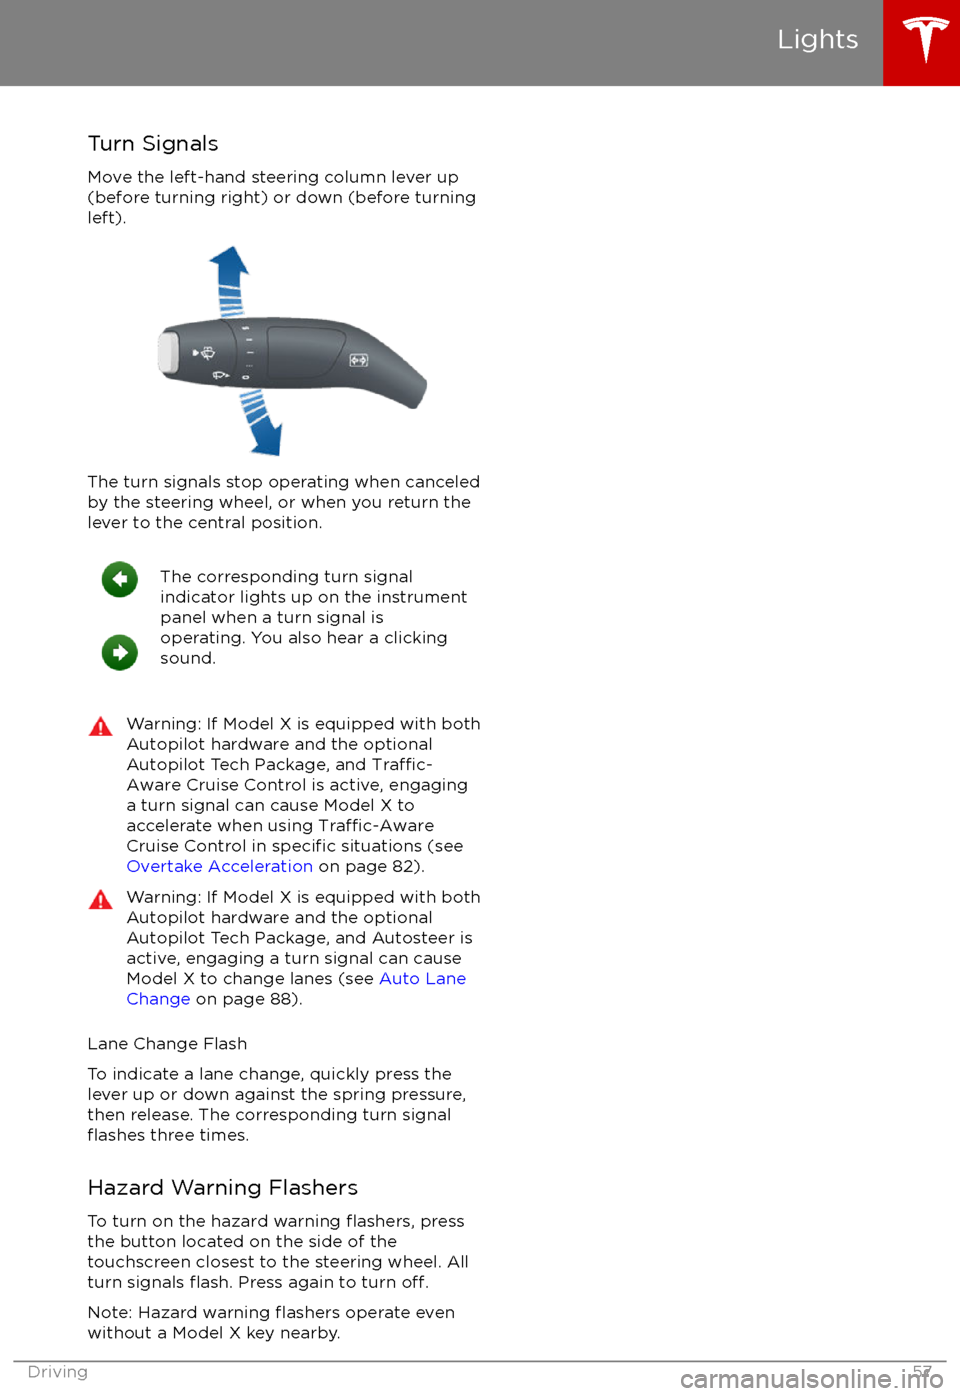
Turn Signals
Move the left-hand steering column lever up
(before turning right) or down (before turning
left).
The turn signals stop operating when canceled by the steering wheel, or when you return the
lever to the central position.
The corresponding turn signal
indicator lights up on the instrument
panel when a turn signal is
operating. You also hear a clicking
sound.Warning: If Model X is equipped with both
Autopilot hardware and the optional
Autopilot Tech Package, and
Traffic-
Aware Cruise Control is active, engaging
a turn signal can cause Model X to
accelerate when using
Traffic-AwareCruise Control in specific situations (see
Overtake Acceleration on page 82).
Warning: If Model X is equipped with both
Autopilot hardware and the optional
Autopilot Tech Package, and Autosteer is active, engaging a turn signal can cause
Model X to change lanes (see Auto Lane
Change on page 88).
Lane Change Flash
To indicate a lane change, quickly press the
lever up or down against the spring pressure,
then release. The corresponding turn signal
flashes three times.
Hazard Warning Flashers To turn on the hazard warning
flashers, press
the button located on the side of the
touchscreen closest to the steering wheel. All
turn signals
flash. Press again to turn off.
Note: Hazard warning flashers operate even
without a Model X key nearby.
Lights
Driving57
Page 60 of 202
Braking Systems
Model X has an anti-lock braking system
(ABS) that prevents the wheels from locking when you apply maximum brake pressure. This
improves steering control during heavy
braking in most road conditions.
During emergency braking conditions, the
ABS constantly monitors the speed of each
wheel and varies the brake pressure according to the grip available.
The alteration of brake pressure can be felt as
a pulsing sensation through the brake pedal.
This demonstrates that the ABS is operating
and is not a cause for concern. Keep
firm and
steady pressure on the brake pedal while
experiencing the pulsing.
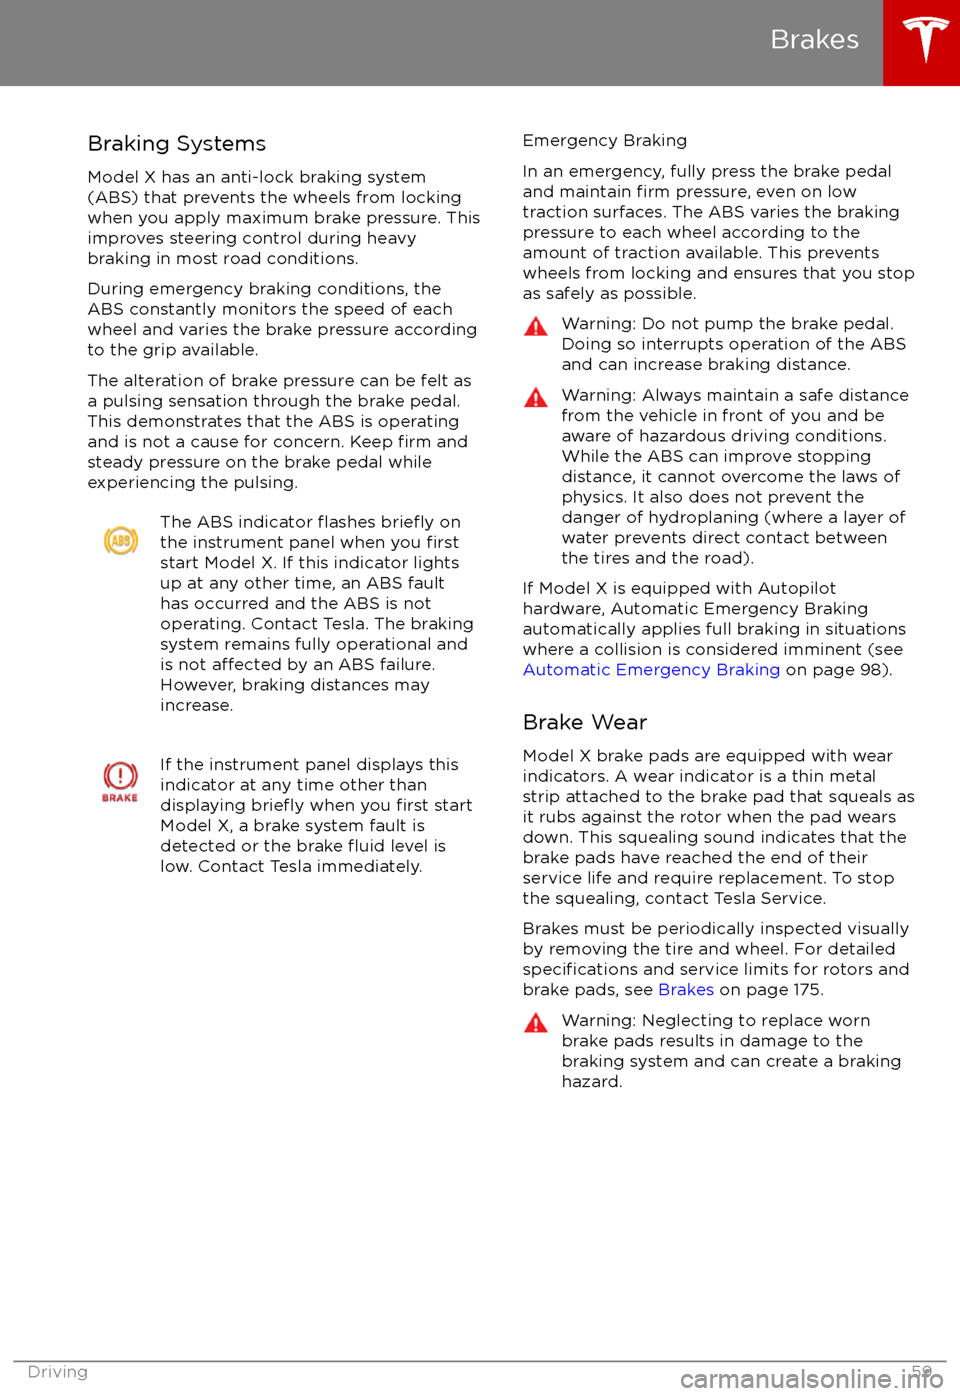
The ABS indicator flashes briefly on
the instrument panel when you firststart Model X. If this indicator lights
up at any other time, an ABS fault
has occurred and the ABS is not
operating. Contact Tesla. The braking system remains fully operational and
is not
affected by an ABS failure.
However, braking distances may increase.
If the instrument panel displays this
indicator at any time other than
displaying
briefly when you first start
Model X, a brake system fault is
detected or the brake
fluid level is
low. Contact Tesla immediately.
Emergency Braking
In an emergency, fully press the brake pedal
and maintain
firm pressure, even on low
traction surfaces. The ABS varies the braking
pressure to each wheel according to the
amount of traction available. This prevents
wheels from locking and ensures that you stop
as safely as possible.
Warning: Do not pump the brake pedal.
Doing so interrupts operation of the ABS
and can increase braking distance.Warning: Always maintain a safe distance
from the vehicle in front of you and be
aware of hazardous driving conditions.
While the ABS can improve stopping
distance, it cannot overcome the laws of physics. It also does not prevent the
danger of hydroplaning (where a layer of
water prevents direct contact between the tires and the road).
If Model X is equipped with Autopilot
hardware, Automatic Emergency Braking
automatically applies full braking in situations
where a collision is considered imminent (see
Automatic Emergency Braking on page 98).
Brake Wear Model X brake pads are equipped with wearindicators. A wear indicator is a thin metal
strip attached to the brake pad that squeals as
it rubs against the rotor when the pad wears
down. This squealing sound indicates that the
brake pads have reached the end of their
service life and require replacement. To stop
the squealing, contact Tesla Service.
Brakes must be periodically inspected visually by removing the tire and wheel. For detailed
specifications and service limits for rotors and
brake pads, see Brakes on page 175.
Warning: Neglecting to replace worn
brake pads results in damage to the
braking system and can create a braking
hazard.
Brakes
Driving59
Page 62 of 202

How It WorksThe traction control system constantly
monitors the speed of the front and rear
wheels. If Model X experiences a loss of
traction, the system minimizes wheel spin by
controlling brake pressure and motor power.
By default, the traction control system is
always active. Under normal conditions, it should remain active to ensure maximum
safety.This indicator flashes on the
instrument panel whenever the
traction control system is actively
controlling brake pressure and motor
power to minimize wheel spin. If the
indicator stays on, a fault is detected with the traction control system.
Contact Tesla Service.Warning: Traction control cannot prevent
accidents caused by driving dangerously
or turning too sharply at high speeds.Warning: If the above indicator remains
illuminated in situations in which you have
not enabled Slip Start (described next), the traction control system may not be
operating correctly. Contact Tesla Service immediately.
Allowing Wheel Slip
To allow the wheels to spin at a limited speed,
you can enable Slip Start. Slip Start can be
enabled only when Model X is moving 48 km/h or slower. Slip Start automatically
disables when the speed exceeds 80 km/h.
Under normal conditions, Slip Start should not
be enabled. Enable it only in circumstances where you deliberately want the wheels tospin, such as:
Page 63 of 202
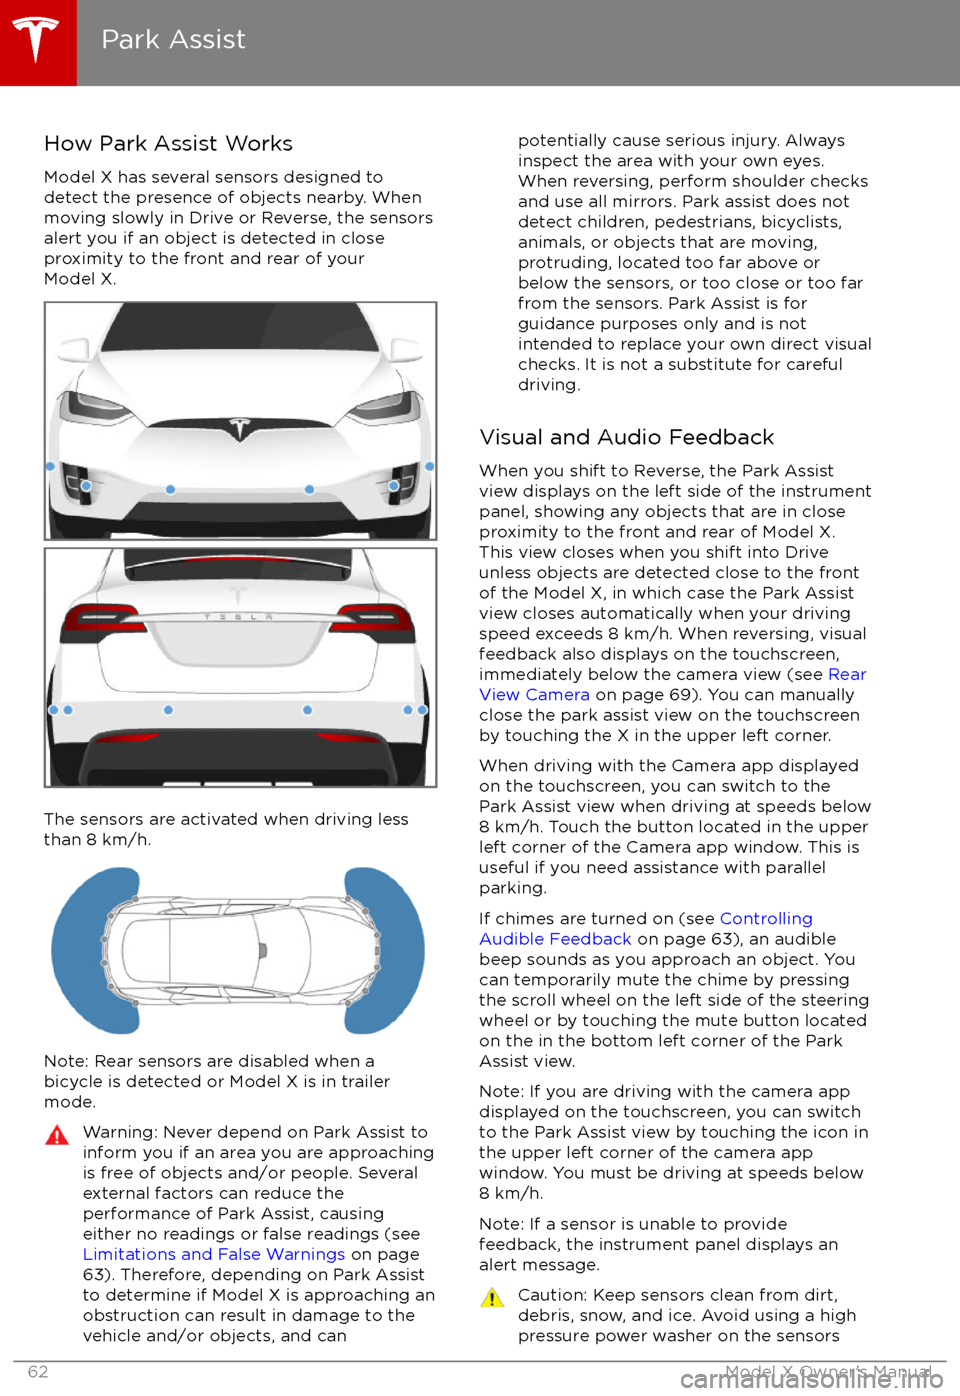
How Park Assist Works
Model X has several sensors designed to
detect the presence of objects nearby. When
moving slowly in Drive or Reverse, the sensors
alert you if an object is detected in close
proximity to the front and rear of your
Model X.
The sensors are activated when driving less
than 8 km/h.
Note: Rear sensors are disabled when a
bicycle is detected or Model X is in trailer
mode.
Warning: Never depend on Park Assist to
inform you if an area you are approaching is free of objects and/or people. Several
external factors can reduce the
performance of Park Assist, causing
either no readings or false readings (see
Limitations and False Warnings on page
63). Therefore, depending on Park Assist
to determine if Model X is approaching an
obstruction can result in damage to the vehicle and/or objects, and canpotentially cause serious injury. Always
inspect the area with your own eyes.
When reversing, perform shoulder checks and use all mirrors. Park assist does not
detect children, pedestrians, bicyclists,
animals, or objects that are moving, protruding, located too far above or
below the sensors, or too close or too far
from the sensors. Park Assist is for
guidance purposes only and is not intended to replace your own direct visual
checks. It is not a substitute for careful
driving.
Visual and Audio Feedback
When you shift to Reverse, the Park Assist
view displays on the left side of the instrument
panel, showing any objects that are in close
proximity to the front and rear of Model X.
This view closes when you shift into Drive
unless objects are detected close to the front
of the Model X, in which case the Park Assist
view closes automatically when your driving
speed exceeds 8 km/h. When reversing, visual
feedback also displays on the touchscreen,
immediately below the camera view (see Rear
View Camera on page 69). You can manually
close the park assist view on the touchscreen
by touching the X in the upper left corner.
When driving with the Camera app displayed
on the touchscreen, you can switch to the
Park Assist view when driving at speeds below
8 km/h. Touch the button located in the upper
left corner of the Camera app window. This is
useful if you need assistance with parallel parking.
If chimes are turned on (see Controlling
Audible Feedback on page 63), an audible
beep sounds as you approach an object. You
can temporarily mute the chime by pressing
the scroll wheel on the left side of the steering
wheel or by touching the mute button located
on the in the bottom left corner of the Park Assist view.
Note: If you are driving with the camera app
displayed on the touchscreen, you can switch to the Park Assist view by touching the icon inthe upper left corner of the camera app
window. You must be driving at speeds below
8 km/h.
Note: If a sensor is unable to provide
feedback, the instrument panel displays an
alert message.
Caution: Keep sensors clean from dirt,
debris, snow, and ice. Avoid using a high
pressure power washer on the sensors
Park Assist
62Model X Owner
Page 64 of 202

and do not clean a sensor with a sharp orabrasive object that can scratch or
damage its surface.Caution: Do not install accessories or
stickers on or near the parking sensors.
Controlling Audible Feedback
You can use Park Assist with or without
audible feedback. To turn chimes on or
off,touch Controls > Settings > Safety &
Security > Park Assist Chimes.
You can also mute the chimes temporarily by
pressing the scroll wheel on the left side of the
steering wheel or by touching the mute buttonin the bottom left corner of the Park Assist
view. The chimes are muted until you shift into
a
different gear or drive over 8 km/h.
Limitations and False Warnings
The parking sensors may not function
correctly in these situations:
Page 66 of 202

Performance Dual-Motor Vehicles
Only
Launch Mode, available on performance dual-
motor vehicles only, provides optimum
acceleration on surfaces with good traction.Warning: Use Launch Mode only in
appropriate locations where there is no
cross
traffic or pedestrians present.
Launch Mode is designed for use on
closed circuit driving courses. It is the driver
Page 69 of 202
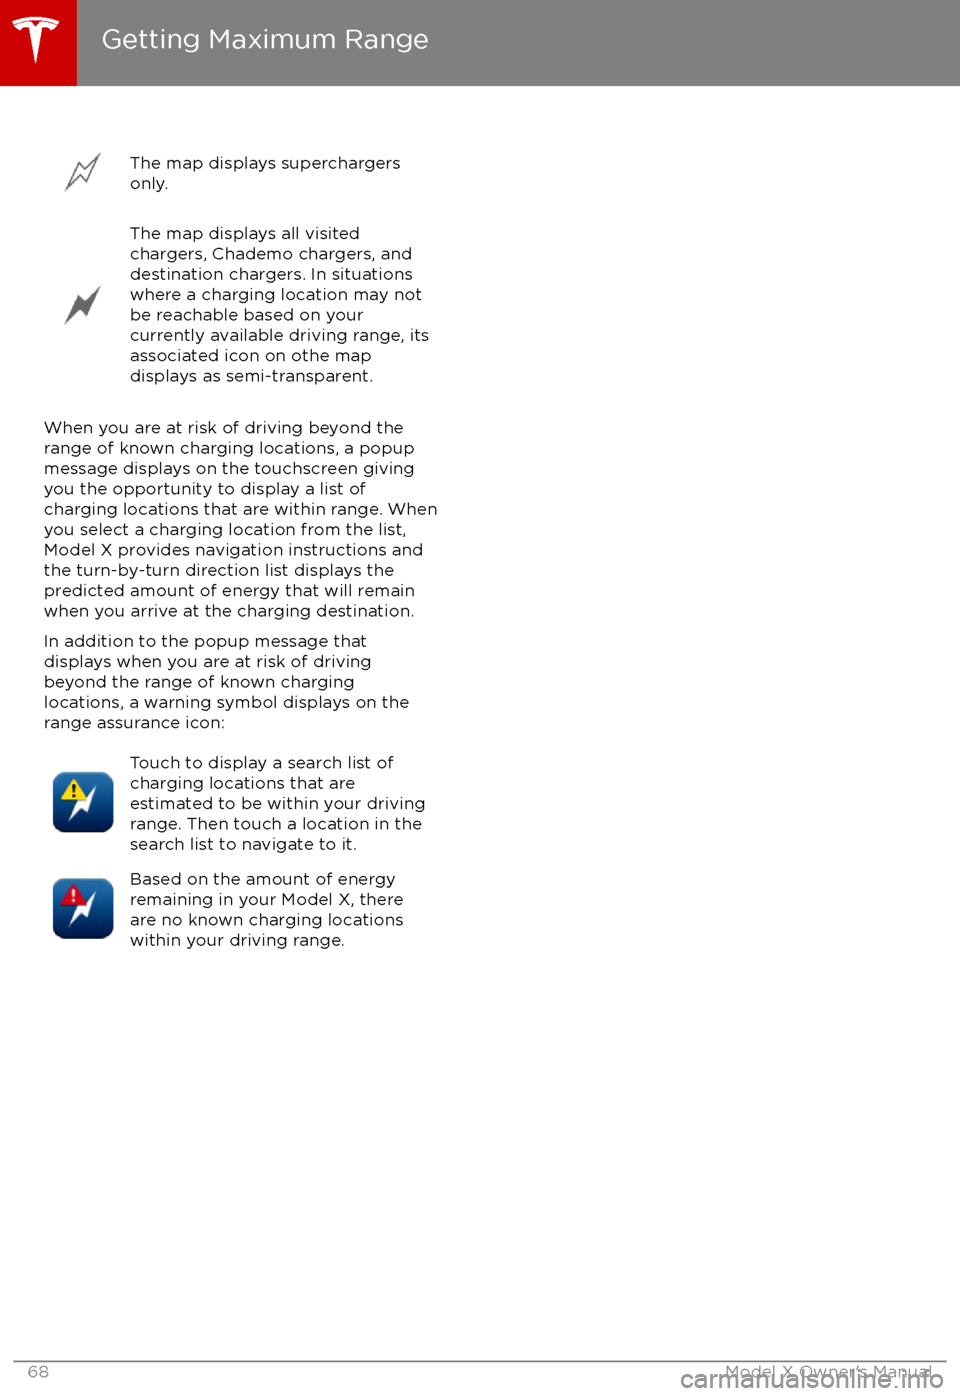
The map displays superchargers
only.The map displays all visited
chargers, Chademo chargers, and
destination chargers. In situations
where a charging location may not
be reachable based on your
currently available driving range, its
associated icon on othe map
displays as semi-transparent.
When you are at risk of driving beyond the
range of known charging locations, a popup
message displays on the touchscreen giving
you the opportunity to display a list of
charging locations that are within range. When
you select a charging location from the list,
Model X provides navigation instructions and the turn-by-turn direction list displays the
predicted amount of energy that will remain
when you arrive at the charging destination.
In addition to the popup message that
displays when you are at risk of driving
beyond the range of known charging
locations, a warning symbol displays on the
range assurance icon:
Touch to display a search list of
charging locations that are
estimated to be within your driving
range. Then touch a location in the
search list to navigate to it.Based on the amount of energy
remaining in your Model X, there
are no known charging locations
within your driving range.
Getting Maximum Range
68Model X Owner