ECO mode TESLA MODEL X 2020 User Guide
[x] Cancel search | Manufacturer: TESLA, Model Year: 2020, Model line: MODEL X, Model: TESLA MODEL X 2020Pages: 247, PDF Size: 6.48 MB
Page 63 of 247
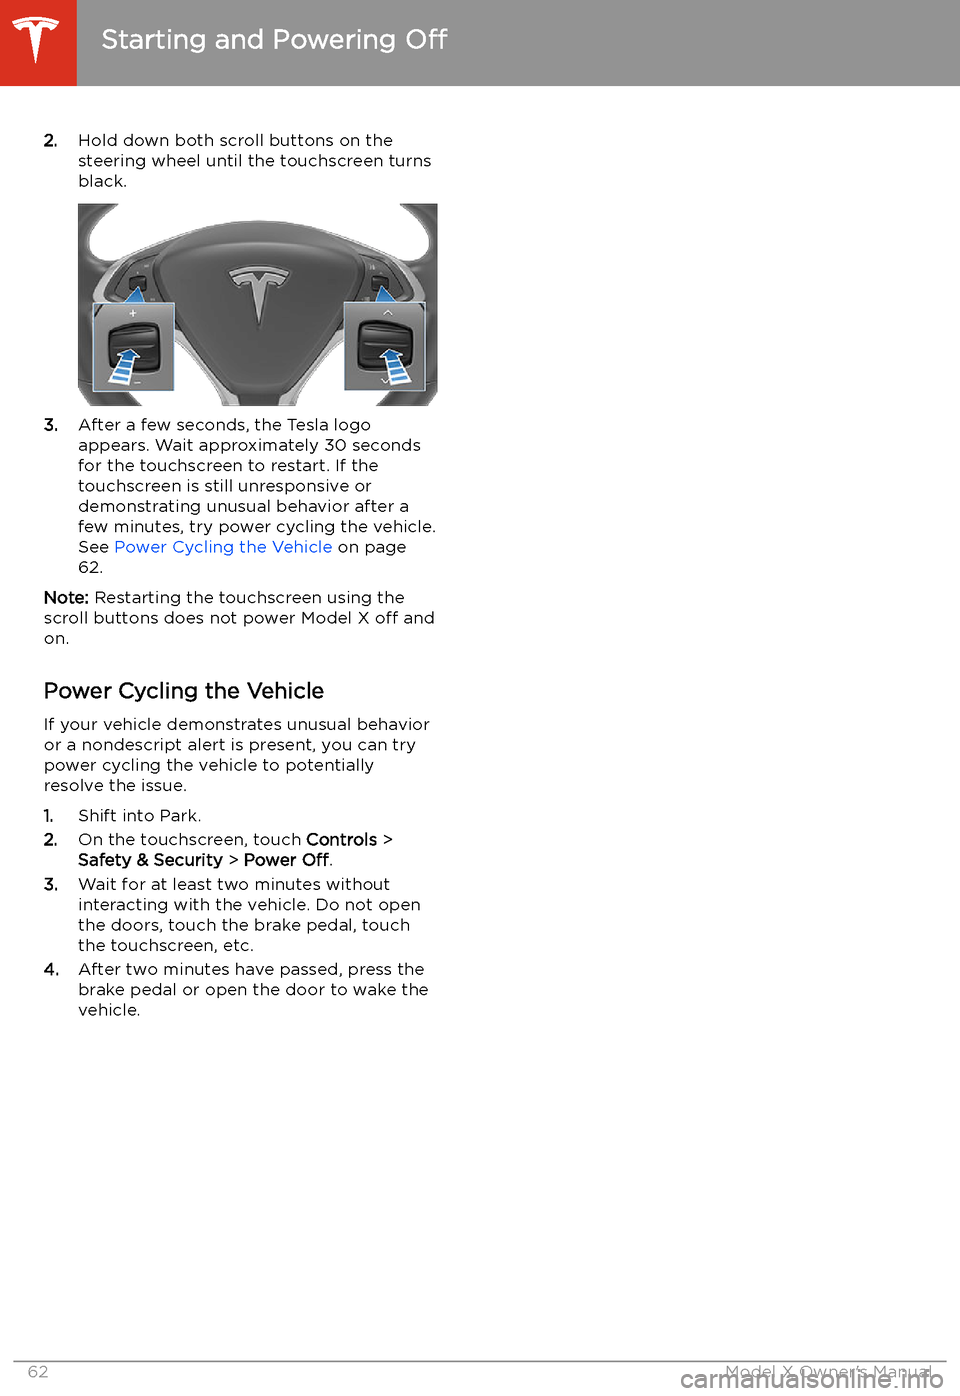
2.Hold down both scroll buttons on the
steering wheel until the touchscreen turns
black.
3. After a few seconds, the Tesla logo
appears. Wait approximately 30 seconds for the touchscreen to restart. If the
touchscreen is still unresponsive or
demonstrating unusual behavior after a
few minutes, try power cycling the vehicle.
See Power Cycling the Vehicle on page
62.
Note: Restarting the touchscreen using the
scroll buttons does not power Model X off and
on.
Power Cycling the Vehicle
If your vehicle demonstrates unusual behavior or a nondescript alert is present, you can try
power cycling the vehicle to potentially
resolve the issue.
1. Shift into Park.
2. On the touchscreen, touch Controls >
Safety & Security > Power Off.
3. Wait for at least two minutes without
interacting with the vehicle. Do not open
the doors, touch the brake pedal, touch the touchscreen, etc.
4. After two minutes have passed, press the
brake pedal or open the door to wake the
vehicle.
Starting and Powering Off
62Model X Owner
Page 78 of 247
Caution: If the brakes are not functioning
properly, stop the vehicle as soon as safety permits and contact Tesla Service.
See Park on page 63 for information on
using the Park button to stop the vehicle
in case of emergency.Warning: Always maintain a safe driving
distance from the vehicle in front of you
and be cautious in hazardous driving
conditions. Do not rely on brake disc
wiping or hydraulic fade compensation to act as a substitute for adequate braking.
Regenerative Braking
Whenever Model X is moving and your foot is
off the accelerator, regenerative braking slows
down Model X and feeds any surplus energy back to the Battery.
By anticipating your stops and reducing or
removing pressure from the accelerator pedal
to slow down, you can take advantage of regenerative braking to increase driving range.
Of course, this is no substitute for regular braking when needed for safety.
Note: If regenerative braking is aggressively
slowing Model X (such as when your foot is
completely off the accelerator pedal at
highway speeds), the brake lights turn on to
alert others that you are slowing down.
Warning: In snowy or icy conditions
Model X may experience traction loss
during regenerative braking, particularly
when in the Standard setting and/or not
using winter tires. Tesla recommends
using the Low setting (see To Set the
Regenerative Braking Level on page 77)
in snowy or icy conditions to help
maintain vehicle stability.
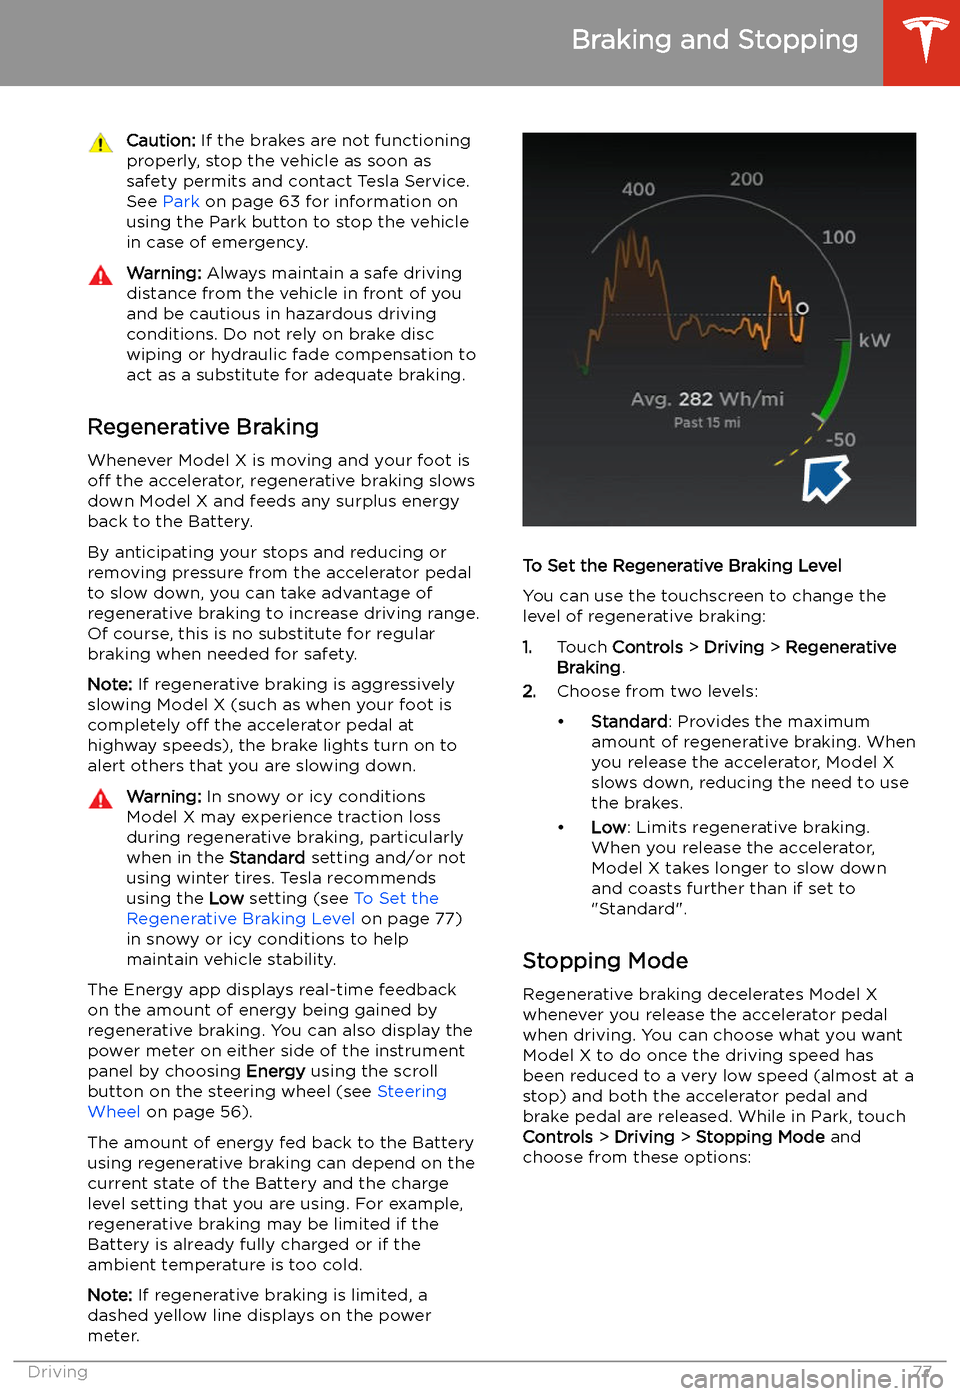
The Energy app displays real-time feedback
on the amount of energy being gained by
regenerative braking. You can also display the
power meter on either side of the instrument
panel by choosing Energy using the scroll
button on the steering wheel (see Steering
Wheel on page 56).
The amount of energy fed back to the Battery using regenerative braking can depend on thecurrent state of the Battery and the charge
level setting that you are using. For example,
regenerative braking may be limited if the Battery is already fully charged or if the
ambient temperature is too cold.
Note: If regenerative braking is limited, a
dashed yellow line displays on the power
meter.
To Set the Regenerative Braking Level
You can use the touchscreen to change the
level of regenerative braking:
1. Touch Controls > Driving > Regenerative
Braking .
2. Choose from two levels:
Page 80 of 247
Use the touchscreen to manually release the
parking brake (which also shifts Model X into Neutral):
1. Touch Controls > Safety & Security .
2. Press the brake pedal, then touch Parking
Brake . If Model X was previously in Park, it
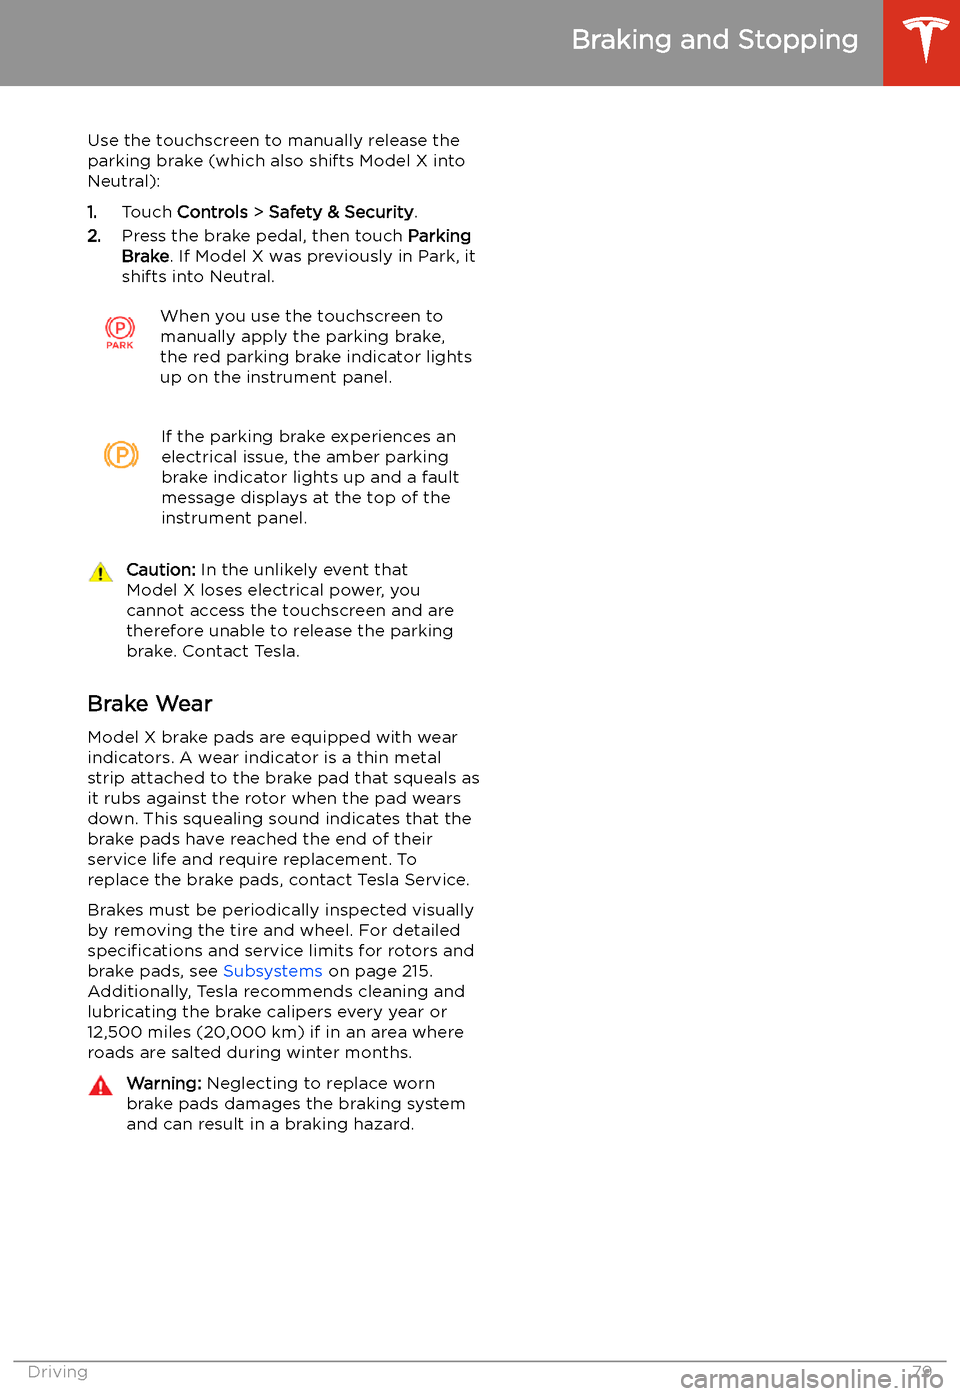
shifts into Neutral.When you use the touchscreen to
manually apply the parking brake,
the red parking brake indicator lights
up on the instrument panel.If the parking brake experiences an
electrical issue, the amber parking brake indicator lights up and a fault
message displays at the top of the
instrument panel.Caution: In the unlikely event that
Model X loses electrical power, you
cannot access the touchscreen and are
therefore unable to release the parking
brake. Contact Tesla.
Brake Wear
Model X brake pads are equipped with wear indicators. A wear indicator is a thin metal
strip attached to the brake pad that squeals as
it rubs against the rotor when the pad wears
down. This squealing sound indicates that the
brake pads have reached the end of their service life and require replacement. To
replace the brake pads, contact Tesla Service.
Brakes must be periodically inspected visually by removing the tire and wheel. For detailed
specifications and service limits for rotors and
brake pads, see Subsystems on page 215.
Additionally, Tesla recommends cleaning and
lubricating the brake calipers every year or
12,500 miles (20,000 km) if in an area where
roads are salted during winter months.
Warning: Neglecting to replace worn
brake pads damages the braking system
and can result in a braking hazard.
Braking and Stopping
Driving79
Page 123 of 247
When the instrument panel displays a
message asking you to confirm the lane
change, pull the Autopilot stalk toward you or
engage the appropriate turn signal. If you do
not confirm the lane change within three
seconds, a chime sounds to remind you that
Navigate on Autopilot requires your
confirmation to change lanes.
If Require Lane Change Confirmation is turned
off, Navigate on Autopilot engages the
appropriate turn signal, checks for vehicles
and objects, and when appropriate,
maneuvers Model X into the adjacent lane.
If Require Lane Change Confirmation is turned
on, you must pull the Autopilot stalk toward
you or engage the appropriate turn signal to confirm that you want Navigate on Autopilot
to make the lane change. If you do not confirm
the lane change within three seconds, a chime
sounds to remind you that Navigate on Autopilot requires your confirmation to
change lanes.
Note: If you ignore a route-based lane change
suggestion (for example, you are driving in the
left lane while approaching an off-ramp on the
right side of the highway), Navigate on
Autopilot will be unable to maneuver onto the off-ramp and as a result, the navigation
system will re-route you to your destination.Warning: Navigate on Autopilot may not
always attempt to exit at an off-ramp or
change lanes, even when an exit or lane
change is determined by the navigation
route. Always remain alert and be prepared to manually steer onto an off-
ramp, or make a lane change to prepare
for, or to exit at, an off-ramp or
interchange.
Be Ready to Assist
When attempting to change lanes or
maneuver Model X, or when approaching
construction zones, Navigate on Autopilot
may be unable to determine the appropriate
driving lane (for example, complex clover leafs
and multi-lane off-ramps) and the instrument
panel displays an alert indicating that
Navigate on Autopilot is trying to maneuver
and may require assistance. When you see the
message, be prepared to take immediate
action to ensure that it is safe and appropriate
to complete the lane change or maneuver.
Limitations
Autosteer and its associated functions are
particularly unlikely to operate as intended
when:
Page 138 of 247
Speed Assist
How Speed Assist Works
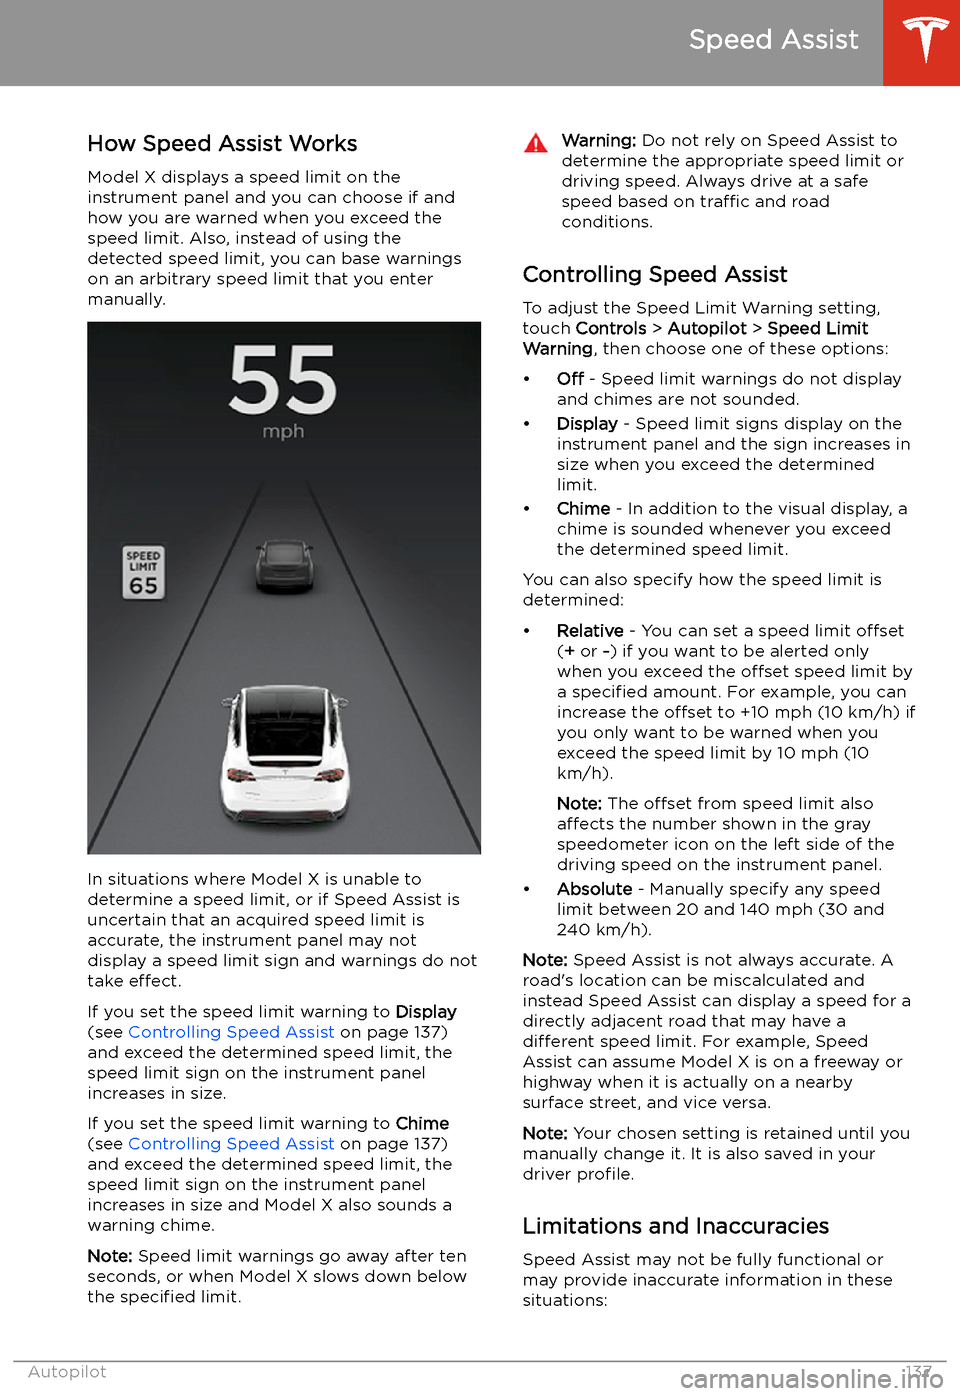
Model X displays a speed limit on the
instrument panel and you can choose if and how you are warned when you exceed the
speed limit. Also, instead of using the detected speed limit, you can base warnings
on an arbitrary speed limit that you enter manually.
In situations where Model X is unable to
determine a speed limit, or if Speed Assist is
uncertain that an acquired speed limit is
accurate, the instrument panel may not display a speed limit sign and warnings do not
take effect.
If you set the speed limit warning to Display
(see Controlling Speed Assist on page 137)
and exceed the determined speed limit, the
speed limit sign on the instrument panel increases in size.
If you set the speed limit warning to Chime
(see Controlling Speed Assist on page 137)
and exceed the determined speed limit, the speed limit sign on the instrument panelincreases in size and Model X also sounds a
warning chime.
Note: Speed limit warnings go away after ten
seconds, or when Model X slows down below
the specified limit.
Warning:
Do not rely on Speed Assist to
determine the appropriate speed limit or driving speed. Always drive at a safe
speed based on traffic and road
conditions.
Controlling Speed Assist
To adjust the Speed Limit Warning setting,
touch Controls > Autopilot > Speed Limit
Warning , then choose one of these options:
Page 156 of 247
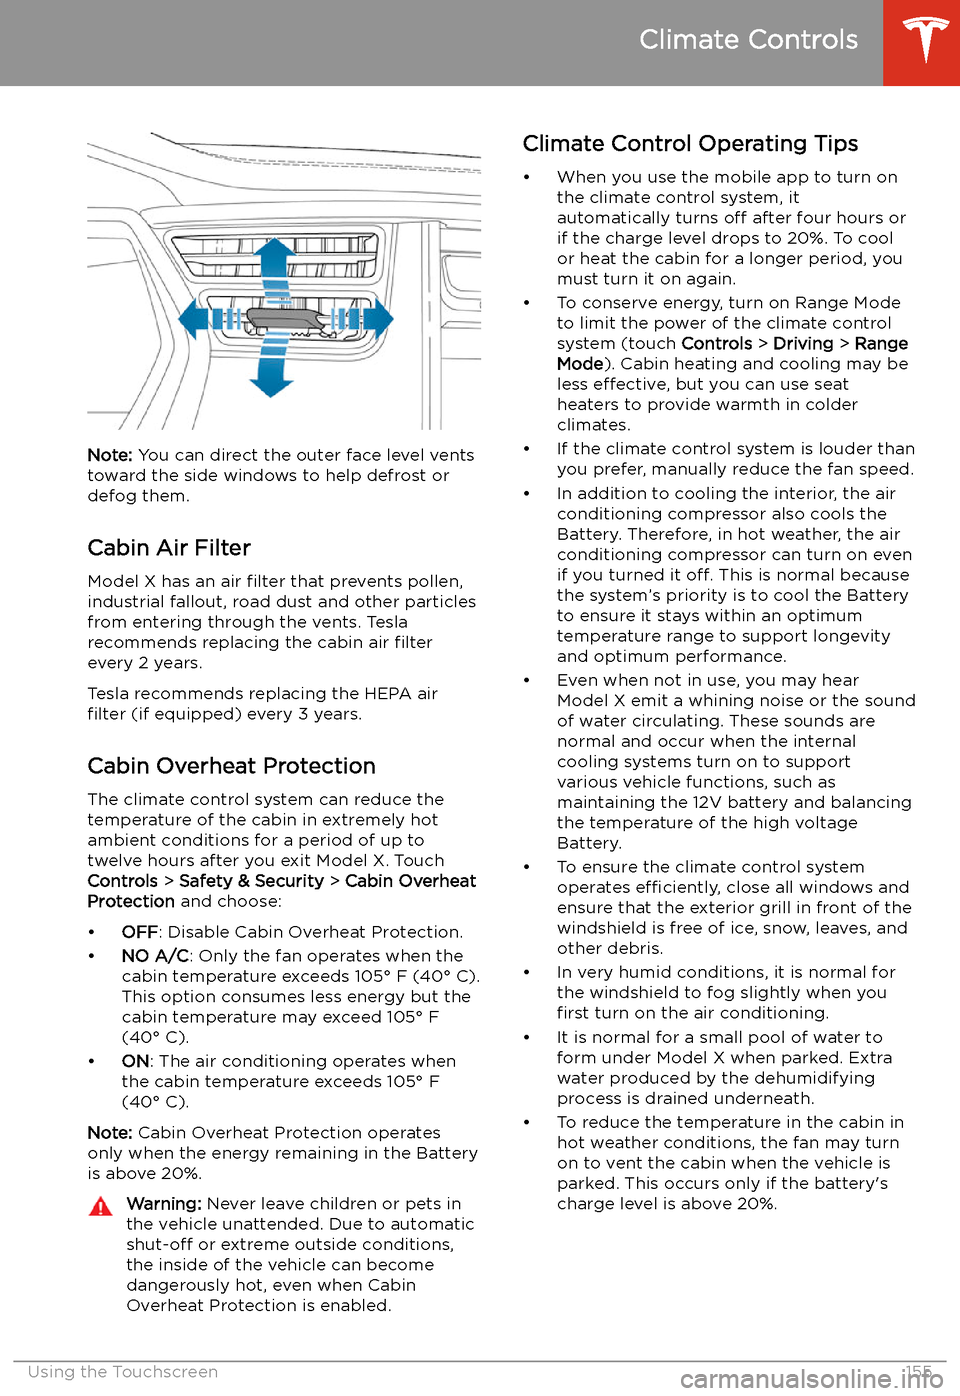
Note: You can direct the outer face level vents
toward the side windows to help defrost or
defog them.
Cabin Air Filter
Model X has an air filter that prevents pollen,
industrial fallout, road dust and other particles
from entering through the vents. Tesla
recommends replacing the cabin air filter
every 2 years.
Tesla recommends replacing the HEPA air
filter (if equipped) every 3 years.
Cabin Overheat Protection
The climate control system can reduce the
temperature of the cabin in extremely hot
ambient conditions for a period of up to twelve hours after you exit Model X. TouchControls > Safety & Security > Cabin Overheat
Protection and choose:
Page 162 of 247

For security reasons, if you sell Model X, it isrecommended that you delete your Home and
Work Locations. You can delete these
individually or you can perform a factory reset to erase all personal data (see Erasing
Personal Data on page 149).
Map Updates
As updated maps become available, they are
automatically sent to Model X over Wi-Fi. To ensure you receive them, periodically connectModel X to a Wi-Fi network (see Connecting
to Wi-Fi on page 178). The touchscreen
displays a message informing you when new
maps are installed.
Maps and Navigation
Using the Touchscreen161
Page 175 of 247

Saved footage is located in either the Saved
Clips or Sentry Clips folder. Footage in the
Saved Clips folder contains all saved
recordings from dashcam, which have been
manually saved by touching the dashcam icon on the touchscreen. Sentry Clips contains all
saved footage from Sentry Mode events,
which have been automatically saved when
the Alert or Alarm state was triggered. Once
footage of a particular event is saved, the latest 10 minutes of video is archived in your
Page 179 of 247

Connecting to Wi-Fi
Wi-Fi is available as a data connection method and is often faster than cellular data networks.
Connecting to Wi-Fi is especially useful in areas with limited or no cellular connectivity.
To ensure fast, reliable delivery of software
and map updates, Tesla recommends leaving your vehicle connected to a Wi-Fi network
whenever possible (for example, if parked in
your garage overnight).
To connect to a Wi-Fi network:
1. Touch the cellular icon (usually LTE or 3G)
on the top corner of your touchscreen.
Model X will start scanning and display
the detected Wi-Fi networks that are
within range.
2. Select the Wi-Fi network you want to use,
enter the password (if necessary), then
touch Confirm .
3. Your vehicle connects to the Wi-Fi
network and will automatically connect to it whenever the network is within range.
You can also connect to a hidden network that
isn
Page 184 of 247

Charging Equipment
Charging equipment designed specifically to
charge your Model X is available from Tesla. A
Tesla Wall Connector, which installs in your
garage, is the fastest way to charge Model X
at home.
In most market regions, Model X is equipped with a Mobile Connector and the adapter(s)
needed to plug into the most commonly used power outlets. When using the MobileConnector, first plug the Mobile Connector
into the power outlet, and then plug in Model X. For more information about your
Mobile Connector, see the Mobile Connector
Owner