ECO mode TESLA MODEL X 2021 Owner´s Manual
[x] Cancel search | Manufacturer: TESLA, Model Year: 2021, Model line: MODEL X, Model: TESLA MODEL X 2021Pages: 212, PDF Size: 5.07 MB
Page 99 of 212
Note: Auto Lane Change assists in moving
Model X one lane at a time. Moving into an
additional lane requires you to engage the
turn signal a second time after the first lane
change is complete.Warning: If Auto Lane Change aborts
during a lane change (for example, Auto
Lane Change cannot detect the outside
of the target lane midway through the
lane change), Model X returns to its
original driving lane.
When Auto Lane Change is active, it is
important to monitor its performance by
watching the driving path in front of you and
the surrounding area. Stay prepared to take
over steering at any time. As you are crossing
over into the adjacent lane, the instrument
panel displays the lane marking as a dashed
blue line. Once in your new lane, lane markings
are displayed as solid blue lines again.
In situations where Auto Lane Change is
unable to operate at optimal performance, or
cannot operate due to inadequate data, the
instrument panel displays a series of warnings.
Therefore, when using Auto Lane Change,
always pay attention to the instrument panel
and be prepared to manually steer Model X.
Warning: When Auto Lane Change is
actively assisting in steering Model X, the steering wheel moves accordingly.
Although you must have your hands on
the steering wheel, any significant
restriction of or force on the steering wheel
Page 110 of 212
Speed Assist
How Speed Assist Works
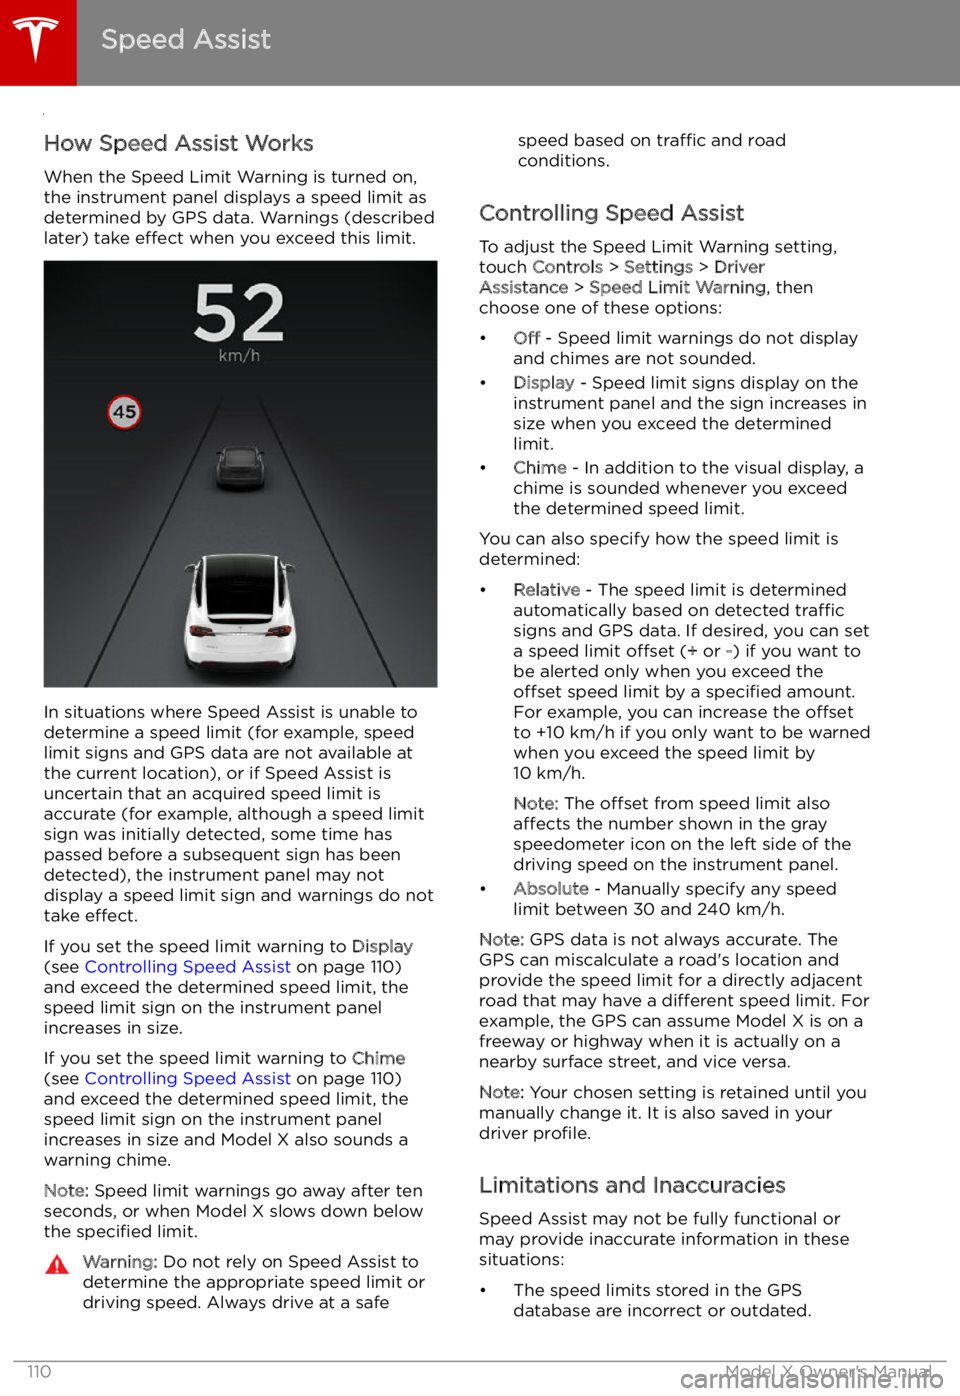
When the Speed Limit Warning is turned on,
the instrument panel displays a speed limit as
determined by GPS data. Warnings (described
later) take effect when you exceed this limit.
In situations where Speed Assist is unable to
determine a speed limit (for example, speed
limit signs and GPS data are not available at
the current location), or if Speed Assist is
uncertain that an acquired speed limit is
accurate (for example, although a speed limit sign was initially detected, some time has
passed before a subsequent sign has been
detected), the instrument panel may not
display a speed limit sign and warnings do not take effect.
If you set the speed limit warning to Display
(see Controlling Speed Assist on page 110)
and exceed the determined speed limit, the
speed limit sign on the instrument panel
increases in size.
If you set the speed limit warning to Chime
(see Controlling Speed Assist on page 110)
and exceed the determined speed limit, the speed limit sign on the instrument panelincreases in size and Model X also sounds a
warning chime.
Note: Speed limit warnings go away after ten
seconds, or when Model X slows down below
the specified limit.
Warning:
Do not rely on Speed Assist to
determine the appropriate speed limit or driving speed. Always drive at a safespeed based on traffic and road
conditions.
Controlling Speed Assist
To adjust the Speed Limit Warning setting,
touch Controls > Settings > Driver
Assistance > Speed Limit Warning , then
choose one of these options:
Page 118 of 212
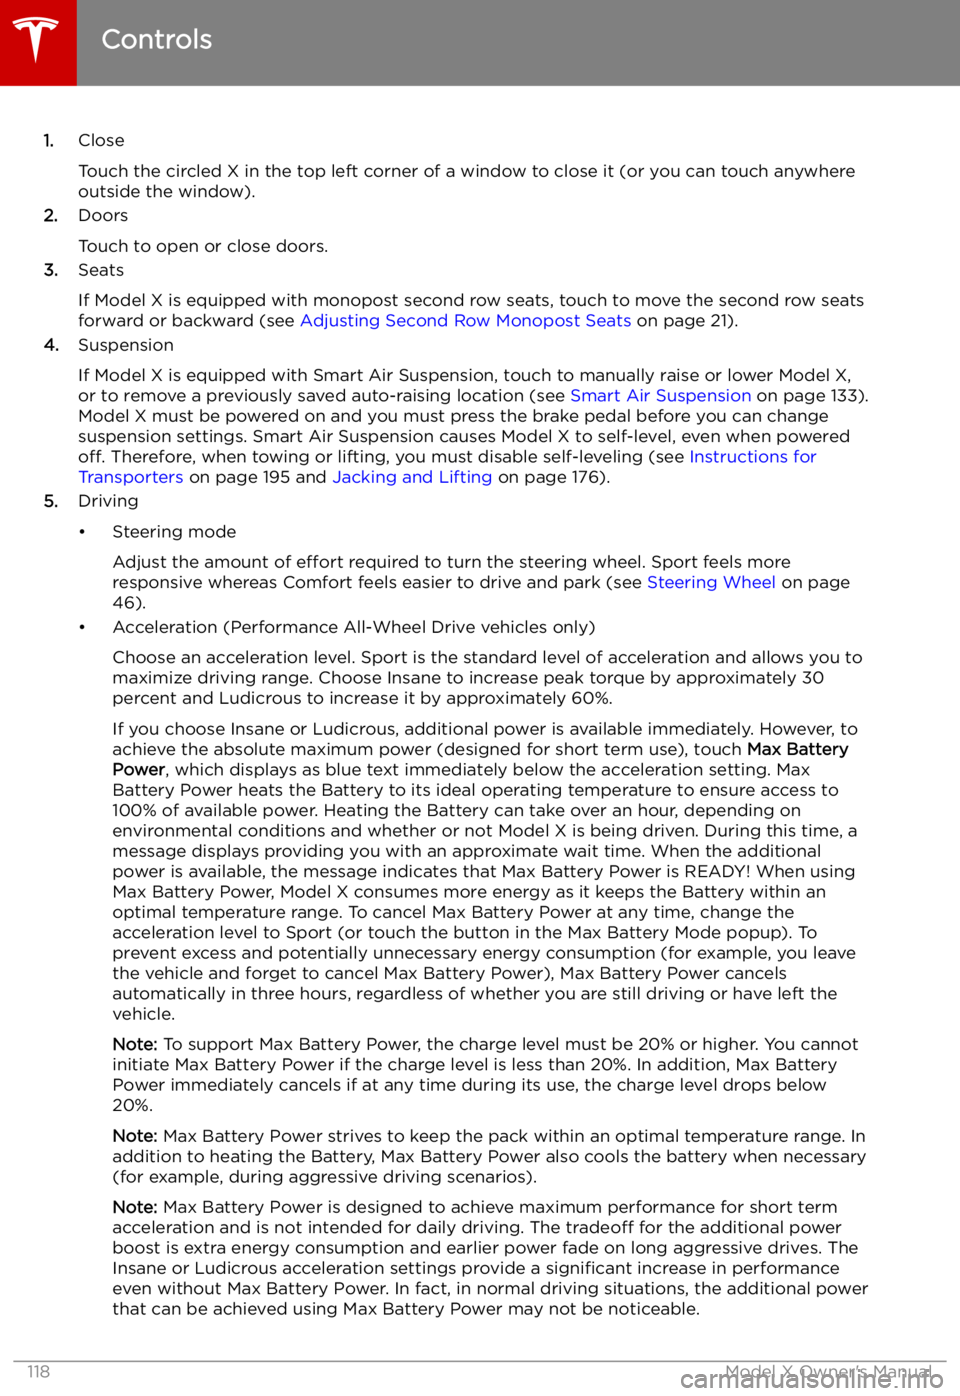
1.Close
Touch the circled X in the top left corner of a window to close it (or you can touch anywhere
outside the window).
2. Doors
Touch to open or close doors.
3. Seats
If Model X is equipped with monopost second row seats, touch to move the second row seats
forward or backward (see Adjusting Second Row Monopost Seats on page 21).
4. Suspension
If Model X is equipped with Smart Air Suspension, touch to manually raise or lower Model X, or to remove a previously saved auto-raising location (see Smart Air Suspension on page 133).
Model X must be powered on and you must press the brake pedal before you can change
suspension settings. Smart Air Suspension causes Model X to self-level, even when powered off. Therefore, when towing or lifting, you must disable self-leveling (see Instructions for
Transporters on page 195 and Jacking and Lifting on page 176).
5. Driving
Page 130 of 212
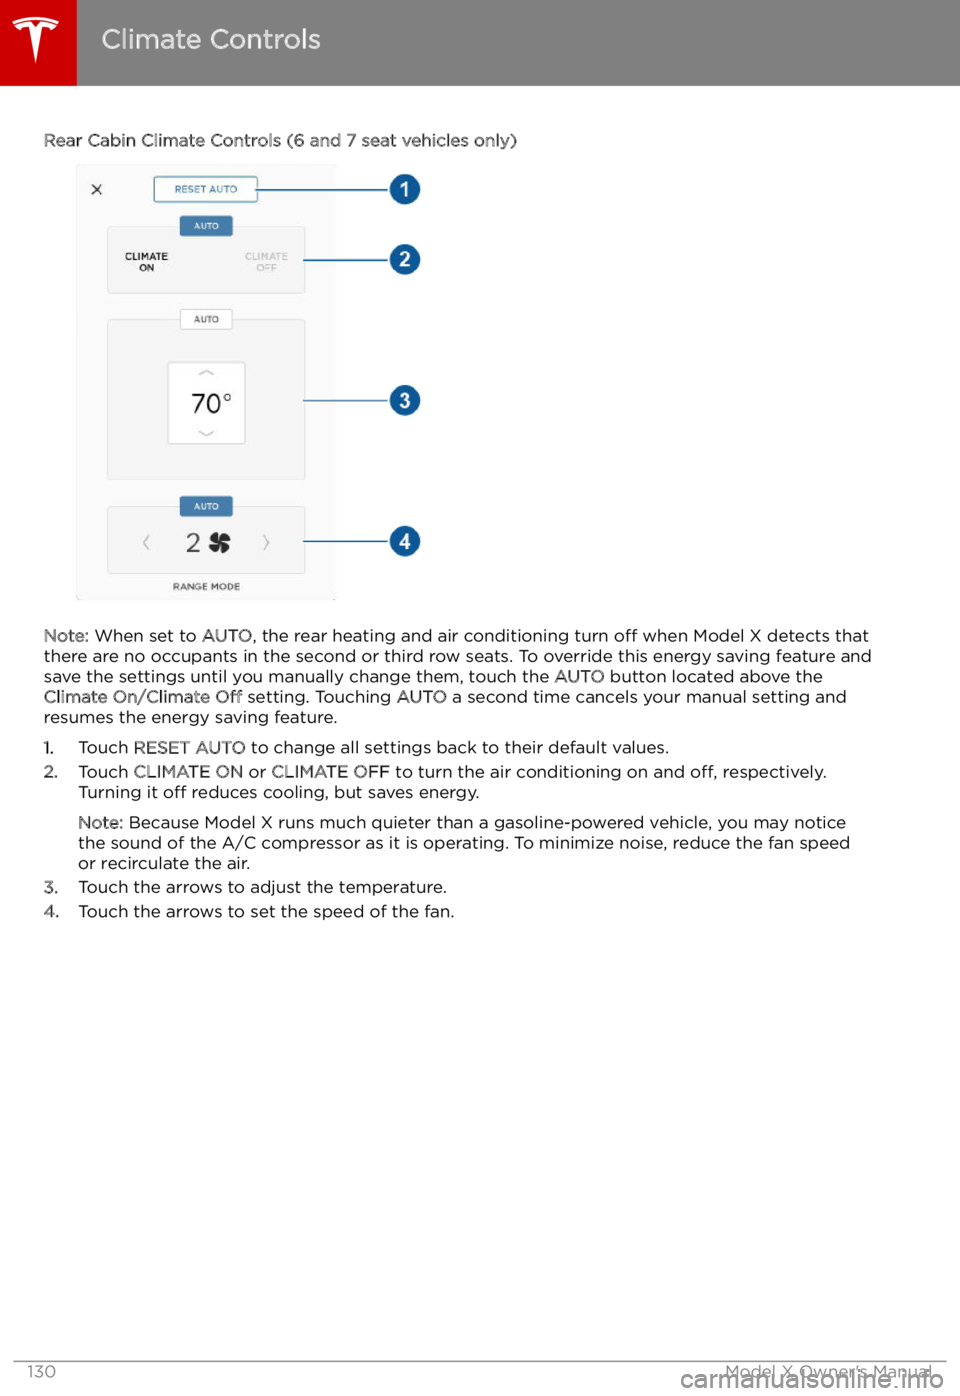
Rear Cabin Climate Controls (6 and 7 seat vehicles only)
Note: When set to AUTO, the rear heating and air conditioning turn off when Model X detects that
there are no occupants in the second or third row seats. To override this energy saving feature and
save the settings until you manually change them, touch the AUTO button located above the
Climate On/Climate Off setting. Touching AUTO a second time cancels your manual setting and
resumes the energy saving feature.
1. Touch RESET AUTO to change all settings back to their default values.
2. Touch CLIMATE ON or CLIMATE OFF to turn the air conditioning on and off, respectively.
Turning it off reduces cooling, but saves energy.
Note: Because Model X runs much quieter than a gasoline-powered vehicle, you may notice
the sound of the A/C compressor as it is operating. To minimize noise, reduce the fan speed
or recirculate the air.
3. Touch the arrows to adjust the temperature.
4. Touch the arrows to set the speed of the fan.
Climate Controls
130Model X Owner
Page 150 of 212
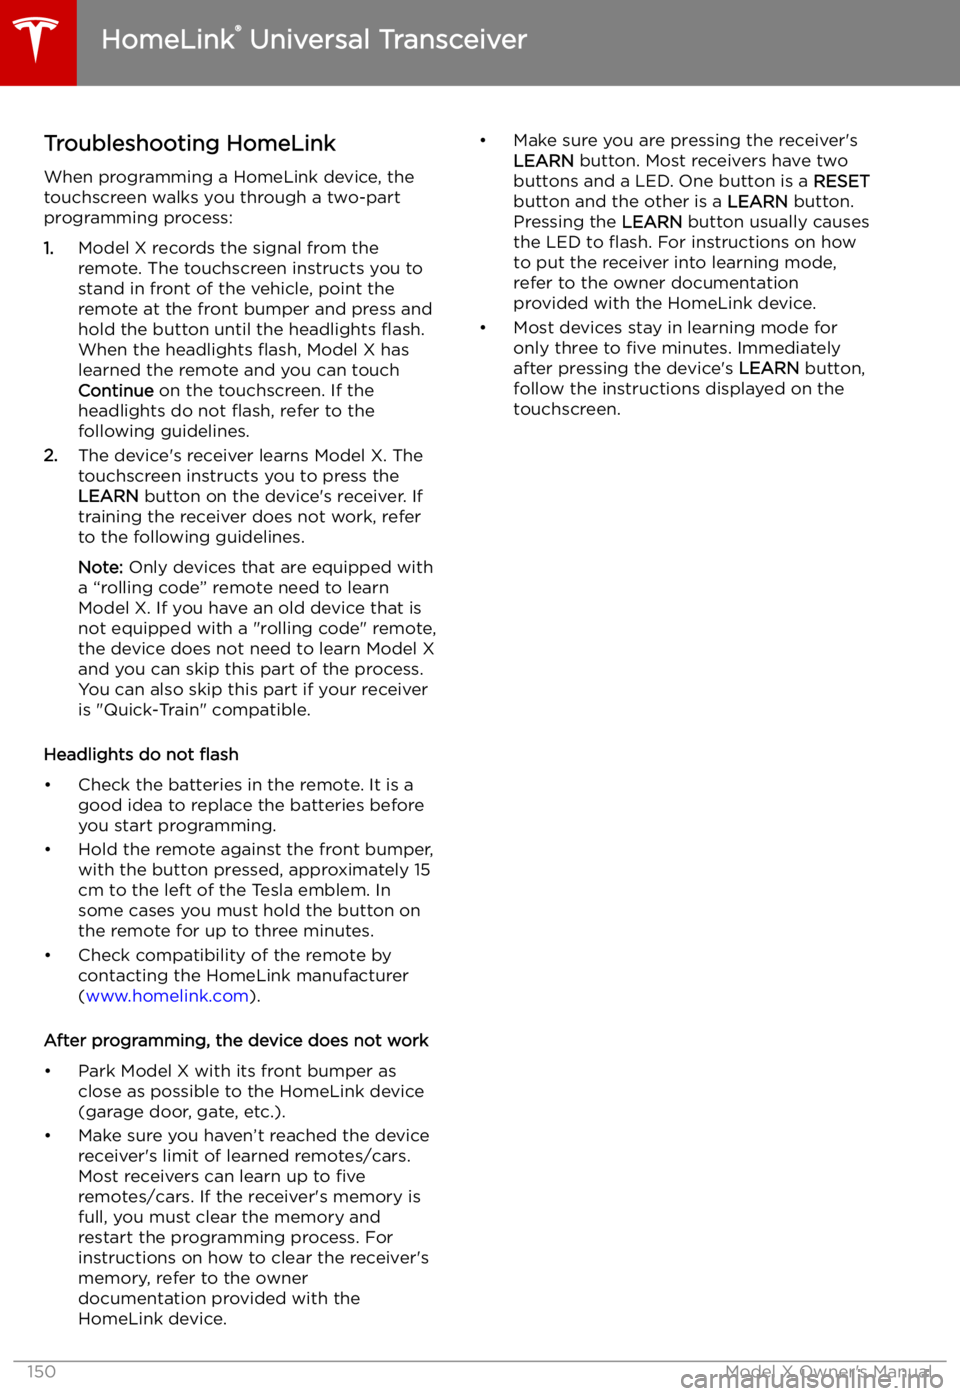
Troubleshooting HomeLinkWhen programming a HomeLink device, the
touchscreen walks you through a two-part programming process:
1. Model X records the signal from the
remote. The touchscreen instructs you to
stand in front of the vehicle, point the
remote at the front bumper and press and
hold the button until the headlights
Page 151 of 212
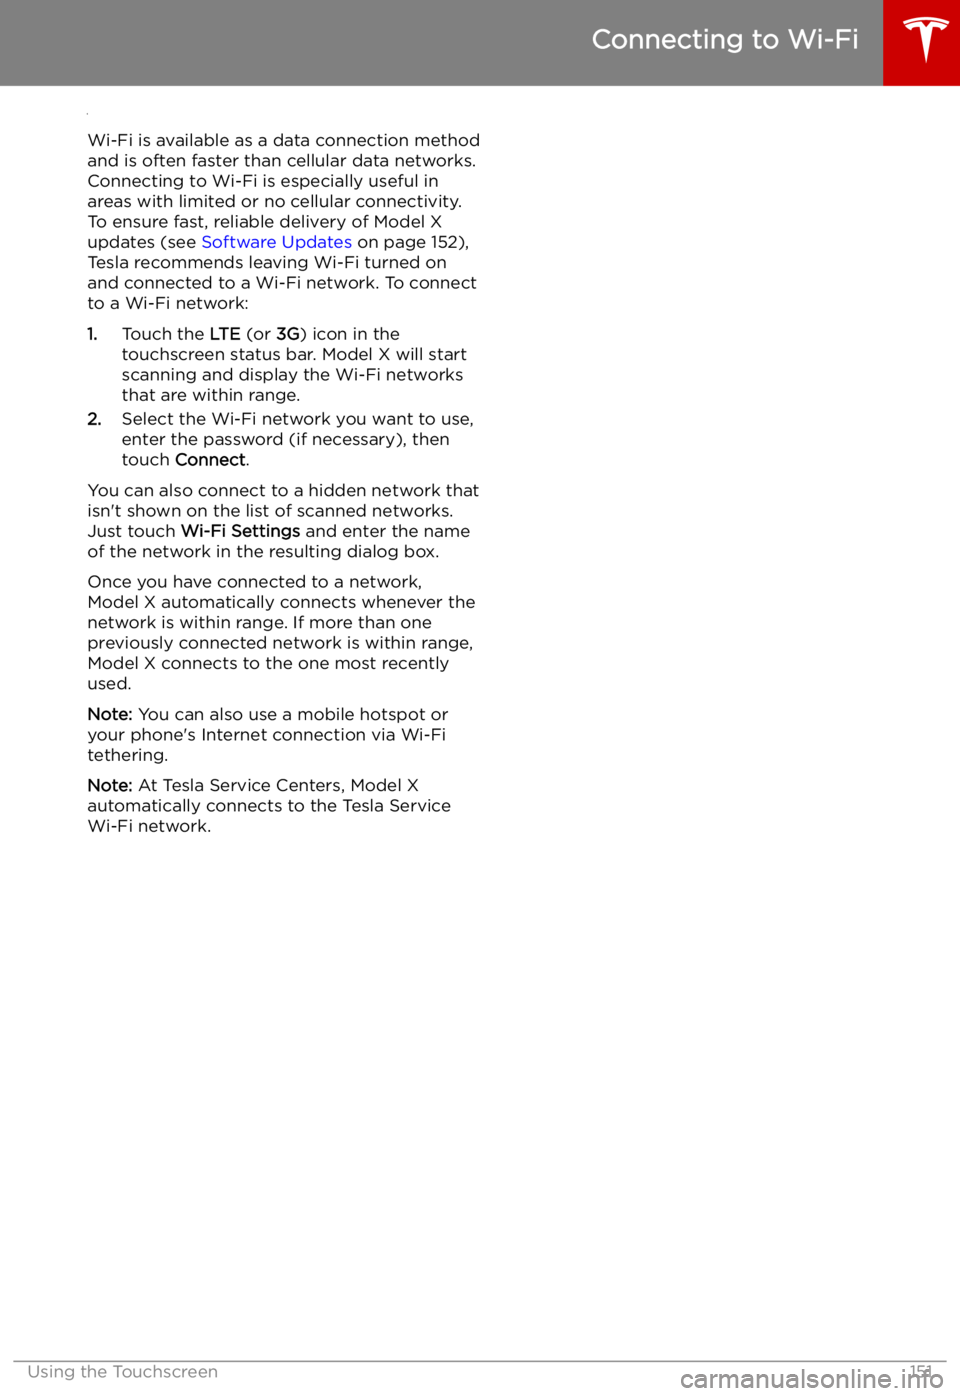
Connecting to Wi-Fi
Wi-Fi is available as a data connection method and is often faster than cellular data networks.
Connecting to Wi-Fi is especially useful in areas with limited or no cellular connectivity.
To ensure fast, reliable delivery of Model X
updates (see Software Updates on page 152),
Tesla recommends leaving Wi-Fi turned on and connected to a Wi-Fi network. To connectto a Wi-Fi network:
1. Touch the LTE (or 3G) icon in the
touchscreen status bar. Model X will start
scanning and display the Wi-Fi networks
that are within range.
2. Select the Wi-Fi network you want to use,
enter the password (if necessary), then
touch Connect .
You can also connect to a hidden network that
isn
Page 152 of 212
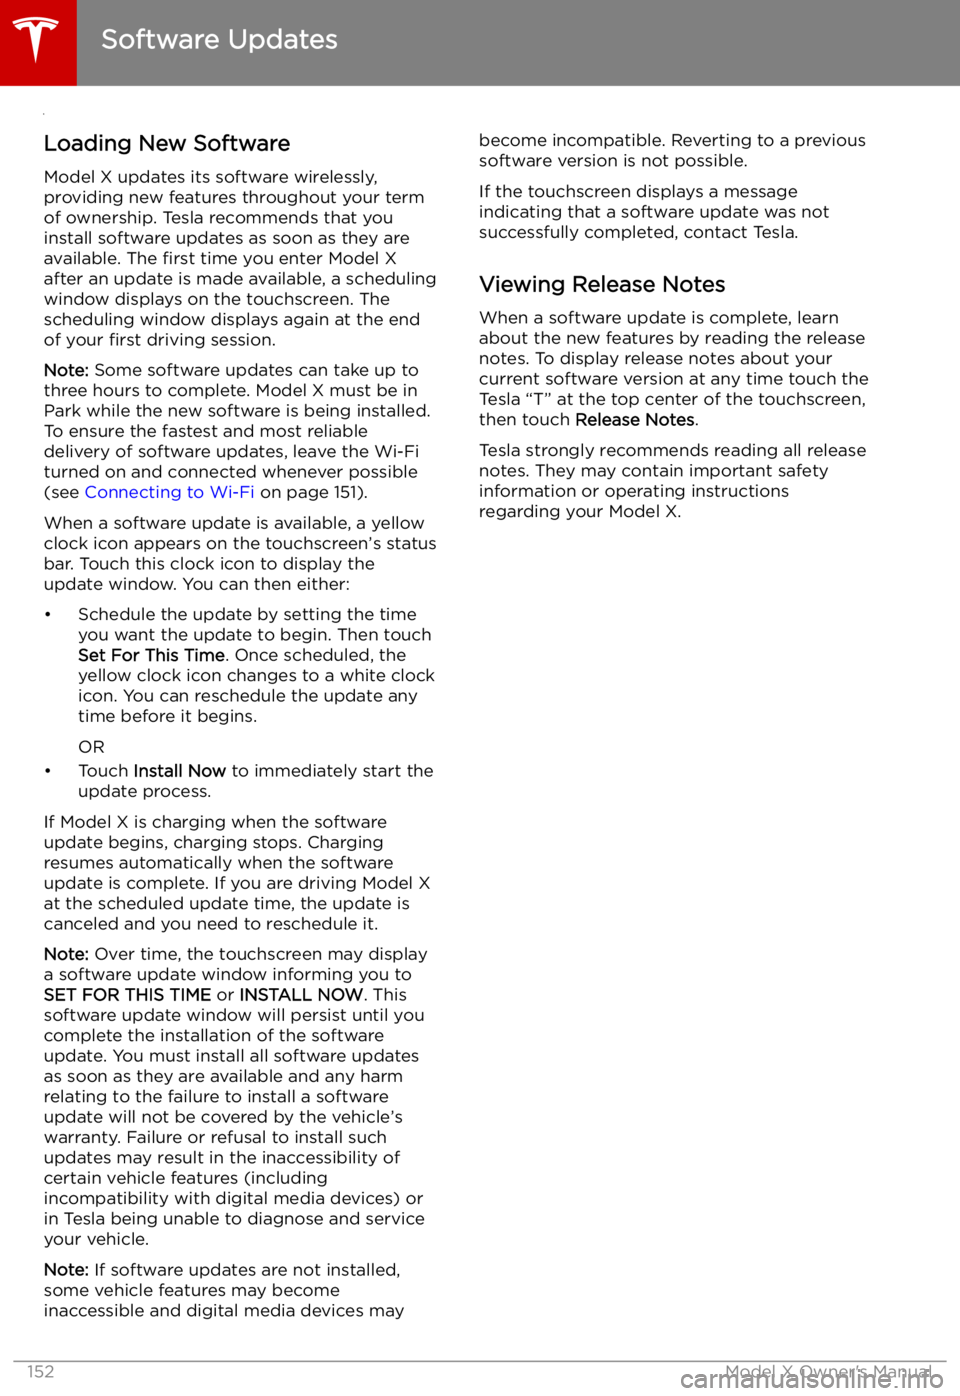
Software Updates
Loading New Software
Model X updates its software wirelessly,
providing new features throughout your term of ownership. Tesla recommends that you
install software updates as soon as they are
available. The first time you enter Model X
after an update is made available, a scheduling window displays on the touchscreen. The
scheduling window displays again at the end
of your first driving session.
Note: Some software updates can take up to
three hours to complete. Model X must be in
Park while the new software is being installed.
To ensure the fastest and most reliable
delivery of software updates, leave the Wi-Fi
turned on and connected whenever possible
(see Connecting to Wi-Fi on page 151).
When a software update is available, a yellow
clock icon appears on the touchscreen
Page 158 of 212
Charging Instructions
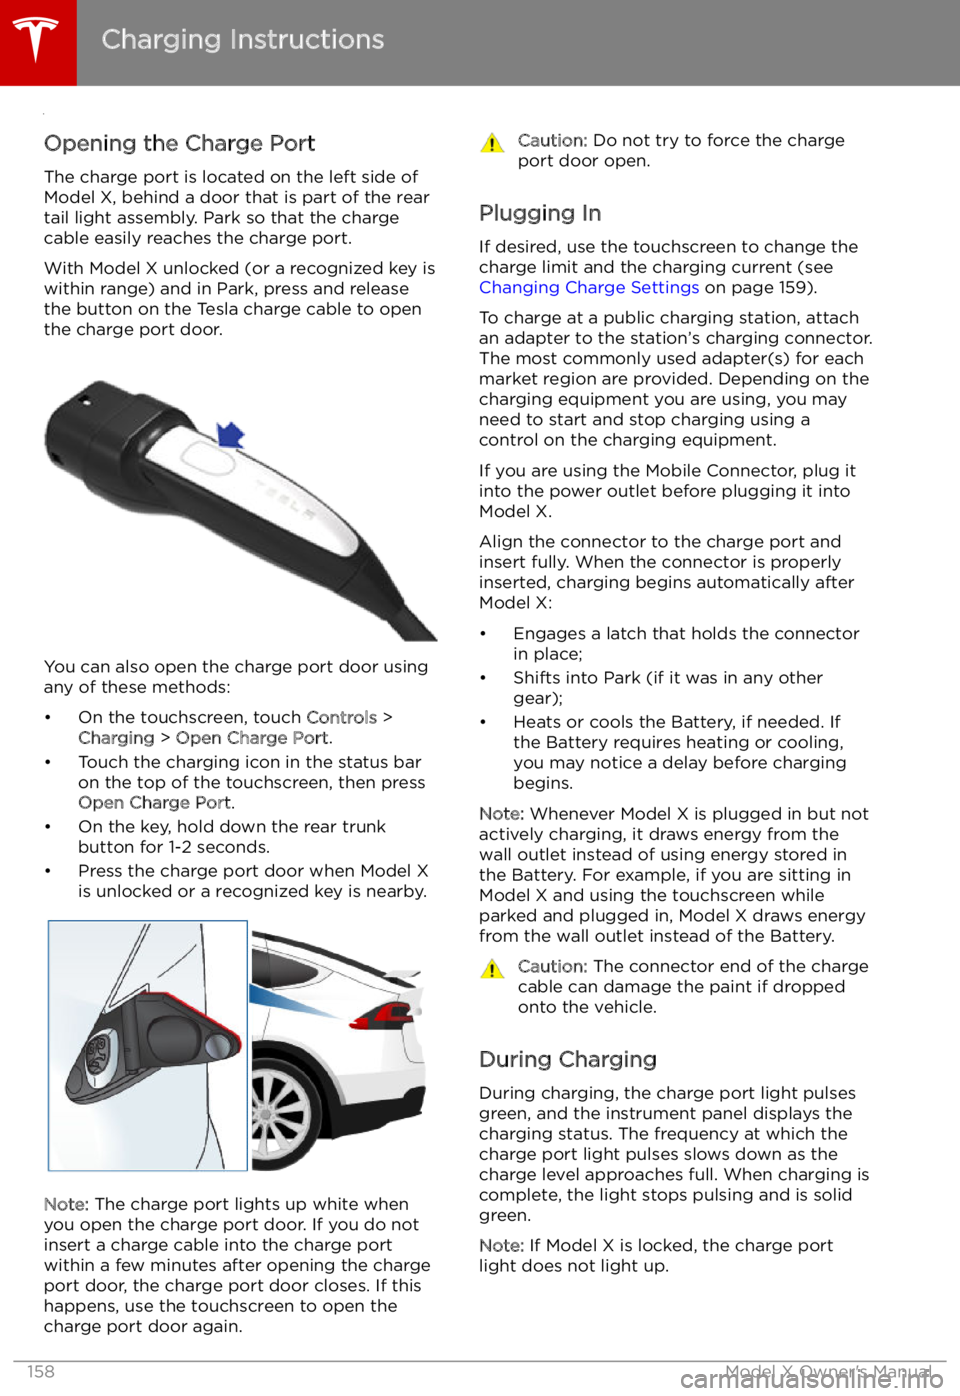
Opening the Charge Port The charge port is located on the left side of
Model X, behind a door that is part of the rear
tail light assembly. Park so that the charge
cable easily reaches the charge port.
With Model X unlocked (or a recognized key is
within range) and in Park, press and release
the button on the Tesla charge cable to open the charge port door.
You can also open the charge port door using
any of these methods:
Page 159 of 212
If the charge port light turns red while
charging, a fault is detected. Check the instrument panel or touchscreen for a
message describing the fault. A fault can
occur due to something as common as a power outage. If a power outage occurs,
charging resumes automatically when power
is restored.
Note: When charging, particularly at high
currents, the refrigerant compressor and fan
operate as needed to keep the Battery cool.
Therefore, it is normal to hear sounds during charging.
Note: Air conditioning performance is
generally not affected by charging. However,
under certain circumstances (for example, you
are charging at high currents during a
particularly warm day), the air coming from
the vents may not be as cool as expected and
a message displays on the instrument panel.
This is normal behavior and ensures that the Battery stays within an optimum temperature
range while charging to support longevity and
optimum performance.Warning: Never spray liquid at a high
velocity (for example, if using a pressure
washer) towards the charge port while
charging. Failure to follow these
instructions can result in serious injury or
damage to the vehicle, charging
equipment, or property.
Stopping Charging
Stop charging at any time by disconnecting
the charge cable or touching Stop Charging
on the touchscreen.
Note: To prevent unauthorized unplugging of
the charge cable, Model X must be unlocked
or able to recognize your key before you can
disconnect the charge cable.
To disconnect the charge cable:
1. Press and hold the button on a Tesla
connector to release the latch. You can
also touch Stop Charging on the charging
screen (see Changing Charge Settings on
page 159).
2. Pull the connector from the charge port.
3. Push the charge port door closed.
Note: If Model X is equipped with a motorized
charge port door, it automatically closes when
you remove the charge cable.
Caution: Tesla strongly recommends
leaving Model X plugged in when not inuse. This maintains the Battery at the
optimum level of charge.
Charge Port Light
Page 167 of 212
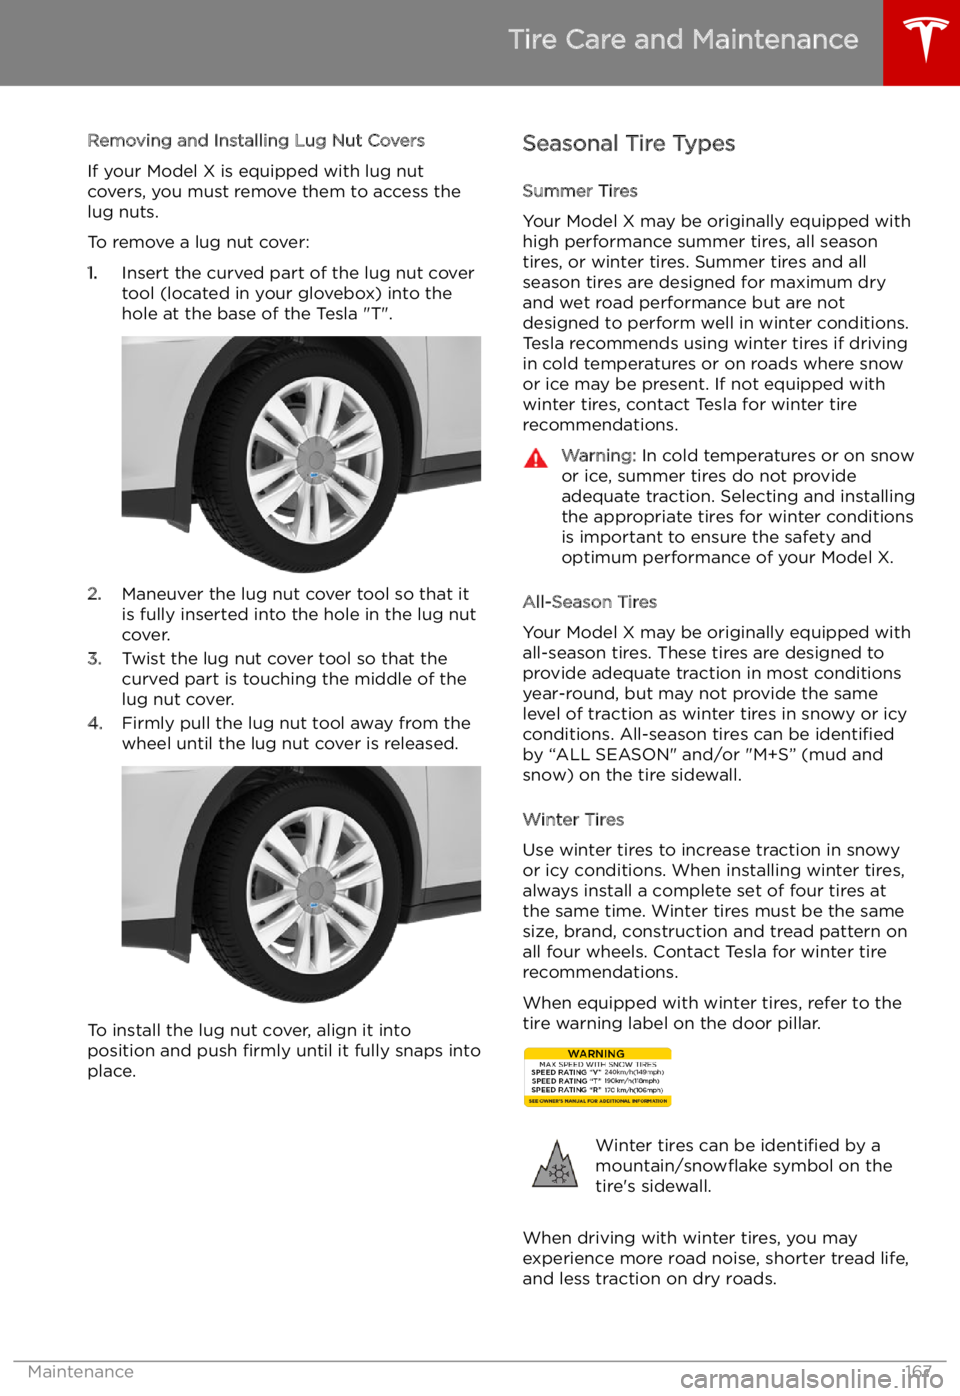
Removing and Installing Lug Nut Covers
If your Model X is equipped with lug nut
covers, you must remove them to access the
lug nuts.
To remove a lug nut cover:
1. Insert the curved part of the lug nut cover
tool (located in your glovebox) into the hole at the base of the Tesla "T".
2. Maneuver the lug nut cover tool so that it
is fully inserted into the hole in the lug nut
cover.
3. Twist the lug nut cover tool so that the
curved part is touching the middle of the
lug nut cover.
4. Firmly pull the lug nut tool away from the
wheel until the lug nut cover is released.
To install the lug nut cover, align it into
position and push firmly until it fully snaps into
place.
Seasonal Tire Types
Summer Tires
Your Model X may be originally equipped with high performance summer tires, all season
tires, or winter tires. Summer tires and all
season tires are designed for maximum dry
and wet road performance but are not
designed to perform well in winter conditions.
Tesla recommends using winter tires if driving
in cold temperatures or on roads where snow
or ice may be present. If not equipped with winter tires, contact Tesla for winter tire
recommendations.Warning: In cold temperatures or on snow
or ice, summer tires do not provide
adequate traction. Selecting and installing the appropriate tires for winter conditions
is important to ensure the safety and
optimum performance of your Model X.
All-Season Tires
Your Model X may be originally equipped with
all-season tires. These tires are designed to
provide adequate traction in most conditions
year-round, but may not provide the same level of traction as winter tires in snowy or icy
conditions. All-season tires can be identified
by “ALL SEASON" and/or "M+S” (mud and
snow) on the tire sidewall.
Winter Tires
Use winter tires to increase traction in snowy
or icy conditions. When installing winter tires,
always install a complete set of four tires at
the same time. Winter tires must be the same
size, brand, construction and tread pattern on all four wheels. Contact Tesla for winter tire
recommendations.
When equipped with winter tires, refer to the
tire warning label on the door pillar.
Winter tires can be identified by a
mountain/snow