parking brake TOYOTA 4RUNNER 2009 N280 / 5.G User Guide
[x] Cancel search | Manufacturer: TOYOTA, Model Year: 2009, Model line: 4RUNNER, Model: TOYOTA 4RUNNER 2009 N280 / 5.GPages: 520, PDF Size: 10.74 MB
Page 140 of 520
140
2-1. Driving procedures
Engine (ignition) switch
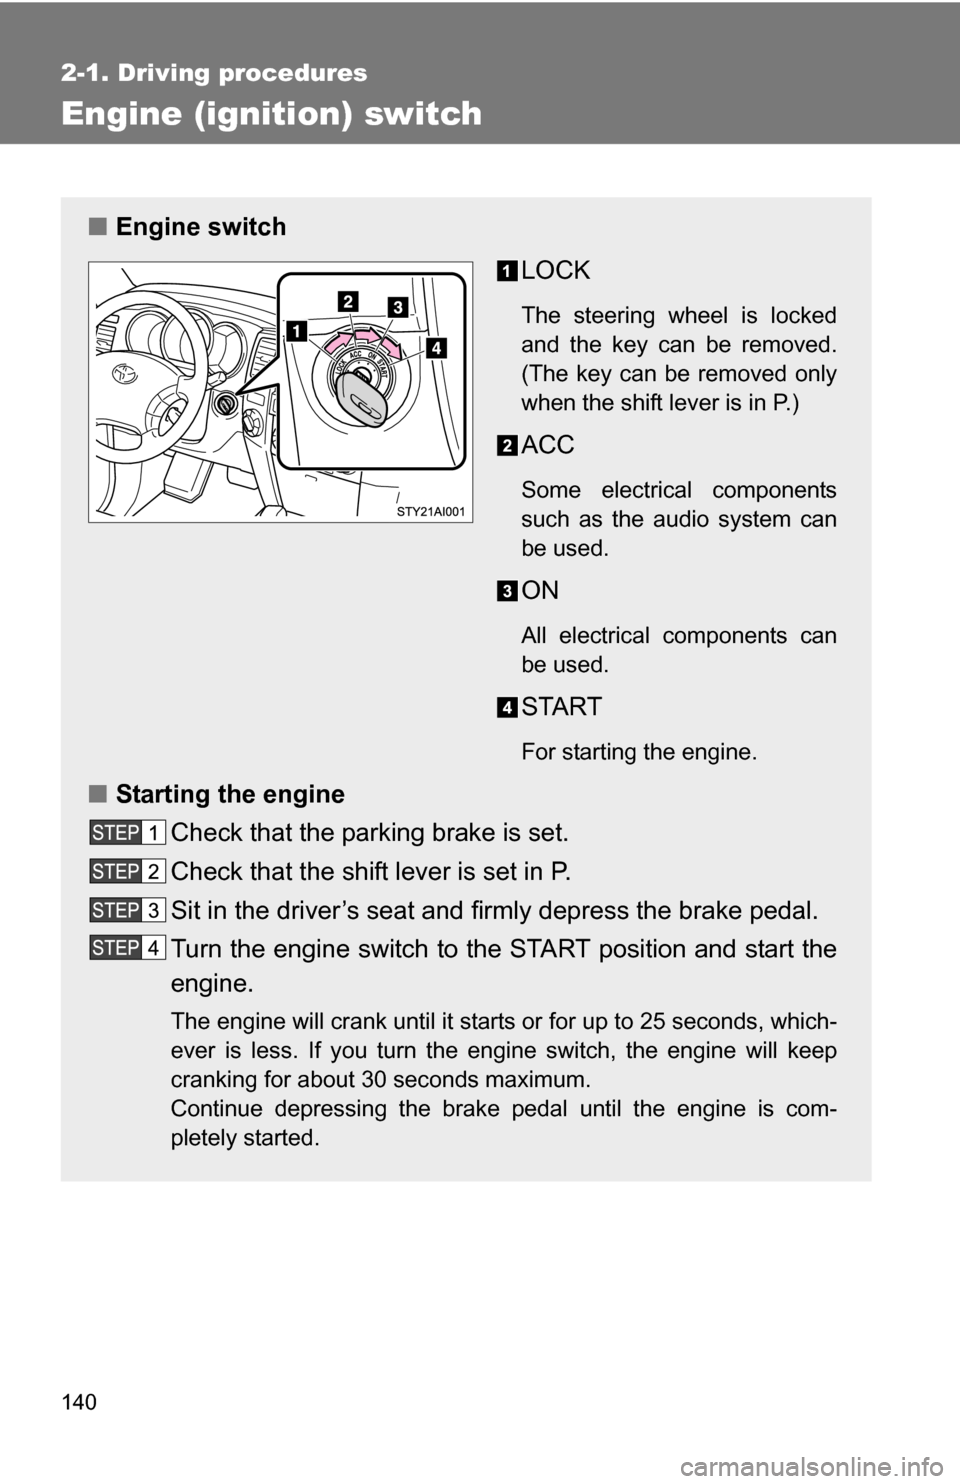
■Engine switch
LOCK
The steering wheel is locked
and the key can be removed.
(The key can be removed only
when the shift lever is in P.)
ACC
Some electrical components
such as the audio system can
be used.
ON
All electrical components can
be used.
START
For starting the engine.
■Starting the engine
Check that the parking brake is set.
Check that the shift lever is set in P.
Sit in the driver’s seat and firmly depress the brake pedal.
Turn the engine switch to the START position and start the
engine.
The engine will crank until it starts or for up to 25 seconds, which-
ever is less. If you turn the engine switch, the engine will keep
cranking for about 30 seconds maximum.
Continue depressing the brake pedal until the engine is com-
pletely started.
Page 143 of 520

143
2-1. Driving procedures
2
When driving
Automatic Transmission
Select a shift position appropriate for the driving conditions.
■Shifting the shift lever
While the engine switch is on, depress the brake pedal and
move the shift lever.
■ Shift position uses
*: To improve fuel consumption and reduce noises, set the shift lever in
D for normal driving.
Shift positionFunction
PParking the vehicle or starting the engine
RReversing
NNeutral
DNormal driving*
4Position for engine braking
3, 2Position for more powerful engine braking
LPosition for maximum engine braking
Page 146 of 520

146
2-1. Driving procedures
Parking brake
■Parking brake engaged warning buzzer
The buzzer sounds to indicate that parking brake is still engaged (with the
vehicle having reached a speed of 3 mph [5 km/h]).
NOTICE
■Before driving
Fully release the parking brake.
Driving the vehicle with the parking brake set will lead to brake components
overheating, which may affect braking performance and increase brake
wear.
Set the parking brake*.
(Depressing the pedal again
releases the parking brake.)
At this time, the indicator will
come on.
*: Fully depress the parking brake pedal with your left
foot while depressing the
brake pedal with your right
foot.
Page 160 of 520
160 2-3. Operating the lights and wipers
■Daytime running light system (if equipped)
To make your vehicle more visible to other drivers, the headlights turn on
automatically (at a reduced intensity) whenever the engine is started and the
parking brake is released. Daytime running lights are not designed for use at
night.
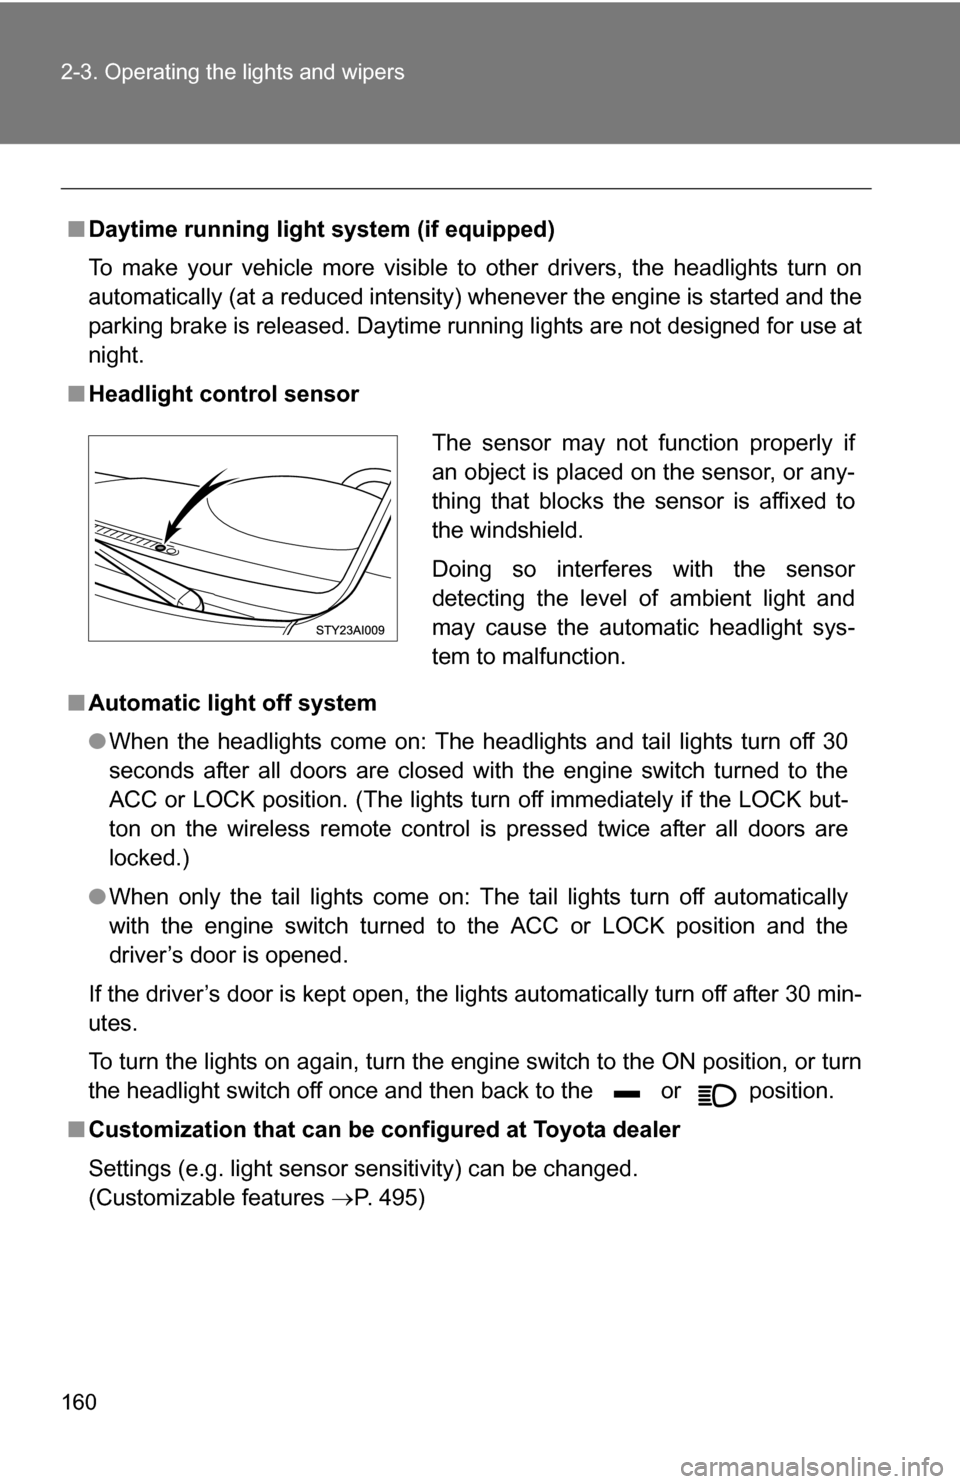
■ Headlight control sensor
■ Automatic light off system
●When the headlights come on: The headlights and tail lights turn off 30
seconds after all doors are closed with the engine switch turned to the
ACC or LOCK position. (The lights turn off immediately if the LOCK but-
ton on the wireless remote control is pressed twice after all doors are
locked.)
● When only the tail lights come on: The tail lights turn off automatically
with the engine switch turned to the ACC or LOCK position and the
driver’s door is opened.
If the driver’s door is kept open, the lights automatically turn off after 30 min-
utes.
To turn the lights on again, turn the engine switch to the ON position, or turn
the headlight switch off once and then back to the or position.
■ Customization that can be co nfigured at Toyota dealer
Settings (e.g. light sensor sensitivity) can be changed.
(Customizable features P. 495)
The sensor may not function properly if
an object is placed on the sensor, or any-
thing that blocks the sensor is affixed to
the windshield.
Doing so interferes with the sensor
detecting the level of ambient light and
may cause the automatic headlight sys-
tem to malfunction.
Page 214 of 520
214 2-5. Driving information
Regulations on the use of snow chains● Regulations regarding the use of tire chains vary according to loca-
tion and type of road. Always check local regu lations before install-
ing chains.
● Install the chains on the rear tires.
● Retighten the chains after drivi ng 1/4 - 1/2 mile (0.5 - 1.0 km).
■Snow chain installation
Observe the following precautions when installing and removing chains.
●Install and remove tire chains in a safe location.
● Install tire chains on the rear tires only. Do not install tire chains on the
front tires.
● Install tire chains following the instructions provided in the accompanying
instructions.
■ When driving the vehicle
Accelerate the vehicle slowly and drive at a reduced speed suit-
able to road conditions.
■ When parking the vehicle
Park the vehicle and move the shift lever to P without setting the
parking brake. The parking brak e may freeze up, preventing it
from being released.
Page 223 of 520

223
2-5. Driving information
2
When driving
●
Always place wheel blocks under both the vehicle and the trailer
wheels when parking. Apply the parking brake firmly, and put the
transmission in P. Avoid parking on a slope, but if unavoidable, do
so only after performing the following:
Apply the brakes and keep them applied.
Have someone place wheel blocks under both the vehicle and
trailer wheels.
When the wheel blocks are in pl ace, release the brakes slowly
until the blocks absorb the load.
Apply the parking brake firmly.
Shift into P and turn off the engine.
● When restarting after parking on a slope:
With the transmission in P, start the engine. Be sure to keep
the brake pedal pressed.
Shift into a forward gear. If reversing, shift into R.
Release the parking brake and brake pedal, and slowly pull or
back away from the wheel blocks. Stop and apply the brakes.
Have someone retrieve the blocks.
■ Service connector for towing brake controller (if equipped)
Your vehicle is equipped with a service
connector for the trailer brake controller
as shown.
Page 365 of 520

365
4-2. Maintenance
4
Maintenance and care
Vehicle interior
ItemsCheck points
Accelerator pedal • Moves smoothly (without uneven
pedal effort or catching)?
Automatic transmission “Park”
mechanism • Can the vehicle be hold securely
on an incline with the shift lever in
P?
Brake pedal • Moves smoothly?
• Does it have appropriate clear-
ance and correct amount of free
play?
Brakes • Not pull to one side when
applied?
• Loss of brake effectiveness?
• Spongy feeling brake pedal?
• Pedal almost touches floor?
Head restraints • Move smoothly and lock
securely?
Indicators/buzzers • Function properly?
Lights • Do all the lights come on?
• Headlights aimed correctly?
Parking brake • Moves smoothly?
• Can hold the vehicle securely on
an incline?
Seat belts • Does the seat belt system oper-
ate smoothly?
• Are the belts undamaged?
Seats • Do the seat controls operate
properly?
Steering wheel • Moves smoothly?
• Has correct free play?
• No strange noises?
Page 428 of 520

428 5-1. Essential information
■Emergency towin g procedure
The engine switch must be in the ACC (engine off) or the ON
(engine running) position.
4WD models:
On multi-mode 4WD models, put the four-wheel drive control switch
in H2.
On full-time 4WD models, unlock the center differential.
Put the shift lever in N.
Release the parking brake.
CAUTION
■ Caution while towing
●Use extreme caution when towing the vehicle.
Avoid sudden starts or erratic driving maneuvers which place excessive
stress on the emergency towing eyelet and the cables or chains.
● If the engine is not running, the power assist for the brakes and steering
will not function, making steering and braking more difficult.
NOTICE
■To prevent causing serious damage to the transmission
Never tow this vehicle from the rear with the four wheels on the ground.
This may cause serious damage to the transmission.
■ Emergency towing eyelet precautions
● Before emergency towing, check that the eyelet is not broken or damaged.
● Fasten the towing cable or chain securely to the eyelet.
● Do not jerk the eyelet. Apply steady and even force.
● To avoid damaging the eyelet, do not pull from the side or at a vertical
angle. Always pull straight ahead.
Page 431 of 520

5
When trouble arises
431
5-1. Essential information
Using a flat bed truck
If your Toyota is transported by a
flat bed truck, it should be tied
down at the locations shown in
the illustration.
If you use chains or cables to tie
down your vehicle, the angles
shaded in black must be 45.
Do not overly tighten the tie
downs or the vehicle may be
damaged.
Apply the parking brake firmly.
Front
Page 436 of 520

436
5-2. Steps to take in an emergency
If a war ning light tur ns on or a war ning buzzer sounds...
Stop the vehicle immediately. Continuing to drive the vehicle may be dangerous.
The following warning indicates a possible problem in the brake sys-
tem. Immediately stop the vehicle in a safe place and contact your
Toyota dealer.
*: Parking brake engaged warning buzzer:
The buzzer sounds to indicate that parking brake is still engaged (with the
vehicle having reached a speed of 3 mph [5 km/h])
Warning lightWarning light/Details
Brake system warning light (warning buzzer) *
• Low brake fluid
• Malfunction in the brake system This light also comes on when the parking brake is
not released. If the light turns off after the parking
brake is fully released, the system is operating nor-
mally.
Calmly perform the following actions if any of the warning lights turn
on or flash. If a light turns on or flashes, but then turns off, this does
not necessarily indicate a malfunction in the system.