turn signal TOYOTA 86 2022 Owners Manual
[x] Cancel search | Manufacturer: TOYOTA, Model Year: 2022, Model line: 86, Model: TOYOTA 86 2022Pages: 449, PDF Size: 8.5 MB
Page 2 of 449
2TABLE OF CONTENTS
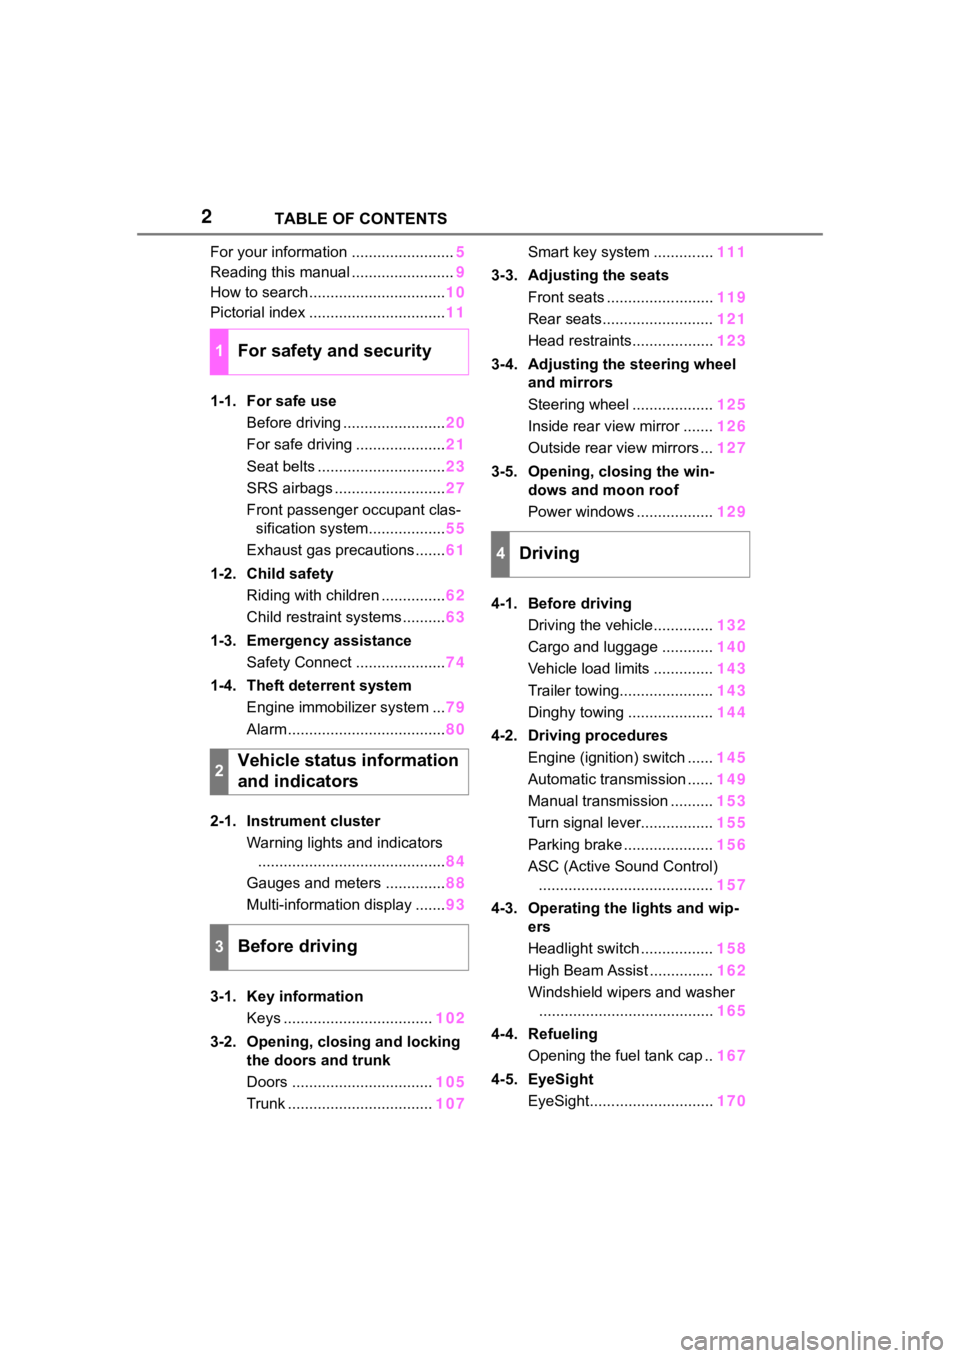
For your information ........................5
Reading this manual ........................ 9
How to search ................................ 10
Pictorial index ................................ 11
1-1. For safe use Before driving ........................ 20
For safe driving ..................... 21
Seat belts .............................. 23
SRS airbags .......................... 27
Front passenger occupant clas- sification system.................. 55
Exhaust gas precautions....... 61
1-2. Child safety Riding with children ............... 62
Child restraint systems .......... 63
1-3. Emergency assistance Safety Connect ..................... 74
1-4. Theft deterrent system Engine immobilizer system ... 79
Alarm ..................................... 80
2-1. Instrument cluster Warning lights and indicators............................................ 84
Gauges and meters .............. 88
Multi-information display ....... 93
3-1. Key information Keys ................................... 102
3-2. Opening, closing and locking the doors and trunk
Doors ................................. 105
Trunk .................................. 107Smart key system ..............
111
3-3. Adjusting the seats Front seats ......................... 119
Rear seats.......................... 121
Head restraints................... 123
3-4. Adjusting the steering wheel and mirrors
Steering wheel ................... 125
Inside rear view mirror ....... 126
Outside rear view mirrors ... 127
3-5. Opening, closing the win- dows and moon roof
Power windows .................. 129
4-1. Before driving Driving the vehicle.............. 132
Cargo and luggage ............ 140
Vehicle load limits .............. 143
Trailer towing...................... 143
Dinghy towing .................... 144
4-2. Driving procedures Engine (ignition) switch ...... 145
Automatic transmission ...... 149
Manual transmission .......... 153
Turn signal lever................. 155
Parking brake ..................... 156
ASC (Active Sound Control) ......................................... 157
4-3. Operating the lights and wip- ers
Headlight switch ................. 158
High Beam Assi
st ............... 162
Windshield wipers and washer ......................................... 165
4-4. Refueling Opening the fuel tank cap .. 167
4-5. EyeSight EyeSight............................. 170
1For safety and security
2Vehicle status information
and indicators
3Before driving
4Driving
Page 12 of 449
12Pictorial index
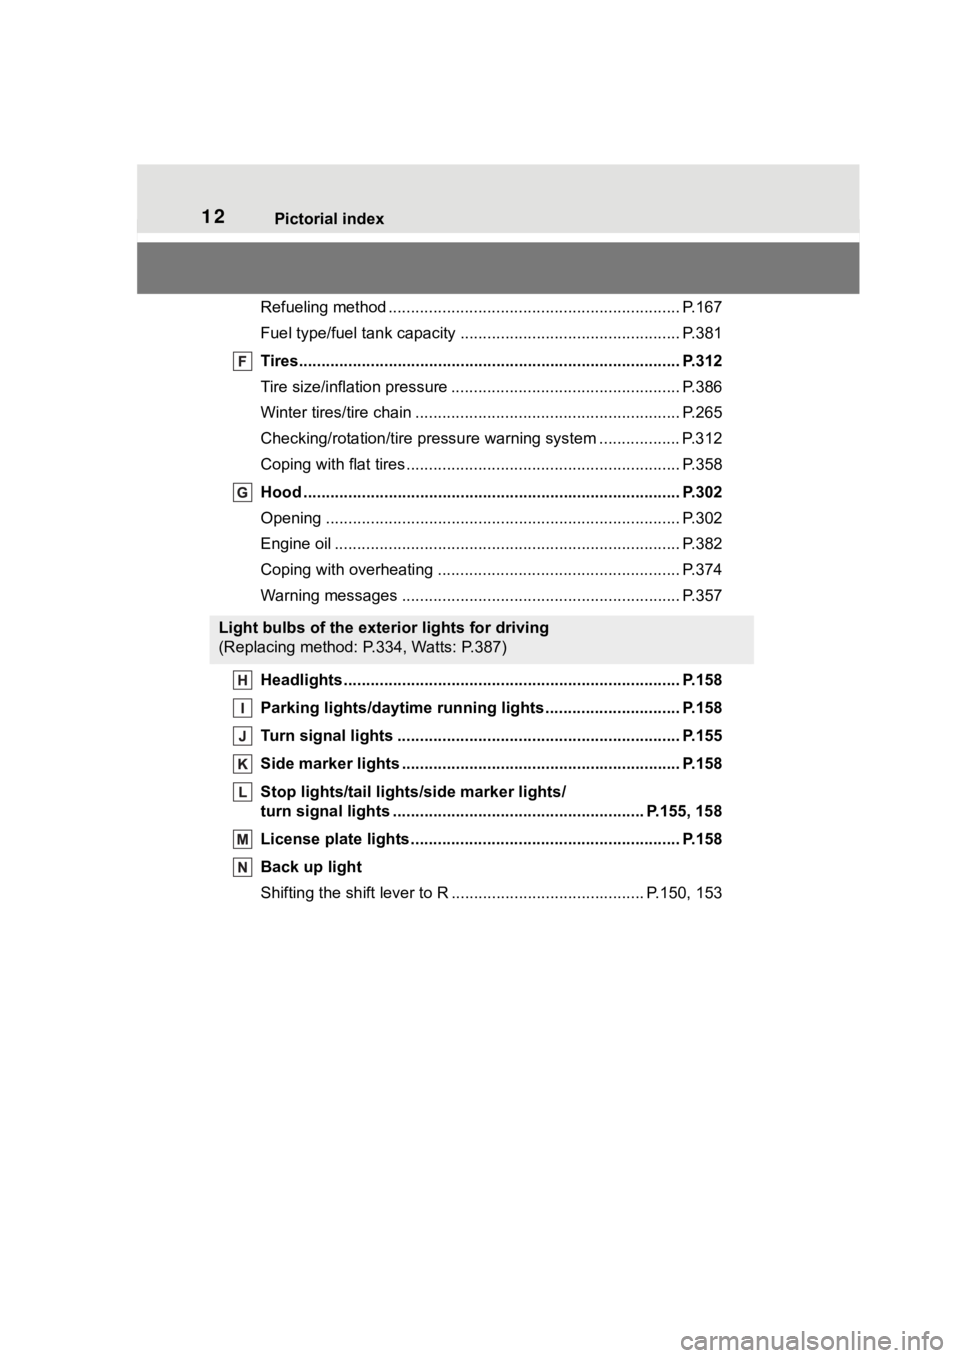
Refueling method ................................................................. P.167
Fuel type/fuel tan k capacity ................................... .............. P.381
Tires.......................................................... ........................... P.312
Tire size/inflation pressure ................................... ................ P.386
Winter tires/tire chain ........................................ ................... P.265
Checking/rotation/tire pressur e warning system ..................P.312
Coping with flat tires......................................... .................... P.358
Hood ........................................................... ......................... P.302
Opening ............................................................................... P.302
Engine oil ..................................................... ........................ P.382
Coping with overheating ...................................................... P.374
Warning messages ............................................... ............... P.357
Headlights..................................................... ...................... P.158
Parking lights/dayt ime running lights .......................... .... P.158
Turn signal lights ............................................. .................. P.155
Side marker lights ............................................. ................. P.158
Stop lights/tail light s/side marker lights/
turn signal lights ........................................................ P.155, 158
License plate lights........................................... ................. P.158
Back up light
Shifting the shift lever to R ........................................... P.150, 153
Light bulbs of the exterior lights for driving
(Replacing method: P.334, Watts: P.387)
Page 14 of 449
14Pictorial index
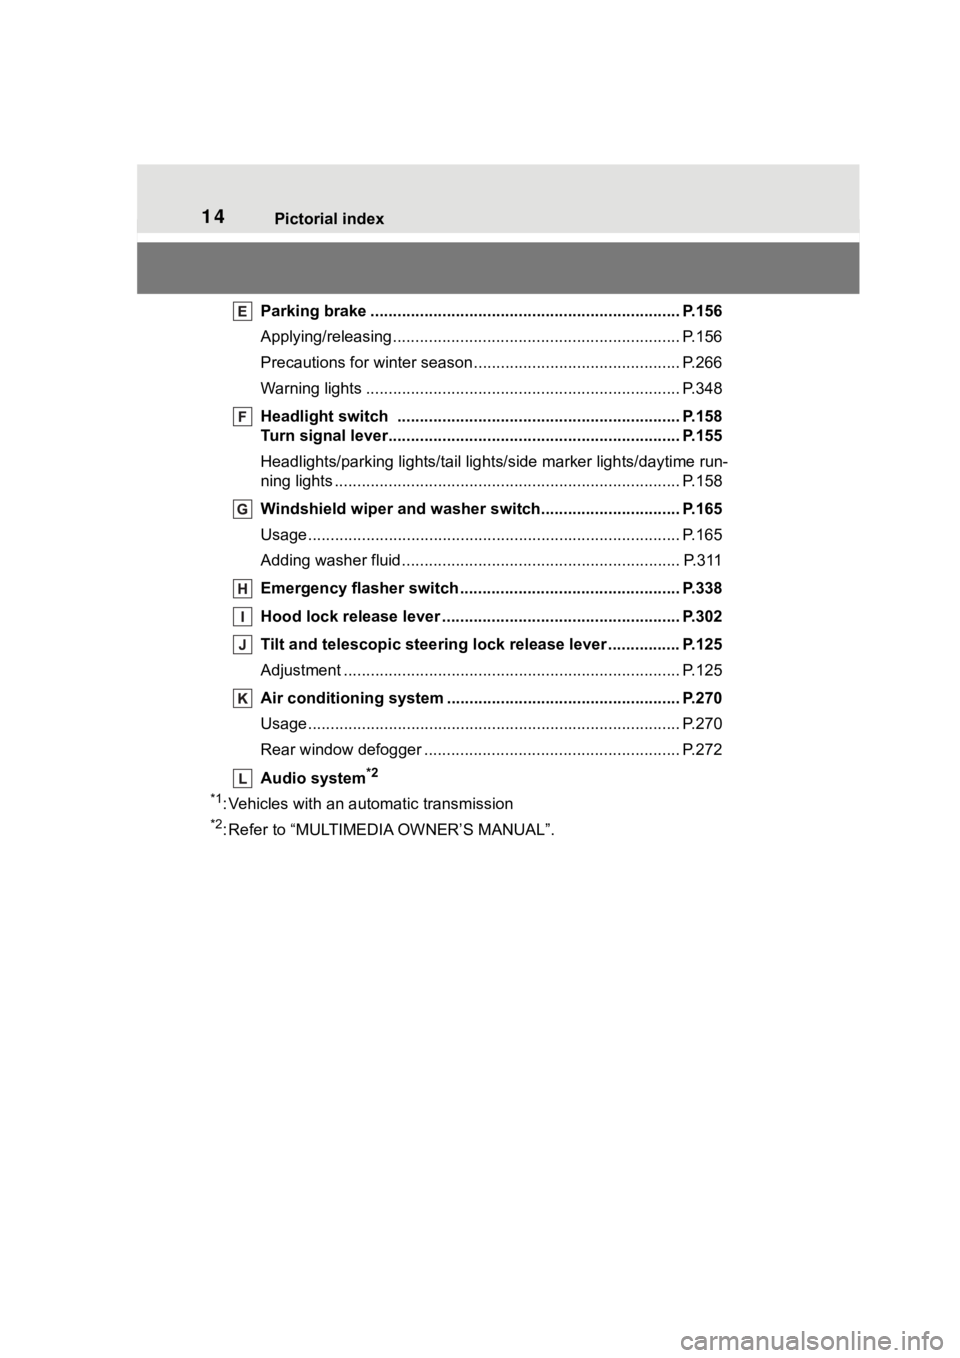
Parking brake ..................................................................... P.156
Applying/releasing............................................. ................... P.156
Precautions for winter seas on.............................................. P.266
Warning lights ................................................. ..................... P.348
Headlight switch .............................................. ................. P.158
Turn signal lever.............................................. ................... P.155
Headlights/parking lights/tail lig hts/side marker lights/daytime run-
ning lights .................................................... ......................... P.158
Windshield wiper and washer switch............................... P.165
Usage................................................................................... P.165
Adding washer fluid .............................................................. P.311
Emergency flasher switch ....................................... .......... P.338
Hood lock release lever ........................................ ............. P.302
Tilt and telescopic steering lock release lever ................P. 1 2 5
Adjustment ..................................................... ...................... P.125
Air conditioning system ............................. ....................... P.270
Usage................................................................................... P.270
Rear window defogger ........................................... .............. P.272
Audio system
*2
*1
: Vehicles with an automatic transmission
*2: Refer to “MULTIMEDIA OWNER’S MANUAL”.
Page 75 of 449
751-3. Emergency assistance
1
For safety and security
Connects drivers to response-cen-
ter support. (P. 7 6 )
Enhanced Roadside Assis-
tance (“i” button)
Provides drivers various on-road
assistance. ( P. 7 7 )
After you have signed the
Telematics Subscription Service
Agreement and are enrolled,
you can begin receiving ser-
vices.
A variety of subscription terms
are available for purchase. Con-
tact your Toyota dealer, call the
following appropriate Customer
Experience Center or push the
“SOS” button in your vehicle for
further subscription details.
The United States
1-800-331-4331
Canada
1-888-869-6828
■Safety Connect Services Infor-
mation
●Phone calls using the vehicle’s
Bluetooth® technology will not be
possible when Safety Connect is
active and in use.
●Safety Connect is available begin-
ning Fall 2009 on select Toyota
models (in the contiguous United
States only). Contact with the
Safety Connect response center
is dependent upon the telematics
device being in operative condi-
tion, cellular connection availabil-
ity, and GPS satellite signal
reception, which can limit the abil- ity to reach the response center or
receive emergency service sup-
port. Enrollment and Telematics
Subscription Service Agreement
are required. A variety of subscrip-
tion terms are available; charges
vary by subscription term selected
and location.
●Automatic Collision Notification,
Emergency Assistance and Stolen
Vehicle Location are available in
the United States, including
Hawaii and Alaska, and Canada,
and Enhanced Roadside Assis-
tance are available in the United
States and Canada.
●Automatic Collision Notification,
Emergency Assistance, Stolen
Vehicle and Enhanced Road
Assistance are not available in the
U.S. Virgin Islands.
For vehicles first sold in the U.S.
Virgin Islands, no Safety Connect
services will function in or outside
the U.S. Virgin Islands.
●Safety Connect services are not
subject to section
255 of the Tele-
communications Act and the
device is not TTY compatible.
■Languages
The Safety Connect response cen-
ter will offer suppor t in multiple lan-
guages. The Safety Connect system
will offer voice prompts in English
and French. Please indicate your
language of choice when enrolling.
■When contacting the response
center
You may be unable to contact the
response center if the network is
busy.
When the engine switch is
turned to “ON”, the red indicator
light and green indicator light will
Subscription
Safety Connect LED light
Indicators
Page 85 of 449
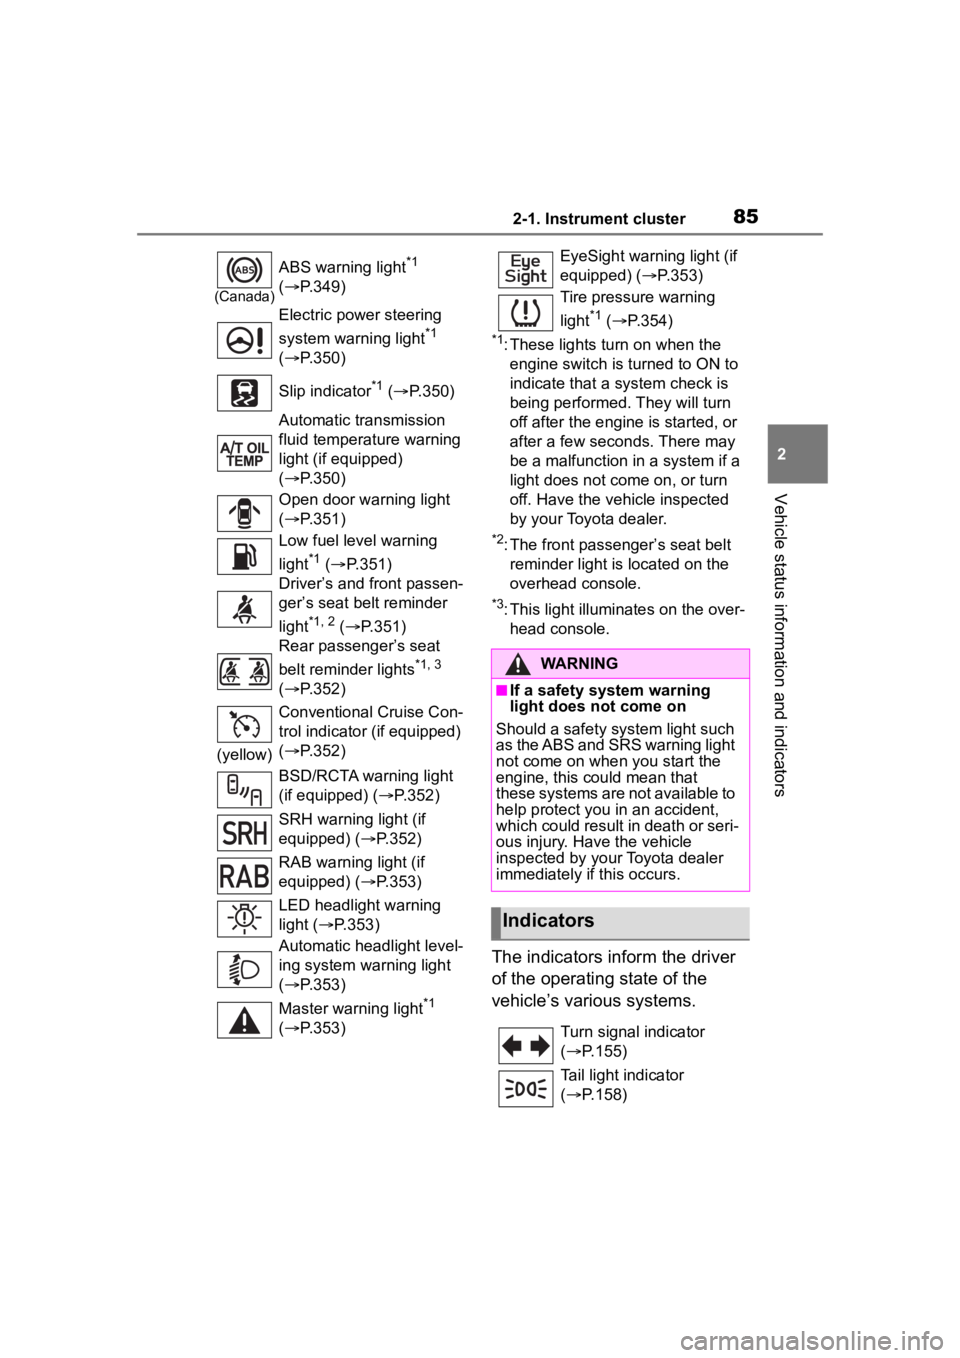
852-1. Instrument cluster
2
Vehicle status information and indicators
*1: These lights turn on when the
engine switch is turned to ON to
indicate that a system check is
being performed. They will turn
off after the engine is started, or
after a few seconds. There may
be a malfunction in a system if a
light does not come on, or turn
off. Have the vehicle inspected
by your Toyota dealer.
*2: The front passenger’s seat belt reminder light is located on the
overhead console.
*3: This light illuminates on the over-head console.
The indicators inform the driver
of the operating state of the
vehicle’s various systems.
(Canada)
ABS warning light*1
( P.349)
Electric power steering
system warning light
*1
( P.350)
Slip indicator
*1 ( P.350)
Automatic transmission
fluid temperature warning
light (if equipped)
( P.350)
Open door warning light
( P.351)
Low fuel level warning
light
*1 ( P.351)
Driver’s and front passen-
ger’s seat belt reminder
light
*1, 2 ( P.351)
Rear passenger’s seat
belt reminder lights
*1, 3
( P.352)
(yellow) Conventional Cruise Con-
trol indicator (if equipped)
(
P.352)
BSD/RCTA warning light
(if equipped) ( P.352)
SRH warning light (if
equipped) ( P.352)
RAB warning light (if
equipped) ( P.353)
LED headlight warning
light ( P.353)
Automatic headlight level-
ing system warning light
( P.353)
Master warning light
*1
( P.353)
EyeSight warning light (if
equipped) ( P.353)
Tire pressure warning
light
*1 ( P.354)
WARNING
■If a safety system warning
light does not come on
Should a safety system light such
as the ABS and SRS warning light
not come on when you start the
engine, this could mean that
these systems are not available to
help protect you in an accident,
which could result in death or seri-
ous injury. Have the vehicle
inspected by you r Toyota dealer
immediately if this occurs.
Indicators
Turn signal indicator
( P.155)
Tail light indicator
( P.158)
Page 114 of 449

1143-2. Opening, closing and locking the doors and trunk
formed using the lock sensor, rec-
ognition signals will be shown up
to three consecuti ve times. After
this, no recogniti on signals will be
given.
●If the door handle becomes wet
while the electronic key is within
the effective ran ge, the door may
lock and unlock repeatedly. In this
case, follow the fo llowing correc-
tion procedures to wash the vehi-
cle:
• Place the electronic key in a loca- tion 6 ft. (2 m) or more away from
the vehicle. (Take care to ensure
that the key is not stolen.)
• Set the electronic key to bat-
tery-saving mode to disable the
smart key system. ( P. 1 1 2 )
●If the electronic key is inside the
vehicle and a door handle
becomes wet during a car wash, a
message may be shown on the
multi-information display and a
buzzer will sound outside the vehi-
cle. To turn off the alarm, lock both
side doors.
●The lock sensor may not work
properly if it com es into contact
with ice, snow, mud, etc. Clean
the lock sensor and attempt to
operate it again.
●A sudden handle operation or a
handle operation immediately
after entering the effective range
may prevent the doors from being
unlocked. Touch the door unlock
sensor and check that the doors
are unlocked bef ore pulling the
door handle again.
●Unlocking the vehicle may take
more time if another electronic key
is within the effective range.
■When the vehicle is not driven
for extended periods
●To prevent theft of the vehicle, do
not leave the electronic key within
6 ft. (2 m) of the vehicle.
●The smart key system can be
deactivated in advance. ( P. 1 1 5 )
●Setting the electronic key to bat-
tery-saving mode helps to reduce
key battery depletion. ( P. 1 1 2 )
■To operate the system properly
●Make sure to carry the electronic
key when operating the system.
Do not get the electronic key too
close to the vehicle when operat-
ing the system from the outside of
the vehicle.
Depending on the position and hold-
ing condition of the electronic key,
the key may not be detected cor-
rectly and the system may not oper-
ate properly. (The alarm may go off
accidentally, or the door lock pre-
vention function m ay not operate.)
●Do not leave the electronic key
inside the trunk.
The key confinement prevention
function may not operate, depend-
ing on the location of the key (the
inside edge of the Trunk), condi-
tions (inside a metal bag, close to
metallic objects) and the radio
waves in the surrounding area.
( P. 111 )
■If the smart key system does
not operate properly
●Locking and unlocking the doors:
P. 3 6 9
●Starting the engine: P. 3 7 0
■Customization
Some functions can be customized.
( P.400)
■If the smart key system has
been disabled
●Locking and unlocking the doors:
Use the wireless remote control or
mechanical key. ( P.105, 369)
●Starting the engi ne and changing
engine switch modes: P. 3 7 0
●Stopping the engine: P. 1 4 7
Page 131 of 449
131
4
4
Driving
Driving
.4-1. Before drivingDriving the vehicle....... 132
Cargo and luggage ..... 140
Vehicle load limits ....... 143
Trailer towing............... 143
Dinghy towing ............. 144
4-2. Driving procedures Engine (ignition) switch.................................. 145
Automatic transmission .................................. 149
Manual transmission ... 153
Turn signal lever.......... 155
Parking brake .............. 156
ASC (Active Sound Control) .................................. 157
4-3. Operating the lights and wipers
Headlight switch .......... 158
High Beam Assist ........ 162
Windshield wipers and washer....................... 165
4-4. Refueling Opening the fuel tank cap.................................. 167
4-5. EyeSight EyeSight...................... 170
Pre-Collision Braking Sys- tem ............................ 179
Adaptive Cruise Control .................................. 190Conventional Cruise Control
.................................. 207
Pre-Collision Throttle Man- agement .................... 215
Lane Departure Warning .................................. 219
Lane Sway Warning .... 221
Lead Vehicle Start Alert .................................. 223
List of alert/notification sounds ......... ..............225
EyeSight malfunction and temporary stop .......... 227
4-6. Using other driving sys- tems
BSD/RCTA................... 231
Reverse Automatic Braking (RAB) system ............ 239
Rear view camera ....... 249
Conventional Cruise Control .................................. 254
Driving mode select switch .................................. 257
Hill-start assist control . 258
Driving assist systems .................................. 261
4-7. Driving tips Winter driving tips........ 265
Page 155 of 449
1554-2. Driving procedures
4
Driving
■Shift position indicator display
The selected shift position will not
appear in the following situations:
●When the shift lever is in N.
●When the vehicle speed is 6 mph
(10 km/h) or less (except when the
shift lever is in R).
●When the clutch pedal is
depressed.
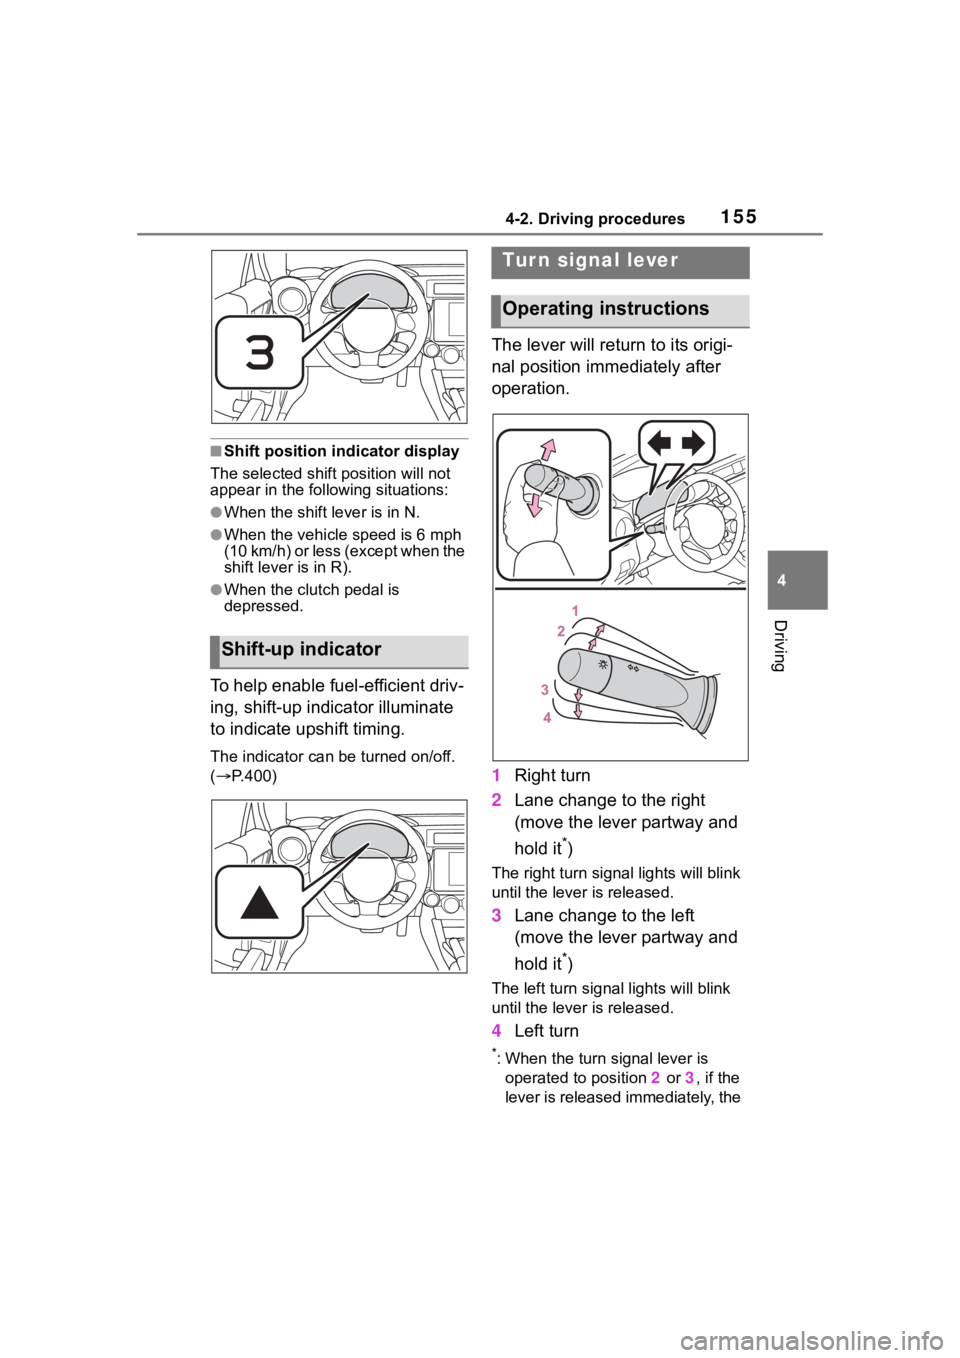
To help enable fuel-efficient driv-
ing, shift-up indicator illuminate
to indicate upshift timing.
The indicator can be turned on/off.
( P.400)
The lever will return to its origi-
nal position immediately after
operation.
1 Right turn
2 Lane change to the right
(move the lever partway and
hold it
*)
The right turn signal lights will blink
until the lever is released.
3Lane change to the left
(move the lever partway and
hold it
*)
The left turn signal lights will blink
until the lever is released.
4Left turn
*: When the turn signal lever is
operated to position 2 or 3, if the
lever is released immediately, the
Shift-up indicator
Tur n signal lever
Operating instructions
Page 156 of 449
1564-2. Driving procedures
turn signal lights will blink 3 times.
■If the turn signals do not
stop flashing after turning
left or right, or if you want
to stop them flashing
Operate the lever in the oppo-
site direction to either position 2
or 3. If you move the lever to
either position 1 or 4, the
selected turn signals will flash.
■Turn signals can be operated
when
The engine switch is in ON.
■If the indicator flashes faster
than usual
Check that a light bulb in the front or
rear turn signal lights has not
burned out.
■If the turn signals stop flashing
before a lane change has been
performed
Operate the lever again.
■Customization
Some functions can be customized.
( P.400)
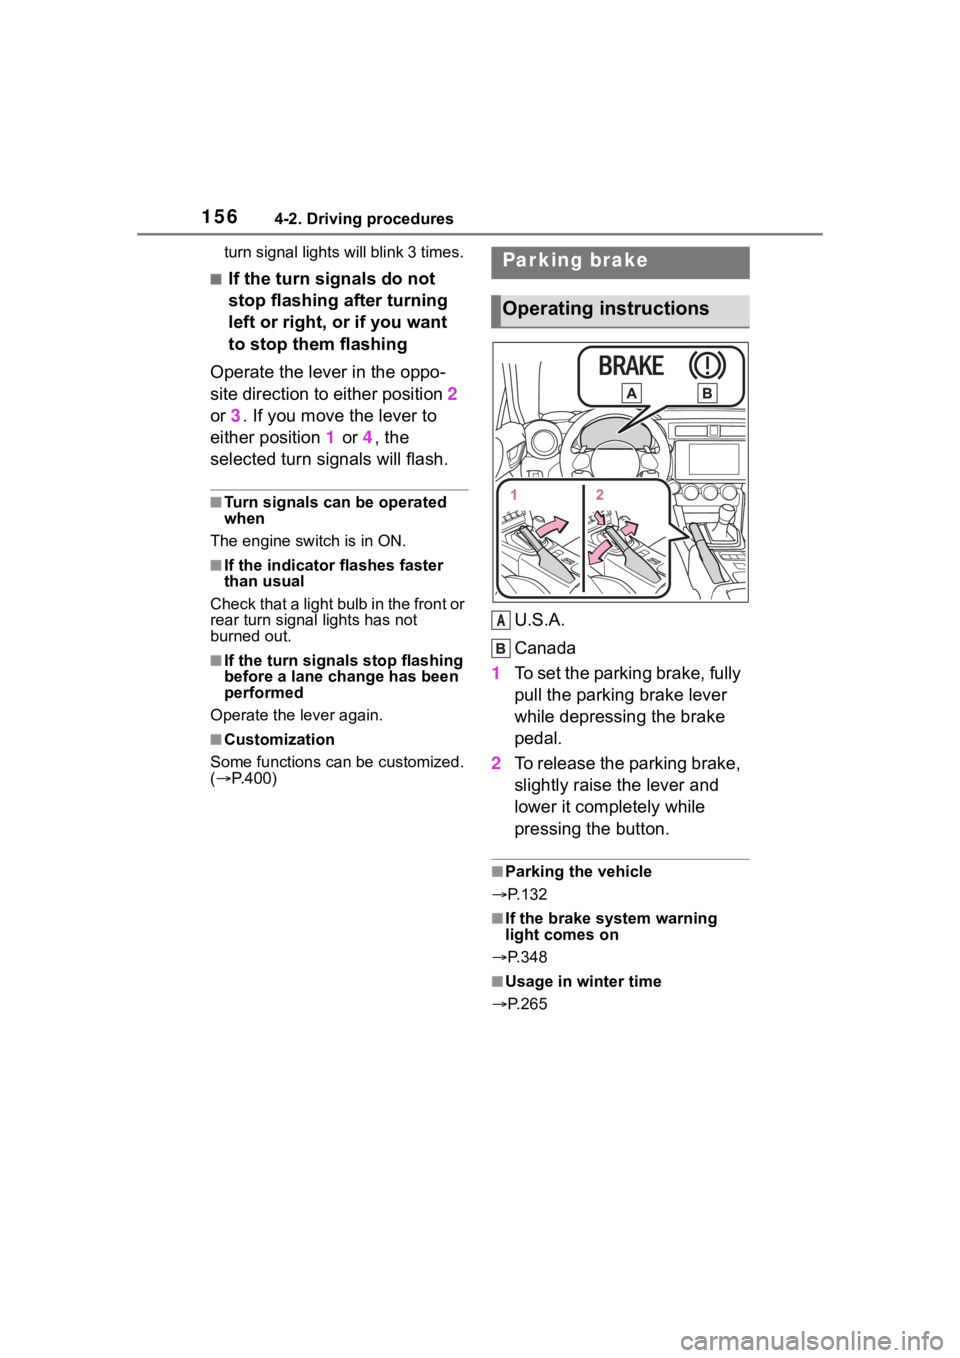
U.S.A.
Canada
1 To set the parking brake, fully
pull the parking brake lever
while depressing the brake
pedal.
2 To release the parking brake,
slightly raise the lever and
lower it completely while
pressing the button.
■Parking the vehicle
P.132
■If the brake system warning
light comes on
P.348
■Usage in winter time
P.265
Parking brake
Operating instructions
A
Page 159 of 449
1594-3. Operating the lights and wipers
4
Driving
parking lights and illuminate
brighter than the parking lights.
●To make your vehicle more visible
to other drivers during daytime
driving, the daytime running lights
turn on automatically when all of
the following conditions are met.
(The daytime running lights are
not designed for use at night.)
• The engine is running
• The shift lever is shifted out of P (vehicles with an automatic trans-
mission)
• The parking brake is released
• The headlight s witch is in the
(U.S.A. only), or
* position
*: When the surroundings are bright
The daytime running lights remain
on after they illumi nate, even if the
parking brake is set again.
●When the turn signal indicators
are flashing, the daytime running
light on the side that the turn sig-
nals are flashing will turn off.
●When the emergency flashers are
flashing, both daytime running
lights will turn off.
●Compared to turning on the head-
lights, the daytime running light
system offers gr eater durability
and consumes less electricity, so
it can help improve fuel economy.
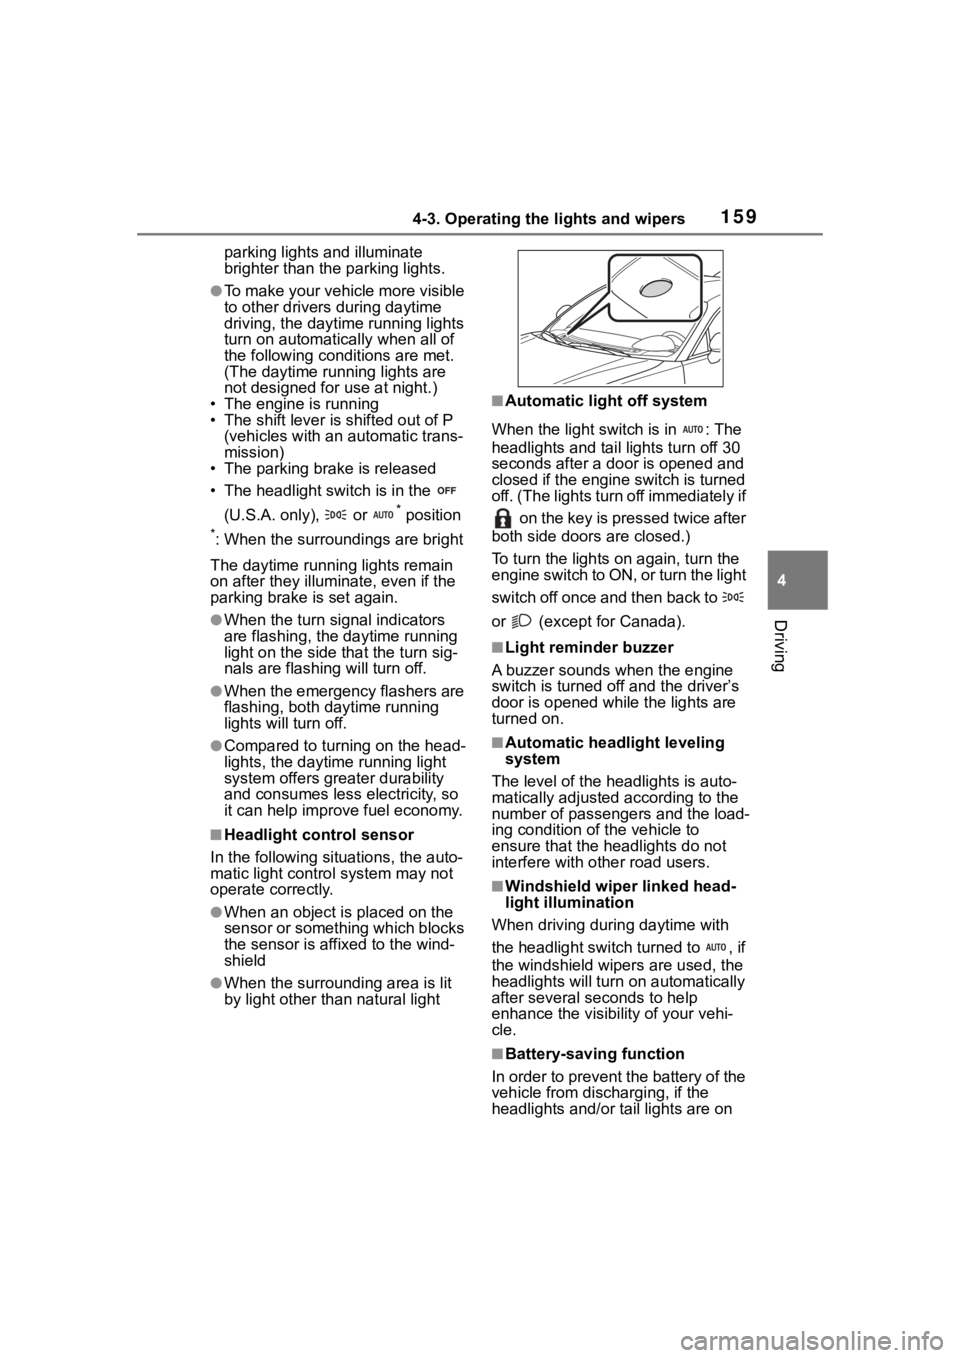
■Headlight control sensor
In the following si tuations, the auto-
matic light control system may not
operate correctly.
●When an object is placed on the
sensor or something which blocks
the sensor is affixed to the wind-
shield
●When the surrounding area is lit
by light other than natural light
■Automatic light off system
When the light switch is in : The
headlights and tail lights turn off 30
seconds after a door is opened and
closed if the engine switch is turned
off. (The lights turn off immediately if on the key is pressed twice after
both side doors are closed.)
To turn the lights on again, turn the
engine switch to ON, or turn the light
switch off once and then back to
or (except for Canada).
■Light reminder buzzer
A buzzer sounds when the engine
switch is turned off and the driver’s
door is opened wh ile the lights are
turned on.
■Automatic headlight leveling
system
The level of the headlights is auto-
matically adjusted according to the
number of passengers and the load-
ing condition of the vehicle to
ensure that the headlights do not
interfere with o ther road users.
■Windshield wiper linked head-
light illumination
When driving during daytime with
the headlight switch turned to , if
the windshield wipers are used, the
headlights will turn o n automatically
after several se conds to help
enhance the visibility of your vehi-
cle.
■Battery-saving function
In order to prevent the battery of the
vehicle from discharging, if the
headlights and/or tail lights are on