change time TOYOTA AVALON 2012 XX40 / 4.G Owners Manual
[x] Cancel search | Manufacturer: TOYOTA, Model Year: 2012, Model line: AVALON, Model: TOYOTA AVALON 2012 XX40 / 4.GPages: 580, PDF Size: 9.33 MB
Page 18 of 580

18
For your information
Main Owner’s Manual
Please note that this manual applies to all models and explains all equip-
ment, including options. Therefore, you may find some explanations for
equipment not installed on your vehicle.
All specifications provided in this manual are current at the time of printing.
However, because of the Toyota policy of continual product improvement, we
reserve the right to make changes at any time without notice.
Depending on specifications, the vehicle shown in the illustration may differ
from your vehicle in terms of equipment.
Noise from under vehicle after turning off the engine
Approximately five hours after the engine is turned off, you may hear sound
coming from under the vehicle for several minutes. This is the sound of a fuel
evaporation leakage check and, it does not indicate a malfunction.
Page 35 of 580
35
1-2. Opening, closing and locking the doors and trunk
1
Before driving
■
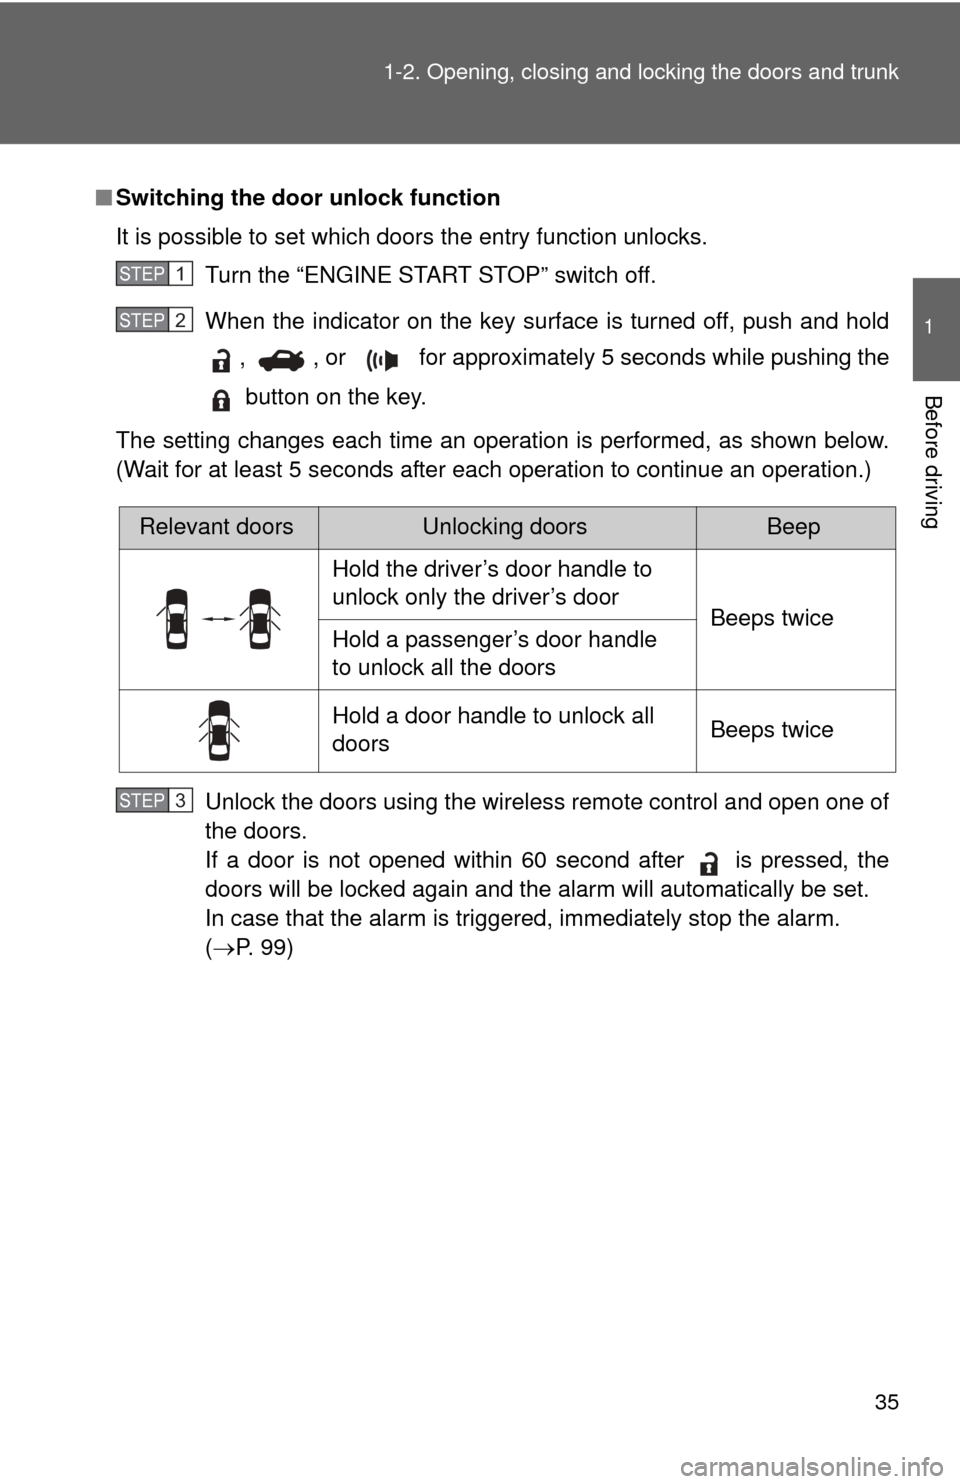
Switching the door unlock function
It is possible to set which doors the entry function unlocks.
Turn the “ENGINE START STOP” switch off.
When the indicator on the key surface is turned off, push and hold, , or for approximately 5 seconds while pushing the
button on the key.
The setting changes each time an operation is performed, as shown below.
(Wait for at least 5 seconds after each operation to continue an operation.)
Unlock the doors using the wireless remote control and open one of
the doors.
If a door is not opened within 60 second after is pressed, the
doors will be locked again and the alarm will automatically be set.
In case that the alarm is triggered, immediately stop the alarm.
(P. 99)
STEP1
STEP2
Relevant doorsUnlocking doorsBeep
Hold the driver’s door handle to
unlock only the driver’s door Beeps twice
Hold a passenger’s door handle
to unlock all the doors
Hold a door handle to unlock all
doors Beeps twice
STEP3
Page 155 of 580
155
2-1. Driving procedures
2
When driving
■
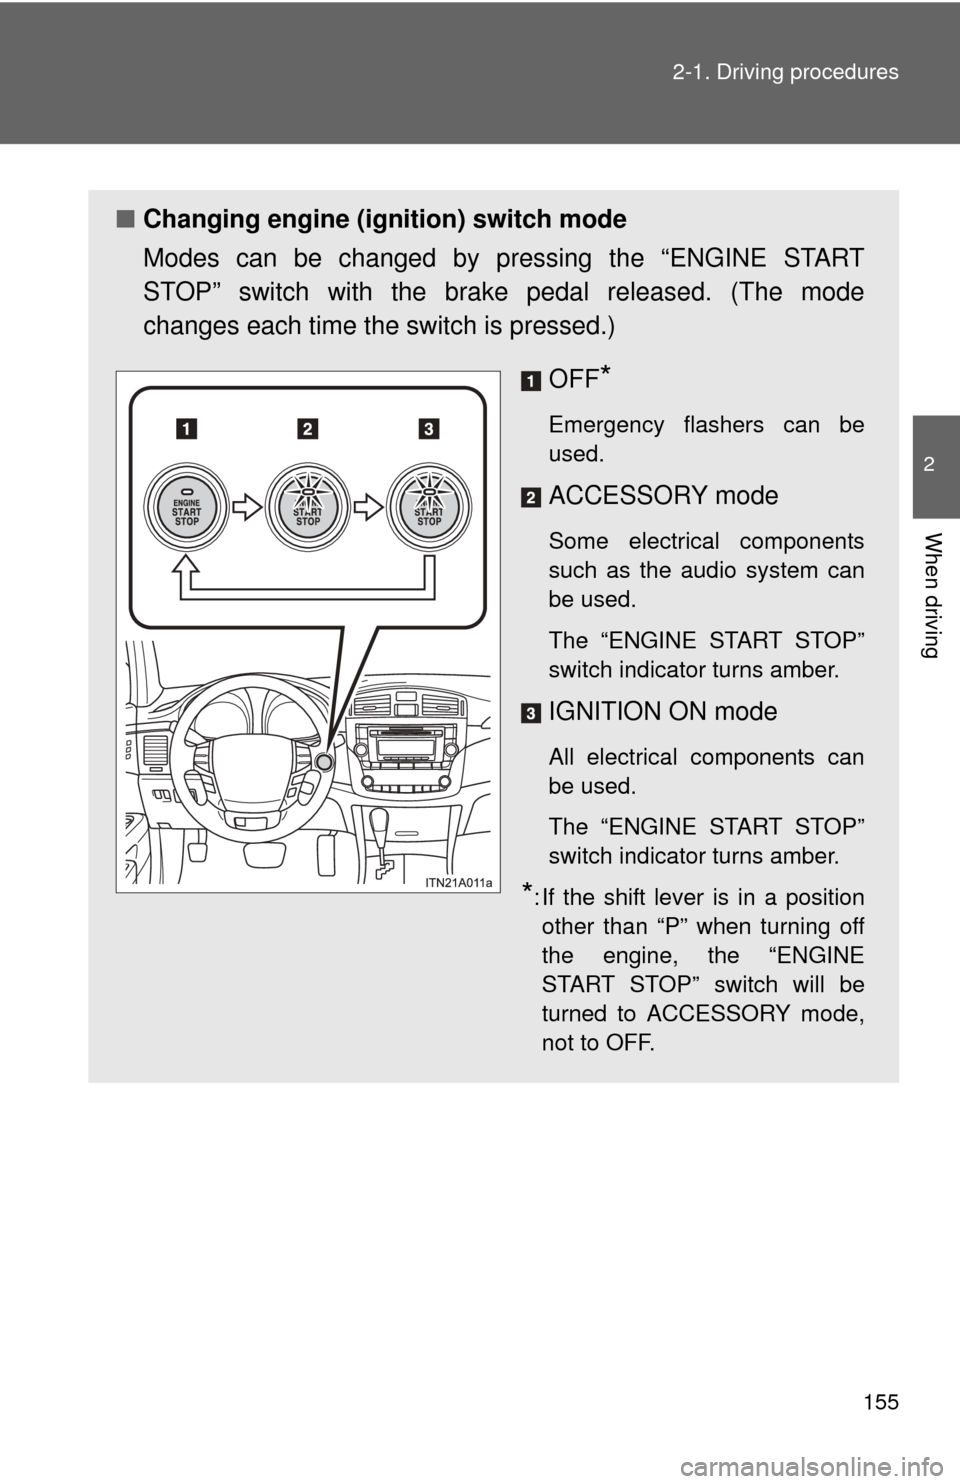
Changing engine (ignition) switch mode
Modes can be changed by pressing the “ENGINE START
STOP” switch with the brake pedal released. (The mode
changes each time the switch is pressed.)
OFF
*
Emergency flashers can be
used.
ACCESSORY mode
Some electrical components
such as the audio system can
be used.
The “ENGINE START STOP”
switch indicator turns amber.
IGNITION ON mode
All electrical components can
be used.
The “ENGINE START STOP”
switch indicator turns amber.
*: If the shift lever is in a positionother than “P” when turning off
the engine, the “ENGINE
START STOP” switch will be
turned to ACCESSORY mode,
not to OFF.
Page 195 of 580
195
2-4. Using other
driving systems
2
When driving
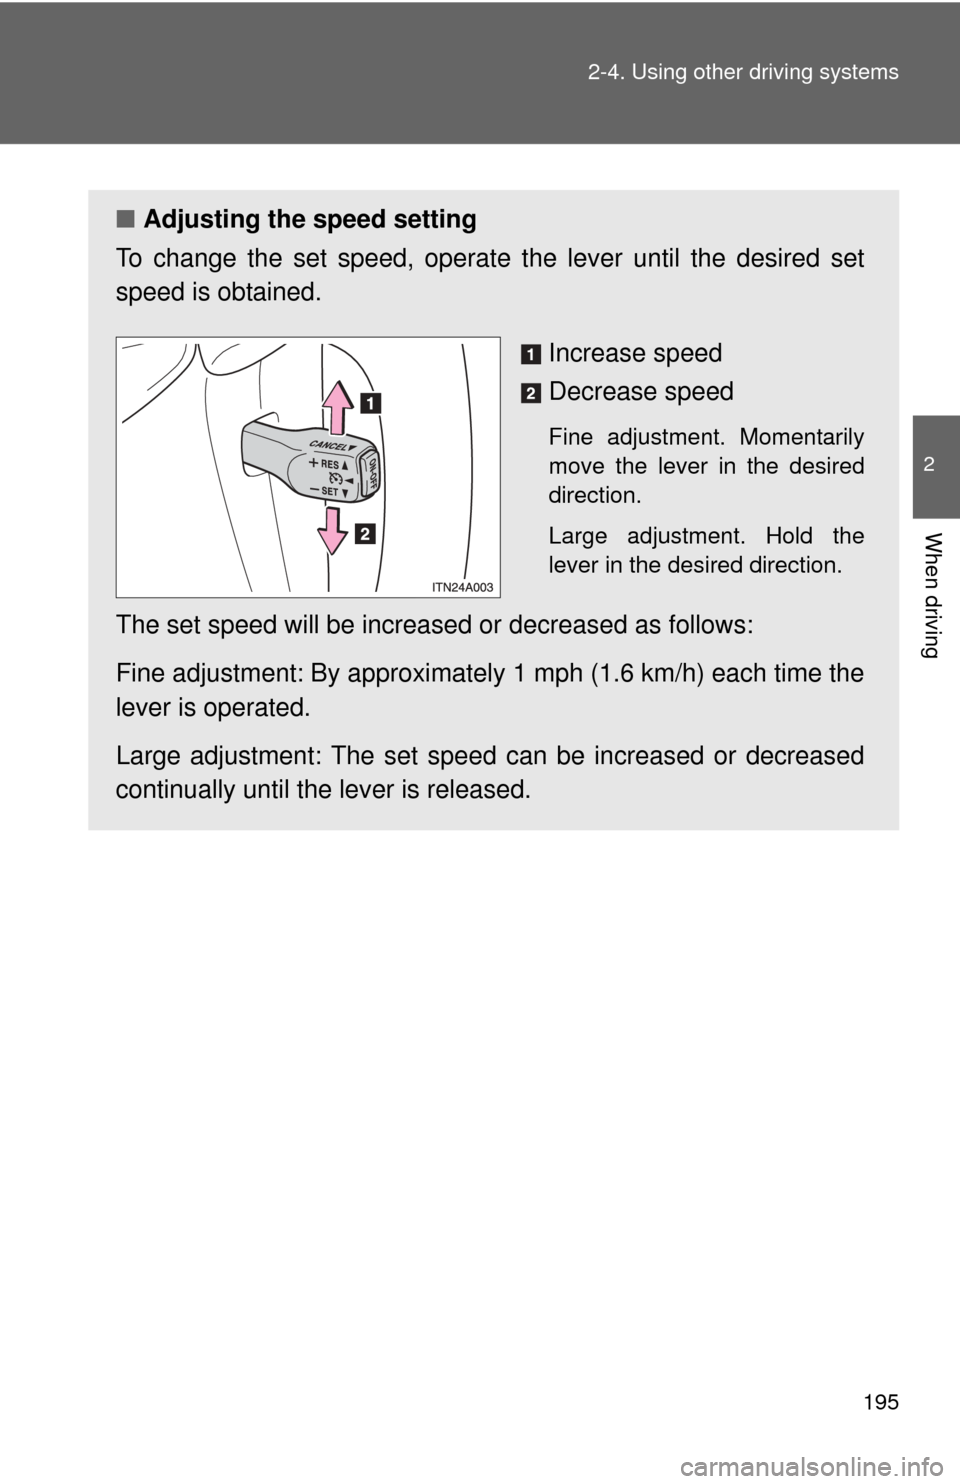
■Adjusting the speed setting
To change the set speed, operate the lever until the desired set
speed is obtained.
Increase speed
Decrease speed
Fine adjustment. Momentarily
move the lever in the desired
direction.
Large adjustment. Hold the
lever in the desired direction.
The set speed will be increased or decreased as follows:
Fine adjustment: By approximately 1 mph (1.6 km/h) each time the
lever is operated.
Large adjustment: The set speed can be increased or decreased
continually until the lever is released.
Page 200 of 580

200 2-4. Using other driving systems
●To temporarily turn off the monitor when it is on.
Push the button. The indicator should turn orange.
The monitor will automatically turn on again after the engine switch is
turned OFF and ON.
● To manually turn on the monitor when it is turned off.
Push the button. The indicator should turn green.
● To select a display language (English, French or Spanish).
Push and hold the button for 6 to 12 seconds.
The monitor should turn on and the indicator should turn green.
Push the button.
Each time the button is pushed and released, the language
will change.
The warning message should flash 5 seconds after the button is
released, indicating that the change has been completed.
● To permanently disable the monitor.
Push and hold the button for 12 to 15 seconds.
The monitor will turn off and on after 6 seconds. Continue holding the
button down until the display turns back off.
The indicator should flash orange.
The monitor will not automatically turn on again after the engine switch is
turned OFF and ON.
STEP1
STEP2
STEP3
Page 237 of 580
237
3-1. Using the air conditioning system and defogger
3
Interior features
Rear window and outside rear view mirror defoggers
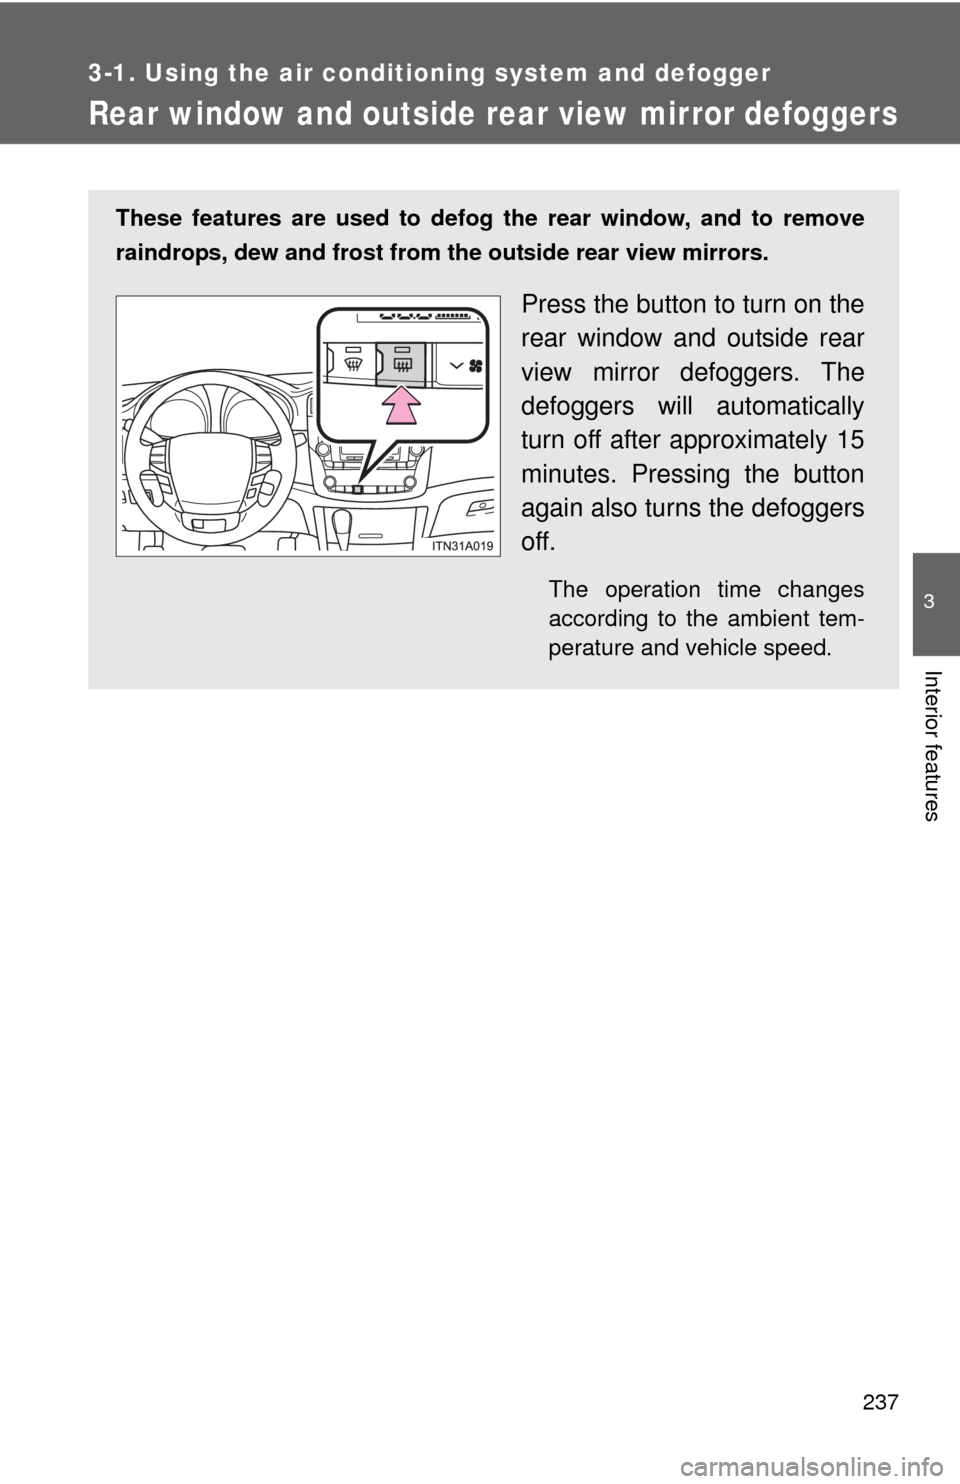
These features are used to defog the rear window, and to remove
raindrops, dew and frost from the outside rear view mirrors.
Press the button to turn on the
rear window and outside rear
view mirror defoggers. The
defoggers will automatically
turn off after approximately 15
minutes. Pressing the button
again also turns the defoggers
off.
The operation time changes
according to the ambient tem-
perature and vehicle speed.
Page 246 of 580
246 3-2. Using the audio system
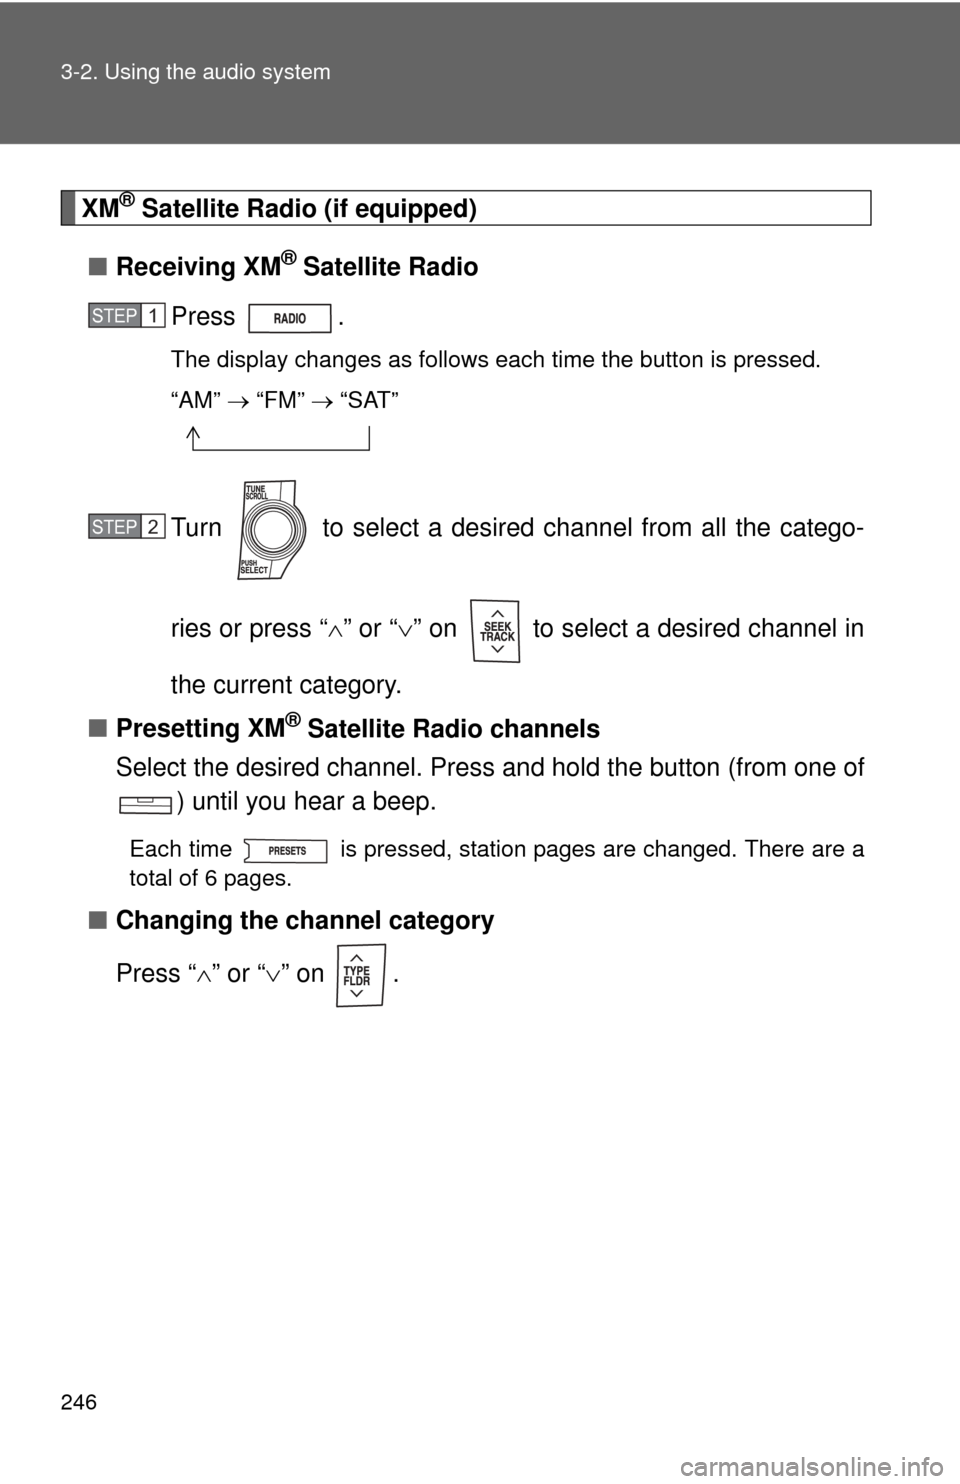
XM® Satellite Radio (if equipped)
■ Receiving XM
® Satellite Radio
Press .
The display changes as follows each time the button is pressed.
“AM” “FM” “SAT”
Turn to select a desired channel from all the catego-
ries or press “ ” or “ ” on to select a desired channel in
the current category.
■ Presetting XM
® Satellite Radio channels
Select the desired channel. Press an d hold the button (from one of
) until you hear a beep.
Each time is pressed, station pages are changed. There are a
total of 6 pages.
■ Changing the channel category
Press “ ” or “ ” on .
STEP1
STEP2
Page 247 of 580
247
3-2. Using the audio system
3
Interior features
■
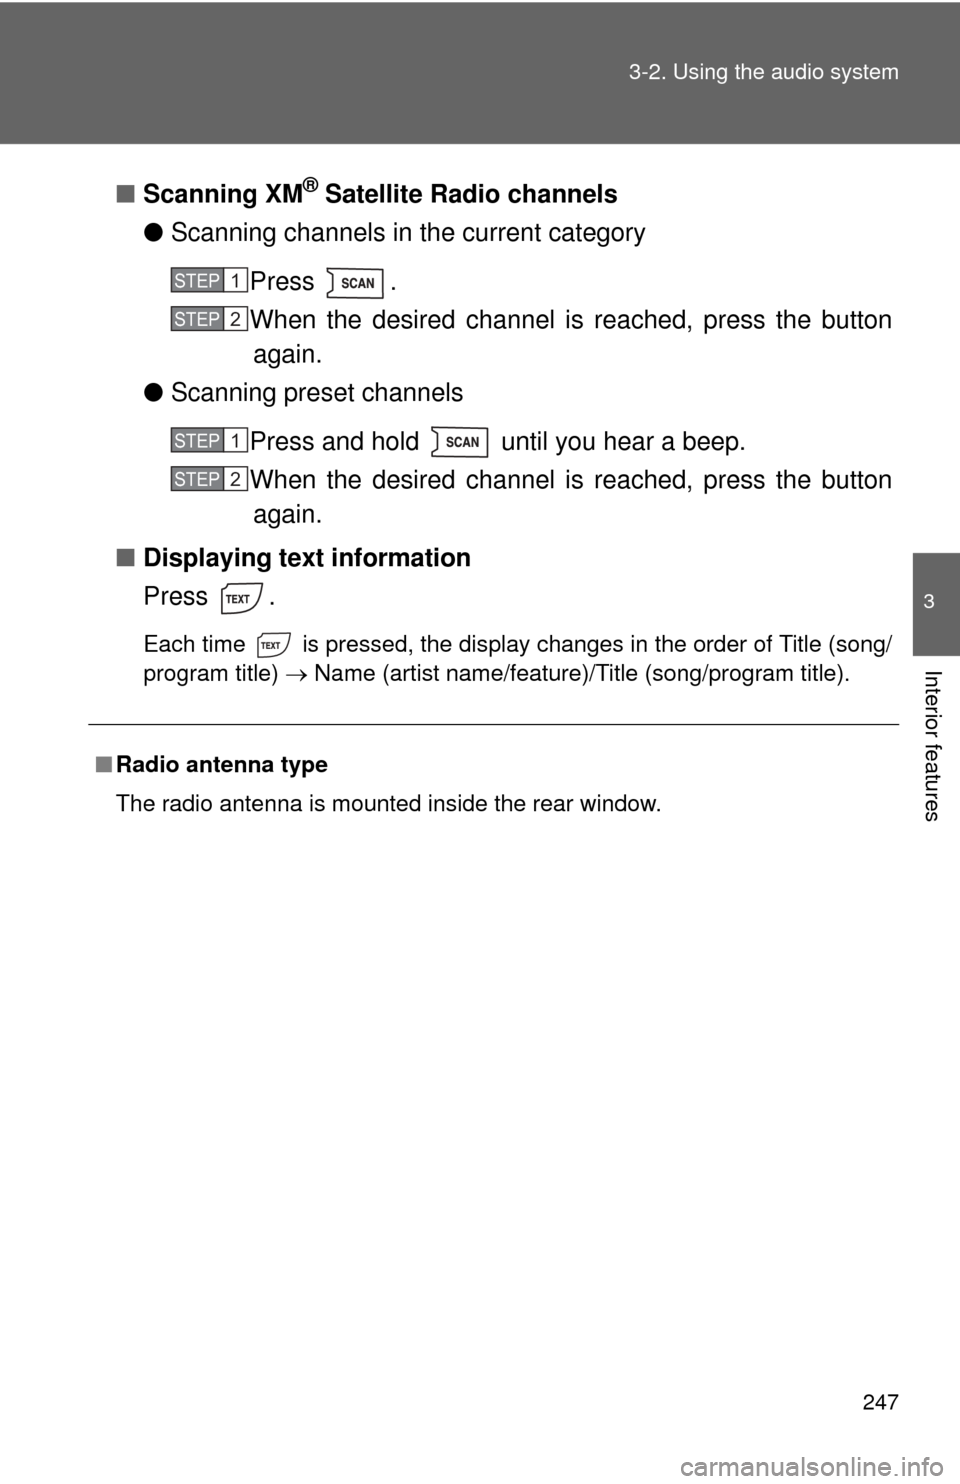
Scanning XM® Satellite Radio channels
● Scanning channels in the current category
Press .
When the desired channel is reached, press the buttonagain.
● Scanning preset channels
Press and hold until you hear a beep.
When the desired channel is reached, press the buttonagain.
■ Displaying text information
Press .
Each time is pressed, the display changes in the order of Title (song/
program title) Name (artist name/feature)/Title (song/program title).
■Radio antenna type
The radio antenna is mounted inside the rear window.
STEP1
STEP2
STEP1
STEP2
Page 250 of 580
250 3-2. Using the audio system
Contact the XM® Listener Care Center at 1-800-967-2346 (U.S.A.) or 1-877-
209-0079 (Canada).
■ Certifications for the radio tuner
This equipment has been tested and found to comply with the limits for a
class B digital device, pursuant to Part 15 of the FCC Rules. These limits are
designed to provide reasonable protection against harmful interference in a
residential installation. This equipment generates, uses and can radiate
radio frequency energy and, if not installed and used in accordance with the
instructions, may cause harmful interference to radio communications. How-
ever, there is no guarantee that interference will not occur in a particular
installation.
If this equipment does cause harmful interference to radio or television
reception, which can be determined by turning the equipment off and on, the
user is encouraged to try to correct the interference by trying one or more of
the following:
●Reorienting or relocating the receiving antenna.
● Increasing the separation between the equipment and receiver.
● Connecting the equipment into an outlet on a circuit different from that to
which the receiver is connected.
● Consulting the dealer or an experienc ed radio/TV technician for help.
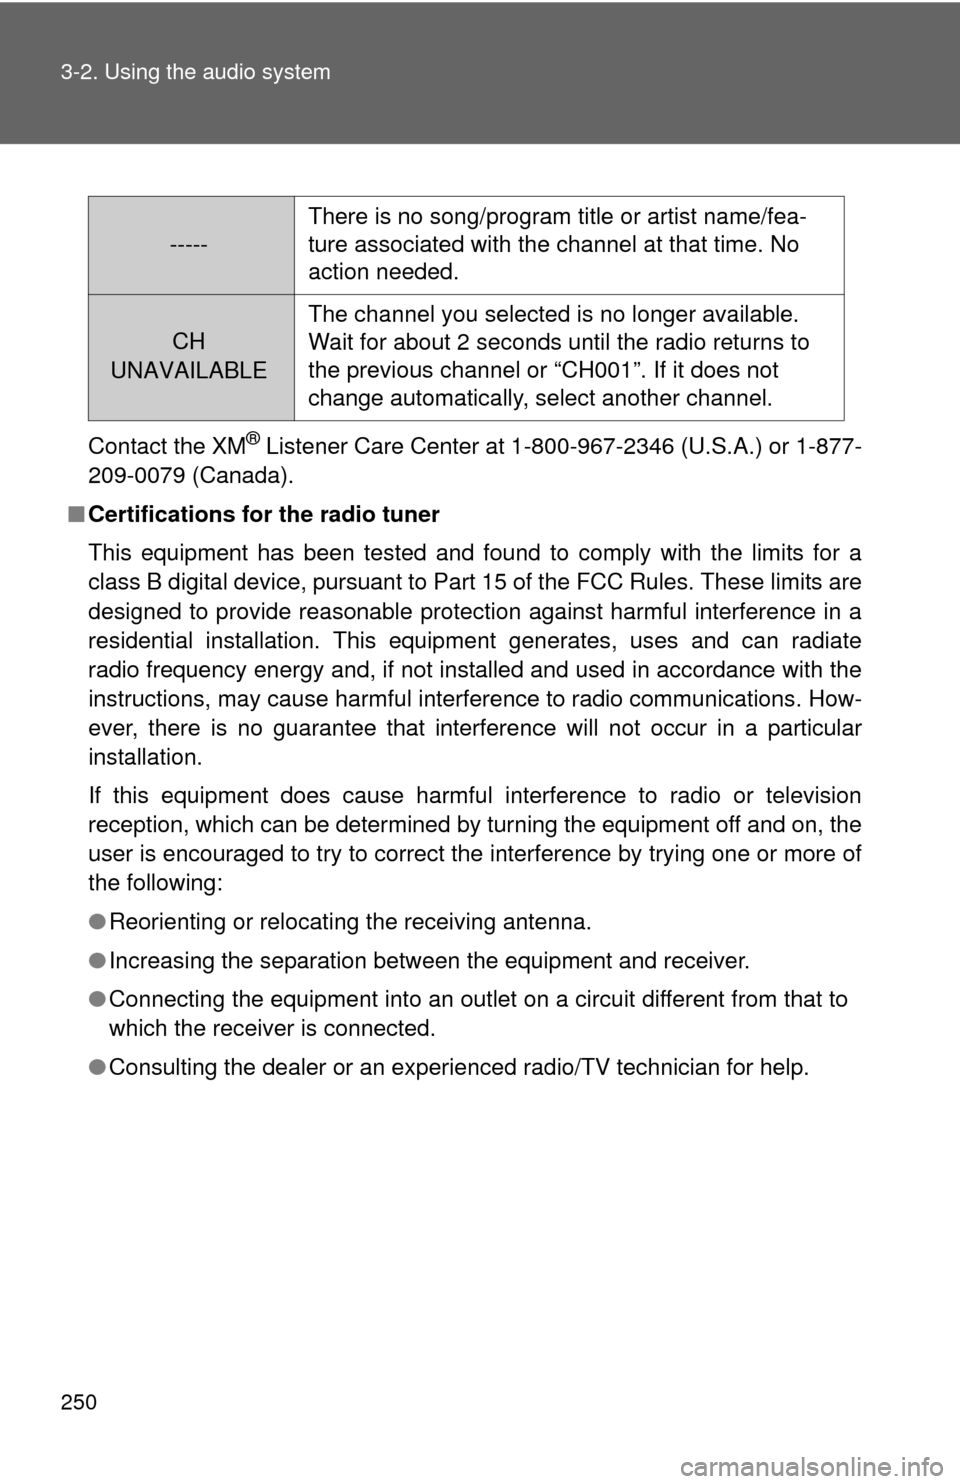
-----There is no song/program title or artist name/fea-
ture associated with the channel at that time. No
action needed.
CH
UNAVAILABLE
The channel you selected is no longer available.
Wait for about 2 seconds until the radio returns to
the previous channel or “CH001”. If it does not
change automatically, select another channel.
Page 255 of 580
255
3-2. Using the audio system
3
Interior features
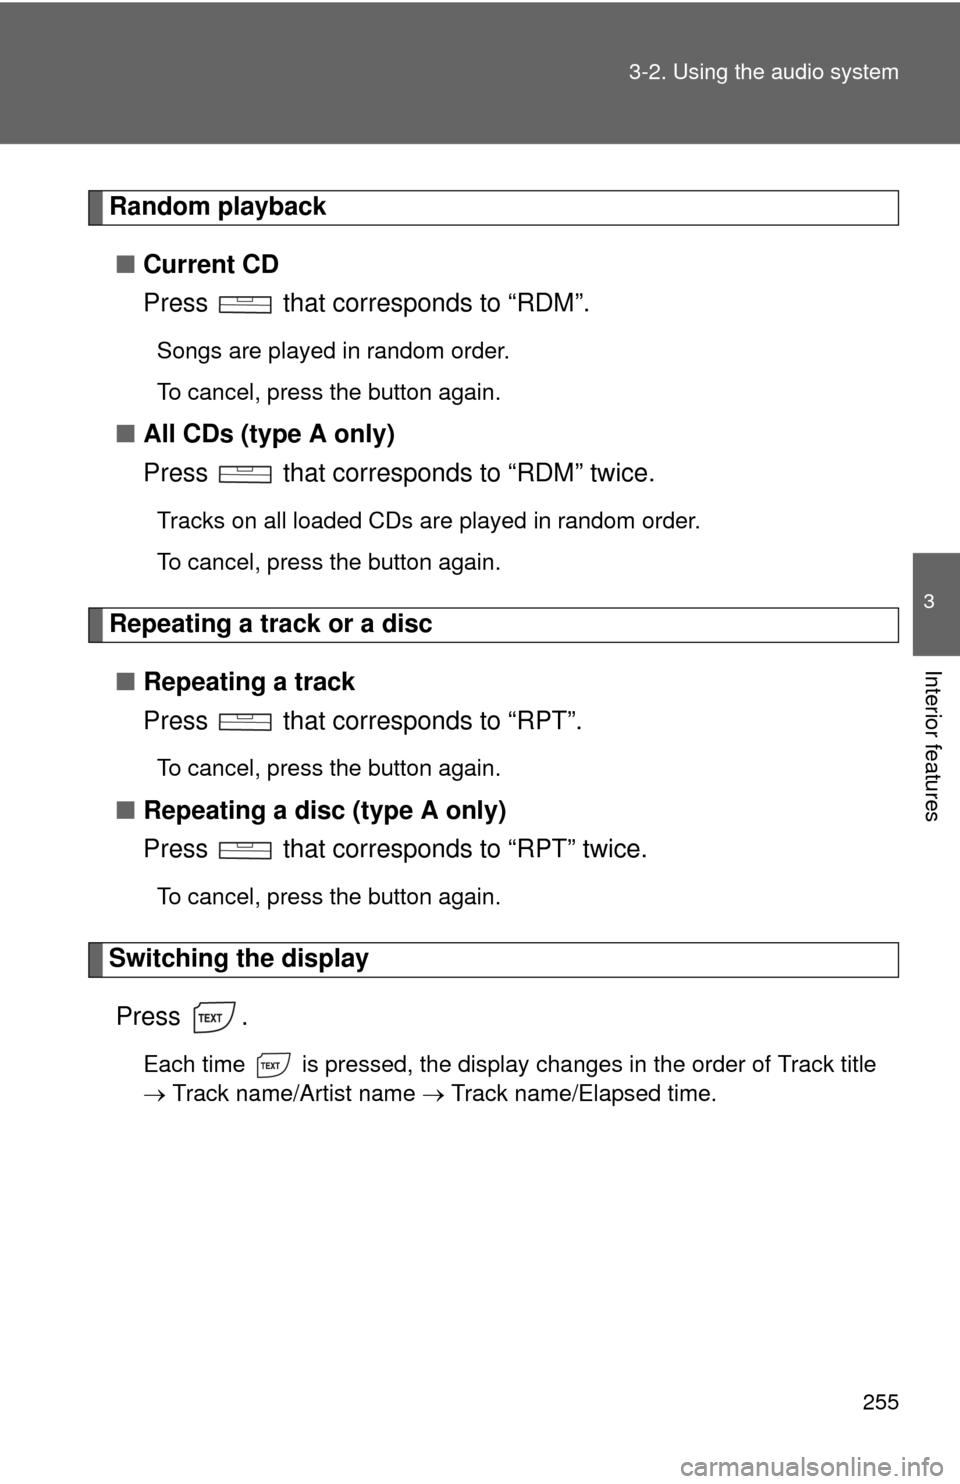
Random playback
■ Current CD
Press that corresponds to “RDM”.
Songs are played in random order.
To cancel, press the button again.
■All CDs (type A only)
Press that corresponds to “RDM” twice.
Tracks on all loaded CDs are played in random order.
To cancel, press the button again.
Repeating a track or a disc
■ Repeating a track
Press that corresponds to “RPT”.
To cancel, press the button again.
■Repeating a disc (type A only)
Press that corresponds to “RPT” twice.
To cancel, press the button again.
Switching the display
Press .
Each time is pressed, the display changes in the order of Track title
Track name/Artist name Track name/Elapsed time.