torque TOYOTA CAMRY 1997 Owners Manual
[x] Cancel search | Manufacturer: TOYOTA, Model Year: 1997, Model line: CAMRY, Model: TOYOTA CAMRY 1997Pages: 215, PDF Size: 4.32 MB
Page 61 of 215

57
On the filler panel behind the rear seat
Center anchorÐ
a. Using the illustration as a guide, run
your fingers across the trim of the filler
panel itself to locate the position of the
holes underneath.
b. Make a hole in the covering directly
above the hole in the filler panel.
c. Insert a 15 mm (o.6 in.) spacer and
tighten down the anchor bracket for your
child restraint system with a bolt. Torque
the bolt to 16.5±24.7 NVm (1.68±2.52 kgf-
Vm, 12.2±18.2 ftVlbf).Outside anchorsÐ
a. Should you select to use the outer an-
chor positions, please contact your Toyo-
ta dealer for proper modifications to the
filler panel.
b. After modifications have been made to
the filler panel, insert a 15 mm (0.6 in.)
spacer and tighten down the anchor
bracket for your child restraint system
with a bolt. Torque the bolt to 16.5±24.7
NVm (1.68±2.52 kgfVm, 12.2±18.2 ftVlbf).
c. Securely latch the hook of the top strap
onto the anchor braket and make sure the
hook does not make contact with the filler
panel.To comply with Canada Motor Vehicle
Safety Standards, vehicles sold in Cana-
da are provided with a bracket set in the
glovebox, designed for use with any of the
3 anchor locations hsown in the illustra-
tion.
If your child restraint system does not pro-
vide any of the necessary parts, ask you
Toyota dealer. (See ÐChild restraint sys-
tem.º)
ProCarManuals.com
Page 162 of 215

162
10. Reinstall the wheel ornament.
1. Put the wheel ornament into position.
On some models, align the cutout of the
wheel ornamant with the valve stem as
shown.
2. Then tap it firmly with the side or heel
of your hand to snap it into place.
Take due care in handling the orna-
ment to avoid unexpected personal
injury.CAUTION
!
11. Check the air pressure of the re-
placed tire.
Adjust the air pressure to the specification
designated in Part 8. If the pressure is
lower, drive slowly to the nearest service
station and fill to the correct pressure.
Do not forget to reinstall the tire inflation
valve cap as dirt and moisture could get
into the valve core and possibly cause air
leakage. If the cap is missing, have a new
one put on as soon as possible.
12. Restow all the tools, jack and flat
tire securely.
As soon as possible after changing
wheels, tighten the wheel nuts to the
torque specified in Part 8 with a torque
wrench, have a technician repair the flat
tire and replace the spare tire with it.
Before driving, make sure all the
tools, jack and flat tire are securely
in place in their storage location to
reduce the possibility of personal
injury during a collision or sudden
braking.CAUTION
!
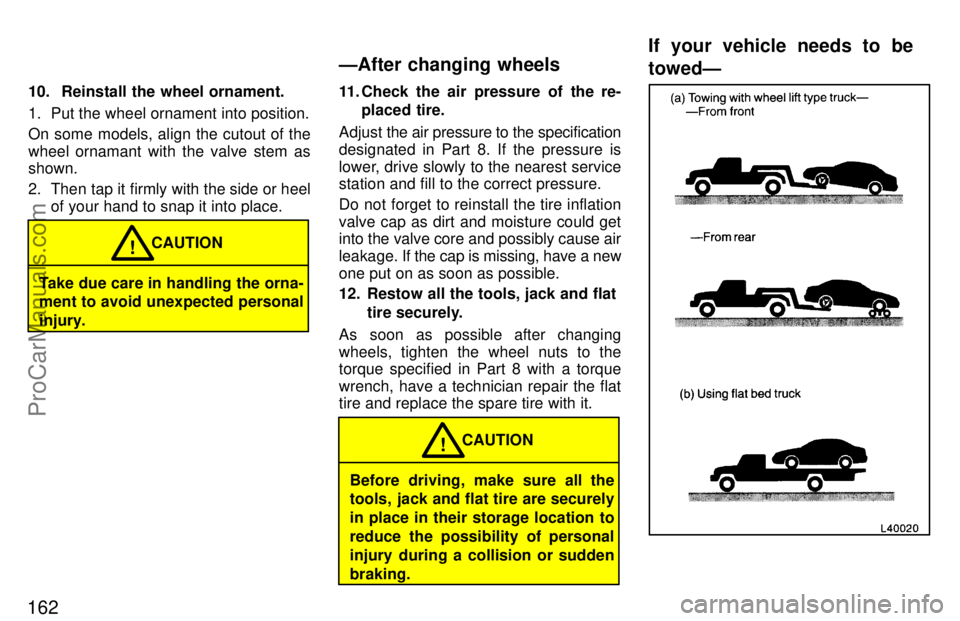
ÐAfter changing wheelsIf your vehicle needs to be
towedÐ
ProCarManuals.com
Page 210 of 215

215
Normal drivingkPa (kgf/cm2 or bar, psi)
For all loads including full rated loadsFor reduced loads (1 to 4passengers)For all loads including full rated loadsFor reduced loads (1 to 4 passengers)
Tire sizeFrontRearFrontRearWheel size
P195/70R14 90S210(2 1 30)210 (2.1, 30)210 (2.1, 30)210 (2.1, 30)14 x 5.5JJP195/70R14 90S210 (2.1, 30)210 (2.1, 30)210 (2.1, 30)210 (2.1, 30)14 x 5.5JJ
P205/65R15 92S215/70R 16 99220 (2 2 32)200 (2 0 29)200 (2 0 29)15 x 6JJP205/65R15 92S215/70R 16 99220 (2.2, 32)200 (2.0, 29)200 (2.0, 29)15 x 6JJ
Trailer towingkPa (kgf/cm2
or bar, psi)
Tire size
FrontRear
P195/70R14 90S210 (2.1, 30)210 (2.1, 30)
P205/65R15 92H220 (2.2, 32)220 (2.2, 32)
When driving under the above vehicle load conditions at sustained high speeds abve 160 km/h (100 mph), in countries where such
speeds are permitted by-law, inflate the front and rear tires to 240 kPa (2.4 kgf/cm2
or bar, 35 psi) provided that it does not exceed
the maxium cold tire pressure molded on the tire sidewall.
Wheel nut torque, NVm (kgfm, ftVlbf):
104 (10.5, 77)
Tires
ProCarManuals.com