fuel pressure TOYOTA COROLLA CROSS 2023 Owners Manual
[x] Cancel search | Manufacturer: TOYOTA, Model Year: 2023, Model line: COROLLA CROSS, Model: TOYOTA COROLLA CROSS 2023Pages: 500, PDF Size: 15.11 MB
Page 1 of 500
1
2
3
4
5
6
7
8
9
COROLLA CROSS_MTMUS_U
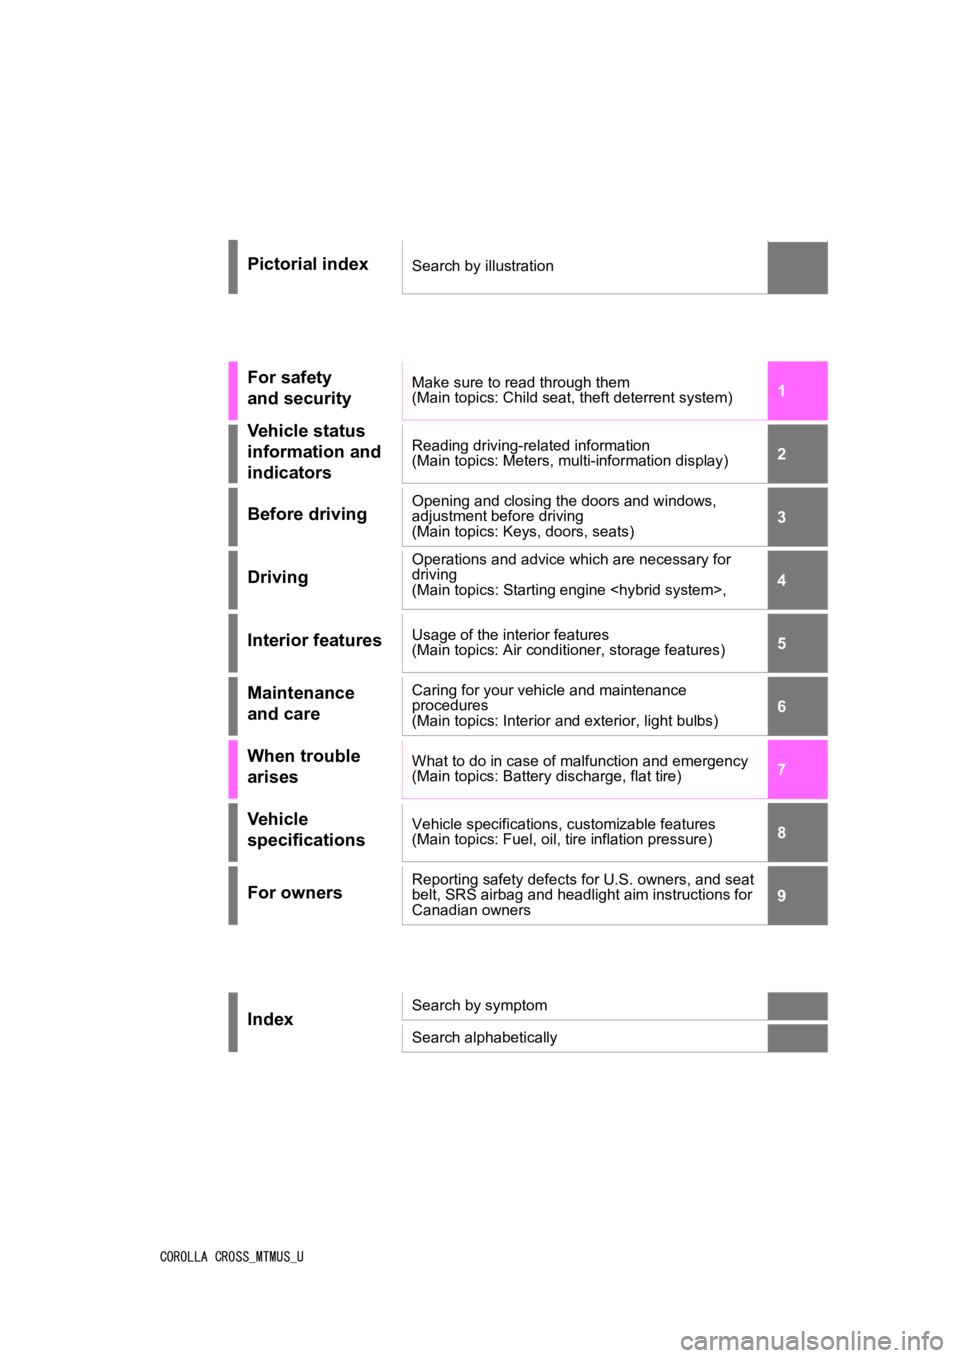
Pictorial indexSearch by illustration
For safety
and securityMake sure to read through them
(Main topics: Child seat, theft deterrent system)
Vehicle status
information and
indicatorsReading driving-related information
(Main topics: Meters, multi-information display)
Before drivingOpening and closing the doors and windows,
adjustment before driving
(Main topics: Keys, doors, seats)
Driving
Operations and advice which are necessary for
driving
(Main topics: Starting engine
Interior featuresUsage of the interior features
(Main topics: Air conditioner, storage features)
Maintenance
and careCaring for your vehicle and maintenance
procedures
(Main topics: Interior and exterior, light bulbs)
When trouble
arisesWhat to do in case of malfunction and emergency
(Main topics: Battery discharge, flat tire)
Vehicle
specificationsVehicle specifications, customizable features
(Main topics: Fuel, oil, tire inflation pressure)
For ownersReporting safety defects for U.S. owners, and seat
belt, SRS airbag and headlight aim instructions for
Canadian owners
IndexSearch by symptom
Search alphabetically
Page 4 of 500
4TABLE OF CONTENTS
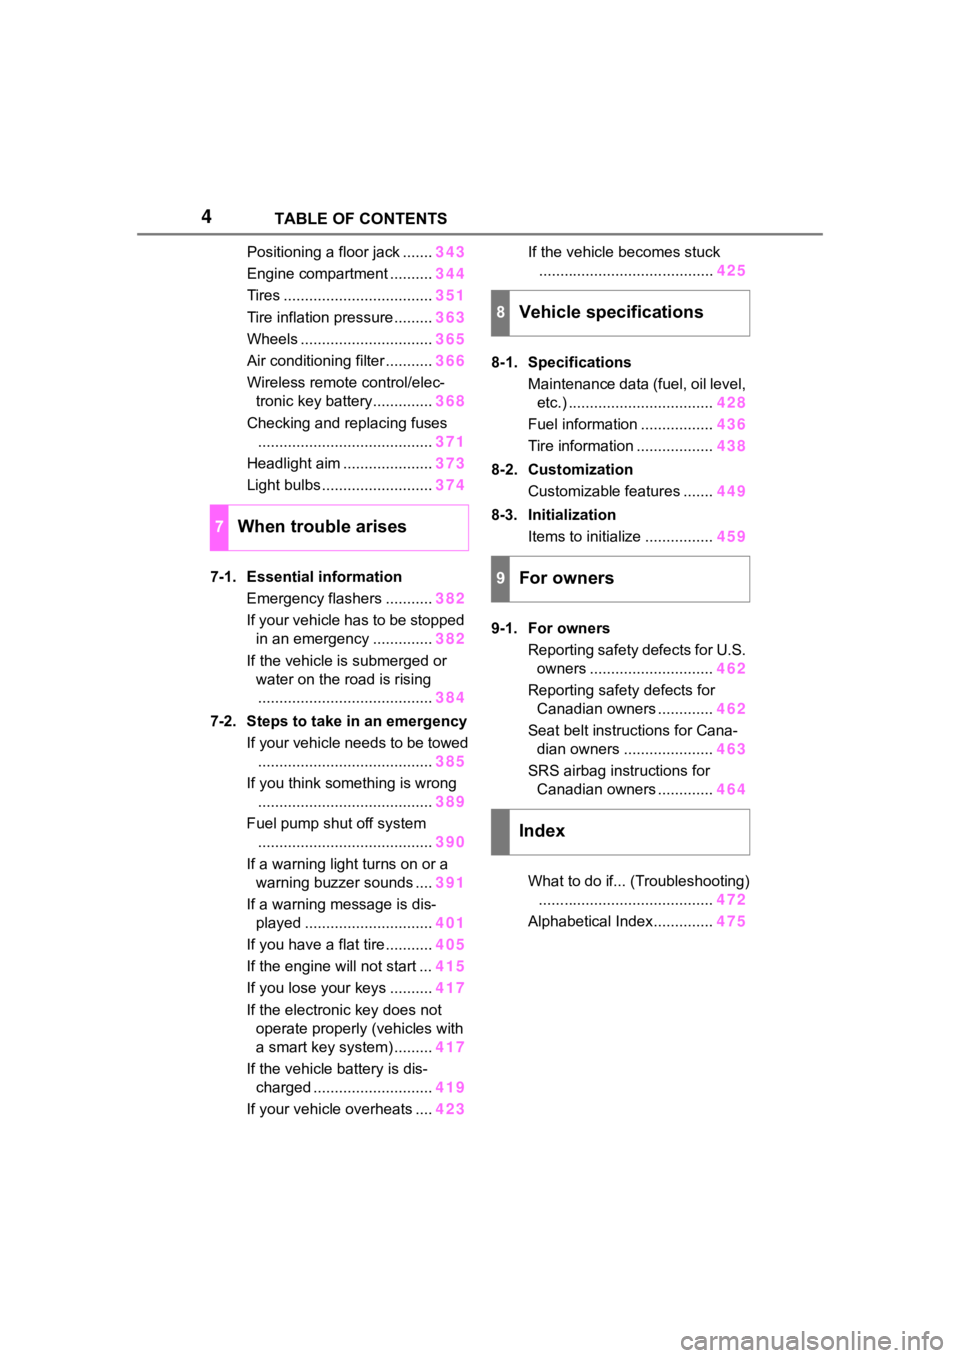
Positioning a floor jack .......343
Engine compartment .......... 344
Tires ................................... 351
Tire inflation pressure......... 363
Wheels ............................... 365
Air conditioning filter ........... 366
Wireless remote control/elec- tronic key battery.............. 368
Checking and replacing fuses ......................................... 371
Headlight aim ..................... 373
Light bulbs .......................... 374
7-1. Essential information Emergency flashers ........... 382
If your vehicle has to be stopped in an emergency .............. 382
If the vehicle is submerged or water on the road is rising......................................... 384
7-2. Steps to take in an emergency If your vehicle needs to be towed......................................... 385
If you think something is wrong ......................................... 389
Fuel pump shut off system ......................................... 390
If a warning light turns on or a warning buzzer sounds .... 391
If a warning message is dis- played .............................. 401
If you have a flat tire ........... 405
If the engine will not start ... 415
If you lose your keys .......... 417
If the electronic key does not operate properly (vehicles with
a smart key system) ......... 417
If the vehicle battery is dis- charged ............................ 419
If your vehicle overheats .... 423If the vehicle becomes stuck
......................................... 425
8-1. Specifications Maintenance data (fuel, oil level, etc.) .................................. 428
Fuel information ................. 436
Tire information .................. 438
8-2. Customization Customizable features ....... 449
8-3. Initialization Items to initialize ................ 459
9-1. For owners Reporting safety defects for U.S. owners ............................. 462
Reporting safety defects for Canadian owners ............. 462
Seat belt instructions for Cana- dian owners ..................... 463
SRS airbag instructions for Canadian owners ............. 464
What to do if... (Troubleshooting) ......................................... 472
Alphabetical Index.............. 475
7When trouble arises
8Vehicle specifications
9For owners
Index
Page 14 of 500
14Pictorial index
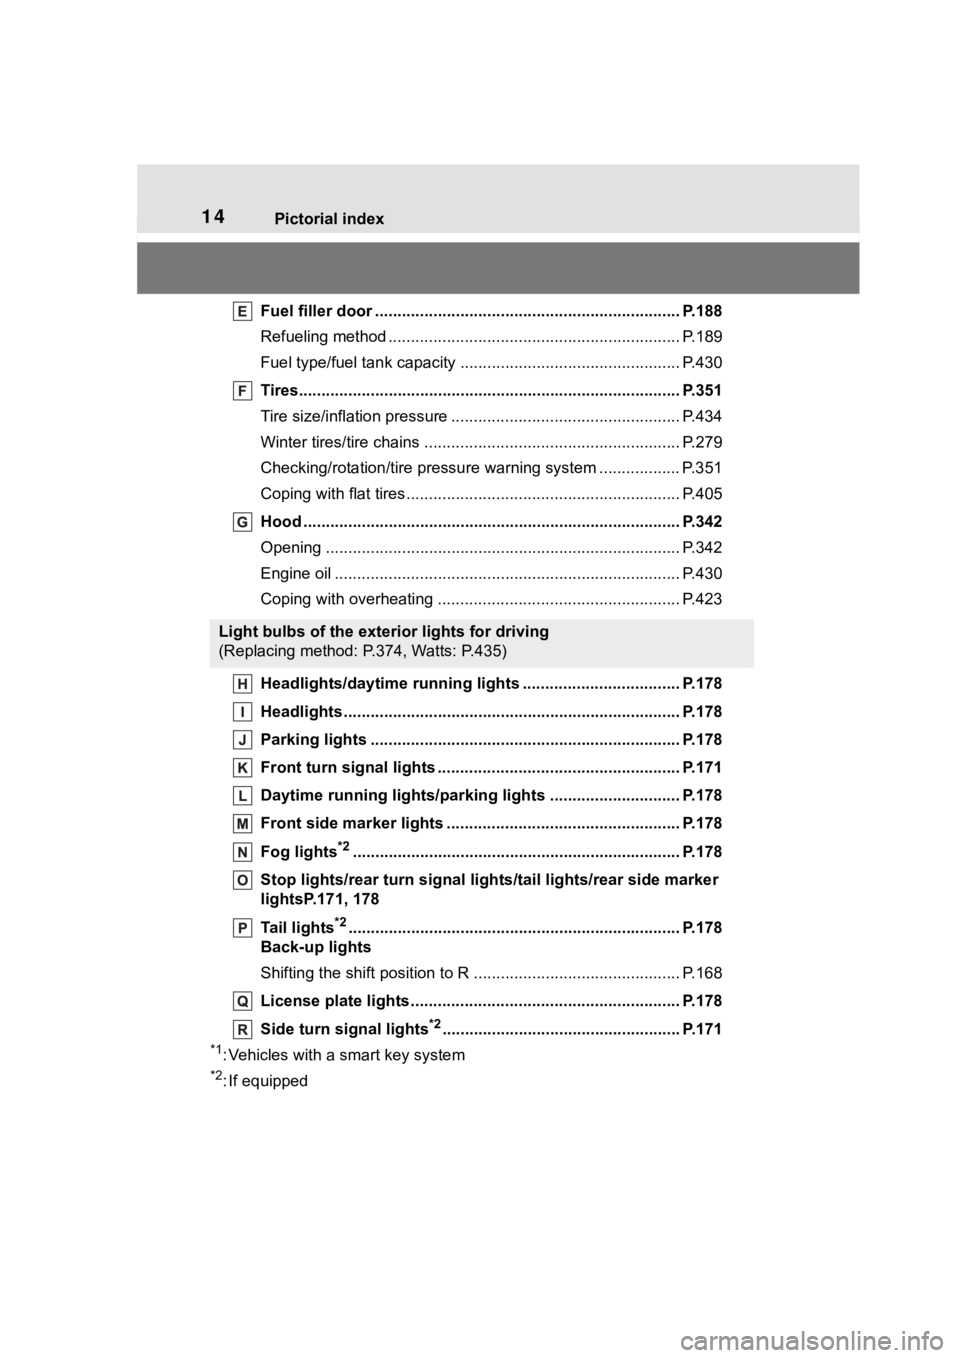
Fuel filler door .................................................................... P.188
Refueling method ............................................... .................. P.189
Fuel type/fuel tan k capacity ................................... .............. P.430
Tires.......................................................... ........................... P.351
Tire size/inflation pressure ................................... ................ P.434
Winter tires/tire chains ....................................... .................. P.279
Checking/rotation/tire pressur e warning system ..................P.351
Coping with flat tires......................................... .................... P.405
Hood ........................................................... ......................... P.342
Opening ............................................................................... P.342
Engine oil ..................................................... ........................ P.430
Coping with overheating ...................................................... P.423
Headlights/daytime running lights .............................. ..... P.178
Headlights..................................................... ...................... P.178
Parking lights ................................................. .................... P.178
Front turn signal lights ....................................... ............... P.171
Daytime running lights/parking lights ............................. P.178
Front side marker lights ....................................... ............. P.178
Fog lights
*2............................................................... .......... P.178
Stop lights/rear turn signal lig hts/tail lights/rear side marker
lightsP.171, 178
Tail lights
*2............................................................... ........... P.178
Back-up lights
Shifting the shift position to R ............................... ............... P.168
License plate lights........................................... ................. P.178
Side turn signal lights
*2..................................................... P.171
*1: Vehicles with a smart key system
*2: If equipped
Light bulbs of the exterior lights for driving
(Replacing method: P.374, Watts: P.435)
Page 73 of 500
732-1. Instrument cluster
2
Vehicle status information and indicators
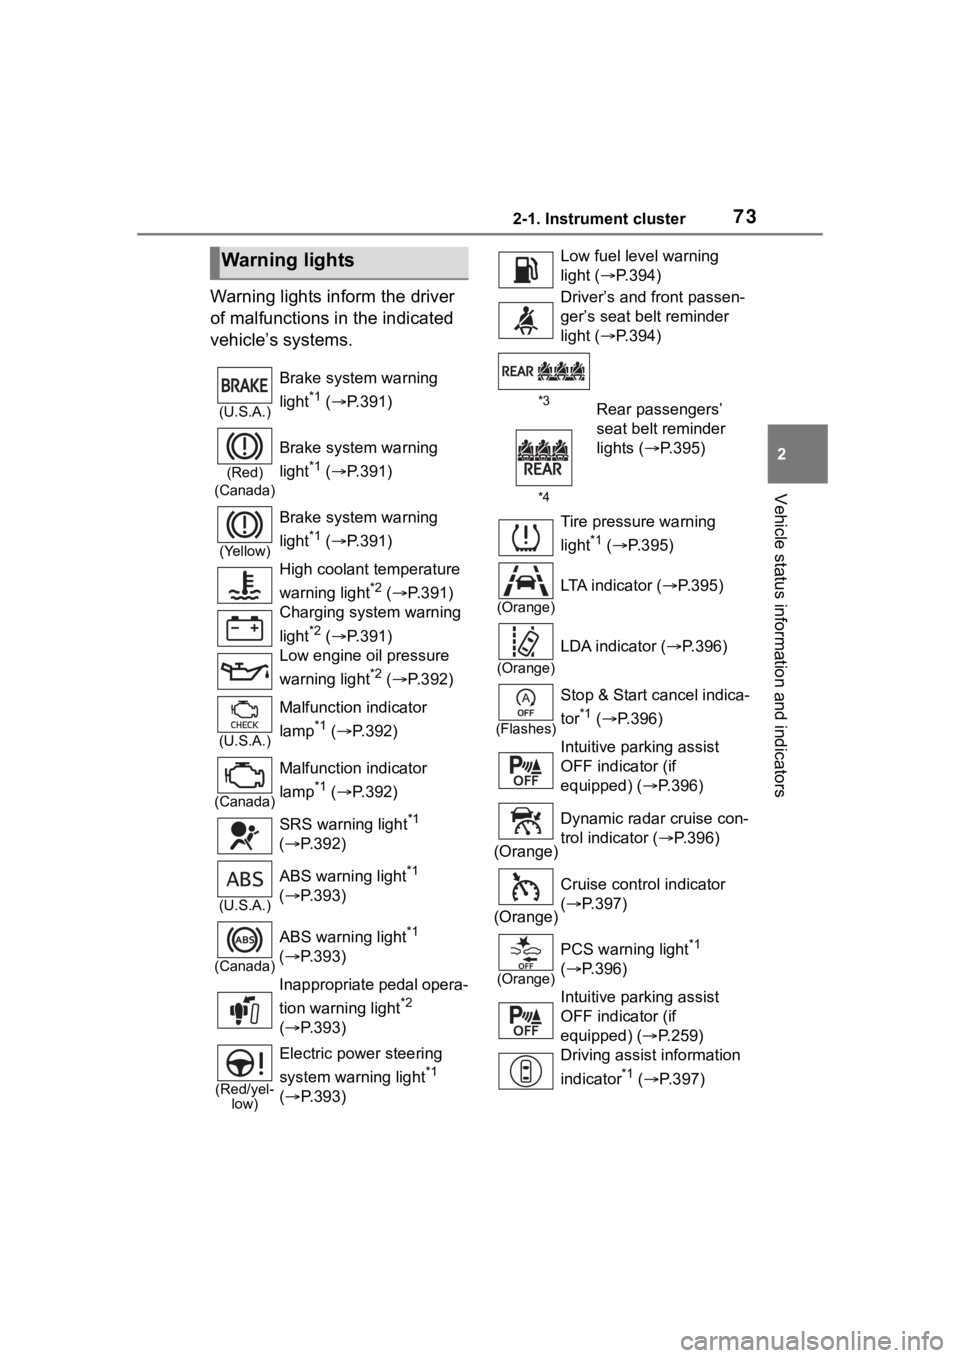
Warning lights inform the driver
of malfunctions in the indicated
vehicle’s systems.
Warning lights
(U.S.A.)
Brake system warning
light
*1 ( P.391)
(Red)
(Canada)
Brake system warning
light
*1 ( P.391)
(Yellow)
Brake system warning
light
*1 ( P.391)
High coolant temperature
warning light
*2 ( P.391)
Charging system warning
light
*2 ( P.391)
Low engine oil pressure
warning light
*2 ( P.392)
(U.S.A.)
Malfunction indicator
lamp
*1 ( P.392)
(Canada)
Malfunction indicator
lamp
*1 ( P.392)
SRS warning light
*1
( P.392)
(U.S.A.)
ABS warning light*1
( P.393)
(Canada)
ABS warning light*1
( P.393)
Inappropriate pedal opera-
tion warning light
*2
( P.393)
(Red/yel-
low)
Electric power steering
system warning light
*1
( P.393)
Low fuel leve l warning
light ( P.394)
Driver’s and front passen-
ger’s seat belt reminder
light ( P.394)
*3
*4Rear passengers’
seat belt reminder
lights ( P.395)
Tire pressure warning
light
*1 ( P.395)
(Orange)
LTA indicator ( P.395)
(Orange)
LDA indicator ( P.396)
(Flashes)
Stop & Start cancel indica-
tor
*1 ( P.396)
Intuitive parking assist
OFF indicator (if
equipped) ( P.396)
(Orange) Dynamic radar cruise con-
trol indicator (
P.396)
(Orange) Cruise control indicator
(
P.397)
(Orange)
PCS warning light*1
( P.396)
Intuitive parking assist
OFF indicator (if
equipped) ( P.259)
Driving assist information
indicator
*1 ( P.397)
Page 86 of 500
862-1. Instrument cluster
type and drive information items
were selected in . (P.86)
After start
• Distance: Displays the distance
driven since e ngine start
• Elapsed time: Displays the elapsed time since engine start
• Average vehicle speed: Displays the average vehi cle speed since
engine start
After reset
• Distance: Displays the distance
driven since the display was
reset
*
• Elapsed time: Displays the elapsed time since the display
was reset
*
• Average vehicle speed: Displays the average vehi cle speed since
the display was reset
*
*
: To reset, display the desired item
and press and hold the
meter control switch.
■Tire pressure
P. 3 5 3
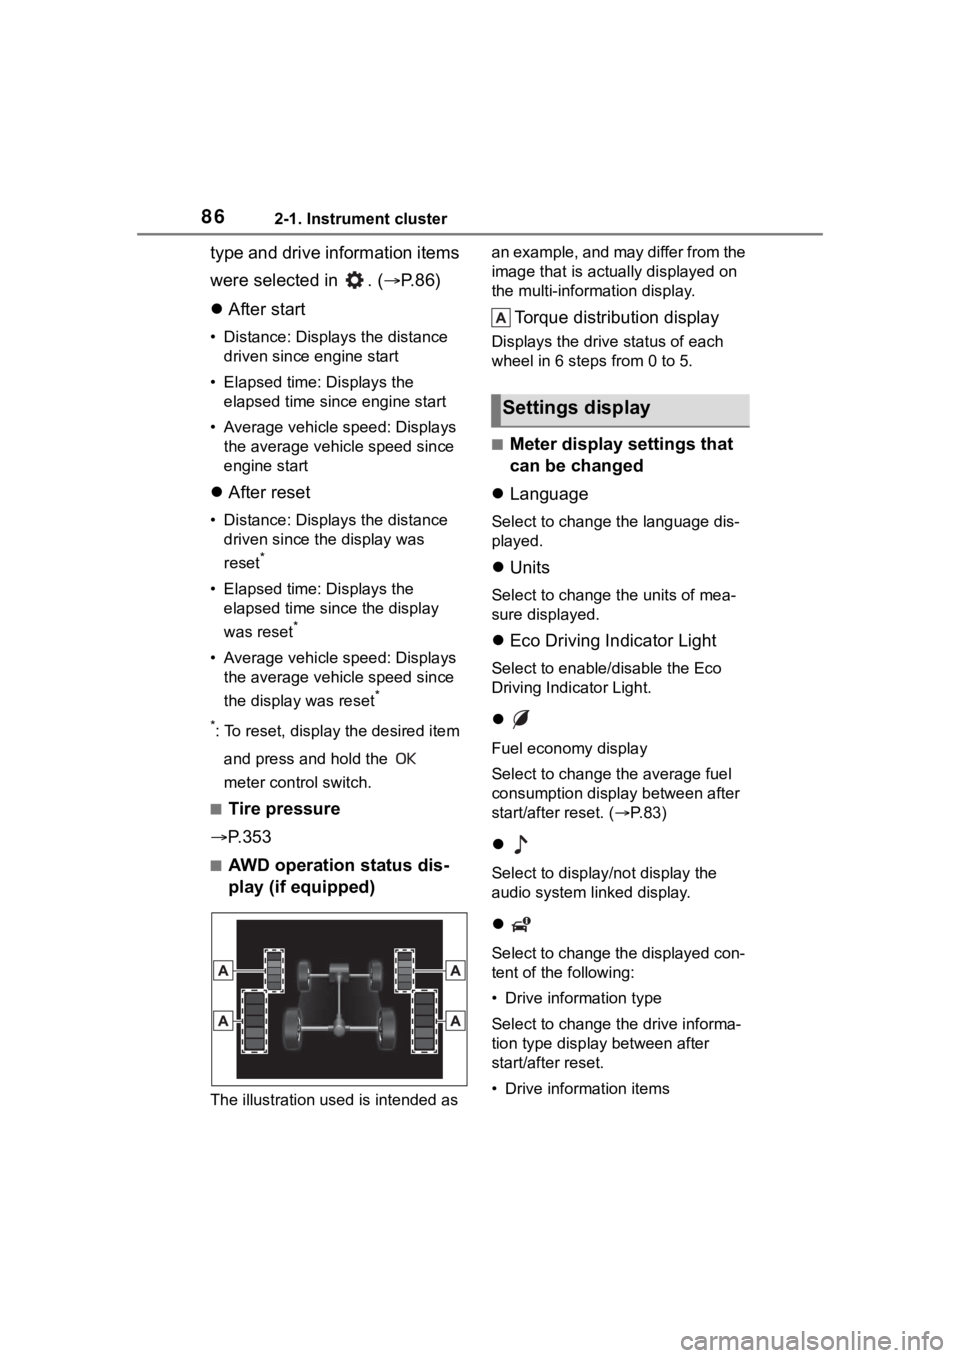
■AWD operation status dis-
play (if equipped)
The illustration used is intended as an example, and may differ from the
image that is actually displayed on
the multi-information display.
Torque distribution display
Displays the drive status of each
wheel in 6 steps from 0 to 5.
■Meter display settings that
can be changed
Language
Select to change the language dis-
played.
Units
Select to change the units of mea-
sure displayed.
Eco Driving Indicator Light
Select to enable/disable the Eco
Driving Indi cator Light.
Fuel economy display
Select to change the average fuel
consumption display between after
start/after reset. ( P. 8 3 )
Select to displa y/not display the
audio system linked display.
Select to change the displayed con-
tent of the following:
• Drive information type
Select to change the drive informa-
tion type display between after
start/after reset.
• Drive information items
Settings display
Page 338 of 500

3386-2. Maintenance
The OBD system determines
that a problem exists some-
where in the emission control
system. Your vehicle may not
pass the I/M test and may need
to be repaired. Contact your
Toyota dealer to service the
vehicle.
When the battery is discon-
nected or discharged
Readiness codes that are set
during ordinary driving are erased.
Also, depending on your driving
habits, the readiness codes may
not be completely set.
When the fuel tank cap is
loose
Tires
• Is the tire infla-
tion pressure
correct?
• The tires should not be damaged
or excessively
worn.
• Have the tires been rotated
according to the
maintenance
schedule?
• The wheel nuts should not be
loose.
Windshield
wipers/rear
window wiper
(if equipped)
• The wiper blades should not show
any signs of
cracking, split-
ting, wear, con-
tamination or
deformation.
• The wiper blades should clear the
windshield/rear
window without
streaking or skip-
ping.
ItemsCheck pointsEmission inspection
and maintenance (I/M)
programs
Some states have vehicle
emission inspection pro-
grams which include OBD
(On Board Diagnostics)
checks. The OBD system
monitors the operation of
the emission control sys-
tem.
If the malfunction indica-
tor lamp comes on
Your vehicle may not pass
the I/M test in the follow-
ing situations:
Page 341 of 500
3416-3. Do-it-yourself maintenance
6
Maintenance and care
Radiator
and con-
denser
( P.347)
Tire infla-
tion pres-
sure
( P.363)• Tire pressure gauge
• Compressed air
source
Washer
fluid
( P.350)
• Water or washer
fluid containing anti-
freeze (for winter
use)
• Funnel (used only for adding water or
washer fluid)
WARNING
The engine compartment contains
many mechanisms and fluids that
may move suddenly, become hot,
or become electrically energized.
To avoid death or serious injury,
observe the following precautions.
■When working on the engine
compartment
●Keep hands, clothing and tools
away from the moving fan and
engine drive belt.
●Be careful not to touch the
engine, radiator , exhaust mani-
fold, etc. right a fter driving as
they may be hot . Oil and other
fluids may also be hot.
●Do not leave anything that may
burn easily, such as paper and
rags, in the engine compart-
ment.
●Do not smoke, cause sparks or
expose an open flame to fuel or
the battery. Fuel and battery
fumes are flammable.
ItemsParts and tools●Be extremely cautious when
working on the battery. It con-
tains poisonous and corrosive
sulfuric acid.
■When working near the elec-
tric cooling fan or radiator
grille
Be sure the engine switch is OFF.
With the engine switch in ON, the
electric cooling fa n may automati-
cally start to run if the air condi-
tioning is on and/or the coolant
temperature is high. ( P.347)
■Safety glasses
Wear safety glasses to prevent
flying or falling material, fluid
spray, etc. from getting in your
eyes.
NOTICE
■If you remove the air cleaner
filter
Driving with the air cleaner filter
removed may cause excessive
engine wear due to dirt in the air.
Page 363 of 500

3636-3. Do-it-yourself maintenance
6
Maintenance and care
The recommended cold tire
inflation pressure and tire size
are displayed on the tire and
loading information label.
(P.434)
Tire valve Tire pressure gauge
1 Remove the tire valve cap.
2 Press the tip of the tire pres-
sure gauge onto the tire
valve.
3 Read the pressure using the
gauge gradations.
4 If the tire inflation pressure is
not at the recommended
level, adjust the pressure.
If you add too much air, press
the center of the valve to
deflate.
5 After completing the tire infla-
tion pressure measurement
and adjustment, apply soapy
water to the valve and check
for leakage.
6 Put the tire valve cap back
on.
■Tire inflation pressure check
interval
You should check ti re inflation pres-
sure every two week s, or at least
once a month. Do not forget to
check the spare.
■Effects of incorrect tire inflation
pressure
Driving with incorrec t tire inflation
pressure may resul t in the following:
●Reduced fuel economy
●Reduced driving comfort and poor
handling
●Reduced tire life due to wear
●Reduced safety
●Damage to the drive train
If a tire needs frequent inflating,
have it checked by your Toyota
dealer.
Tire inflation pressure
Checking the specified
tire inflation pressure
Inspection and adjust-
ment procedure
Page 400 of 500
4007-2. Steps to take in an emergency
WARNING
●Avoid abrupt maneuvering and
braking.
If the vehicle tires deteriorate,
you could lose control of the
steering wheel or the brakes.
■If a blowout or sudden air
leakage should occur
The tire pressure warning system
may not activate immediately.
■Maintenance of the tires
Each tire, including the spare (if
provided), should be checked
monthly when cold and inflated to
the inflation pressure recom-
mended by the vehicle manufac-
turer on the vehicle placard or tire
inflation pressure label (tire and
load information label). (If your
vehicle has tires of a different size
than the size indicated on the
vehicle placard or tire inflation
pressure label [tire and load infor-
mation label], you should deter-
mine the proper tire inflation
pressure for those tires.)
As an added safe ty feature, your
vehicle has been equipped with a
tire pressure m onitoring system
(TPMS-tire pressure warning sys-
tem) that illuminates a low tire
pressure telltale (tire pressure
warning light) when one or more
of your tires is significantly
under-inflated. Accordingly, when
the low tire pressure telltale (tire
pressure warning light) illumi-
nates, you should stop and check
your tires as soon as possible,
and inflate them to the proper
pressure. Driving on a signifi-
cantly under-inflated tire causes
the tire to overheat and can lead
to tire failure. Under-inflation also
reduces fuel efficiency and tire
tread life, and may affect the vehi-
cle’s handling and stopping ability.
Please note that the TPMS (tire
pressure warning system) is not a
substitute for proper tire mainte-
nance, and it is the driver’s
responsibility to m aintain correct
tire pressure, even if under-infla-
tion has not reached the level to
trigger illumination of the TPMS
low tire pressure te lltale (tire pres-
sure warning light).
Your vehicle has also been
equipped with a TPMS (tire pres-
sure warning system) malfunc-
tion indicator to indicate when the
system is not operating properly.
The TPMS (tire pressure warning
system) malfunction indicator is
combined with the low tire pres-
sure telltale (tire pressure warning
light). When the system detects a
malfunction, the te lltale will flash
for approximately one minute and
then remain continuously illumi-
nated. This sequence will con-
tinue upon subsequent vehicle
start-ups as long as the malfunc-
tion exists. When the malfunction
indicator is illuminated, the sys-
tem may not be ab le to detect or
signal low tire pressure as
intended.
TPMS (tire pressure warning sys-
tem) malfunctions may occur for a
variety of reasons, including the
installation of replacement or
alternate tires or wheels on the
vehicle that prevent the TPMS
(tire pressure warning system)
from functioning properly. Always
check the TPMS (tire pressure
warning system) malfunction tell-
tale after replacing one or more
tires or wheels on your vehicle to
ensure that the replacement or
alternate tires and wheels allow
the TPMS (tire pressure warning
system) to continue to function
properly.
Page 415 of 500
4157-2. Steps to take in an emergency
7
When trouble arises
One of the following may be the
cause of the problem:
There may not be sufficient
fuel in the vehicle’s tank.
Refuel the vehicle.
The engine may be flooded.
Try to restart the engine again
following correct starting pro-
cedures. ( P.162, 163)
There may be a malfunction
in the engine immobilizer sys-
tem. ( P.68)
One of the following may be the
cause of the problem:
The battery may be dis-
charged. ( P.419)
NOTICE
■When replacing the tires
When removing or fitting the
wheels, tires or the tire pressure
warning valve and transmitter,
contact your Toyota dealer as the
tire pressure warning valve and
transmitter may be damaged if not
handled correctly.
■To avoid damage to the tire
pressure warning valves and
transmitters
When a tire is repaired with liquid
sealants, the tire pressure warn-
ing valve and transmitter may not
operate properly. If a liquid seal-
ant is used, contact your Toyota
dealer or other qualified service
shop as soon as possible. Make
sure to replace the tire pressure
warning valve and transmitter
when replacing the tire.
If the engine will not
star t
If the engine will not start
even though correct starting
procedures are being fol-
lowed ( P.162, 163), con-
sider each of the following
points:
The engine will not start
even though the starter
motor operates normally.
The starter motor turns
over slowly, the interior
lights and headlights are
dim, or the horn does not
sound or sounds at a low
volume.