USB TOYOTA COROLLA HATCHBACK 2019 Accessories, Audio & Navigation (in English)
[x] Cancel search | Manufacturer: TOYOTA, Model Year: 2019, Model line: COROLLA HATCHBACK, Model: TOYOTA COROLLA HATCHBACK 2019Pages: 254, PDF Size: 6.72 MB
Page 189 of 254

1898-1. Phone operation (Hands-free system for cellular phones)
COROLLA_H/B_Navi_U
8
Phone
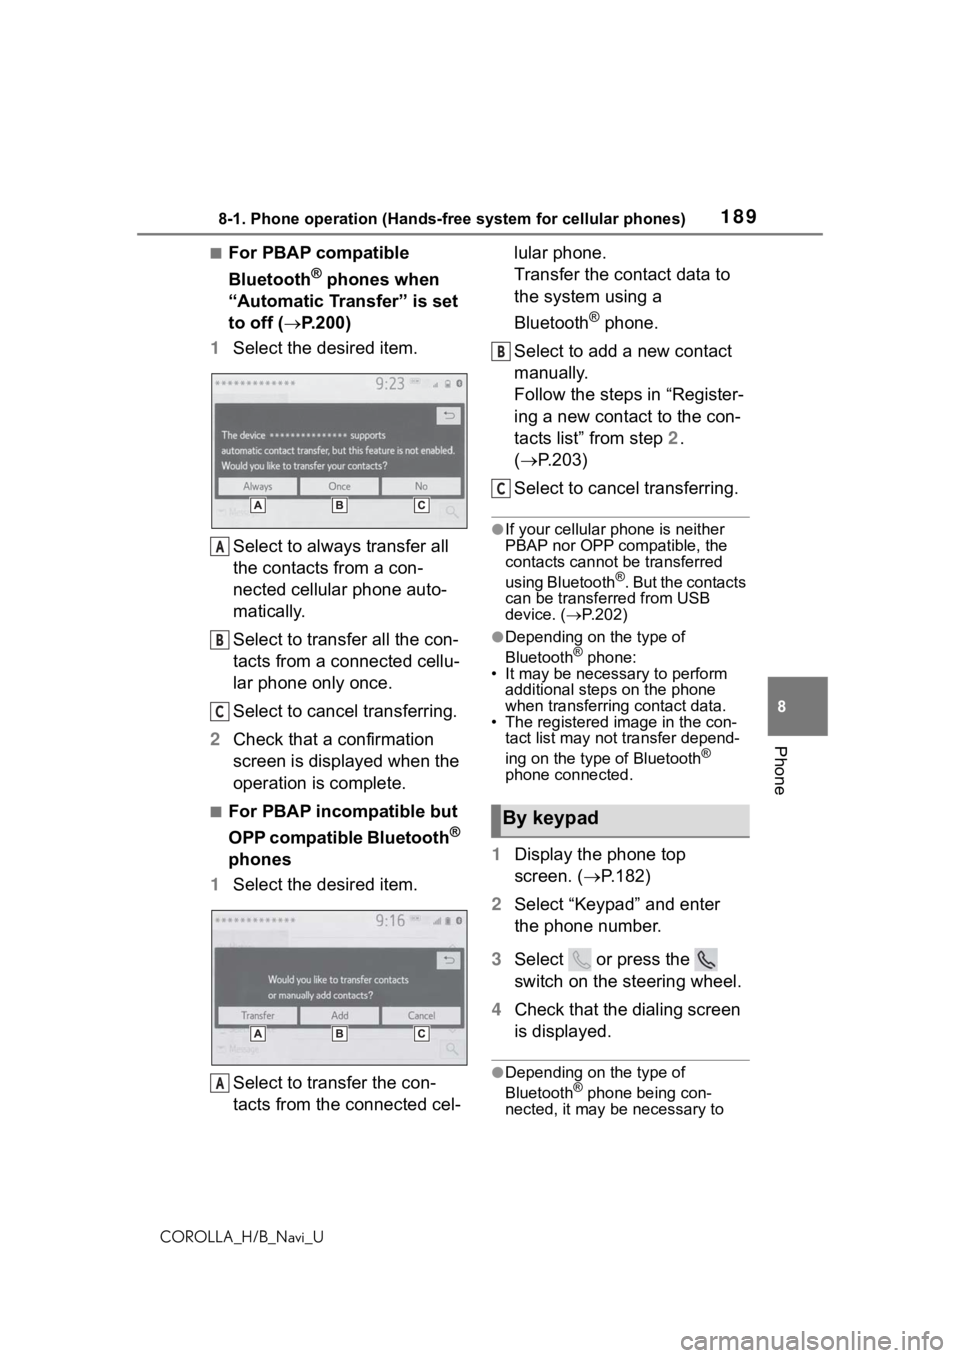
■For PBAP compatible
Bluetooth
® phones when
“Automatic Transfer” is set
to off ( P.200)
1 Select the desired item.
Select to always transfer all
the contacts from a con-
nected cellular phone auto-
matically.
Select to transfer all the con-
tacts from a connected cellu-
lar phone only once.
Select to cancel transferring.
2 Check that a confirmation
screen is displayed when the
operation is complete.
■For PBAP incompatible but
OPP compatible Bluetooth
®
phones
1 Select the desired item.
Select to transfer the con-
tacts from the connected cel- lular phone.
Transfer the contact data to
the system using a
Bluetooth
® phone.
Select to add a new contact
manually.
Follow the steps in “Register-
ing a new contact to the con-
tacts list” from step 2.
( P.203)
Select to cancel transferring.
●If your cellular phone is neither
PBAP nor OPP compatible, the
contacts cannot be transferred
using Bluetooth
®. But the contacts
can be transferred from USB
device. ( P.202)
●Depending on the type of
Bluetooth® phone:
• It may be necessary to perform
additional steps on the phone
when transferring contact data.
• The registered image in the con-
tact list may not transfer depend-
ing on the type of Bluetooth
®
phone connected.
1 Display the phone top
screen. ( P.182)
2 Select “Keypad” and enter
the phone number.
3 Select or press the
switch on the steering wheel.
4 Check that the dialing screen
is displayed.
●Depending on the type of
Bluetooth® phone being con-
nected, it may be necessary to
A
B
C
A
By keypad
B
C
Page 202 of 254

2028-2. Setup
COROLLA_H/B_Navi_U
■Updating the contacts in a
different way (from the call
history screen)
*
1Display the phone top
screen. ( P.182)
2 Select “History” and select a
contact not yet registered in
the contact list.
3 Select “Update Contact”.
4 Select the desired contact.
5 Select a phone type for the
phone number.
*: For PBAP compatible Bluetooth®
phones, this function is available
when “Automatic Transfer” is set
to off. ( P.200)
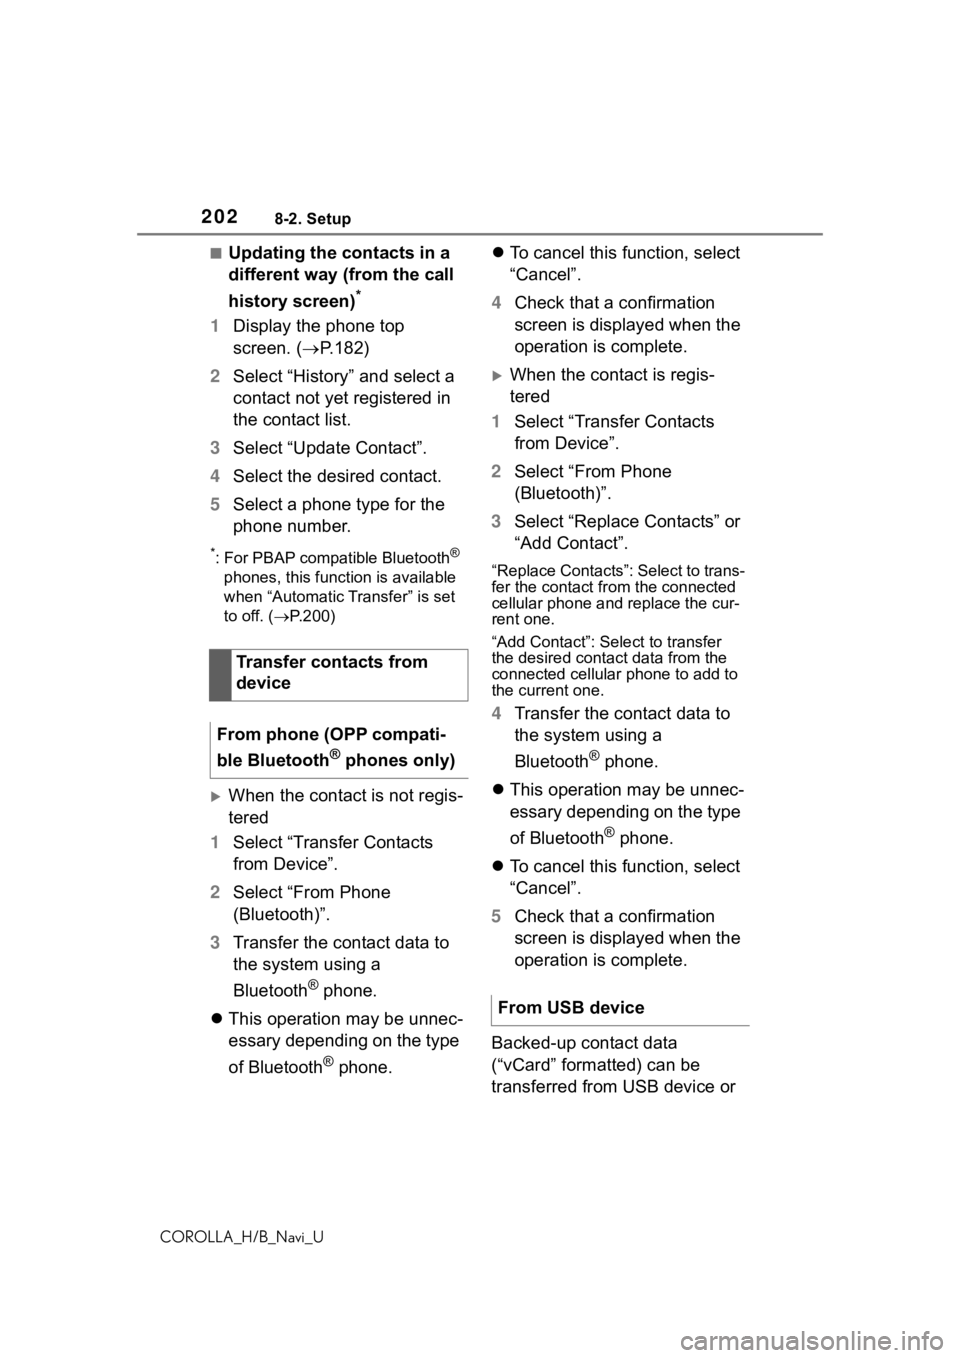
When the contact is not regis-
tered
1 Select “Transfer Contacts
from Device”.
2 Select “From Phone
(Bluetooth)”.
3 Transfer the contact data to
the system using a
Bluetooth
® phone.
This operation may be unnec-
essary depending on the type
of Bluetooth
® phone.
To cancel this function, select
“Cancel”.
4 Check that a confirmation
screen is displayed when the
operation is complete.
When the contact is regis-
tered
1 Select “Transfer Contacts
from Device”.
2 Select “From Phone
(Bluetooth)”.
3 Select “Replace Contacts” or
“Add Contact”.
“Replace Contacts”: Select to trans-
fer the contact fr om the connected
cellular phone and replace the cur-
rent one.
“Add Contact”: Select to transfer
the desired contact data from the
connected cellular phone to add to
the current one.
4 Transfer the contact data to
the system using a
Bluetooth
® phone.
This operation may be unnec-
essary depending on the type
of Bluetooth
® phone.
To cancel this function, select
“Cancel”.
5 Check that a confirmation
screen is displayed when the
operation is complete.
Backed-up contact data
(“vCard” formatted) can be
transferred from USB device or
Transfer contacts from
device
From phone (OPP compati-
ble Bluetooth
® phones only)
From USB device
Page 203 of 254

2038-2. Setup
COROLLA_H/B_Navi_U
8
Phone
Bluetooth® phone to this sys-
tem.
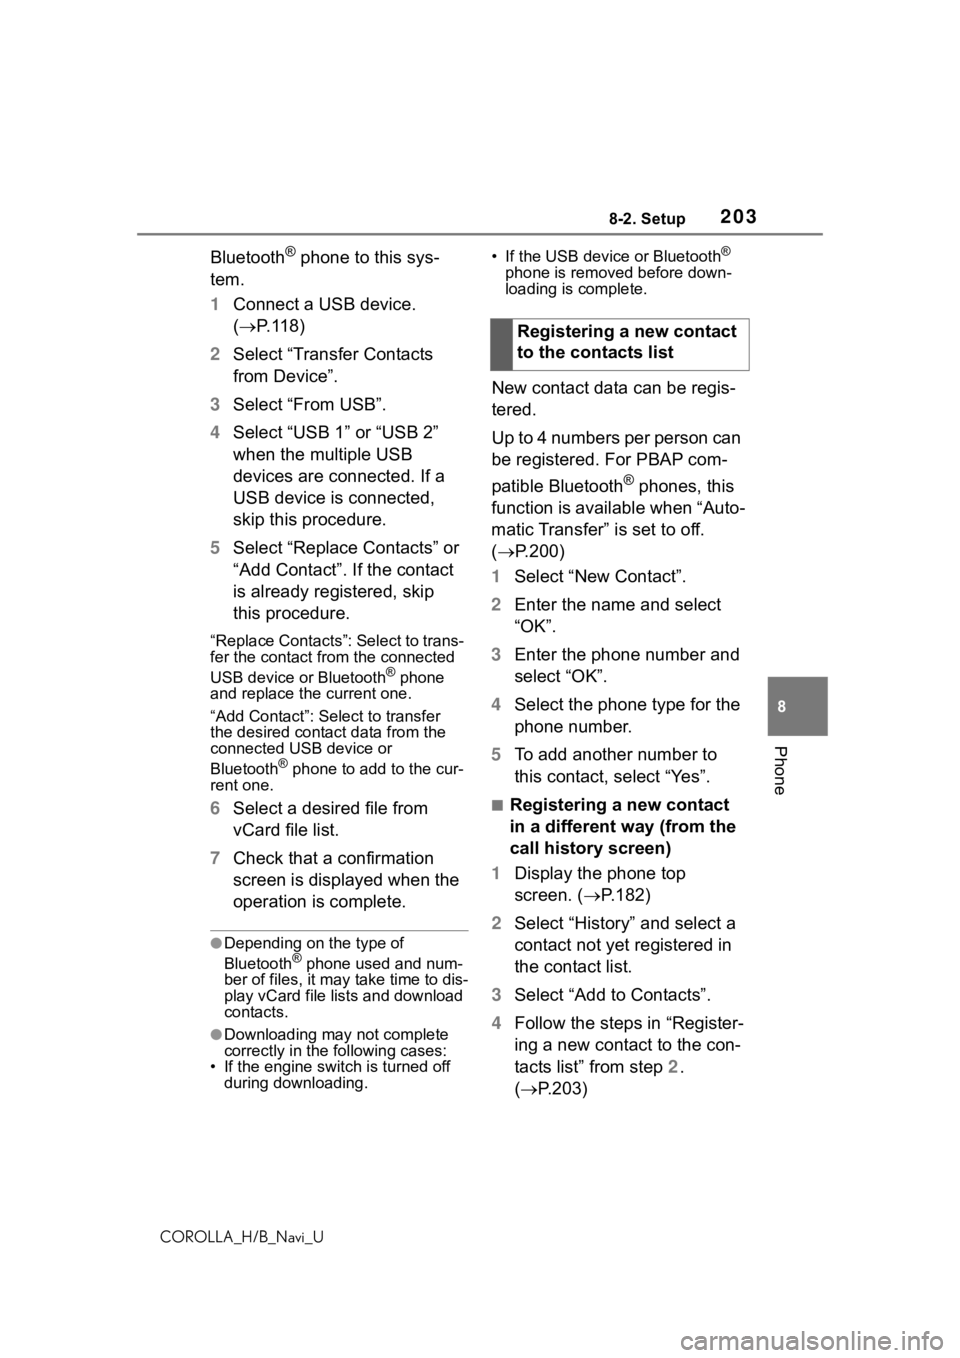
1 Connect a USB device.
( P.118)
2 Select “Transfer Contacts
from Device”.
3 Select “From USB”.
4 Select “USB 1” or “USB 2”
when the multiple USB
devices are connected. If a
USB device is connected,
skip this procedure.
5 Select “Replace Contacts” or
“Add Contact”. If the contact
is already registered, skip
this procedure.
“Replace Contacts”: Select to trans-
fer the contact fro m the connected
USB device or Bluetooth
® phone
and replace the current one.
“Add Contact”: Select to transfer
the desired contact data from the
connected USB device or
Bluetooth
® phone to add to the cur-
rent one.
6 Select a desired file from
vCard file list.
7 Check that a confirmation
screen is displayed when the
operation is complete.
●Depending on the type of
Bluetooth® phone used and num-
ber of files, it may take time to dis-
play vCard file lists and download
contacts.
●Downloading may not complete
correctly in the following cases:
• If the engine switch is turned off during downloading. • If the USB device or Bluetooth
®
phone is removed before down-
loading is complete.
New contact data can be regis-
tered.
Up to 4 numbers per person can
be registered. For PBAP com-
patible Bluetooth
® phones, this
function is available when “Auto-
matic Transfer” is set to off.
( P.200)
1 Select “New Contact”.
2 Enter the name and select
“OK”.
3 Enter the phone number and
select “OK”.
4 Select the phone type for the
phone number.
5 To add another number to
this contact, select “Yes”.
■Registering a new contact
in a different way (from the
call history screen)
1 Display the phone top
screen. ( P.182)
2 Select “History” and select a
contact not yet registered in
the contact list.
3 Select “Add to Contacts”.
4 Follow the steps in “Register-
ing a new contact to the con-
tacts list” from step 2.
( P.203)
Registering a new contact
to the contacts list
Page 232 of 254

2329-3. Setup
COROLLA_H/B_Navi_U
9-3.Setup
1Press the “MENU” button.
2 Select “Setup”.
3 Select “Entune App Suite”.
4 Select the desired items to
be set.
Select to set the pop up
reminder for smart phone data usage. (
P.233)
Select to detect iPhone app
automatically on/off.
Select to set the enhanced
mode with connecting USB
device on/off.
• When an iPhone is connected while this setting is set to “On”,
communication with devices con-
nected to other USB ports may
not be possible. Also, depending
on the device, charging may not
be possible.
Select to configure the Apps
menu layout (e.g. app order,
which applications are acti-
vated, etc.). This updates a
setting file stored on the
Toyota Entune center, this
settings file can also be
updated from the navigation
system, smart phone app
and by web portal.
Select to install the Apps via
a USB memory device. For
details, contact your Toyota
dealer.
Select to reset all setup
items.
Toyota Entune App
Suite Connect settings
The settings of Toyota
Entune App Suite Connect
can be changed.
Displaying the Toyota
Entune App Suite Con-
nect settings screen
Toyota Entune App Suite
Connect settings screen
A
B
C
D
E
F
Page 236 of 254

236Alphabetical Index
COROLLA_H/B_Navi_U
Alphabetical Index
A
AM ............................................ 122
Apple CarPlay ..................... 52, 54
APPS button ........ .....................12
Apps button (Menu screen) ..... 14
Audio ....................................... 11 6
Audio source ........................ 117
Operating information........... 145
Reordering the audio source 118
Screen adjustment ............... 120
Some basics......................... 117
Sound settings ..................... 118
Turning the system on and off ........................................... 117
USB/AUX port ...................... 118
Voice command system ....... 121
AUDIO button............................ 12
Audio button (Menu screen).... 14
Audio button (Setup screen) ... 18
Audio settings ........................ 143
Common settings ................. 143
Radio settings ...................... 143
Audio source .......................... 11 7
AUX .......................................... 139
B
Basic operation ........................ 68
Bluetooth® audio .................... 136
Registering/Connecting a Bluetooth
® device .............. 138
Bluetooth® button (Setup
screen) .................................... 18
Bluetooth
® details settings ..... 40
Bluetooth® setup screen ........ 40
Connecting a Bluetooth® device
............................................. 41
Deleting a Bluetooth
® device . 43
Detailed settings screen ......... 45
Displaying the Bluetooth
® setup
screen .................................. 40 Editing the Bluetooth
® device
information............................43
Registering a Bluetooth
® device
.............................................43
Bluetooth
® device information 43
Bluetooth® hands-free system
............................................... 182
Bluetooth
® phone message
function ................................. 194
Calling the message sender .197
Checking received messages ...........................................195
Displaying the message screen ...........................................194
Receiving a mess age ...........194
Replying to a message (dicta- tion reply)............................196
Replying to a message (quick reply) ..................................196
Buttons overview...................... 12
C
Clock settings ...........................57
Command list ..........................160
D
Data service button (Setup
screen) ..................................... 18
Data services settings............ 170
DCM ......................... 220, 222 , 224
Destination Assist Connect ... 230
Destination button (Menu screen) ..................................... 14
Destination search ................... 79
Destination search operation Address ..................................82
Contact ...................................81
Destination Assist ...................81
Emergency .............................81
Favorite list .............................80
Home ................................24, 80
Page 239 of 254

239
COROLLA_H/B_Navi_U239Alphabetical Index
Route overview ......................... 87
S
Screen adjustment ...................33
SEEK/TRACK button ................ 12
Setup ......................................... 97
Setup button (Menu screen) ........................................... 14, 18
Setup screen ............................. 18
SiriusXM (SXM) ....................... 122
Status icon ................................ 16
Status icon explanation .......... 16
Steering switch ............... 141, 156
Audio switch ......................... 141
Talk switch ............................ 156
SXM (SiriusXM) ....................... 122
T
Talking on the Bluetooth®
hands-free system ............... 191
Call screen operation ........... 191
Incoming call waiting ............ 193
Sending tones ...................... 192
Transmit volume setting ....... 192
Things you should know ....... 179
If you notice any symptoms.. 179
Tips for the navigation system ............................................... 111
Touch screen ............................ 27
Touch screen gestures ........... 27
Touch screen operation .......... 28
Toyota Entune......................... 214
Toyota Entune App Suite Con- nect ........................................ 226
Entering keyword ................. 229
Toyota Entune App Suite Con- nect settings ......................... 232
Toyota Entune center ............... 89
Toyota Entune Destinations .. 230
Toyota Entune Remote Connect ............................................... 224Toyota Entune Service Connect
............................................... 225
Traffic button (Setup screen)... 18
Traffic incidents button (Informa- tion screen) ............................. 19
Traffic information .................... 76
Traffic settings ........................ 105
TUNE SCROLL knob ................ 12
U
USB memory ...........................131
USB/AUX port ......................... 11 8
Use of information accumulated by navigation system ........... 11 0
V
Vehicle alert history button
(Information screen) ............... 19
Vehicle button (Setup screen) ........................................... 18, 61
Vehicle settings ........................ 61
Displaying the vehicle settings screen...................................61
Maintenance ...........................62
Valet mode setting ..................63
Vehicle settings screen...........61
Voice button (Setup screen) ........................................... 18, 60
Voice command system ......... 156
Using the voice command sys- tem .....................................156
Voice command system opera- tion......................................157
Voice guidance prompts .......... 94
Voice settings ........................... 60
Displaying the voice settings screen...................................60
Voice settings screen .............60