TOYOTA FJ CRUISER 2010 1.G Owners Manual
Manufacturer: TOYOTA, Model Year: 2010, Model line: FJ CRUISER, Model: TOYOTA FJ CRUISER 2010 1.GPages: 439, PDF Size: 11.02 MB
Page 271 of 439
271
3-5. Other interior features
3
Interior features
Compass
: If equipped
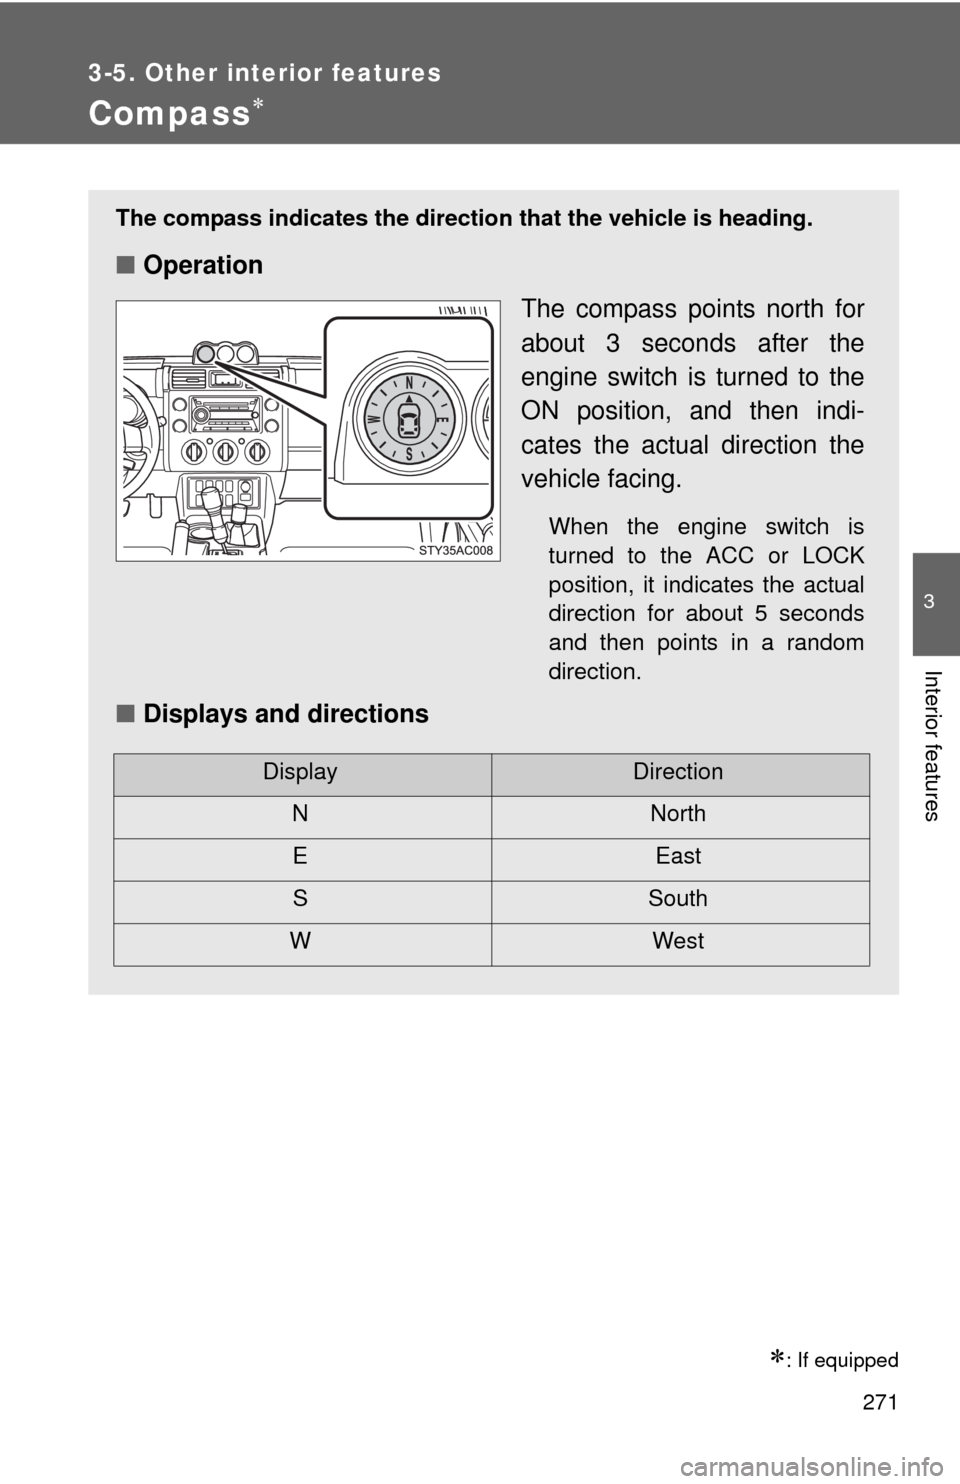
The compass indicates the direction that the vehicle is heading.
■Operation
The compass points north for
about 3 seconds after the
engine switch is turned to the
ON position, and then indi-
cates the actual direction the
vehicle facing.
When the engine switch is
turned to the ACC or LOCK
position, it indicates the actual
direction for about 5 seconds
and then points in a random
direction.
■Displays and directions
DisplayDirection
NNorth
EEast
SSouth
WWest
Page 272 of 439
272 3-5. Other interior features
Calibrating the compass
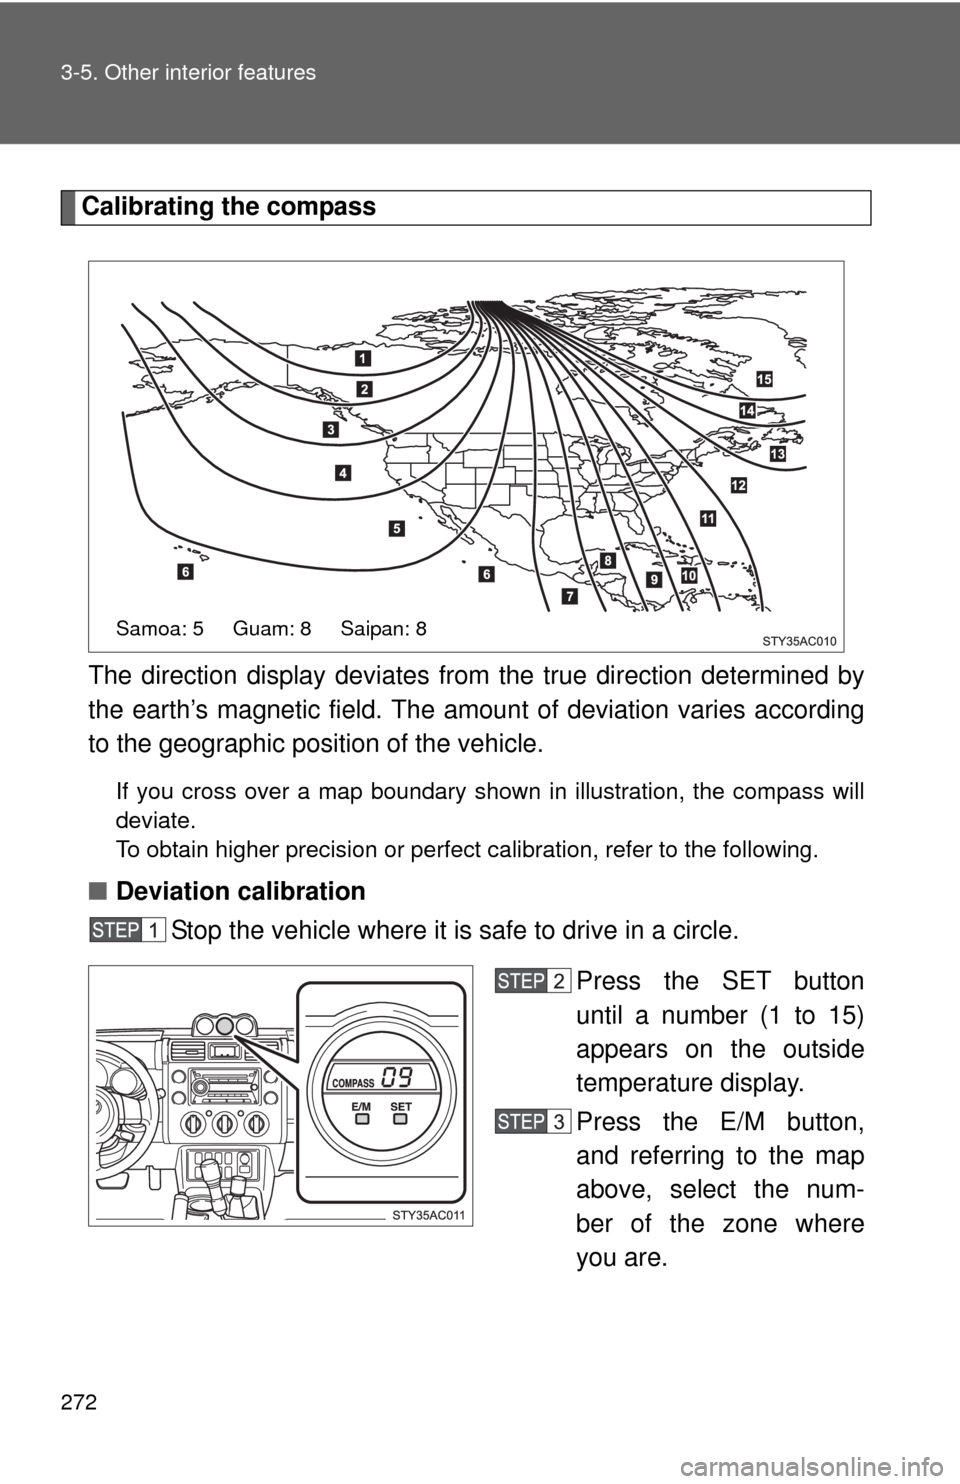
The direction display deviates from the true direction determined by
the earth’s magnetic field. The amount of deviation varies according
to the geographic position of the vehicle.
If you cross over a map boundary shown in illustration, the compass will
deviate.
To obtain higher precision or perfect calibration, refer to the following.
■Deviation calibration
Stop the vehicle where it is safe to drive in a circle.
Press the SET button
until a number (1 to 15)
appears on the outside
temperature display.
Press the E/M button,
and referring to the map
above, select the num-
ber of the zone where
you are.
Samoa: 5 Guam: 8 Saipan: 8
Page 273 of 439
273 3-5. Other interior features
3
Interior features
After calibration, leave the system for 6 seconds or press the
SET button for about 2 seconds.
If the display returns to the outside temperature display, the calibra-
tion is complete.
■Circling calibration
Stop the vehicle where it is safe to drive in a circle.
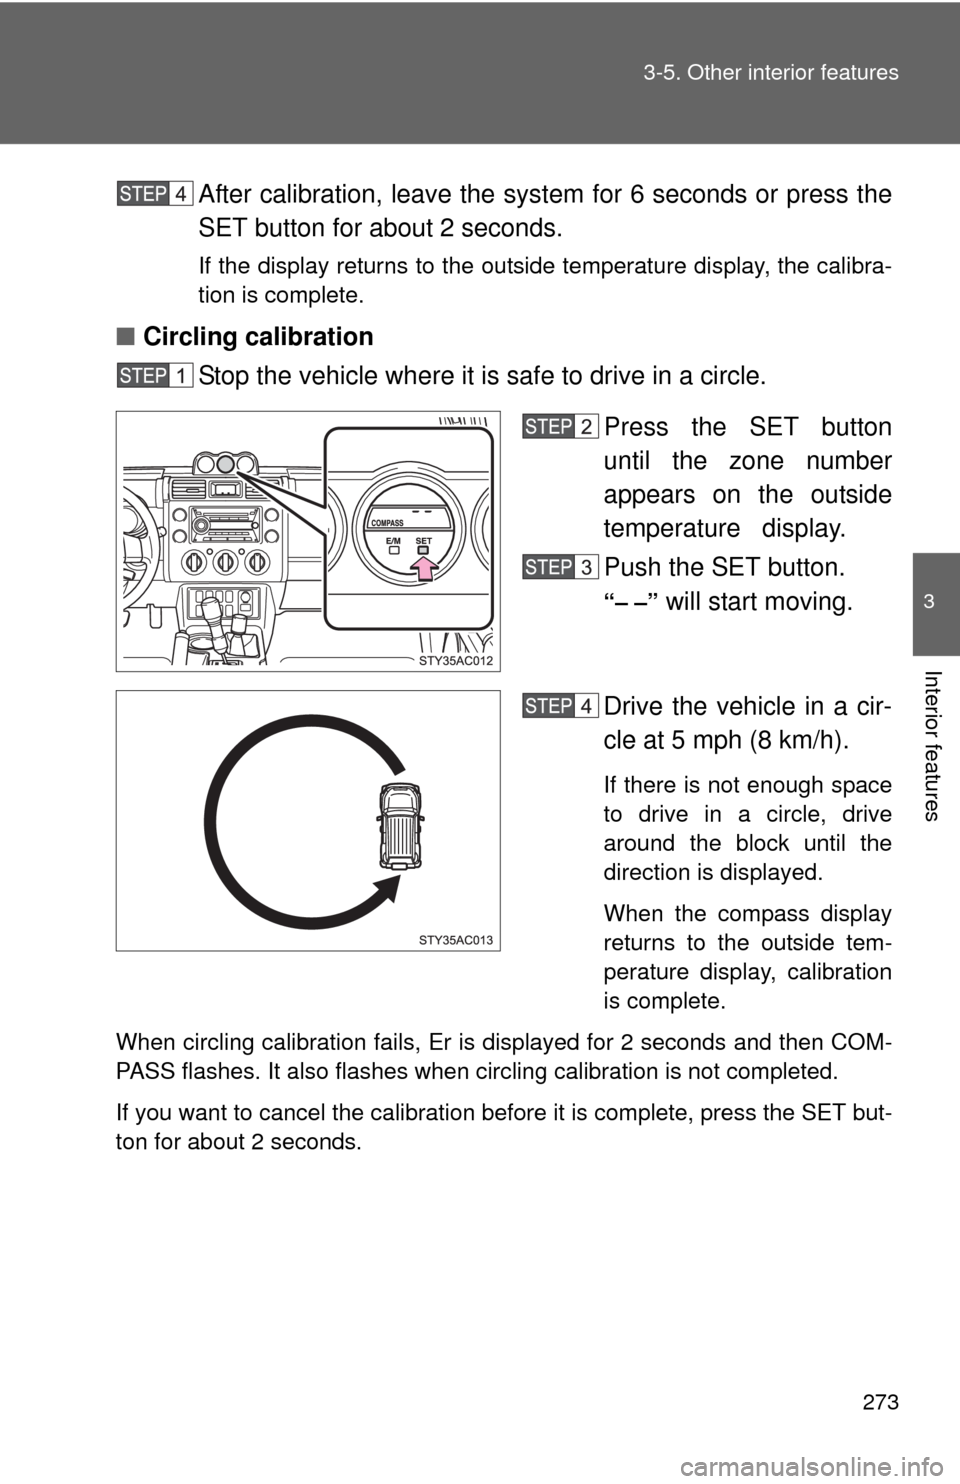
Press the SET button
until the zone number
appears on the outside
temperature display.
Push the SET button.
“– –” will start moving.
Drive the vehicle in a cir-
cle at 5 mph (8 km/h).
If there is not enough space
to drive in a circle, drive
around the block until the
direction is displayed.
When the compass display
returns to the outside tem-
perature display, calibration
is complete.
When circling calibration fails, Er is displayed for 2 seconds and then COM-
PASS flashes. It also flashes when circling calibration is not completed.
If you want to cancel the calibration before it is complete, press the SET but-
ton for about 2 seconds.
Page 274 of 439
274 3-5. Other interior features
■Conditions unfavorable to correct operation
The compass may not show the correct direction in the following conditions:
●The vehicle is stopped immediately after turning.
The compass does not adjust while the vehicle is stopped.
●The engine switch is turned off immediately after turning.
●The vehicle is on an inclined surface.
●The vehicle is in a place where the earth’s magnetic field is subject to
interference by artificial magnetic fields (underground car park/parking
lot, under a steel tower, between buildings, roof car park/parking lot, near
an intersection, near a large vehicle, etc.).
●The vehicle has become magnetized.
(There is a magnet or metal object on or near the accessory meter.)
●The battery has been disconnected.
■When disconnecting and reconnecting battery terminals
COMPASS flashes and the compass is reset to its initial mode.
CAUTION
■While driving the vehicle
Do not adjust the display. Be sure to adjust the display only when the vehicle
is stopped.
■When doing the circling calibration
Be sure to secure a wide space, and watch out for people and vehicles in the
neighborhood. Do not violate any local traffic rules while performing circling
calibration.
Page 275 of 439

275 3-5. Other interior features
3
Interior features
NOTICE
■To avoid the compass malfunctions
Do not place magnets or any metal objects on or near the accessory meter.
Doing this may cause a malfunction of the compass sensor.
■To ensure normal operation of the compass
●Do not perform circling calibration of the compass in a place where the
earth’s magnetic field is subject to interference by artificial magnetic fields.
●During calibration, do not operate electric systems (power windows, etc.)
as they may interfere with the calibration.
Page 276 of 439

276 3-5. Other interior features
Page 277 of 439
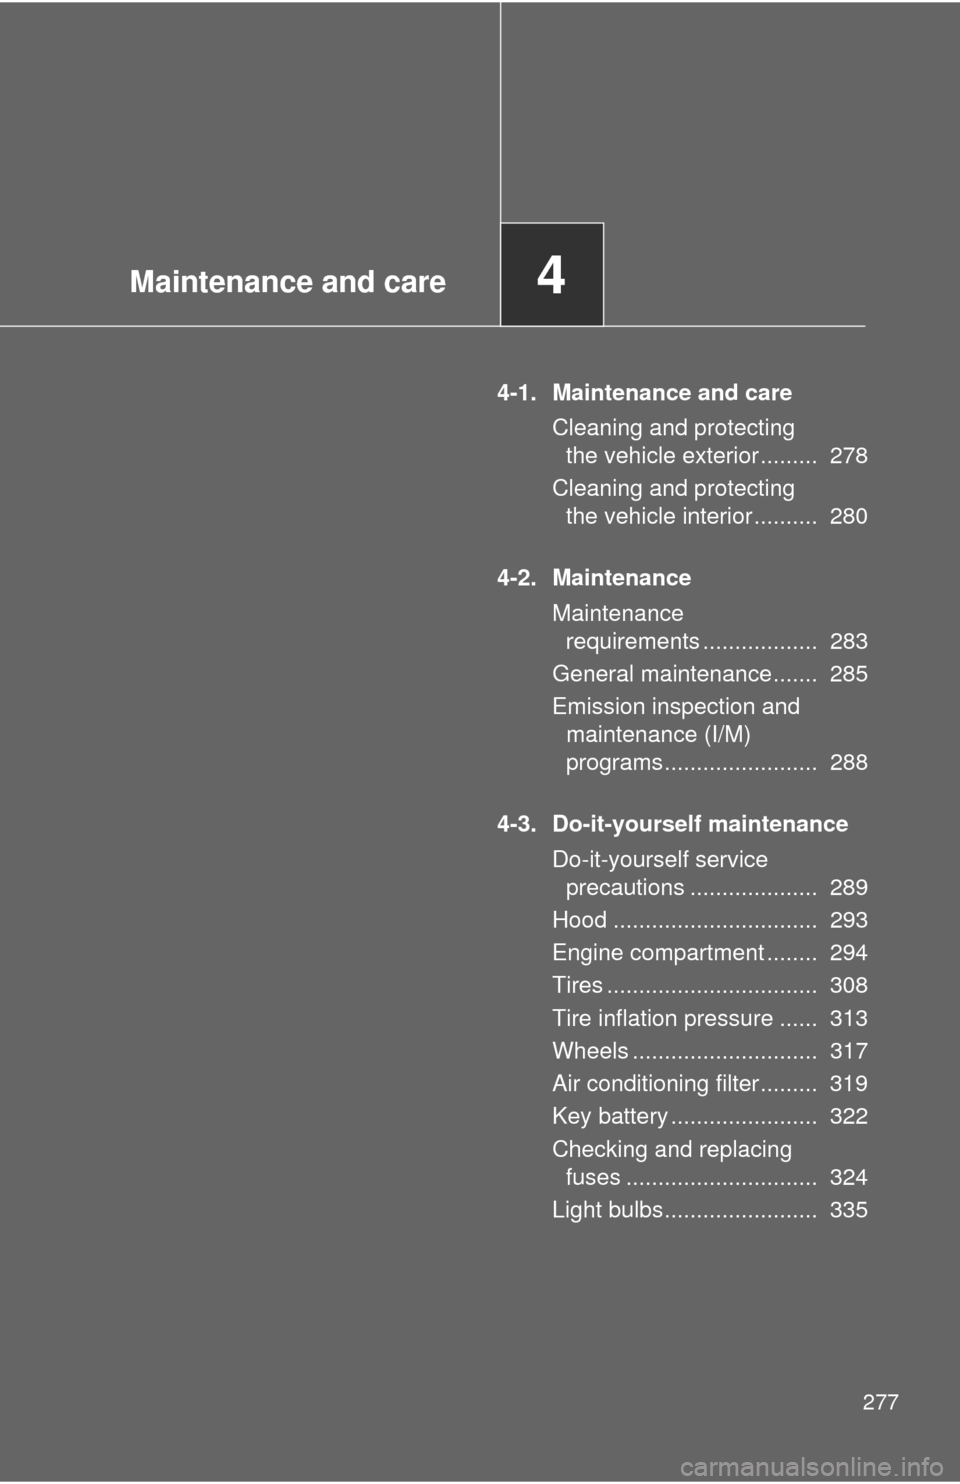
Maintenance and care4
277
4-1. Maintenance and care
Cleaning and protecting
the vehicle exterior ......... 278
Cleaning and protecting
the vehicle interior .......... 280
4-2. Maintenance
Maintenance
requirements .................. 283
General maintenance....... 285
Emission inspection and
maintenance (I/M)
programs........................ 288
4-3. Do-it-yourself maintenance
Do-it-yourself service
precautions .................... 289
Hood ................................ 293
Engine compartment ........ 294
Tires ................................. 308
Tire inflation pressure ...... 313
Wheels ............................. 317
Air conditioning filter......... 319
Key battery ....................... 322
Checking and replacing
fuses .............................. 324
Light bulbs........................ 335
Page 278 of 439
278
4-1. Maintenance and care
Cleaning and protecting the vehicle exterior
■Automatic car washes
●Before washing the vehicle, do the following.
• Fold the mirrors back.
• Remove the antenna.
●Brushes used in automatic car washes may scratch the vehicle surface
and harm your vehicle’s paint.
■High pressure car washes
Do not allow the nozzles of the car wash to come within close proximity of
the windows. Before entering an automatic car wash, check that the fuel filler
door on your vehicle is closed properly.
■Touch-up paint (if equipped)
Touch-up paint may be used to cover small chips or scratches.
Apply the paint soon after the damage occurs or corrosion may set in. To
apply the touch-up paint so it is hardly noticeable the trick is to apply it only
to the bare spots. Apply only the smallest amount possible and do not paint
the surface around the scratch or chip.
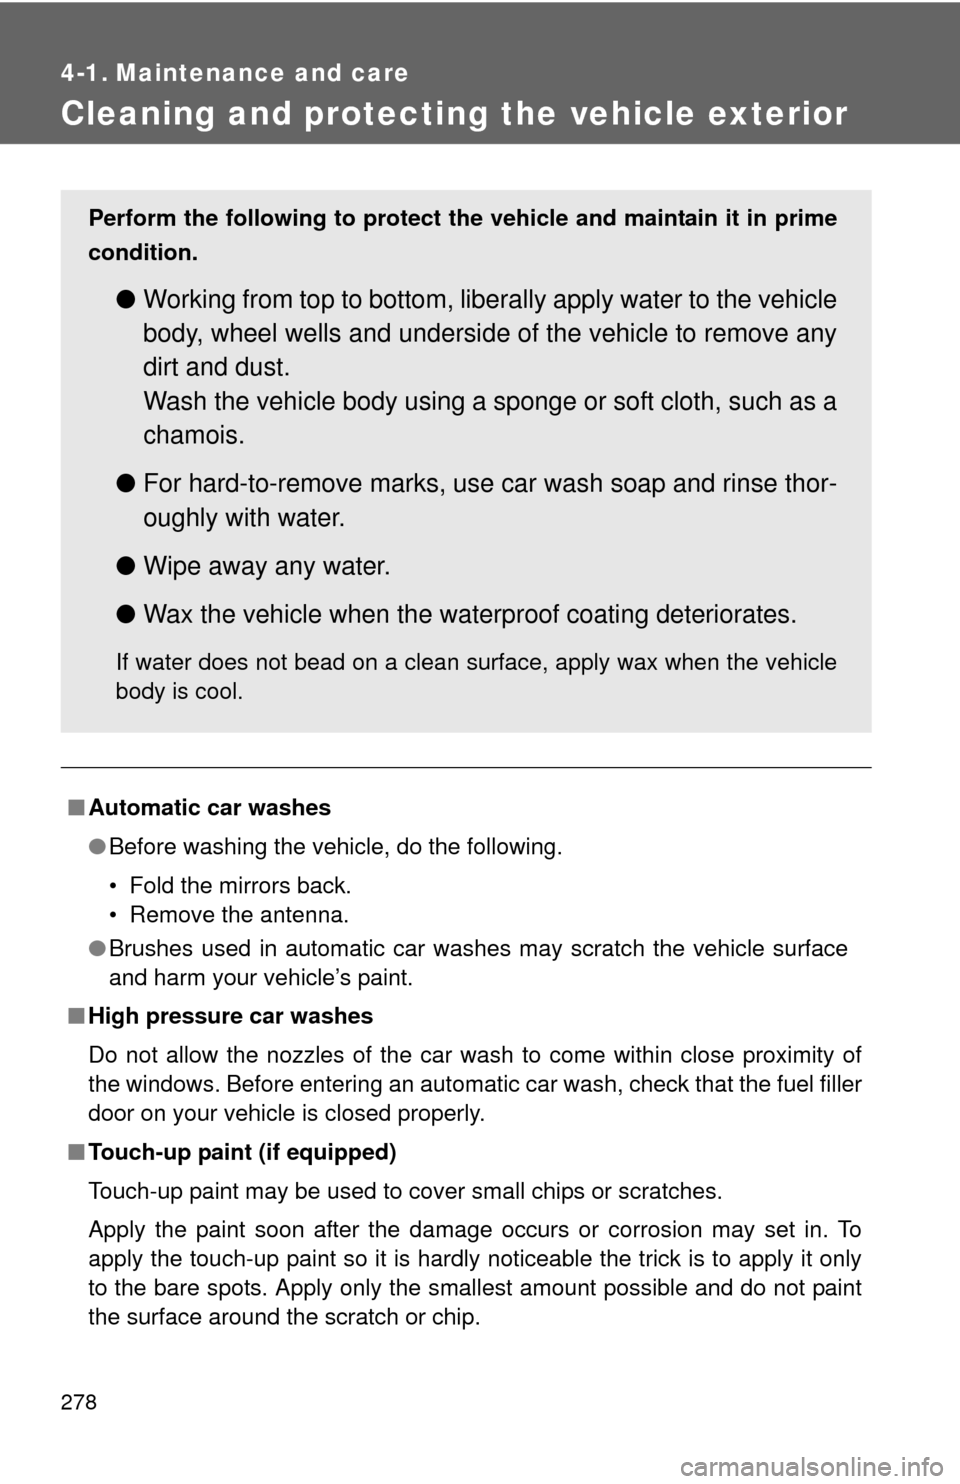
Perform the following to protect the vehicle and maintain it in prime
condition.
●Working from top to bottom, liberally apply water to the vehicle
body, wheel wells and underside of the vehicle to remove any
dirt and dust.
Wash the vehicle body using a sponge or soft cloth, such as a
chamois.
●For hard-to-remove marks, use car wash soap and rinse thor-
oughly with water.
●Wipe away any water.
●Wax the vehicle when the waterproof coating deteriorates.
If water does not bead on a clean surface, apply wax when the vehicle
body is cool.
Page 279 of 439
279 4-1. Maintenance and care
4
Maintenance and care
■Aluminum wheels (if equipped)
Remove any dirt immediately by using a neutral detergent. Do not use hard
brushes or abrasive cleaners. Do not use strong or harsh chemical cleaners.
Use the same mild detergent and wax as used on the point.
■Bumpers and side moldings
Do not scrub with abrasive cleaners.
■To prevent deterioration and body corrosion
●Wash the vehicle immediately in the following cases:
• After driving near the sea coast
• After driving on salted roads
• If you see coal tar or tree sap on the paint surface
• If you see dead insects or insect droppings on the paint
• After driving in an area contaminated with soot, oily smoke, mine dust,
iron powder or chemical substances
• If the vehicle becomes heavily soiled in dust or mud
• If liquids such as benzene and gasoline are spilled on the paint surface
●If the paint is chipped or scratched, have it repaired immediately.
CAUTION
■Caution about the exhaust pipe
Exhaust gasses cause the exhaust pipe to become quite hot.
When washing the vehicle, be careful not to touch the pipe until it has cooled
sufficiently, as touching a hot exhaust pipe can cause burns.
NOTICE
■To protect your vehicle’s painted surfaces
Do not use organic cleaners such as benzene or gasoline.
■Cleaning the exterior lights
●Wash carefully. Do not use organic substances or scrub with a hard brush.
This may damage the surfaces of the lights.
●Do not apply wax on the surfaces of the lights.
Wax may cause damage to the lenses.
Page 280 of 439
280
4-1. Maintenance and care
Cleaning and protecting the vehicle interior
■Caring for leather areas
Toyota recommends cleaning the interior of the vehicle at least twice a year
to maintain the quality of the vehicle's interior.
■Shampooing the carpets
There are several commercial foaming-type cleaners available. Use a
sponge or brush to apply the foam. Rub in overlapping circles. Do not apply
water. The excellent results are obtained when keeping the carpet as dry as
possible.
■Seat belts
Clean with mild soap and lukewarm water using a cloth or sponge. Also
check the belts periodically for excessive wear, fraying or cuts.
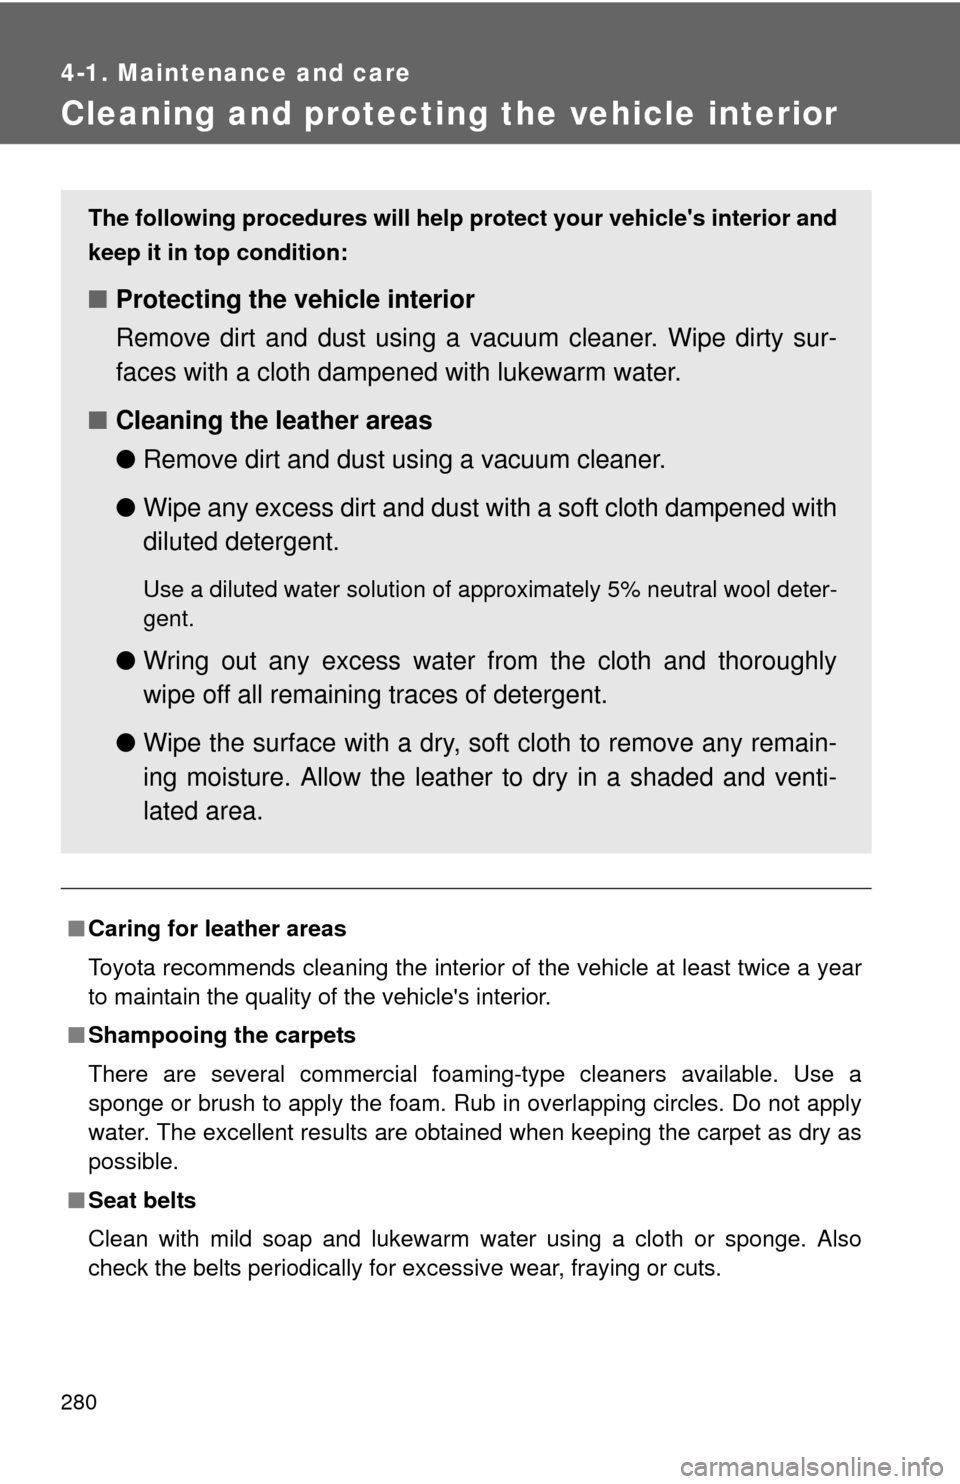
The following procedures will help protect your vehicle's interior and
keep it in top condition:
■Protecting the vehicle interior
Remove dirt and dust using a vacuum cleaner. Wipe dirty sur-
faces with a cloth dampened with lukewarm water.
■Cleaning the leather areas
●Remove dirt and dust using a vacuum cleaner.
●Wipe any excess dirt and dust with a soft cloth dampened with
diluted detergent.
Use a diluted water solution of approximately 5% neutral wool deter-
gent.
●Wring out any excess water from the cloth and thoroughly
wipe off all remaining traces of detergent.
●Wipe the surface with a dry, soft cloth to remove any remain-
ing moisture. Allow the leather to dry in a shaded and venti-
lated area.