TOYOTA GR SUPRA 2022 Owners Manual
Manufacturer: TOYOTA, Model Year: 2022, Model line: GR SUPRA, Model: TOYOTA GR SUPRA 2022Pages: 356, PDF Size: 39.14 MB
Page 151 of 356
1513-1. CONTROLS
3
CONTROLS
Vehicle messages.
Selection list in the instrument
cluster.
Driver assistance systems.
Some of this information is only
displayed briefly as needed.
Various views are available for
the Head-up Display.
Via Toyota Supra Command:
1 "My vehicle"
2 "System settings"
3 "Displays"
4 "Head-up display"
5 Select the desired setting.
The brightness is automatically
adjusted to the ambient bright-
ness.
The basic setting can be
adjusted manually.
Via Toyota Supra Command:
1 "My vehicle"
2 "System settings"
3 "Displays"
4 "Head-up display"
5 "Brightness"
6 Turn the Controller until the
desired brightness is set.
7 Press the Controller.
When the low beams are switched on, the brightness of
the Head-up Display can be
additionally influenced using the
instrument lighting.
Via Toyota Supra Command:
1
"My vehicle"
2 "System settings"
3 "Displays"
4 "Head-up display"
5 "Height"
6 Turn the Controller until the
desired height is reached.
7 Press the Controller.
The height of the Head-up Dis-
play can also be stored using
the memory function, refer to
page 107.
The Head-up Display view can
be rotated.
Via Toyota Supra Command:
1 "My vehicle"
2 "System settings"
3 "Displays"
4 "Head-up display"
5 "Rotation"
6 Turn the Controller until the
desired setting is selected.
7 Press the Controller.
Selecting the view
Setting the brightness
Adjusting the height
Setting the rotation
Page 152 of 356
1523-1. CONTROLS
The visibility of the displays in
the Head-up Display is influ-
enced by the following factors:
Seat position.
Objects on the cover of the
Head-up Display.
Sunglasses with certain polar-
ization filters.
Wet roads.
Unfavorable light conditions.
If the image is distorted, have
the basic settings checked by
your Toyota dealer.
The windshield is part of the
system.
The shape of the windshield
makes it possible to display a
precise image.
A film in the windshield prevents
double images from being gen-
erated.
For this reason, it is strongly
suggested to have the special
windshield replaced by your
Toyota dealer if necessary. This chapter describes all stan-
dard, country-specific and
optional features offered with
the series. It also describes fea-
tures and functions that are not
necessarily available in your
vehicle, e.g., due to the selected
options or country versions. This
also applies to safety-related
functions and systems. When
using these functions and sys-
tems, the applicable laws and
regulations must be observed.
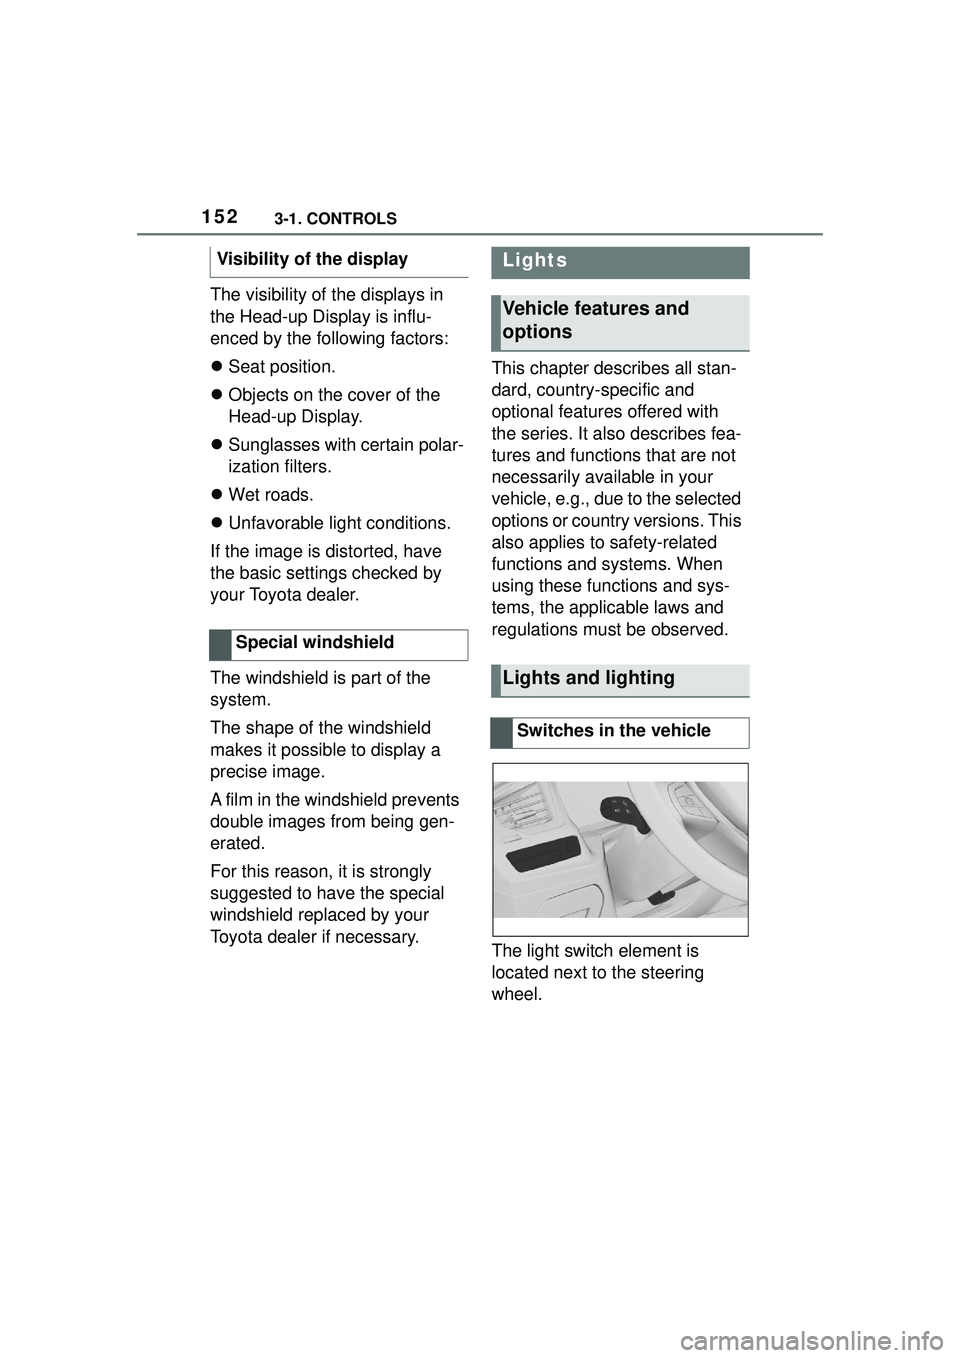
The light switch element is
located next to the steering
wheel.
Visibility of the display
Special windshield
Lights
Vehicle features and
options
Lights and lighting
Switches in the vehicle
Page 153 of 356
1533-1. CONTROLS
3
CONTROLS
The low beams are switched on
and off automatically depending
on the ambient brightness, for
instance in tunnels, in twilight or
if there is precipitation.
A blue sky with the sun low on
the horizon can cause the lights to be switched on.
If the low beams are switched
on manually, the automatic
headlight control is deactivated.
The LED in the button lights up.
The automatic headlight control
cannot serve as a substitute for
your personal judgment of light-
ing conditions.
For example, the sensors are
unable to detect fog or hazy
weather. In these situations,
switch the light on manually.
If the driver's door is opened
when the drive-ready state is
switched off, the exterior lighting
is automatically switched off
after a period of time.
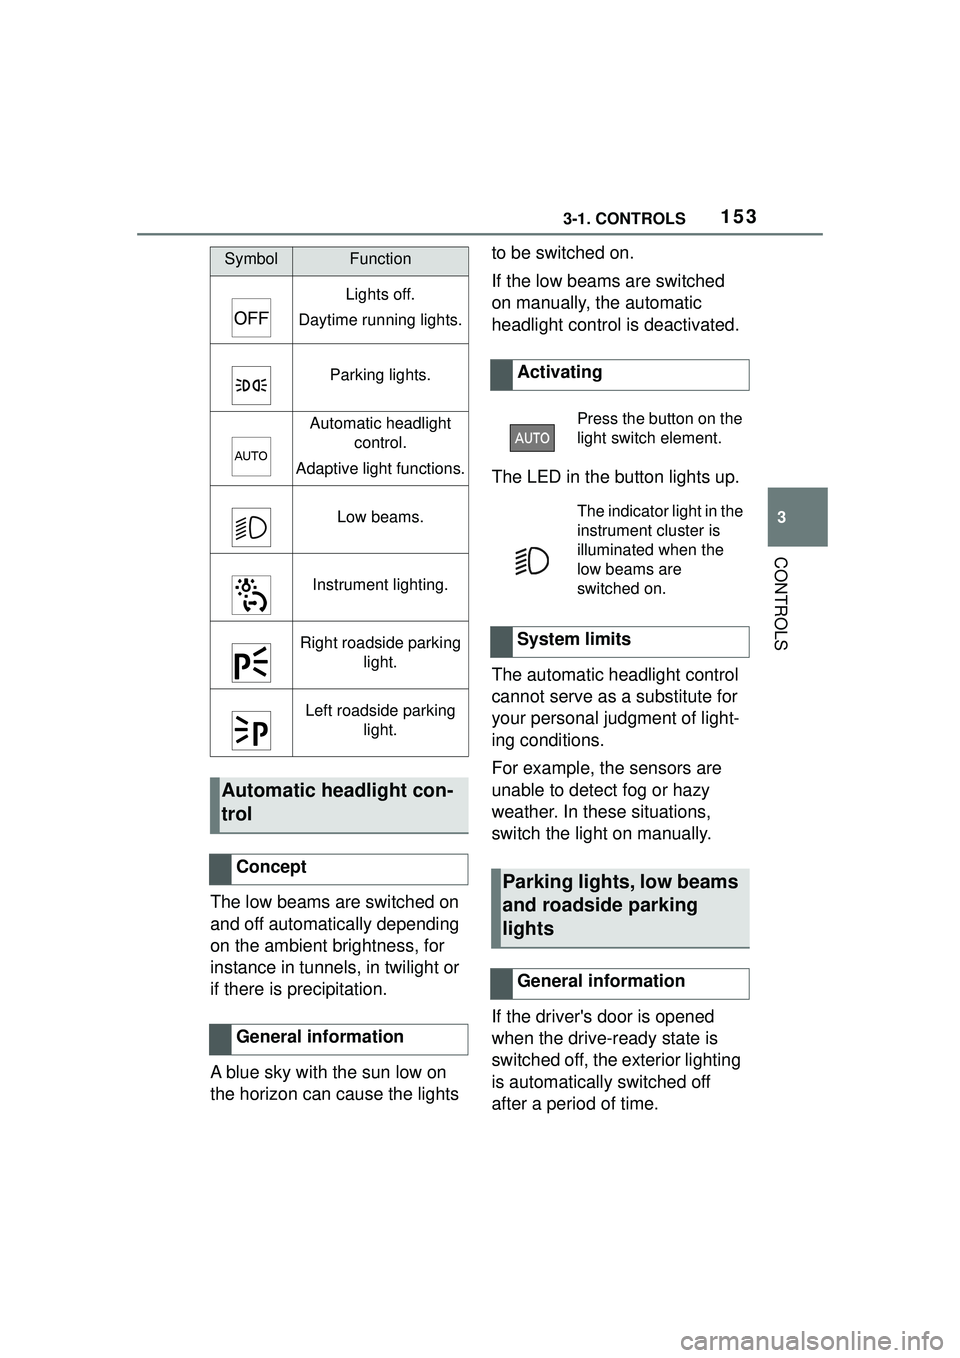
SymbolFunction
Lights off.
Daytime running lights.
Parking lights.
Automatic headlight control.
Adaptive light functions.
Low beams.
Instrument lighting.
Right roadside parking light.
Left roadside parking light.
Automatic headlight con-
trol
Concept
General information
Activating
Press the button on the
light switch element.
The indicator light in the
instrument cluster is
illuminated when the
low beams are
switched on.
System limits
Parking lights, low beams
and roadside parking
lights
General information
Page 154 of 356
1543-1. CONTROLS
The parking lights can only be
switched on in the low speed
range.
The vehicle is illuminated on all
sides.
Do not use the parking lights for
extended periods; otherwise,
they might drain the battery and
it would then be impossible to
switch on drive-ready state.
After the drive-ready state is
switched on, the automatic
headlight control will be acti-
vated.The low beams illuminate when
drive-ready state is switched on.
Press the button again to switch
on the low beams when the
standby state is switched on.
Depending on the country vari-
ant, the low beams can be
switched off in the low speed
range.
Depending on the surrounding
conditions, the low beam head-
lights may not be able to be
turned off.
When the vehicle is parked, a
one-sided roadside parking light
can be switched on.
Parking lights
General information
Switching on
Press the button on the
light switch element.
The indicator light in the
instrument cluster lights
up.
Switching off
Press the button on the
light switch element or
switch on the
drive-ready state.
Low beams
Switching on
Press the button on the
light switch element.
The indicator light in the
instrument cluster lights
up.
Switching off
Press the button on the
light switch element.
Roadside parking lights
Page 155 of 356
1553-1. CONTROLS
3
CONTROLS
Switching off the roadside park-
ing light:
Depending on the equipment,
the exterior lighting of the vehi-
cle can be set individually.
Via Toyota Supra Command:
1"My Vehicle"
2 "Vehicle settings"
3 "Exterior lighting"
4 Select desired setting:
"Welcome lights"
Individual light functions are
switched on for a limited time.
The low beams stay illuminated
for a particular time if the high
beams are switched on after the
drive-ready state is switched off.
Via Toyota Supra Command:
1"My Vehicle"
2 "Vehicle settings"
3 "Exterior lighting"
4 "Pathway lighting"
5 Select the desired setting.
The daytime running lights light
up when drive-ready state is
switched on.
In some countries, daytime run-
ning lights are mandatory, so it
may not be possible to deacti-
vate the daytime running lights.
Via Toyota Supra Command:
1 "My Vehicle"
2 "Vehicle settings"
3 "Exterior lighting"
ButtonFunction
Right roadside
parking light
on/off.
Left roadside
parking light
on/off.
Press the button on the
light switch element or
switch on the
drive-ready state.
Welcome lights and head-
light courtesy delay fea-
ture
Welcome lights
General information
Activating/deactivating
Headlight courtesy delay
feature
General information
Setting the duration
Daytime running lights
General information
Activating/deactivating
Page 156 of 356
1563-1. CONTROLS
4"Daytime running lamps"
The Automatic high-beam
detects other traffic participants
early on and automatically
switches the high beams on or
off depending on the traffic situ-
ation.
The Automatic high-beam
ensures that the high beams are
switched on, whenever the traf-
fic situation allows. In the low
speed range, the high beams
are not switched on by the sys-
tem.
The system responds to light
from oncoming traffic and traffic
driving ahead of you, and to
ambient lighting, for instance in
towns and cities.
The high beams can be
switched on and off manually at
any time.
1 Press the button on the
light switch element.
The LED in the button lights up.
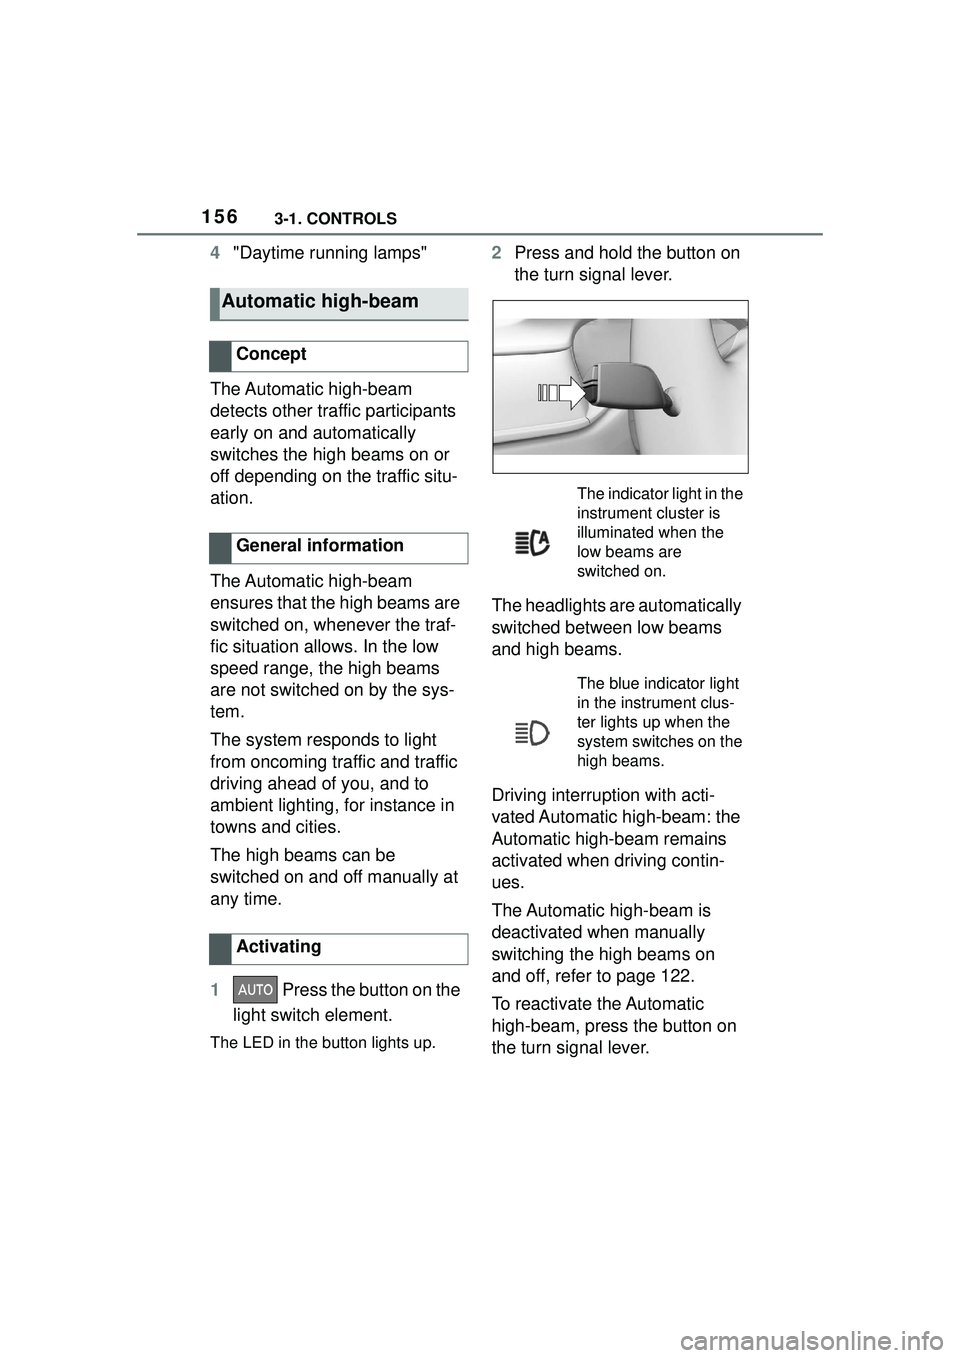
2 Press and hold the button on
the turn signal lever.
The headlights are automatically
switched between low beams
and high beams.
Driving interruption with acti-
vated Automatic high-beam: the
Automatic high-beam remains
activated when driving contin-
ues.
The Automatic high-beam is
deactivated when manually
switching the high beams on
and off, refer to page 122.
To reactivate the Automatic
high-beam, press the button on
the turn signal lever.
Automatic high-beam
Concept
General information
Activating
The indicator light in the
instrument cluster is
illuminated when the
low beams are
switched on.
The blue indicator light
in the instrument clus-
ter lights up when the
system switches on the
high beams.
Page 157 of 356

1573-1. CONTROLS
3
CONTROLS
Press and hold the button on the
turn signal lever.
The sensitivity of the Automatic
High Beam Assistant can be
adjusted.
• Setting at standstill only.
• Drive readiness is switched on.
• Light is turned off. Push the turn signal lever to the
front for approximately 10 sec-
onds.
A Check Control message is
displayed. The system responds
more sensitively.
Push the turn signal lever to the
front again for approx. 10 sec-
onds or switch off the
drive-ready state.
The sensitivity of the Automatic
High Beam Assistant is reset to the
factory settings.
The Automatic High Beam
Assistant cannot replace the
driver's personal judgment of
when to use the high beams. In
situation that require this, there-
fore dimming manually.
The system is not fully functional
in the following situations, and
driver intervention may be nec-
essary:
In very unfavorable weather
conditions, such as fog or
heavy precipitation.
When detecting poorly-lit road
users such as pedestrians,
cyclists, horseback riders and
wagons; when driving close to
train or ship traffic; or at ani-
Deactivate Automatic High
Beam Assistant
Sensitivity of the Auto-
matic High Beam Assis-
tant
General information
WARNING
If adjustments have been made or
the sensitivity has been modified,
oncoming traffic may be momen-
tarily blinded. There is a risk of an
accident. If adjustments have
been made and the sensitivity has
been modified, make sure that
oncoming traffic is not momentar-
ily blinded. Switch off the high
beams manually if required.
Functional requirements
Increase sensitivity
Resetting the sensitivity
System limits
Page 158 of 356
1583-1. CONTROLS
mal crossings.
In tight curves, on hilltops or
in depressions, in crossing
traffic or half-obscured
oncoming traffic on highways.
In poorly-lit towns and cities
or in the presence of highly
reflective signs.
When the windshield in front
of the interior mirror is fogged
over, dirty or covered with
stickers, etc.
The parking lights or low beams
must be switched on to adjust
the brightness.
Depending on the equipment
version, interior lights, footwell
lights and door entry lighting are
automatically controlled. To switch off permanently: press
the button and hold for approx. 3
seconds.
Instrument lighting
Functional requirement
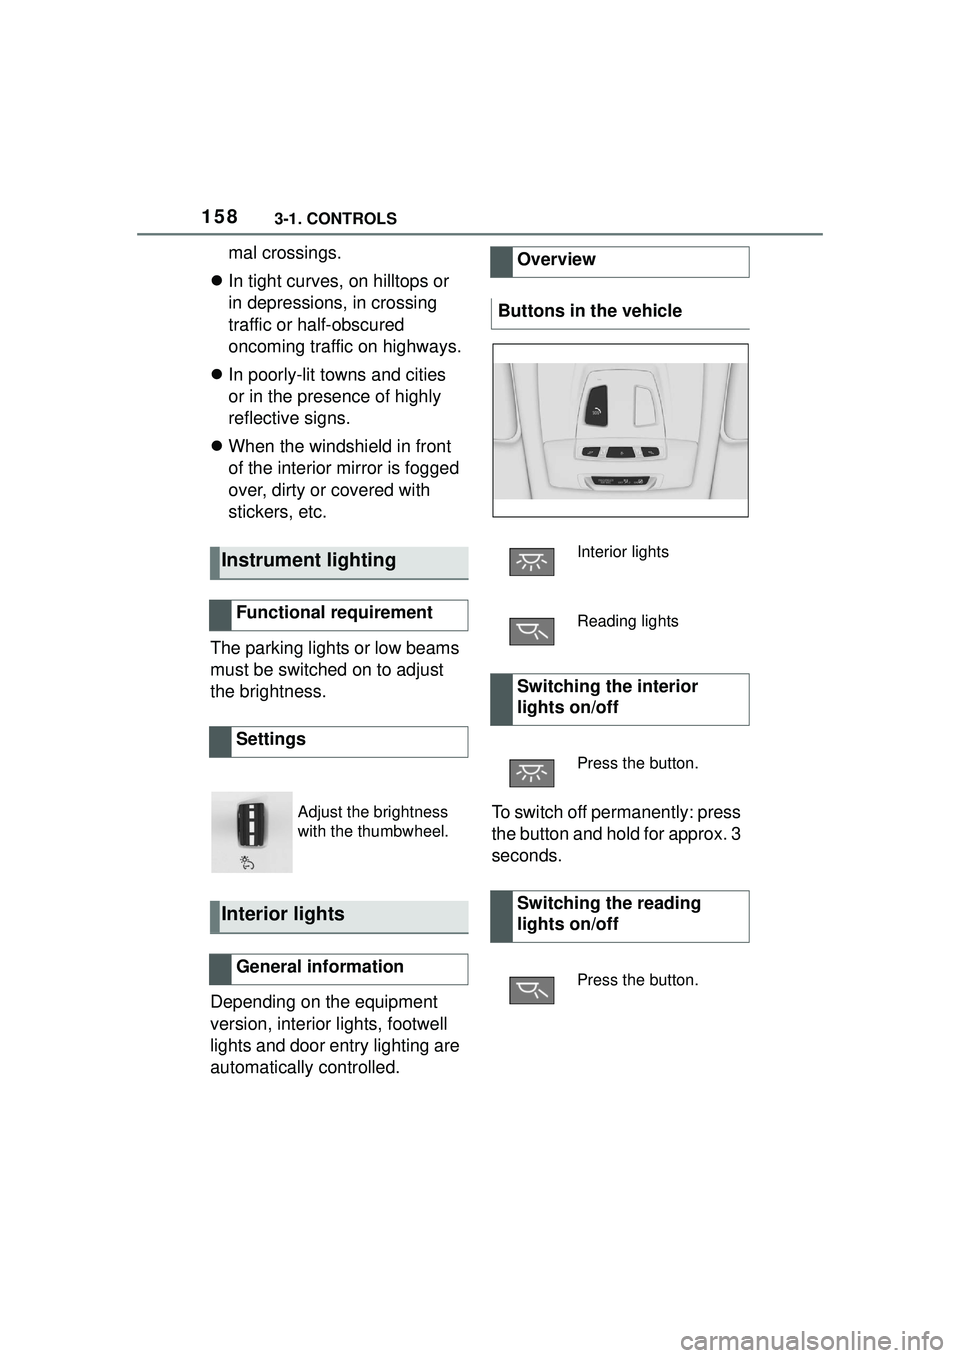
Settings
Adjust the brightness
with the thumbwheel.
Interior lights
General information
Overview
Buttons in the vehicle
Interior lights
Reading lights
Switching the interior
lights on/off
Press the button.
Switching the reading
lights on/off
Press the button.
Page 159 of 356
1593-1. CONTROLS
3
CONTROLS
This chapter describes all stan-
dard, country-specific and
optional features offered with
the series. It also describes fea-
tures and functions that are not
necessarily available in your
vehicle, e.g., due to the selected
options or country versions. This
also applies to safety-related
functions and systems. When
using these functions and sys-
tems, the applicable laws and
regulations must be observed.
Safety
Vehicle features and
options
Page 160 of 356
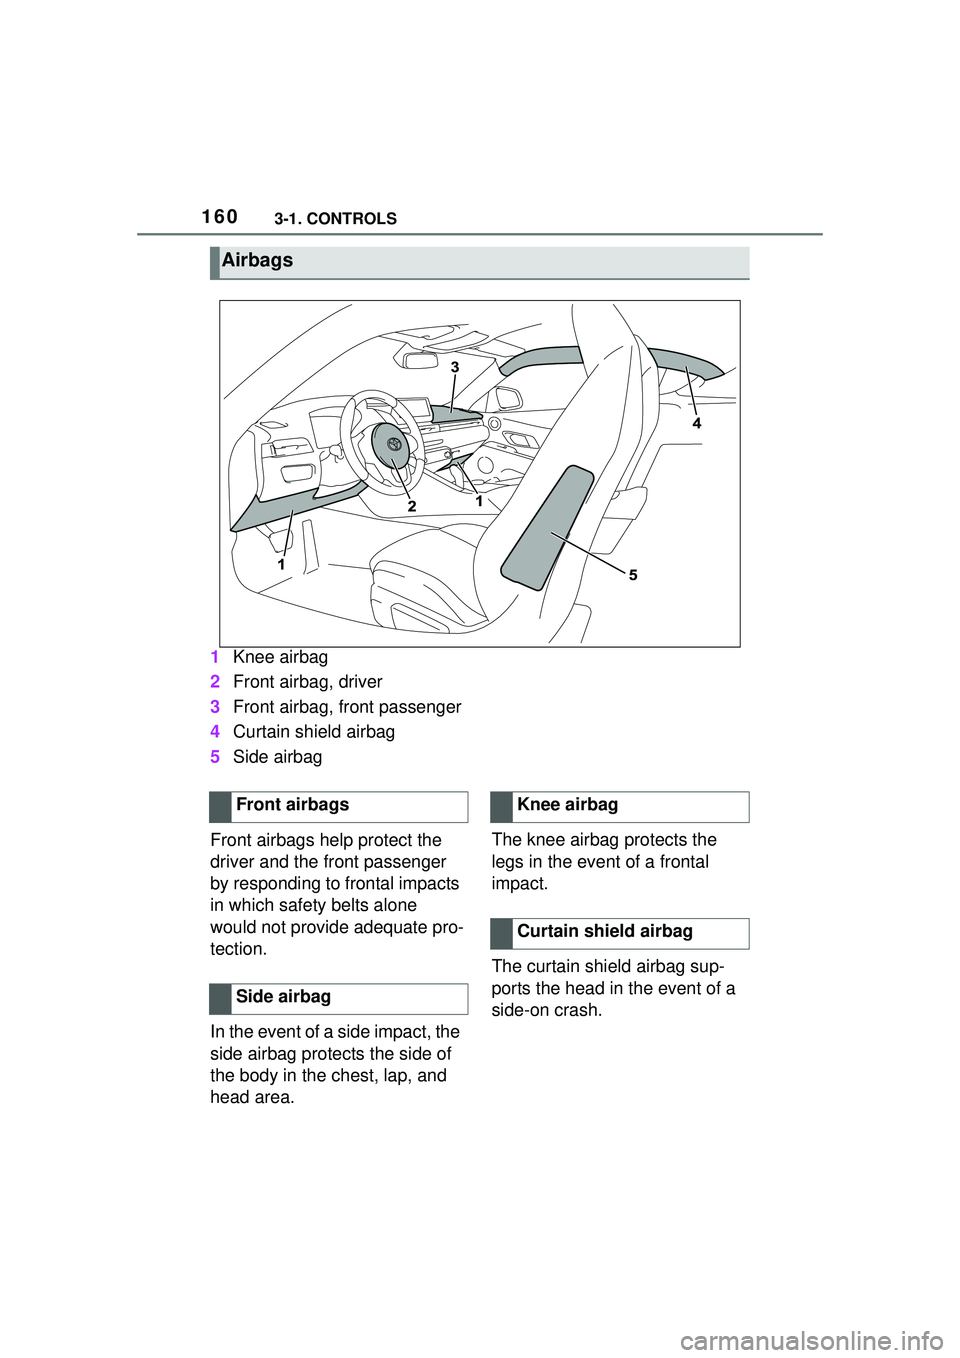
1603-1. CONTROLS
1Knee airbag
2 Front airbag, driver
3 Front airbag, front passenger
4 Curtain shield airbag
5 Side airbag
Front airbags help protect the
driver and the front passenger
by responding to frontal impacts
in which safety belts alone
would not provide adequate pro-
tection.
In the event of a side impact, the
side airbag protects the side of
the body in the chest, lap, and
head area. The knee airbag protects the
legs in the event of a frontal
impact.
The curtain shield airbag sup-
ports the head in the event of a
side-on crash.
Airbags
Front airbags
Side airbagKnee airbag
Curtain shield airbag