stop start TOYOTA HIGHLANDER 2009 XU40 / 2.G Service Manual
[x] Cancel search | Manufacturer: TOYOTA, Model Year: 2009, Model line: HIGHLANDER, Model: TOYOTA HIGHLANDER 2009 XU40 / 2.GPages: 608, PDF Size: 11.73 MB
Page 246 of 608

246 2-5. Driving information
HitchTrailer hitch assemblies have diff erent weight capacities established
by the hitch manufacturer. Even th ough the vehicle may be rated for
towing a higher weight, the operator must never exceed the maxi-
mum weight rating specified for the trailer hitch.
Trailer towing tips
Your vehicle will handle differently when towing a trailer. The 3 main
causes of vehicle-trailer accident s are driver error, excessive speed
and improper trailer loading. Keep the following in mind when towing.
● Before starting out, check the trailer lights and the vehicle-trailer
connections. Recheck after driving a short distance.
● Practice turning, stopping and reversing with the trailer attached in
an area away from traffic until you become accustomed to the feel
of the vehicle.
● Reversing with a trailer attached is difficult and requires practice.
Grip the bottom of the steering wheel and move your hand to the
left to move the traile r to the left. Move your hand to the right to
move the trailer to right. (This is generally opposite to reversing
without a trailer attached.) Avoid sharp or prolonged turning. Have
someone guide you when reversing to reduce the risk of an acci-
dent.
● As stopping distance is increased when towing a trailer, vehicle-to-
vehicle distance should be increased. For each 10 mph (16 km/h)
of speed, allow at least o ne vehicle and trailer length.
● Avoid sudden braking as you may skid, resulting in jackknifing and
loss of control. This is especially true on wet or slippery surfaces.
● Avoid jerky starts or sudden acceleration.
● Avoid jerky steering and sharp turns, and slow down before mak-
ing turns.
Page 248 of 608
248 2-5. Driving information
●Always place wheel blocks under both the vehicle and the trailer
wheels when parking. Apply the parking brake firmly, and put the
transmission in P. Avoid parking on a slope, but if unavoidable, do
so only after performing the following:
Apply the brakes and keep them applied.
Have someone place wheel bloc ks under both the vehicle and
trailer wheels.
When the wheel blocks are in place, release the brakes slowly
until the blocks absorb the load.
Apply the parking brake firmly.
Shift into P and turn off the engine.
● When restarting after parking on a slope:
With the transmission in the P position, start the engine. Be
sure to keep the brake pedal pressed.
Shift into 3, 2, 1, or the R position (if reversing).
Release the parking brake and brake pedal and slowly pull or
back away from the wheel blocks. Stop and apply the brakes.
Have someone retrieve the blocks.
STEP1
STEP2
STEP3
STEP4
STEP5
STEP1
STEP2
STEP3
STEP4
Page 278 of 608

278 3-1. Using the air conditioning system and defogger
■The defogger can be operated when
Vehicles without smart key system
The engine switch is in the “ON” position.
Vehicles with smart key system
The “ENGINE START STOP” switch is in IGNITION ON mode.
■ Outside rear view mirror defoggers (vehicles with outside rear view
mirror defoggers)
Turning the rear window defogger on will turn the outside rear view mirror
defoggers on.
CAUTION
■Outside rear view mirror defoggers (vehicles with outside rear view
mirror defoggers)
The surfaces of the outside rear view mirrors become hot. Do not touch
them to prevent from burning yourself.
Page 279 of 608
279
3-1. Using the air conditioning system and defogger
3
Interior features
Windshield wiper de-icer∗
■The de-icer can be operated when
Vehicles without smart key system
The engine switch is in the “ON” position.
Vehicles with smart key system
The “ENGINE START STOP” switch is in IGNITION ON mode.
CAUTION
■ When the windshield wiper de-icer is on
Do not touch the glass at the lower part of the windshield or to the side of the
front pillars as the surfaces can become very hot and burn you.
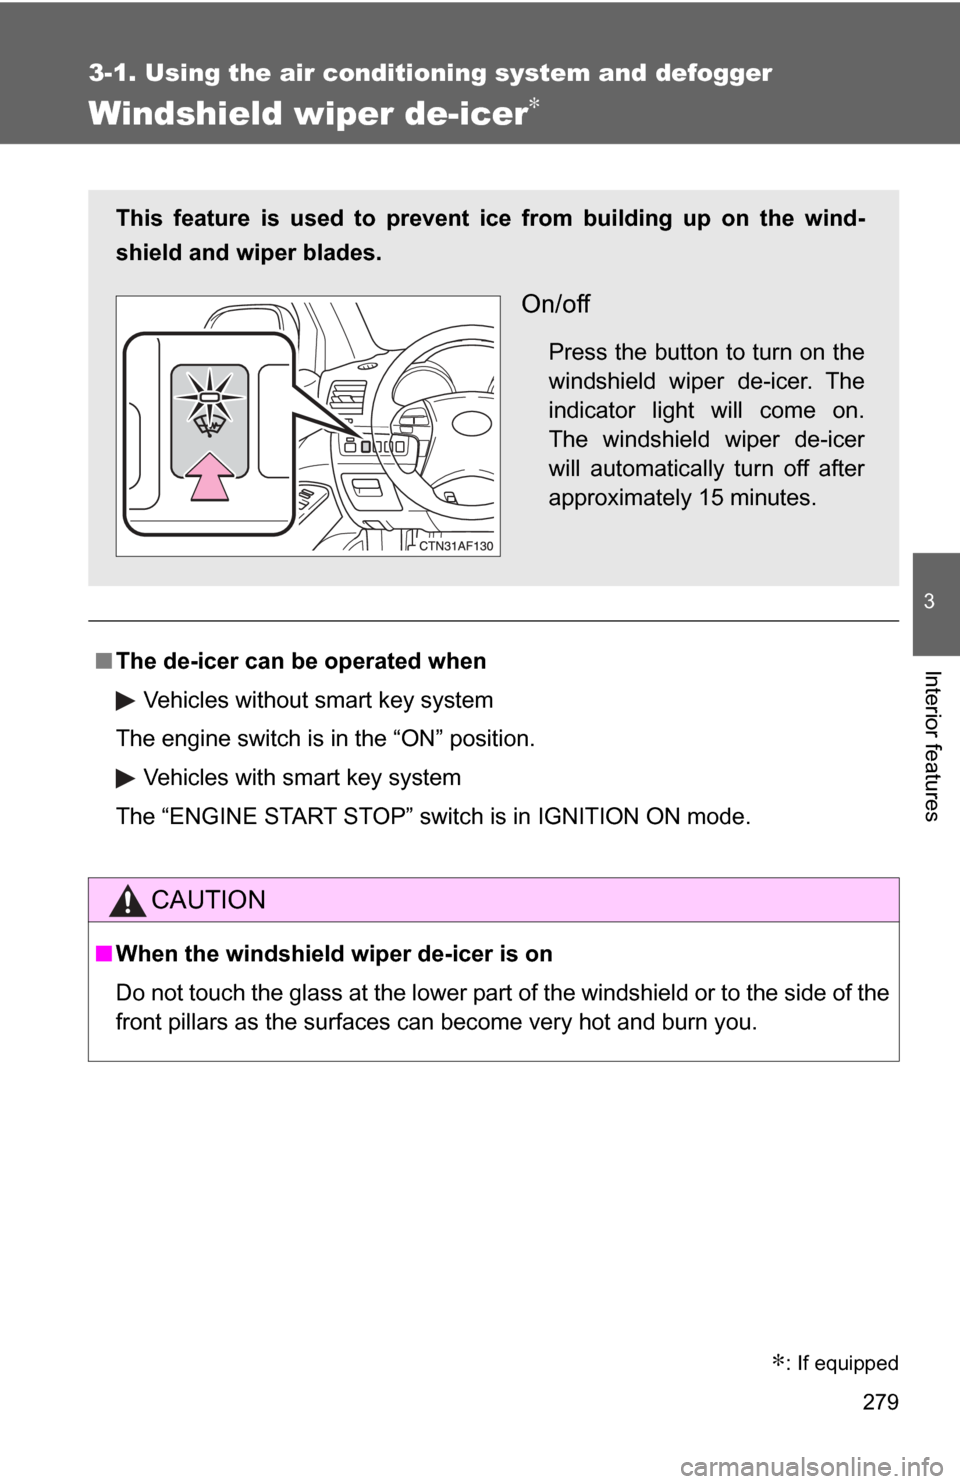
This feature is used to prevent ice from building up on the wind-
shield and wiper blades.
On/off
Press the button to turn on the
windshield wiper de-icer. The
indicator light will come on.
The windshield wiper de-icer
will automatically turn off after
approximately 15 minutes.
∗: If equipped
Page 306 of 608
306 3-2. Using the audio system
■Adjusting the Automatic Sound Levelizer (ASL)
Type A and B
When “ASL” is selected, turning to the right changes the
amount of “ASL” in the order of “LOW”, “MID” and “HIGH”.
Turning to the left turns “ASL” off.
ASL automatically adjusts the volume and tone quality according to vehi-
cle speed.
Type C
When “ASL” is selected, turning to the right turns “ASL” on,
and turning to the left turns “ASL” off.
“ASL” automatically adjusts the volume and tone quality according to the
noise level as you drive your vehicle.
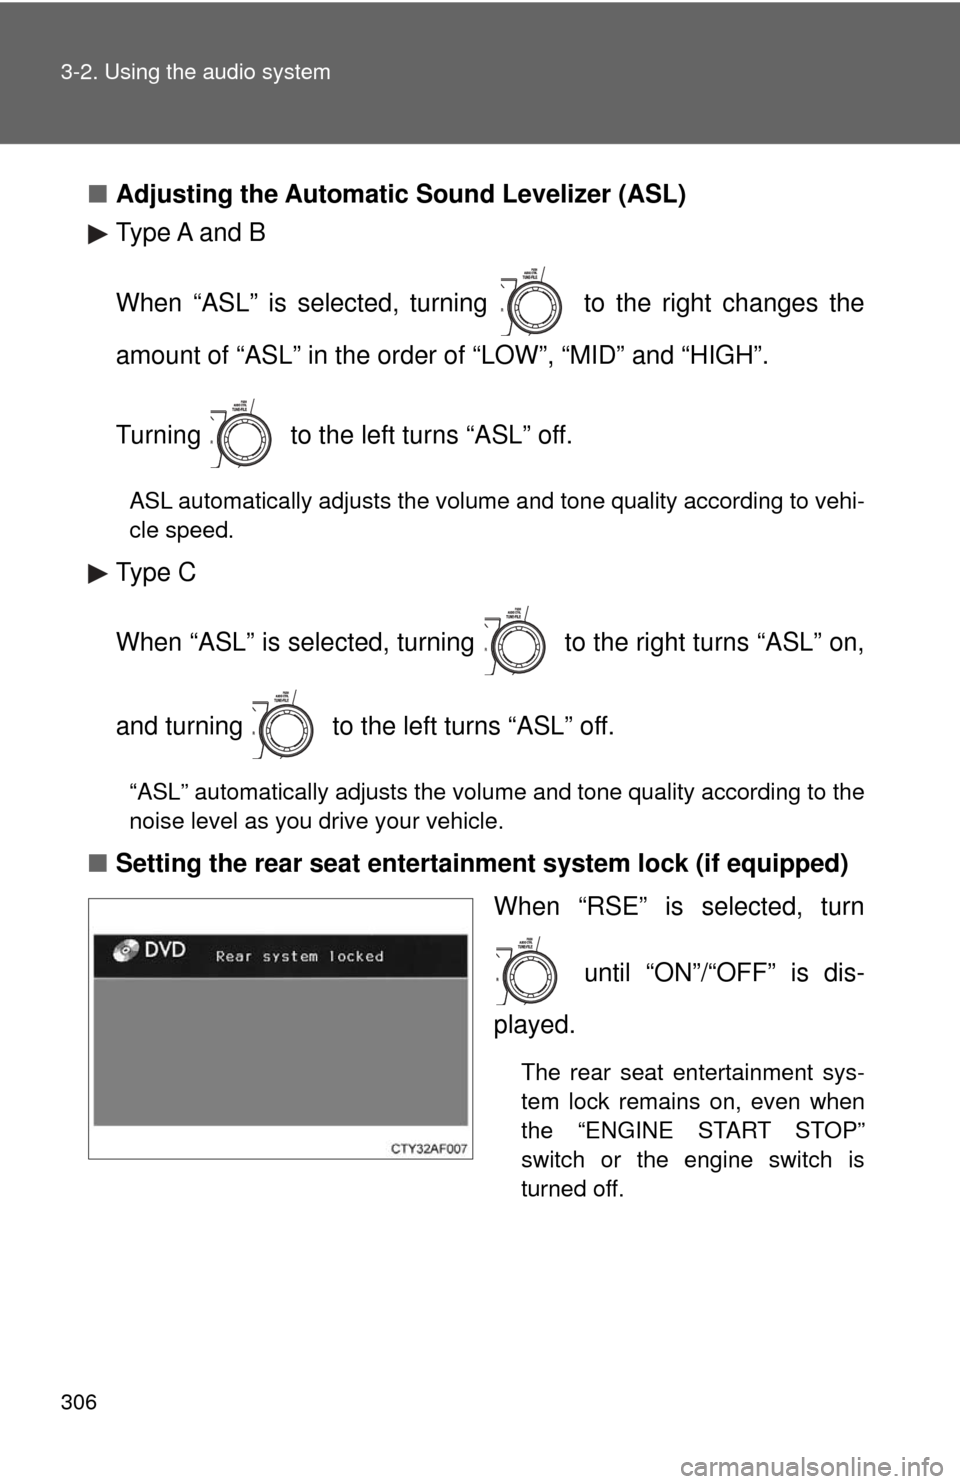
■Setting the rear seat entertainment system lock (if equipped)
When “RSE” is selected, turn
until “ON”/“OFF” is dis-
played.
The rear seat entertainment sys-
tem lock remains on, even when
the “ENGINE START STOP”
switch or the engine switch is
turned off.
Page 314 of 608
314 3-3. Using the rear audio system
■The rear seat entertainment system can be used when
Vehicles without smart key system
The engine switch is in the “ACC” or “ON” position.
Vehicles with smart key system
The “ENGINE START STOP” switch is in ACCESSORY or IGNITION ON
mode.
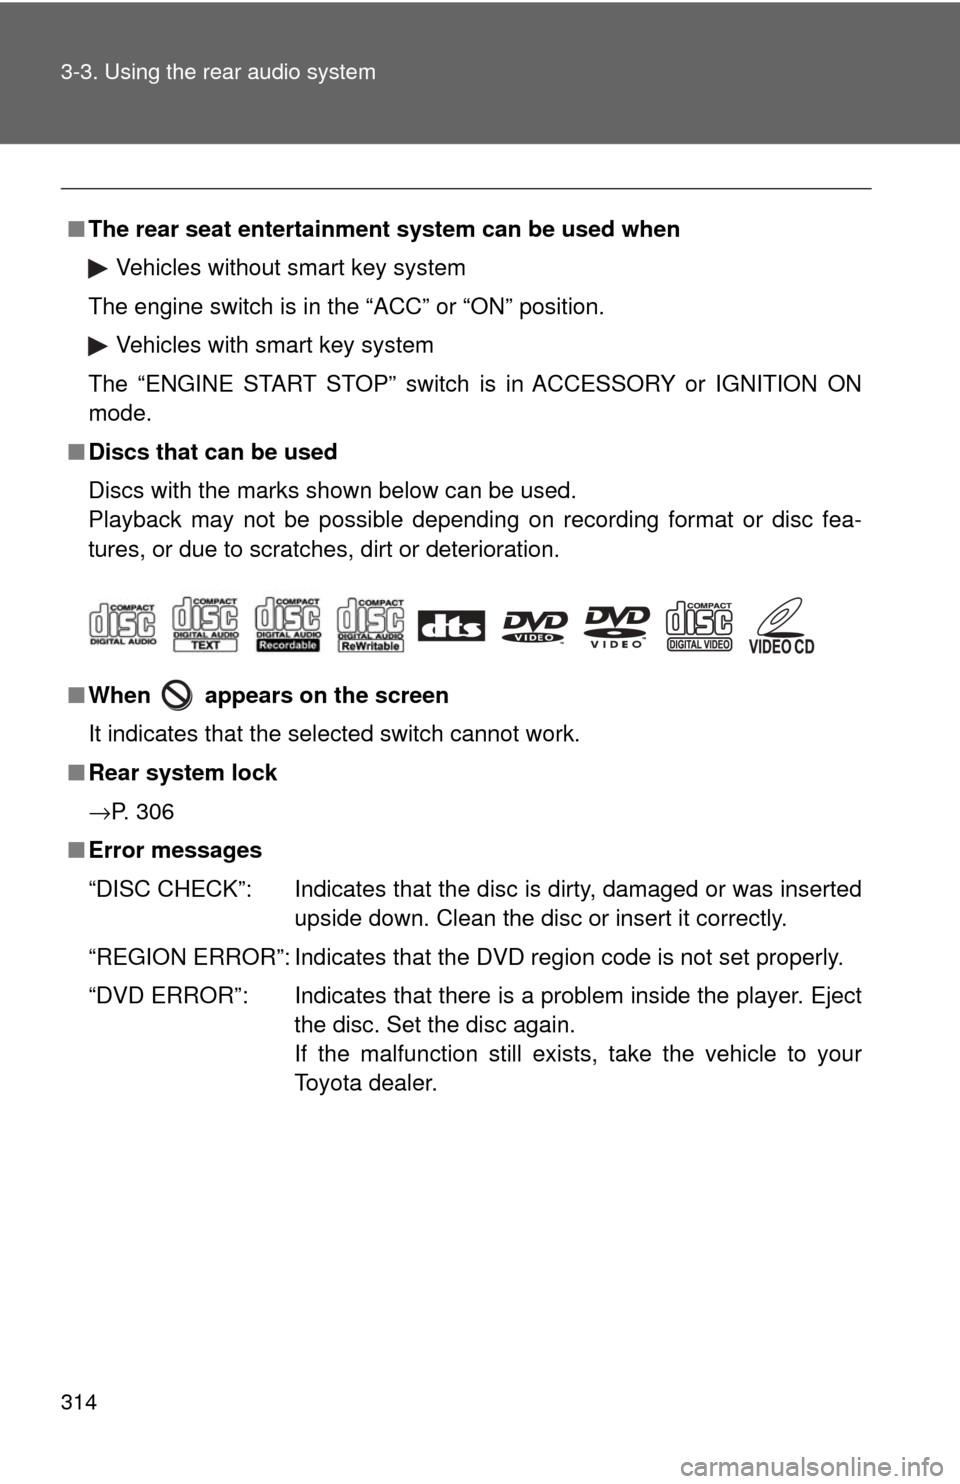
■ Discs that can be used
Discs with the marks shown below can be used.
Playback may not be possible depending on recording format or disc fea-
tures, or due to scratches, dirt or deterioration.
■ When appears on the screen
It indicates that the selected switch cannot work.
■ Rear system lock
→P. 306
■ Error messages
“DISC CHECK”: Indicates that the disc is dirty, damaged or was inserted
upside down. Clean the disc or insert it correctly.
“REGION ERROR”: Indicates that the DVD region code is not set properly.
“DVD ERROR”: Indicates that there is a problem inside the player. Eject the disc. Set the disc again.
If the malfunction still exists, take the vehicle to your
Toyota dealer.
Page 372 of 608
372
3-5. Using the interior lights
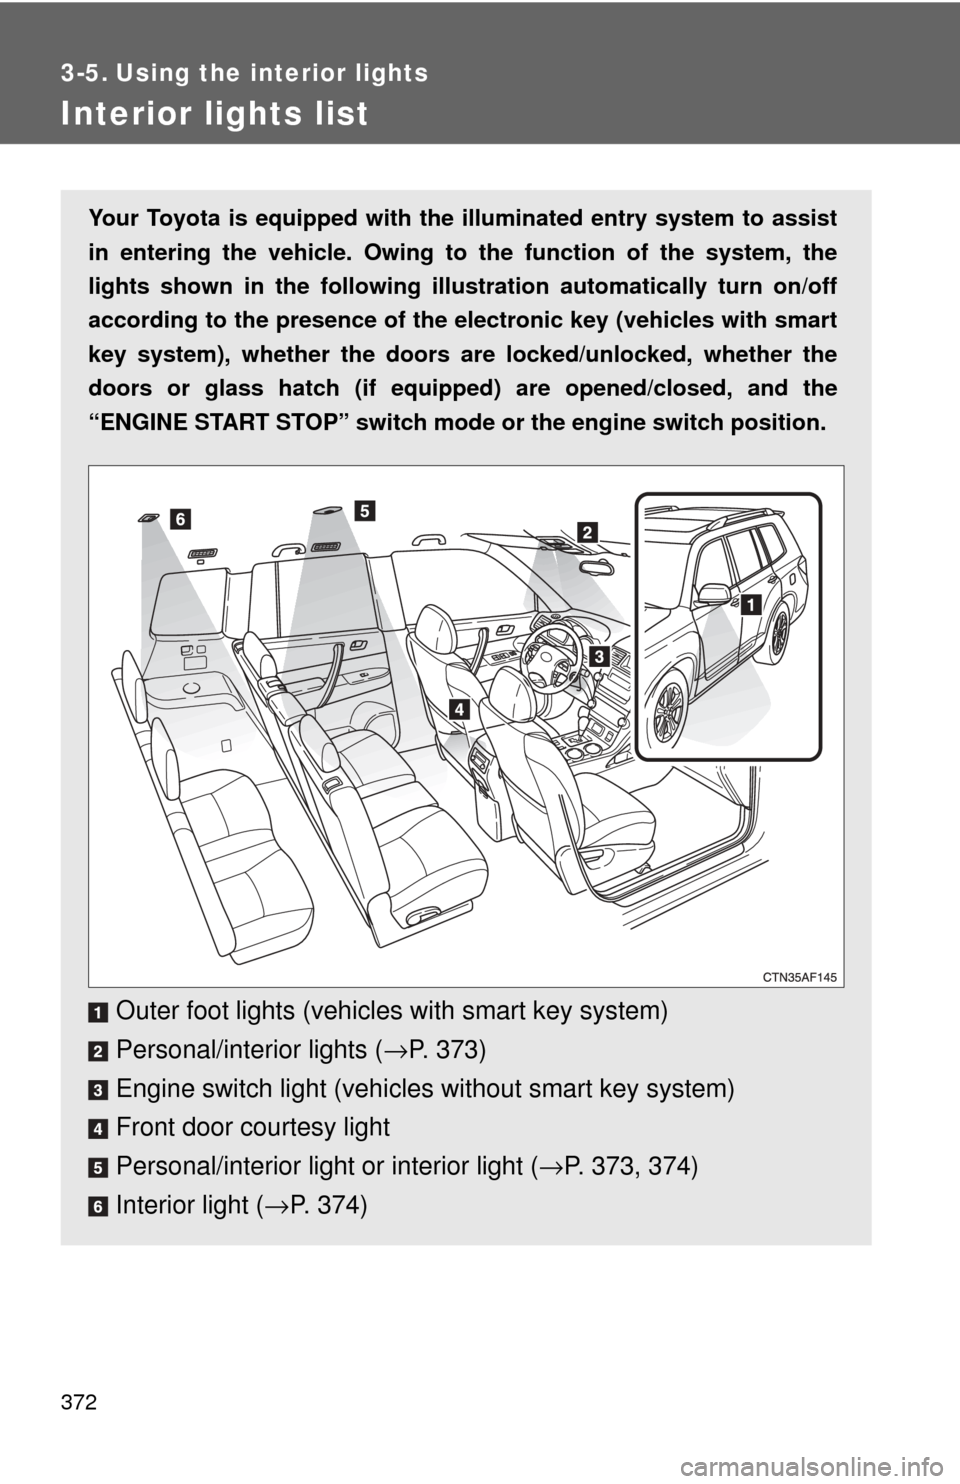
Interior lights list
Your Toyota is equipped with the illuminated entry system to assist
in entering the vehicle. Owing to the function of the system, the
lights shown in the following illust ration automatically turn on/off
according to the presence of the el ectronic key (vehicles with smart
key system), whether the doors are locked/unlocked, whether the
doors or glass hatch (if equipped) are opened/closed, and the
“ENGINE START STOP” switch mode or the engine switch position.
Outer foot lights (vehicles with smart key system)
Personal/interior lights ( →P. 373)
Engine switch light (vehicle s without smart key system)
Front door courtesy light
Personal/interior light or interior light ( →P. 373, 374)
Interior light ( →P. 374)
Page 394 of 608

394 3-7. Other interior features
■The power outlet can be used when
12 V
Vehicles without smart key system:
The engine switch is in the “ACC” or “ON” position.
Vehicles with smart key system:
The “ENGINE START STOP” switch is in ACCESSORY or IGNITION ON
mode.
115 VAC
Vehicles without smart key system:
The engine switch is in the “ON” position.
Vehicles with smart key system:
The “ENGINE START STOP” switch is in IGNITION ON mode.
Page 396 of 608
396
3-7. Other interior features
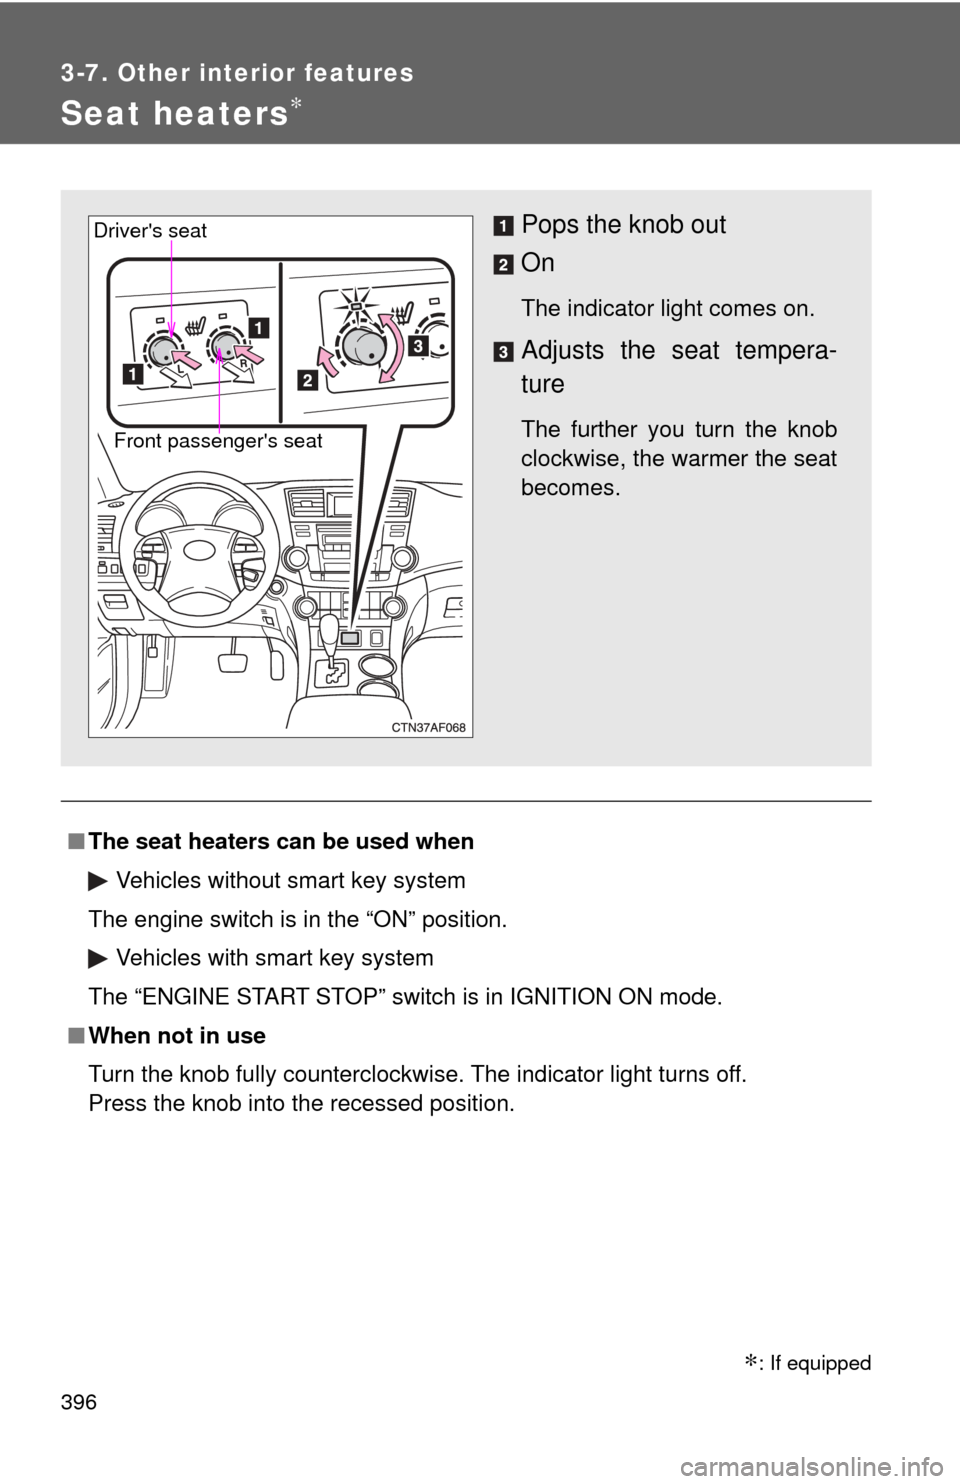
Seat heaters∗
■The seat heaters can be used when
Vehicles without smart key system
The engine switch is in the “ON” position. Vehicles with smart key system
The “ENGINE START STOP” switch is in IGNITION ON mode.
■ When not in use
Turn the knob fully counterclockwise. The indicator light turns off.
Press the knob into the recessed position.
Pops the knob out
On
The indicator light comes on.
Adjusts the seat tempera-
ture
The further you turn the knob
clockwise, the warmer the seat
becomes.Front passenger's seat
Driver's seat
∗: If equipped
Page 430 of 608

430 4-3. Do-it-yourself maintenance
CAUTION
The engine compartment contains many mechanisms and fluids that may
move suddenly, become hot, or become electrically energized. To avoid death
or serious injury observe the following precautions.
■When working on the engine compartment
●Keep hands, clothing, and tools away from the moving fan and engine
drive belt.
● Be careful not to touch the engine, radiator, exhaust manifold, etc. right
after driving as they may be hot. Oil and other fluids may also be hot.
● Do not leave anything that may burn easily, such as paper or rags, in the
engine compartment.
● Do not smoke, cause sparks or expose an open flame to fuel or the bat-
tery. Fuel and battery fumes are flammable.
● Be extremely cautious when working on the battery. It contains poisonous
and corrosive sulfuric acid.
● Take care because brake fluid can harm your hands or eyes and damage
painted surfaces.
If fluid gets on your hands or in your eyes, flush the affected area with
clean water immediately.
If you still experience discomfort, see a doctor.
● Do not touch the engine compartment when the electric cooling fan is
operating.
Vehicles without smart key system: The electric cooling fan may keep
rotating for about 3 minutes even after the engine switch is turned to the
“LOCK” position.
With the engine switch in the “ON” position, the electric cooling fan may
automatically start to run if the air conditioning is on and/or the coolant
temperature is high. Be sure the engine switch is in the “LOCK” position
when working near the electric cooling fan or radiator grille.
Vehicles with smart key system: The electric cooling fan may keep rotating
for about 3 minutes even after the “ENGINE START STOP” switch is OFF.
With the “ENGINE START STOP” switch in IGNITION ON mode, the elec-
tric cooling fan may automatically start to run if the air conditioning is on
and/or the coolant temperature is high. Be sure the “ENGINE START
STOP” switch is OFF when working near the electric cooling fan or radia-
tor grille.