fuel cap TOYOTA HIGHLANDER 2023 Owners Manual
[x] Cancel search | Manufacturer: TOYOTA, Model Year: 2023, Model line: HIGHLANDER, Model: TOYOTA HIGHLANDER 2023Pages: 552, PDF Size: 13.36 MB
Page 3 of 552
3TABLE OF CONTENTS
1
2
3
4
5
6
7
8
9
10
Brake Hold .........................208
4-3. Operating the lights and wip- ers
Headlight switch ................. 210
Automatic High Beam ........ 213
Fog light switch .................. 216
Windshield wipers and washer ......................................... 216
Rear windshield wiper and washer ............................. 219
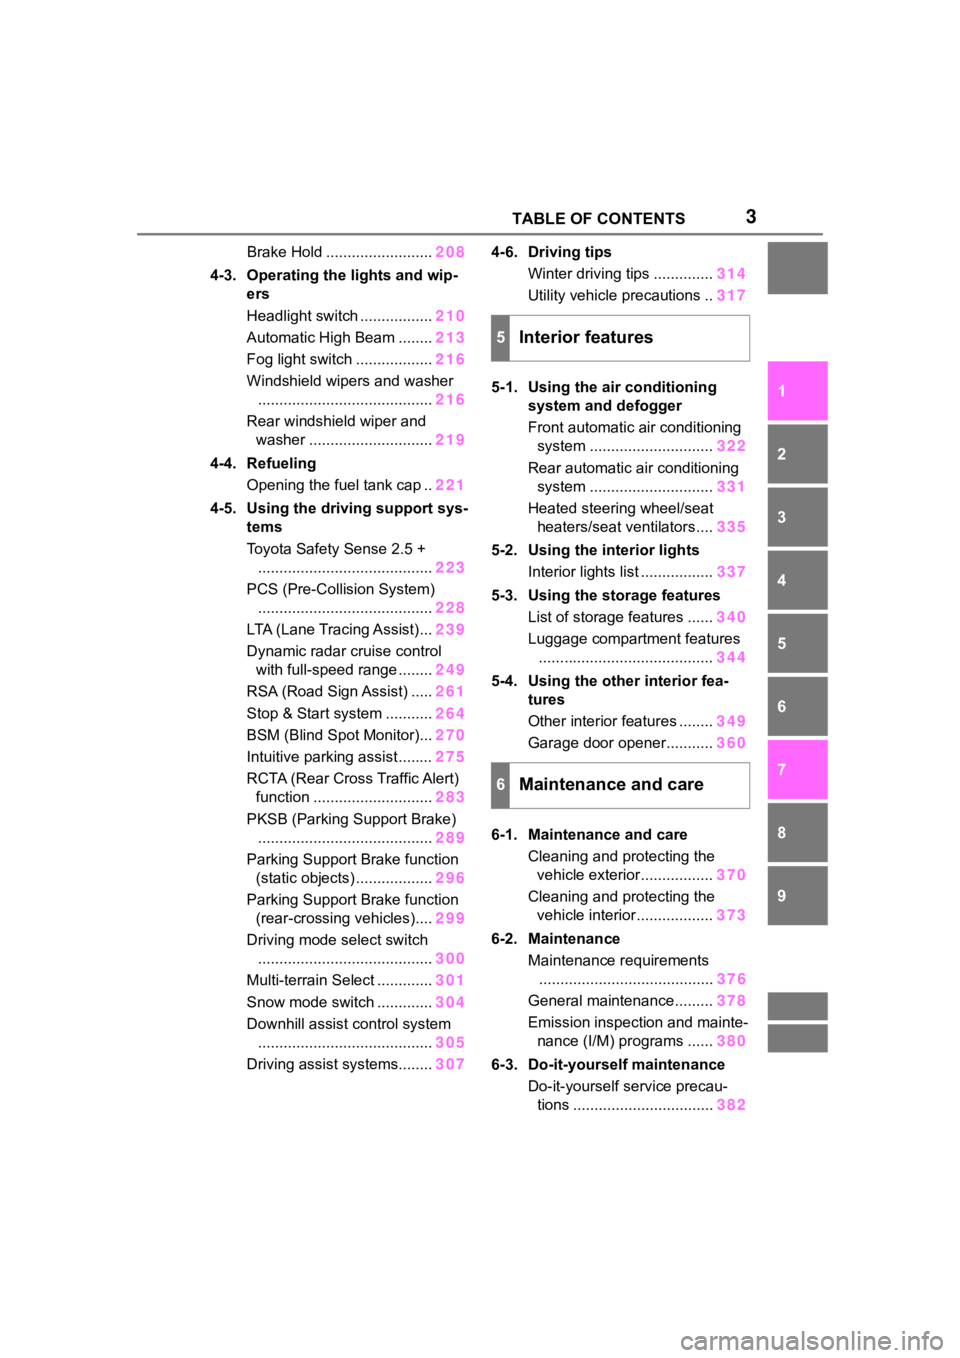
4-4. Refueling Opening the fuel tank cap .. 221
4-5. Using the driving support sys- tems
Toyota Safety Sense 2.5 +......................................... 223
PCS (Pre-Collision System) ......................................... 228
LTA (Lane Tracing Assist)... 239
Dynamic radar cruise control with full-speed range ........ 249
RSA (Road Sign Assist) ..... 261
Stop & Start system ........... 264
BSM (Blind Spot Monitor)... 270
Intuitive parking assist ........ 275
RCTA (Rear Cross Traffic Alert) function ............................ 283
PKSB (Parking Support Brake) ......................................... 289
Parking Support Brake function (static objects) .................. 296
Parking Support Brake function (rear-crossing vehicles).... 299
Driving mode select switch ......................................... 300
Multi-terrain Select ............. 301
Snow mode switch ............. 304
Downhill assist control system ......................................... 305
Driving assist systems........ 3074-6. Driving tips
Winter driving tips .............. 314
Utility vehicle precautions .. 317
5-1. Using the air conditioning system and defogger
Front automatic air conditioning
system ............................. 322
Rear automatic air conditioning system ............................. 331
Heated steering wheel/seat heaters/seat ventilators.... 335
5-2. Using the interior lights Interior lights list ................. 337
5-3. Using the storage features List of storage features ...... 340
Luggage compartment features ......................................... 344
5-4. Using the other interior fea- tures
Other interior features ........ 349
Garage door opener........... 360
6-1. Maintenance and care Cleaning and protecting the vehicle exterior................. 370
Cleaning and protecting the vehicle interior.................. 373
6-2. Maintenance
Maintenance requirements ........ ................................. 37
6
General maintenance......... 378
Emission inspection and mainte- nance (I/M) programs ...... 380
6-3. Do-it-yourself maintenance Do-it-yourself service precau-tions ................................. 382
5Interior features
6Maintenance and care
Page 13 of 552
13Pictorial index
Precautions for winter season.............................................. P.314
To prevent freezing (windshiel d wiper de-icer) ..................... P.324
Precautions for car wash
*.................................................... P.371
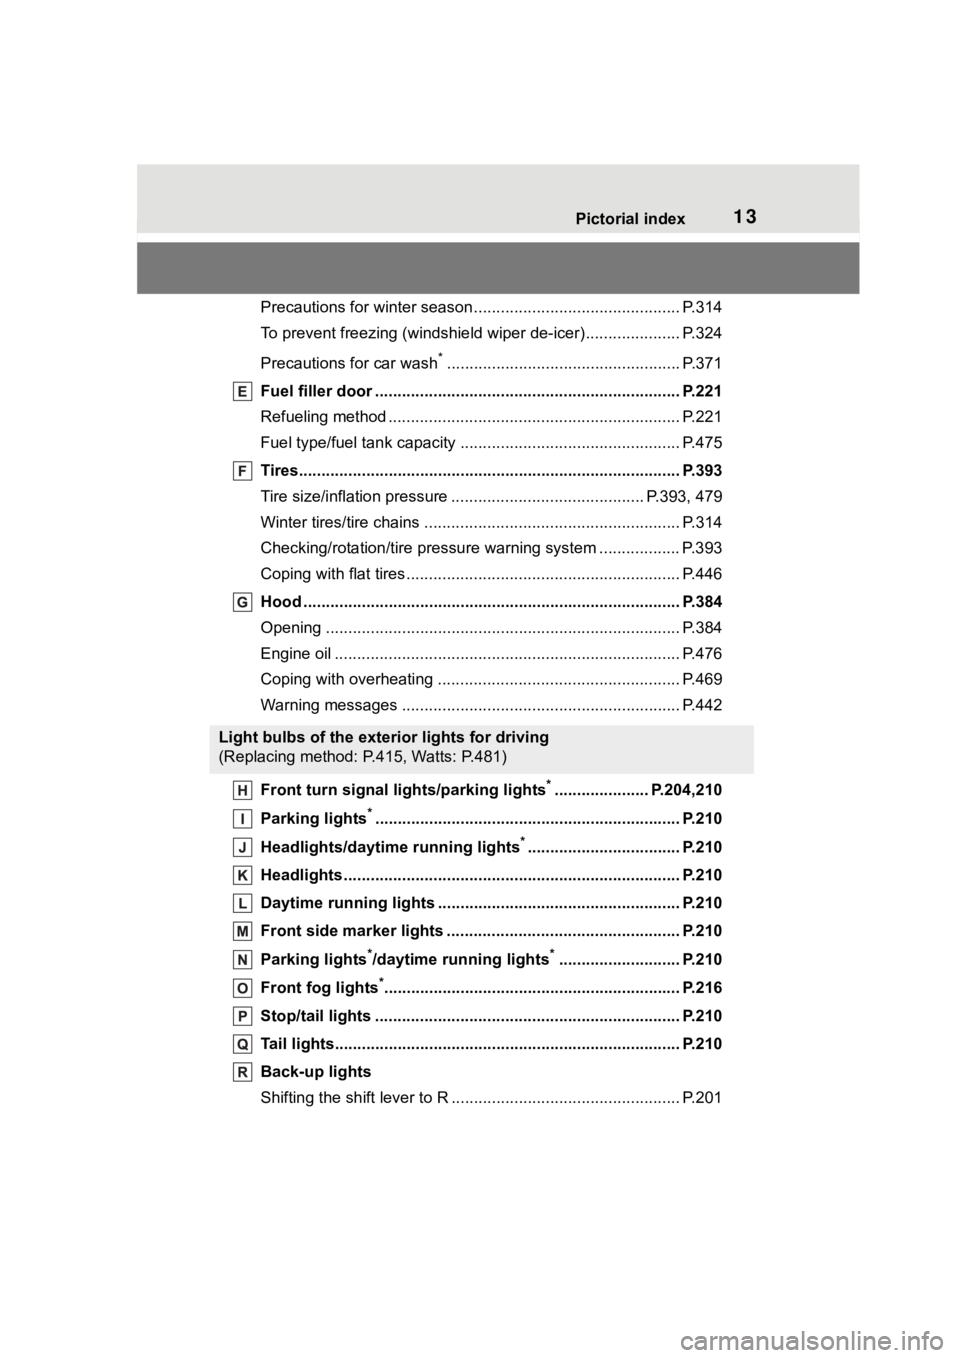
Fuel filler door ............................................... ..................... P.221
Refueling method ............................................... .................. P.221
Fuel type/fuel tan k capacity ................................... .............. P.475
Tires.......................................................... ........................... P.393
Tire size/inflation pressure ................................... ........ P.393, 479
Winter tires/tire chains ....................................... .................. P.314
Checking/rotation/tire pressur e warning system ..................P.393
Coping with flat tires......................................... .................... P.446
Hood ........................................................... ......................... P.384
Opening ............................................................................... P.384
Engine oil ..................................................... ........................ P.476
Coping with overheating ...................................................... P.469
Warning messages ............................................... ............... P.442
Front turn signal lights/parking lights
*..................... P.204,210
Parking lights
*............................................................... ..... P.210
Headlights/daytime running lights
*.................................. P.210
Headlights..................................................... ...................... P.210
Daytime running lights .. .................................................... P.210
Front side marker lights ....................................... ............. P.210
Parking lights
*/daytime running lights*........................... P.210
Front fog lights
*............................................................... ... P.216
Stop/tail lights ............................................... ..................... P.210
Tail lights.................................................... ......................... P.210
Back-up lights
Shifting the shift lever to R ................................................... P.201
Light bulbs of the exterior lights for driving
(Replacing method: P.415, Watts: P.481)
Page 173 of 552
173
4
4
Driving
Driving
.4-1. Before drivingDriving the vehicle....... 174
Cargo and luggage ..... 181
Vehicle load limits ....... 184
Trailer towing............... 185
Dinghy towing ............. 196
4-2. Driving procedures Engine (ignition) switch.................................. 197
Automatic transmission .................................. 201
Turn signal lever.......... 204
Parking brake .............. 205
Brake Hold .................. 208
4-3. Operating the lights and wipers
Headlight switch .......... 210
Automatic High Beam . 213
Fog light switch ........... 216
Windshield wipers and washer....................... 216
Rear windshield wiper and washer....................... 219
4-4. Refueling Opening the fuel tank cap.................................. 221
4-5. Using the driving support
systems
Toyota Safety Sense 2.5 + .................................. 223
PCS (Pre-Collision System) .................................. 228LTA (Lane Tracing Assist)
.................................. 239
Dynamic radar cruise con- trol with full-speed range.................................. 249
RSA (Road Sign Assist) .................................. 261
Stop & Start system .... 264
BSM (Blind Spot Monitor) .................................. 270
Intuitive parking assist . 275
RCTA (Rear Cross Traffic Alert) function ............ 283
PKSB (Parking Support Brake) ........................ 289
Parking Support Brake func- tion (static objects) .... 296
Parking Support Brake func- tion (rear-crossing vehi-
cles) ........................... 299
Driving mode select switch .................................. 300
Multi-terrain Select ...... 301
Snow mode switch ...... 304
Downhill assist control sys- tem ............................ 305
Driving assist systems .................................. 307
4-6. Driving tips Winter driving tips........ 314
Utility vehicle precautions .................................. 317
Page 221 of 552
2214-4. Refueling
4
Driving
4-4.Refueling
Close all the doors and win-
dows, and turn the engine
switch off.
Confirm the type of fuel.
■Fuel types
P. 4 8 2
■Fuel tank opening for unleaded
gasoline
To help prevent incorrect fueling,
your vehicle has a fuel tank opening
that only accommodates the spe-
cial nozzle on unle aded fuel pumps.
■If the malfunction indicator
lamp illuminates
The malfunction indicator lamp may
illuminate erroneous ly if refueling is
performed repeatedly when the fuel
tank is nearly full.
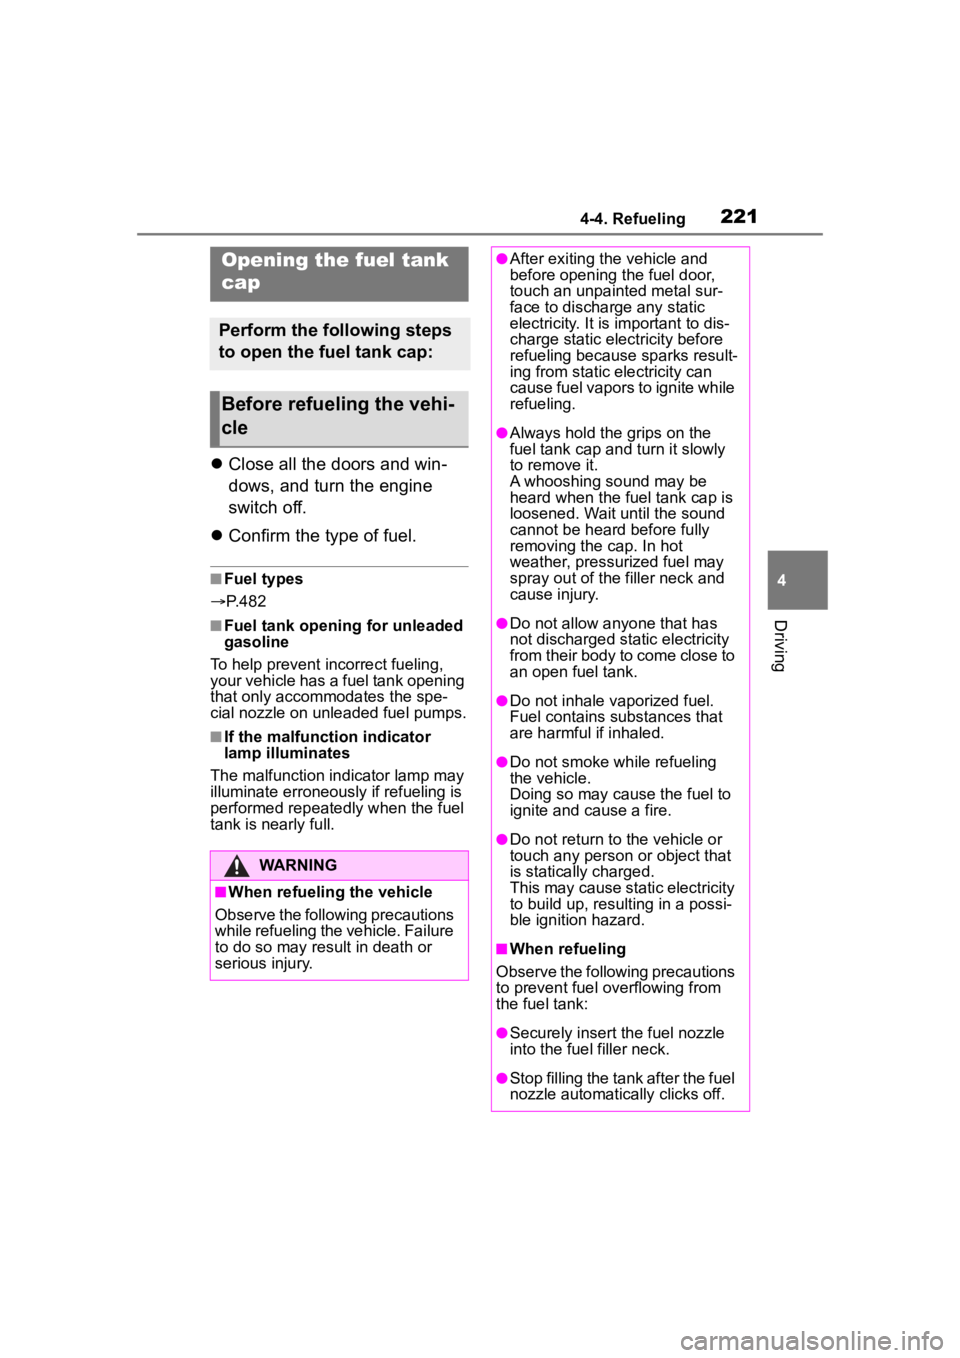
Opening the fuel tank
cap
Perform the following steps
to open the fuel tank cap:
Before refueling the vehi-
cle
WARNING
■When refueling the vehicle
Observe the following precautions
while refueling the vehicle. Failure
to do so may result in death or
serious injury.
●After exiting the vehicle and
before opening the fuel door,
touch an unpainted metal sur-
face to discharge any static
electricity. It is important to dis-
charge static electricity before
refueling because sparks result-
ing from static electricity can
cause fuel vapors to ignite while
refueling.
●Always hold the grips on the
fuel tank cap and turn it slowly
to remove it.
A whooshing sound may be
heard when the f uel tank cap is
loosened. Wait until the sound
cannot be heard before fully
removing the cap. In hot
weather, pressurized fuel may
spray out of the filler neck and
cause injury.
●Do not allow anyone that has
not discharged static electricity
from their body to come close to
an open fuel tank.
●Do not inhale vaporized fuel.
Fuel contains substances that
are harmful if inhaled.
●Do not smoke while refueling
the vehicle.
Doing so may cause the fuel to
ignite and cause a fire.
●Do not return to the vehicle or
touch any person or object that
is statically charged.
This may cause static electricity
to build up, resulting in a possi-
ble ignition hazard.
■When refueling
Observe the following precautions
to prevent fuel overflowing from
the fuel tank:
●Securely insert the fuel nozzle
into the fuel filler neck.
●Stop filling the tank after the fuel
nozzle automatically clicks off.
Page 222 of 552
2224-4. Refueling
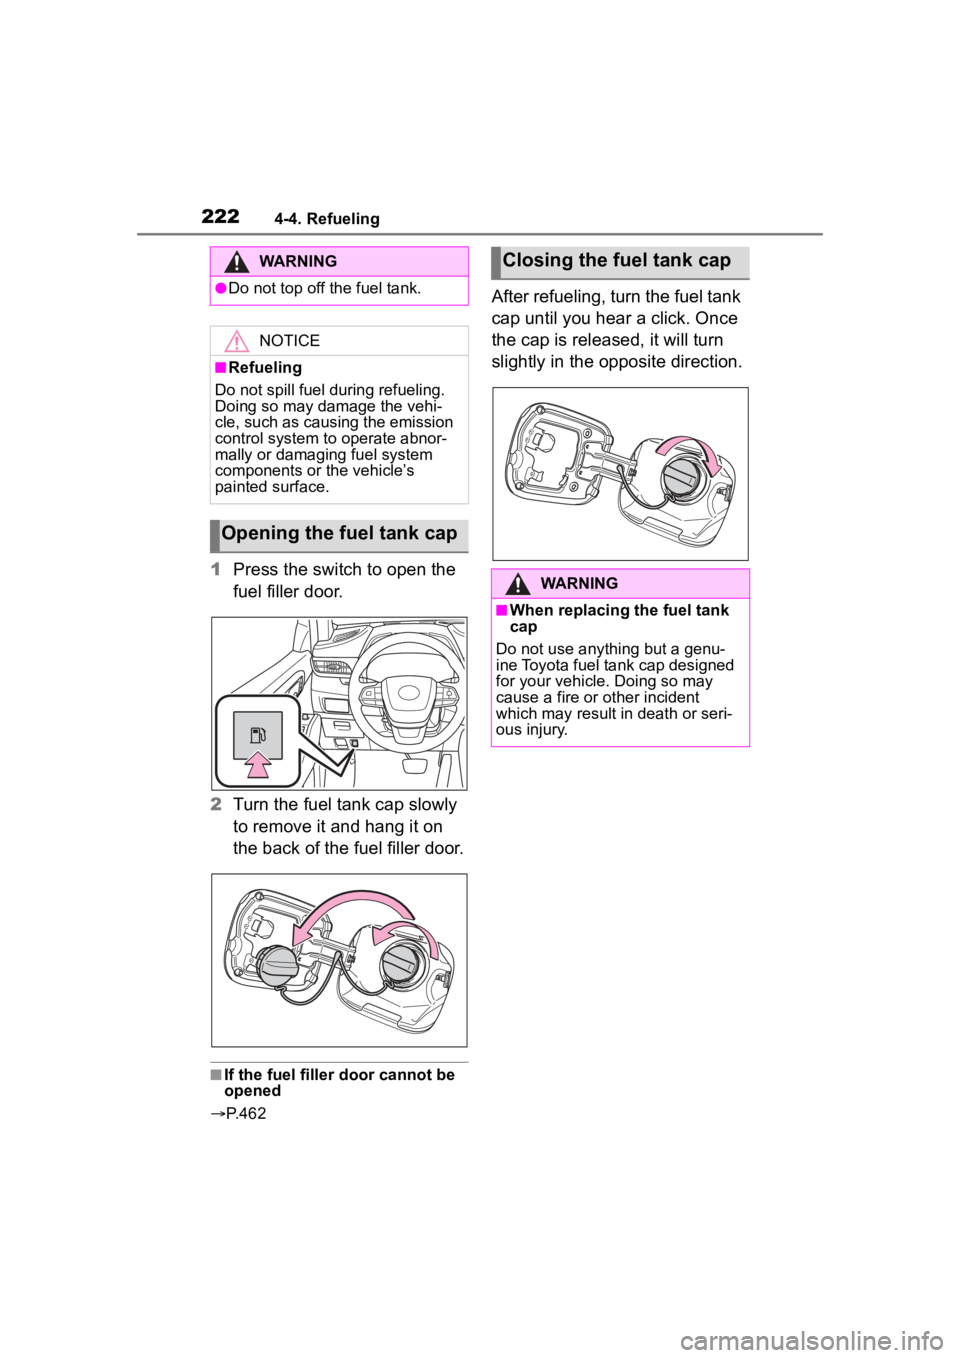
1Press the switch to open the
fuel filler door.
2 Turn the fuel tank cap slowly
to remove it and hang it on
the back of the fuel filler door.
■If the fuel filler door cannot be
opened
P. 4 6 2
After refueling, turn the fuel tank
cap until you hear a click. Once
the cap is released, it will turn
slightly in the opposite direction.
WARNING
●Do not top off the fuel tank.
NOTICE
■Refueling
Do not spill fuel during refueling.
Doing so may damage the vehi-
cle, such as causing the emission
control system to operate abnor-
mally or damaging fuel system
components or the vehicle’s
painted surface.
Opening the fuel tank cap
Closing the fuel tank cap
WARNING
■When replacing the fuel tank
cap
Do not use anything but a genu-
ine Toyota fuel tank cap designed
for your vehicle. Doing so may
cause a fire or other incident
which may result i n death or seri-
ous injury.
Page 325 of 552

3255-1. Using the air conditioning system and defogger
5
Interior features
recirculated air mode is used.
■When driving on dusty roads
Close all windows. If dust thrown up
by the vehicle is still drawn into the
vehicle after closing the windows, it
is recommended that the air intake
mode be set to outside air mode and
the fan speed to any setting except
off.
■Outside/recirculated air mode
●Setting to the r ecirculated air
mode temporarily is recom-
mended in preventing dirty air
from entering the vehicle interior
and helping to c ool the vehicle
when the outside air temperature
is high.
●Outside/recirculated air mode may
automatically switch depending on
the temperature setting or the
inside temperature.
■Operation of the air condition-
ing system in Eco drive mode
●In Eco drive mode, the air condi-
tioning system is controlled as fol-
lows to prioritize fuel efficiency:
• Engine speed and compressor operation controlled to restrict
heating/cooling capacity
• Fan speed restr icted when auto-
matic mode is selected
●To improve air co nditioning perfor-
mance, perform the following
operations:
• Adjust the fan speed
• Turn off Eco drive mode ( P.300)
■When the outside temperature
is low
The dehumidification function may
not operate even when the “A/C”
switch is pressed.
■Ventilation and air conditioning
odors
●To let fresh air in, set the air condi-
tioning system to the outside air
mode.
●During use, various odors from
inside and outside the vehicle may enter into and accumulate in the
air conditioning system. This may
then cause odor
to be emitted
from the vents.
●To reduce potential odors from
occurring:
• It is recommended that the air conditioning system be set to out-
side air mode prior to turning the
vehicle off.
• The start timing of the blower may
be delayed for a short period of
time immediately after the air con-
ditioning system is started in auto-
matic mode.
●When parking, the system auto-
matically switches to outside air
mode to encourage better air cir-
culation throughout the vehicle,
helping to reduce odors that occur
when starting the vehicle.
■Air conditioning system opera-
tions when the engine is
stopped due to the Stop & Start
system (vehicles with Stop &
Start system)
When the engine is stopped due to
Stop & Start system operations, the
automatic air conditioning cooling,
heating and dehumidification func-
tions turn off and the fan speed is
decreased according to the outside
temperature etc. or air blowing
stops. To stop the air conditioning
system from turning off, press the
Stop & Start cancel switch and
refrain from using the Stop & Start
system.
■When the windshield is fogged
up and the engine is stopped
due to the Stop & Start system
(vehicles with Stop & Start sys-
tem)
Press the windshield defogger
switch to restart the engine and
defog the windshield.
If the windshield continuously fogs
up, press the Stop & Start cancel
switch and refrain from using the
Stop & Start system.
Page 328 of 552
3285-1. Using the air conditioning system and defogger
■Eco air conditioning mode
When Eco drive mode is selected
using the driving mode select
switch, eco air conditioning mode
turns on.
When a drive mode other than Eco
drive mode is sele cted, eco air con-
ditioning mode may turn off.
■Operation of the air condition-
ing system in Eco drive mode
●In Eco drive mode, the air condi-
tioning system is controlled as fol-
lows to prioritize fuel efficiency:
• Engine speed and compressor operation controlled to restrict
heating/cooling capacity
• Fan speed restr icted when auto-
matic mode is selected
●To improve air co nditioning perfor-
mance, perform the following
operations:
• Adjust the fan speed
• Turn off Eco drive mode ( P.300)
• Turn off Eco air conditioning mode
●When the driving mode is set to
Eco driving mode, the air condi-
tioning eco mode will be turned on
automatically. Even in this case,
the air conditioning eco mode can
be turned off by pressing the Eco
air conditioning mode switch.
■When the outside temperature
is low
The dehumidification function may
not operate even when “A/C” is
pressed.
1 Press the automatic mode
switch.
The dehumidification function
begins to operate. Air outlets and
fan speed are automatically
adjusted according to the tempera-
ture setting and humidity.
2 Adjust the temperature set-
ting. 3
To stop the operation, press
the “OFF” switch.
If the fan speed setting or air
flow modes are operated, the
automatic mode indicator goes
off. However, automatic mode
for functions other than that
operated is maintained.
■Using automatic mode
Fan speed is adjusted automati-
cally according to the temperature
setting and the am bient conditions.
Therefore, the fan may stop for a
while until warm or cool air is ready
to flow immediately after the auto-
matic mode switch is pressed.
This function automatically con-
trols the air conditioning airflow
so that priority is given to the
front seats. Unnecessary air
conditioning is suppressed, con-
tributing to increased fuel effi-
ciency.
Front seat concentrated airflow
mode operates in the following
situations.
No passengers are detected
in the rear seats
The windshield defogger is
not operating
While operating, the indicator illumi-
nates on the S-FLOW mode switch.
Using automatic mode
Front seat concentrated
airflow mode (S-FLOW)
Page 380 of 552
3806-2. Maintenance
The OBD system determines
that a problem exists some-
where in the emission control
system. Your vehicle may not
pass the I/M test and may need
to be repaired. Contact your
Toyota dealer to service the
vehicle.
When the battery is discon-
nected or discharged
Readiness codes that are set
during ordinary driving are erased.
Also, depending on your driving
habits, the readiness codes may
not be completely set.
When the fuel tank cap is
loose
Vehicle exterior
ItemsCheck points
Doors
• Do the doors
operate
smoothly?
Engine hood
• Does the engine hood lock system
work properly?
Fluid leaks
• There should not be any signs of
fluid leakage
after the vehicle
has been parked.
Tires
• Is the tire infla-tion pressure
correct?
• The tires should not be damaged
or excessively
worn.
• Have the tires been rotated
according to the
maintenance
schedule?
• The wheel nuts should not be
loose.
Windshield
wipers/rear
window wiper
• The wiper blades should not show
any signs of
cracking, split-
ting, wear, con-
tamination or
deformation.
• The wiper blades should clear the
windshield/rear
window without
streaking or skip-
ping.
Emission inspection
and maintenance (I/M)
programs
Some states have vehicle
emission inspection pro-
grams which include OBD
(On Board Diagnostics)
checks. The OBD system
monitors the operation of
the emission control sys-
tem.
If the malfunction indica-
tor lamp comes on
Your vehicle may not pass
the I/M test in the follow-
ing situations:
Page 405 of 552
4056-3. Do-it-yourself maintenance
6
Maintenance and care
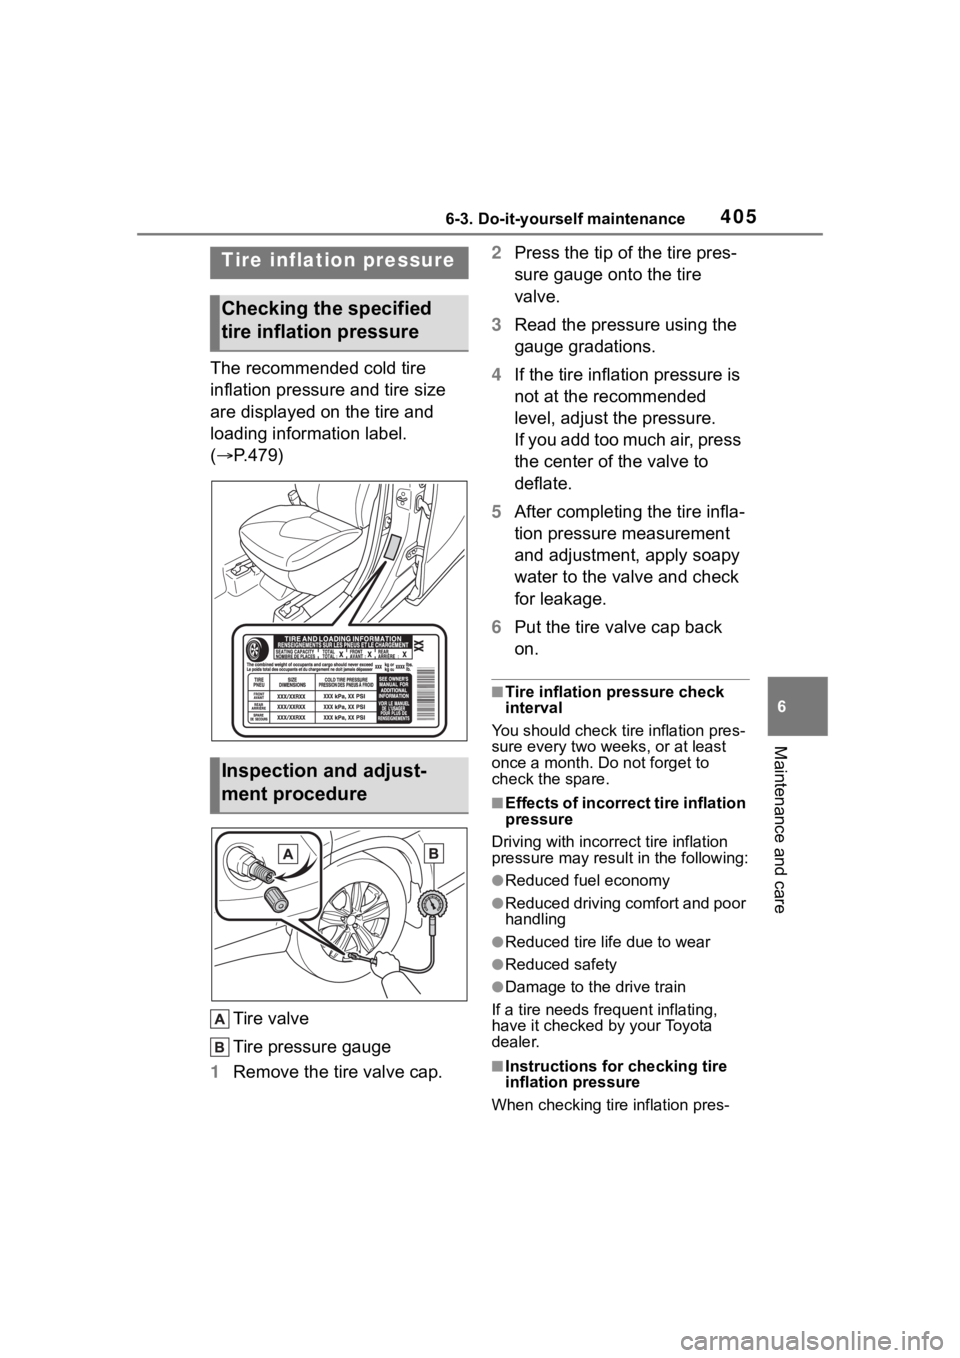
The recommended cold tire
inflation pressure and tire size
are displayed on the tire and
loading information label.
(P.479)
Tire valve
Tire pressure gauge
1 Remove the tire valve cap. 2
Press the tip of the tire pres-
sure gauge onto the tire
valve.
3 Read the pressure using the
gauge gradations.
4 If the tire inflation pressure is
not at the recommended
level, adjust the pressure.
If you add too much air, press
the center of the valve to
deflate.
5 After completing the tire infla-
tion pressure measurement
and adjustment, apply soapy
water to the valve and check
for leakage.
6 Put the tire valve cap back
on.
■Tire inflation pressure check
interval
You should check ti re inflation pres-
sure every two week s, or at least
once a month. Do not forget to
check the spare.
■Effects of incorrect tire inflation
pressure
Driving with incorrec t tire inflation
pressure may resul t in the following:
●Reduced fuel economy
●Reduced driving comfort and poor
handling
●Reduced tire life due to wear
●Reduced safety
●Damage to the drive train
If a tire needs frequent inflating,
have it checked by your Toyota
dealer.
■Instructions for checking tire
inflation pressure
When checking tire inflation pres-
Tire inflation pressure
Checking the specified
tire inflation pressure
Inspection and adjust-
ment procedure
Page 439 of 552
4397-2. Steps to take in an emergency
7
When trouble arises
ger detection sensor may cause
the warning light to flash and the
warning buzzer to sound even if a
passenger is not sitting in the
seat.
●If a cushion is placed on the seat,
the sensor may not detect a pas-
senger, and the warning light may
not operate properly.
■SRS warning light
This warning light system monitors
the airbag sensor assembly, front
impact sensors, side impact sensors
(front), side impact sensors (front
door), side impact sensors (rear),
driver’s seat position sensor,
driver’s seat belt buckle switch, front
passenger occupant classification
system (ECU and sensors), “PASS
AIR BAG ON” indicator light, “PASS
AIR BAG OFF” indicator light, front
passenger’s seat belt buckle switch,
driver’s seat belt pretensioner, front
passenger’s seat be lt pretensioner
and force limiter, airbags, intercon-
necting wiring and power sources.
( P.34)
■If the malfunction indicator
lamp comes on while driving
First check the following:
●Is the fuel t ank empty?
If it is, fill the f uel tank immediately.
●Is the fuel tank cap loose?
If it is, tighten it securely.
The light will go o ff after several
driving trips.
If the light does not go off even after
several trips, contact your Toyota
dealer as soon as possible.
■Electric power steering system
warning light (warning buzzer)
When the battery charge becomes
insufficient or the voltage temporar-
ily drops, the electric power steering
system warning light may come on
and the warning buzzer may sound.
■When the tire pressure warning
light comes on
Inspect the tires to check if a tire is
punctured.
If a tire is punctured: P. 4 4 6
If none of the tires are punctured:
Turn the engine switch off then turn
it to ON. Check if the tire pressure
warning light com es on or blinks.
If the tire pressure warning light
blinks for 1 minute then stays on
There may be a malfunction in the
tire pressure warning system. Have
the vehicle inspected by your Toyota
dealer immediately.
If the tire pressur e warning light
comes on
1 After the temperature of the tires
has lowered sufficiently, check
the inflation pressure of each tire
and adjust them to the specified
level.
2 If the warning light does not turn
off even after several minutes
have elapsed, check that the
inflation pressure of each tire is
at the specified level and perform
initialization. ( P.399)
If the warning light d oes not turn off
several minutes af ter the initializa-
tion has been performed, have the
vehicle inspected by your Toyota
dealer immediately.
■The tire pressure warning light
may come on due to natural
causes
The tire pressure warning light may
come on due to natural causes such
as natural air leaks and tire inflation
pressure changes caused by tem-
perature. In this ca se, adjusting the
tire inflation pressure will turn off the
warning ligh t (after a few minutes).
■When a tire is replaced with a
spare tire
Vehicles with a co mpact spare tire:
The compact spare tire is not
equipped with a tire pressure warn-
ing valve and tran smitter. If a tire