TOYOTA HIGHLANDER HYBRID 2013 XU50 / 3.G Owners Manual
Manufacturer: TOYOTA, Model Year: 2013, Model line: HIGHLANDER HYBRID, Model: TOYOTA HIGHLANDER HYBRID 2013 XU50 / 3.GPages: 676, PDF Size: 12.48 MB
Page 401 of 676
401
3-4. Using the hand
s-free phone system (for cellular phone)
3
Interior features
■Initialization
●The following data in the system can be initialized:
• Phone book
• Outgoing and incoming call history
• Speed dials
• Registered cellular phone data
• Security code
● Once the initialization has been completed, the data cannot be restored
to its original state.
■ When the phone book is locked
The following functions cannot be used:
●Dialing by inputting a name
● Speed dialing
● Dialing a number stored in the call history memory
● Using the phone book
Page 402 of 676
402
3-4. Using the hands-free phone system (for cellular phone)
Using the phone book
Adding a new phone numberThe following methods can be used to add a new phone number:
● Inputting a phone number by using a voice command
● Transferring data from the cellular phone
● Inputting a phone number using
● Selecting a phone number from outgoing or incoming call history
■ Adding procedure
Select “Add Entry” using a voice command or .
To enter the menu of each setting, follow the steps below:●Adding a new phone number
1. “Phonebook” 2. “Add Entry”
● Setting speed dials
1. “Phonebook” 2. “Speed Dial (Set speed dial)”
● Changing a registered name
1. “Phonebook” 2. “Change Name”
● Deleting registered data
1. “Phonebook” 2. “Delete Entry”
● Deleting speed dials
1. “Phonebook” 2. “Delete Speed Dial”
● Listing the registered data
1. “Phonebook” 2. “List Names”
STEP1
Page 403 of 676
403
3-4. Using the hand
s-free phone system (for cellular phone)
3
Interior features
Use one of the following methods to input a telephone num-
ber:
Inputting a telephone number using a voice command STEP2-1 Select “By Voice (By voice)” using a voice command
or .
STEP2-2 Press the talk switch, say the desired number, and select “Confirm” us ing a voice command.
Transferring data from the cellular phone
STEP2-1 Select “By Phone” and then “Confirm” using a voice
command or .
STEP2-2 Transfer the data from the cellular phone.
Refer to the manual that comes with the cellular phone for
the details of transferring data.
STEP2-3 Select the data to be registered by either of the fol- lowing methods:
a. Say “Previous” or “Next” until the desired data isdisplayed, and select “Confirm” using a voice
command.
b. Select the desired data using .
STEP2
Page 404 of 676
404 3-4. Using the hands-free phone system (for cellular phone)
Inputting a phone number using
STEP2-1 Select “Manual Input” using .
STEP2-2 Input a phone number using , and press once again.
Input the phone number 1 digit at a time.
Selecting a phone number from outgoing or incoming call historySTEP2-1 Select “Call History” using a voice command or
.
STEP2-2 Select “Outgoing Call History (Outgoing)” or “Incom- ing Call History (Incoming)” using a voice command
or .
STEP2-3 Select the data to be registered by either of the fol- lowing methods:
a. Say “Previous” or “Go back” until the desireddata is displayed, and select “Confirm” using a
voice command.
b. Select the desired data using .
Page 405 of 676
405
3-4. Using the hand
s-free phone system (for cellular phone)
3
Interior features
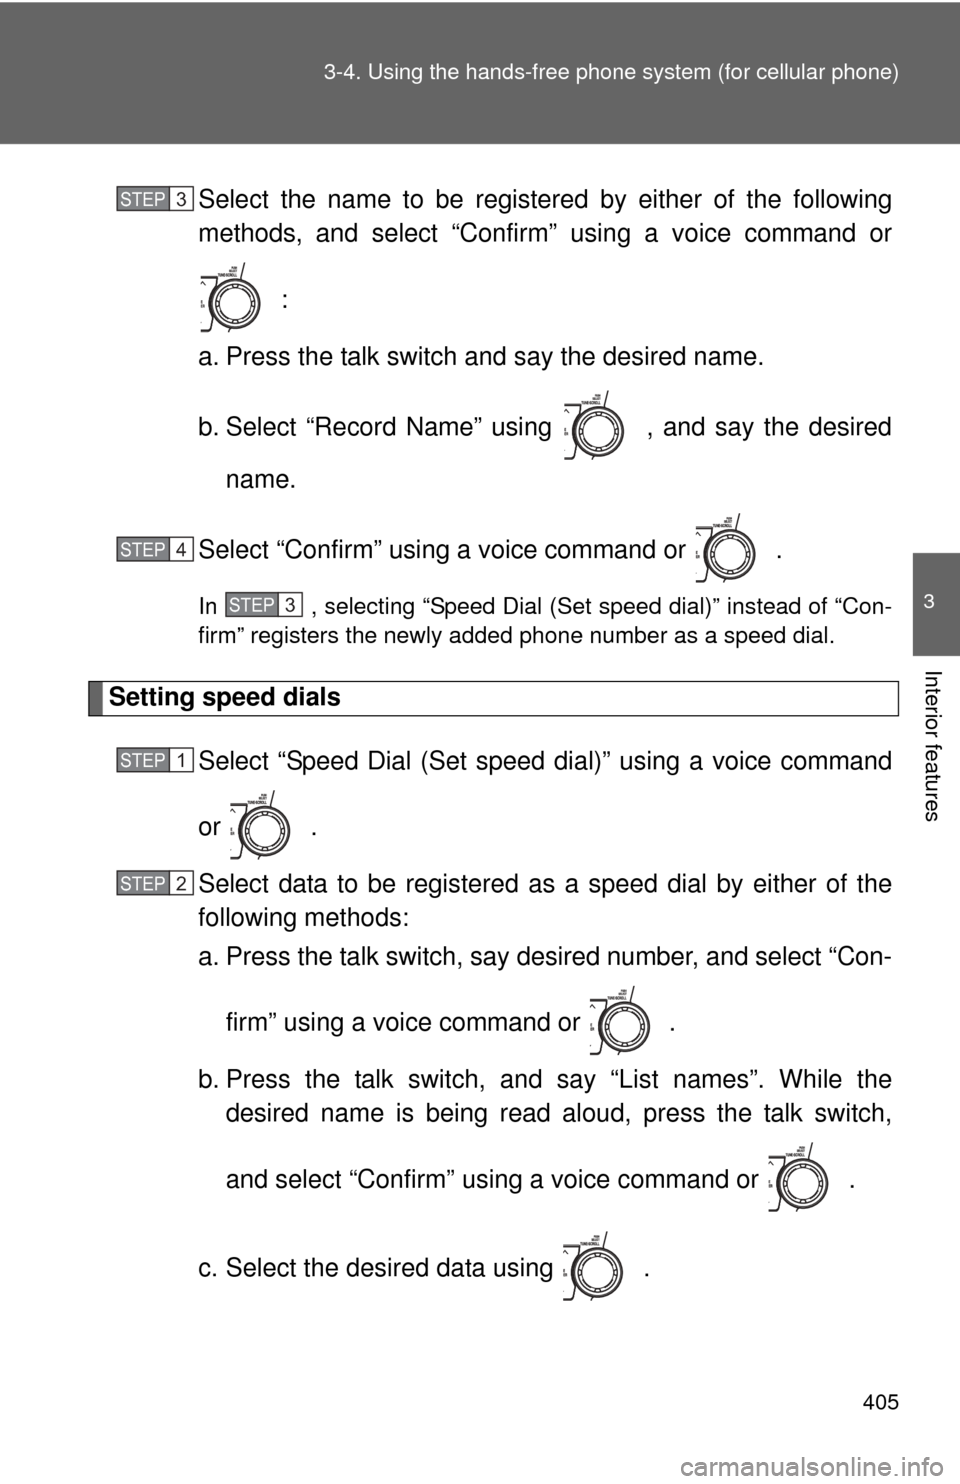
Select the name to be registered by either of the following
methods, and select “Confirm” using a voice command or
:
a. Press the talk switch and say the desired name.
b. Select “Record Name” using , and say the desired name.
Select “Confirm” using a voice command or .
In , selecting “Speed Dial (Set speed dial)” instead of “Con-
firm” registers the newly added phone number as a speed dial.
Setting speed dials
Select “Speed Dial (Set speed dial)” using a voice command
or .
Select data to be registered as a speed dial by either of the
following methods:
a. Press the talk switch, say desired number, and select “Con-
firm” using a voice command or
.
b. Press the talk switch, and say “List names”. While the desired name is being read aloud, press the talk switch,
and select “Confirm” using a voice command or .
c. Select the desired data using .
STEP3
STEP4
STEP3
STEP1
STEP2
Page 406 of 676
406 3-4. Using the hands-free phone system (for cellular phone)
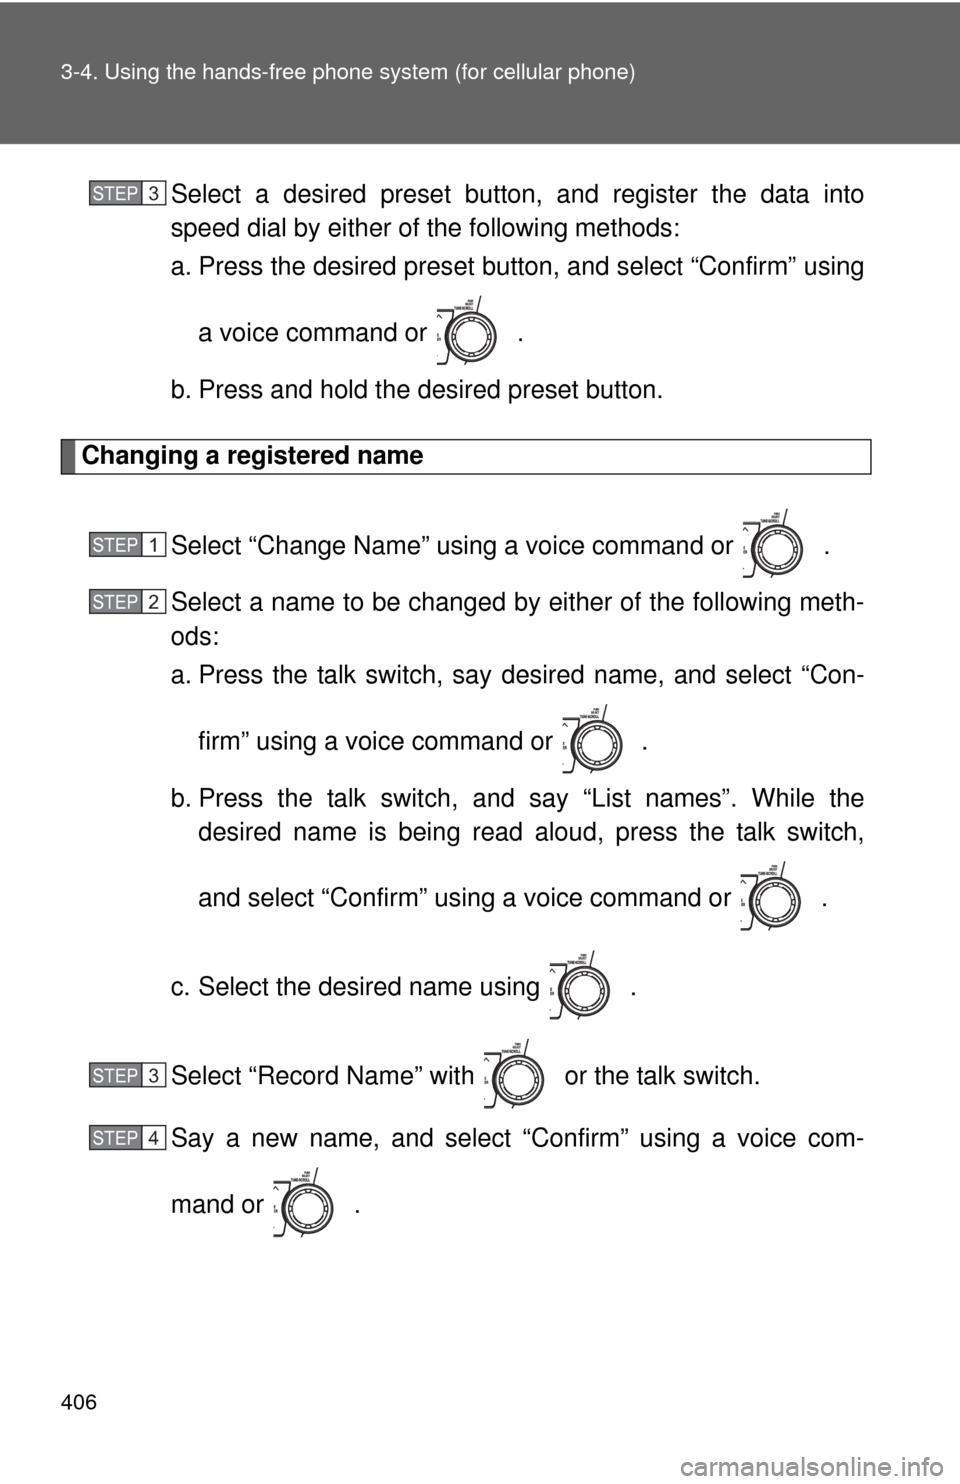
Select a desired preset button, and register the data into
speed dial by either of the following methods:
a. Press the desired preset button, and select “Confirm” using
a voice command or .
b. Press and hold the desired preset button.
Changing a registered name
Select “Change Name” using a voice command or .
Select a name to be changed by either of the following meth-
ods:
a. Press the talk switch, say desired name, and select “Con-firm” using a voice command or
.
b. Press the talk switch, and say “List names”. While the desired name is being read aloud, press the talk switch,
and select “Confirm” using a voice command or .
c. Select the desired name using .
Select “Record Name” with or the talk switch.
Say a new name, and select “Confirm” using a voice com-
mand or .
STEP3
STEP1
STEP2
STEP3
STEP4
Page 407 of 676
407
3-4. Using the hand
s-free phone system (for cellular phone)
3
Interior features
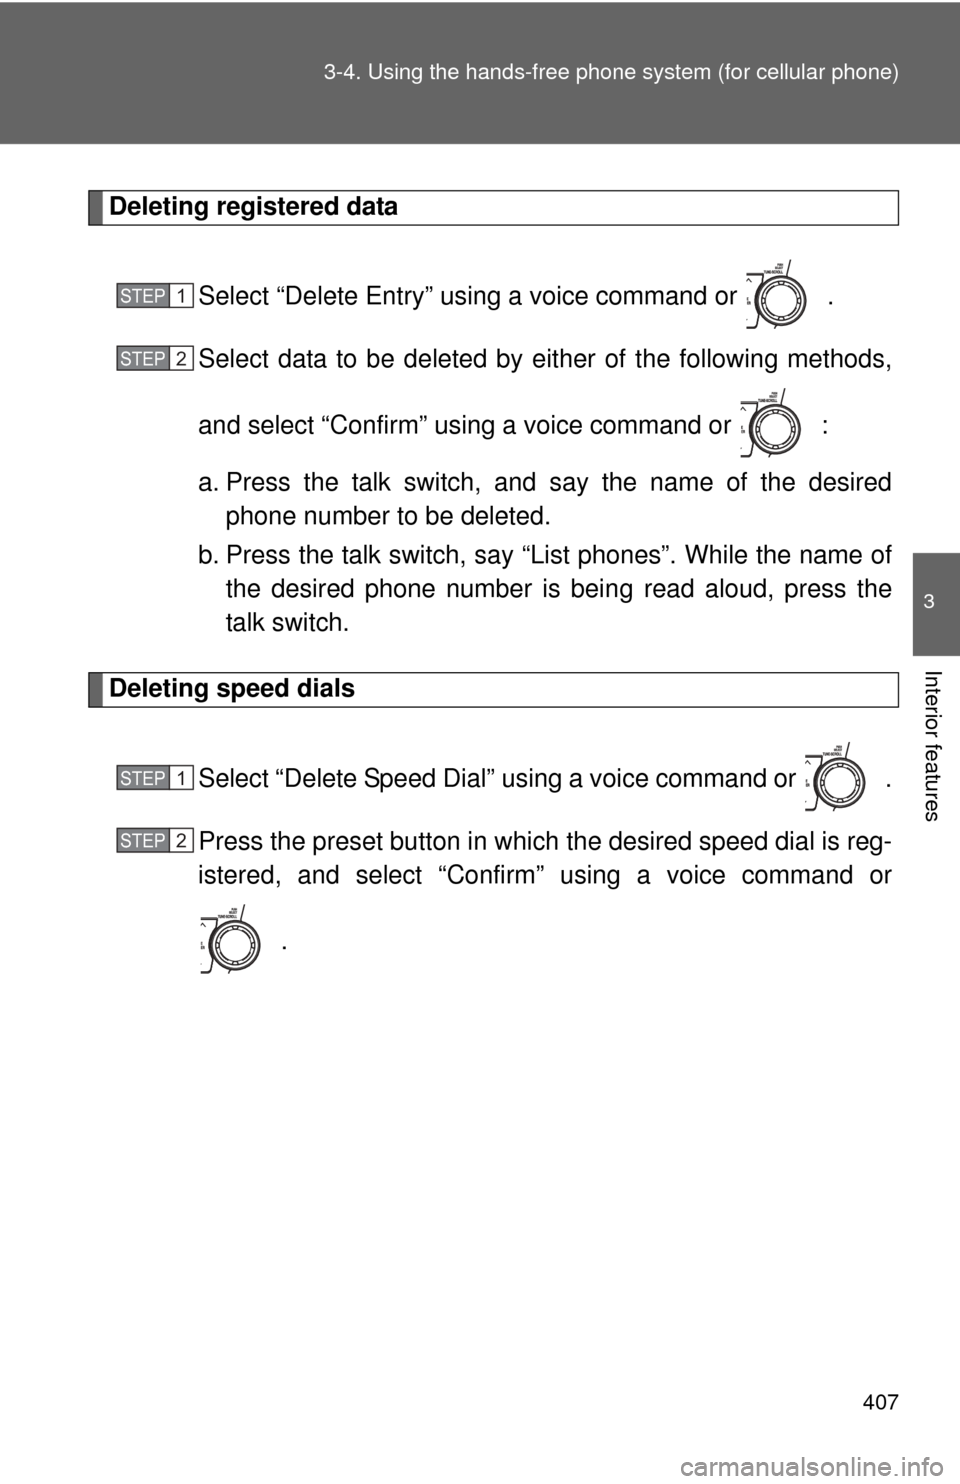
Deleting registered data
Select “Delete Entry” using a voice command or .
Select data to be deleted by either of the following methods,
and select “Confirm” using a voice command or :
a. Press the talk switch, and say the name of the desiredphone number to be deleted.
b. Press the talk switch, say “List phones”. While the name of the desired phone number is bein g read aloud, press the
talk switch.
Deleting speed dials
Select “Delete Speed Dial” using a voice command or .
Press the preset button in which the desired speed dial is reg-
istered, and select “Confirm” using a voice command or
.
STEP1
STEP2
STEP1
STEP2
Page 408 of 676

408 3-4. Using the hands-free phone system (for cellular phone)
Listing the registered data
Selecting “List names” using a voice command causes a list of the
registered data to be read aloud.
When listing is complete, the system returns to “Phonebook”.
Pressing the talk switch while th e desired data is being read aloud
selects the data, and the followi ng function will be available.
• Dialing: “Dial”
• Changing a registered name: “Change Name”
• Deleting an entry: “Delete Entry”
• Setting a speed dial: “Speed Dial (Set speed dial)”
■ Limitation of number of digits
A phone number that exceeds 24 digits cannot be registered.
Page 409 of 676
409
3
Interior features
3-5. Using the rear audio system
Rear seat enter tainment system features
With navigation system
Owners of models equipped with a navigation system should refer to
the “Navigation System Owner’s Manual”.
Without navigation system
The rear seat entertainment system is designed for the rear passen-
gers to enjoy audio and DVD vide o separately from the front audio
system.
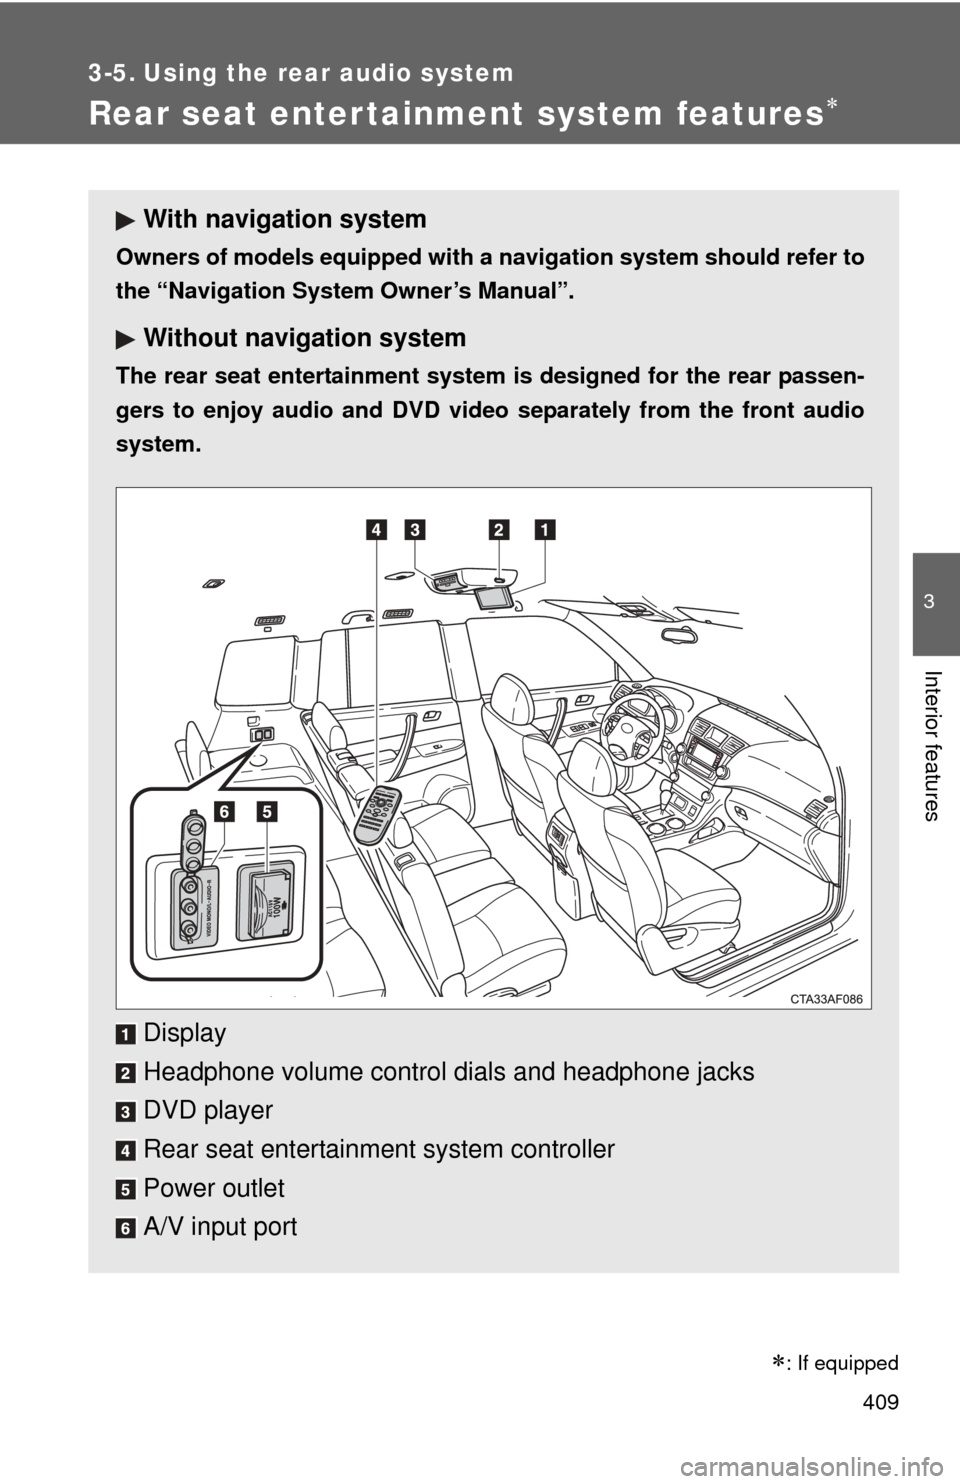
Display
Headphone volume control dials and headphone jacks
DVD player
Rear seat entertainment system controller
Power outlet
A/V input port
�
: If equipped
Page 410 of 676
410 3-5. Using the rear audio system
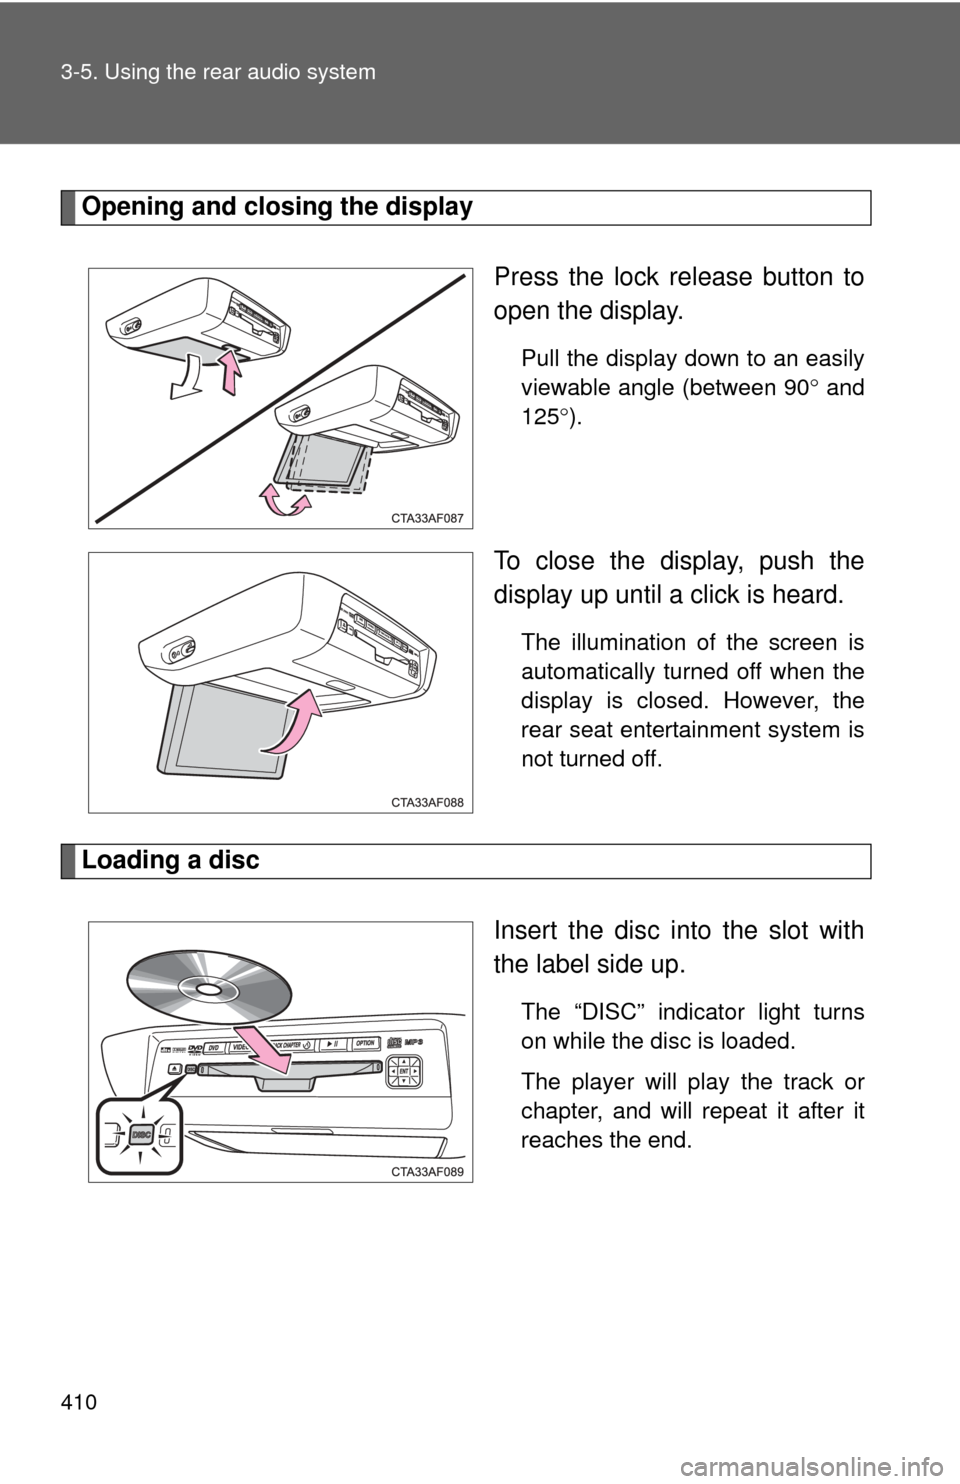
Opening and closing the displayPress the lock release button to
open the display.
Pull the display down to an easily
viewable angle (between 90 and
125 ).
To close the display, push the
display up until a click is heard.
The illumination of the screen is
automatically turned off when the
display is closed. However, the
rear seat entertainment system is
not turned off.
Loading a disc
Insert the disc into the slot with
the label side up.
The “DISC” indicator light turns
on while the disc is loaded.
The player will play the track or
chapter, and will repeat it after it
reaches the end.