TOYOTA HILUX 2018 Owners Manual
Manufacturer: TOYOTA, Model Year: 2018, Model line: HILUX, Model: TOYOTA HILUX 2018Pages: 708, PDF Size: 95.31 MB
Page 461 of 708
4615-7. “SETUP” menu
5
Audio system
HILUX_OM_OM0K375E_(EE)
Select “Add contacts” using the “TUNE >” or “< SELECT” button, and
press the “SETUP ENTER” button.
● Transferring all contacts from the cellular phone
Select “Overwrite all” using the “TUNE >” or “< SELECT” button,
and press the “SETUP ENTER” button.
Press (YES).
● Transferring one contact from the cellular phone
Select “Add one contact” using the “TUNE >” or “< SELECT” but-
ton, and press the “SETUP ENTER” button.
Press (YES).
Select “Add SD” using the “TUNE >” or “< SELECT” button, and
press the “SETUP ENTER” button.
Select the desired data using the “TUNE >” or “< SELECT” button,
and press the “SETUP ENTER” button.
Press the desired preset button (from [1] to [5]).
For details about setting speed dials from the call history: P. 470
For details about deleting speed dials: P. 469
Adding a new phone number
Setting speed dials
1
2
1
2
1
2
3
Page 462 of 708
4625-7. “SETUP” menu
HILUX_OM_OM0K375E_(EE)
Select “Delete call history” using the “TUNE >” or “< SELECT” button,
and press the “SETUP ENTER” button.
● Deleting outgoing call history
Select “Outgoing calls” using the “TUNE >” or “< SELECT” but-
ton, and press the “SETUP ENTER” button.
Select the desired phone number using the “TUNE >” or
“< SELECT” button, and press the “SETUP ENTER” button.
Press (YES).
To delete all outgoing call history data, press (ALL) and then
press (YES).
● Deleting incoming call history
Select “Incoming calls” using the “TUNE >” or “< SELECT” but-
ton, and press the “SETUP ENTER” button.
Select the desired phone number using the “TUNE >” or
“< SELECT” button, and press the “SETUP ENTER” button.
Press (YES).
To delete all incoming call history data, press (ALL) and then
press (YES).
Deleting call histories
1
2
3
1
2
3
Page 463 of 708
4635-7. “SETUP” menu
5
Audio system
HILUX_OM_OM0K375E_(EE)
●Deleting missed call history
Select “Missed calls” using the “TUNE >” or “< SELECT” button,
and press the “SETUP ENTER” button.
Select the desired phone number using the “TUNE >” or
“< SELECT” button, and press the “SETUP ENTER” button.
Press (YES).
To delete all missed call history data, press (ALL) and then
press (YES).
● Deleting a number from all call histories (Outgoing calls, Incoming
calls and Missed calls)
Select “All calls” using the “TUNE >” or “< SELECT” button, and
press the “SETUP ENTER” button.
Select the desired phone number using the “TUNE >” or
“< SELECT” button, and press the “SETUP ENTER” button.
press (YES).
To delete all of the call histories data, press (ALL) and then
press (YES).
1
2
3
1
2
3
Page 464 of 708
4645-7. “SETUP” menu
HILUX_OM_OM0K375E_(EE)
Select “Delete contacts” using the “TUNE >” or “< SELECT” button,
and press the “SETUP ENTER” button.
Select the desired phone number using the “TUNE >” or
“< SELECT” button, and press the “SETUP ENTER” button.
Press (YES).
To delete all the registered phone numbers, press (ALL) and
then press (YES).
Press (A-Z) to display the registered names in alphabetical order
of the initial.
Select “Delete other PB” using the “TUNE >” or “< SELECT” button,
and press the “SETUP ENTER” button.
Select the desired phonebook using the “TUNE >” or “< SELECT”
button, and press the “SETUP ENTER” button.
Press (YES).
When the “Auto transfer” is set to on, the phone’s contact data and
history are automatically transferred after HFP connection is success-
ful.
Select “Auto transfer” using the “TUNE >” or “< SELECT” button,
and press the “SETUP ENTER” button.
Select “ON” or “OFF” using the “SETUP ENTER” button.
For details about PBAP (Phone Book Access Profile) Automatic Transfer:
P. 470
Deleting a registered phone number
Deleting another cellular phone’s phonebook
Setting automatic transferring of the phonebook to on or off
1
2
3
1
2
3
1
2
Page 465 of 708
4655-7. “SETUP” menu
5
Audio system
HILUX_OM_OM0K375E_(EE)
Select “Call volume” using the “TUNE >” or “< SELECT” button, and
press the “SETUP ENTER” button.
Change the call volume.
To decrease the volume: Press the “< SELECT” button.
To increase the volume: Press the “TUNE >” button.
To set the volume, press (BACK).
Select “Ringtone volume” using the “TUNE >” or “< SELECT” but-
ton, and press the “SETUP ENTER” button.
Change the ring tone volume.
To decrease the volume: Press the “< SELECT” button.
To increase the volume: Press the “TUNE >” button.
To set the volume, press (BACK).
Setting call volume
Setting ring tone volume
1
2
1
2
Page 466 of 708
4665-7. “SETUP” menu
HILUX_OM_OM0K375E_(EE)
Select “Ringtone” using the “TUNE >” or “< SELECT” button, and
press the “SETUP ENTER” button.
Select a ring tone (1 - 3) using the “TUNE >” or “< SELECT” button,
and press the “SETUP ENTER” button. To set the selected ring
tone, press (BACK).
Select “Transfer histories” using the “TUNE >” or “< SELECT” but-
ton, and press the “SETUP ENTER” button.
Press (YES).
■ Phone number
Up to 1000 names can be stored.
■ Call history
Up to 10 numbers can be stored in each of the outgoing, incoming and
missed call history memories.
■ Limitation of number of digits
A phone number that exceeds 24 digits cannot be registered.
■ Bluetooth® phone system functions
Certain functions may not be available during driving.
Setting ring tone
Transferring call histories
1
2
1
2
Page 467 of 708
467
5
5-8. Bluetooth® Audio
Audio system
HILUX_OM_OM0K375E_(EE)
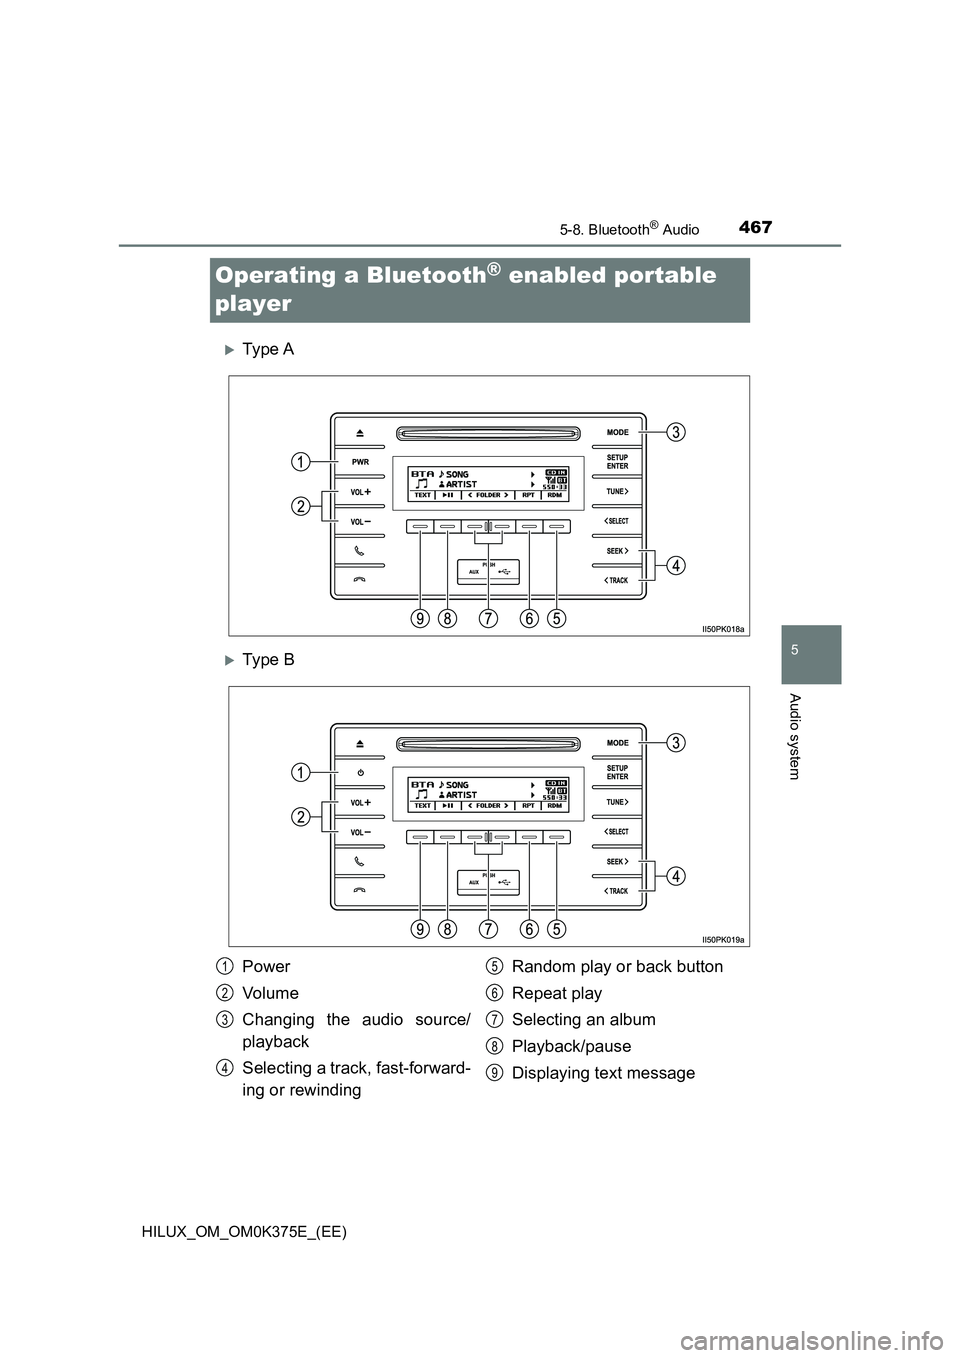
Operating a Bluetooth® enabled portable
player
Ty pe A
Ty pe B
Power
Vo lu m e
Changing the audio source/
playback
Selecting a track, fast-forward-
ing or rewinding
Random play or back button
Repeat play
Selecting an album
Playback/pause
Displaying text message
1
2
3
4
5
6
7
8
9
Page 468 of 708
4685-8. Bluetooth® Audio
HILUX_OM_OM0K375E_(EE)
Press (
Press the “SEEK >” or “< TRACK” button to select the desired track.
Press and hold the “SEEK >” or “< TRACK” button.
Pressing (RPT) changes modes in the following order:
Track repeat Album repeatOff
Pressing (RDM) changes modes in the following order:
Album random All track randomOff
Press ( ).
Press (TEXT) to display or hide the album title.
If there are continuing texts, is displayed.
Press and hold the button to display the remaining texts.
■ Bluetooth® audio system functions
Depending on the portable player that is connected to the system, certain
functions may not be available.
■ Display
P. 425
Selecting an album
Selecting a track
Fast-forwarding and rewinding tracks
Repeat play
Random play
Playing and pausing tracks
Switching the display
Page 469 of 708
469
5
5-9. Bluetooth® Phone
Audio system
HILUX_OM_OM0K375E_(EE)
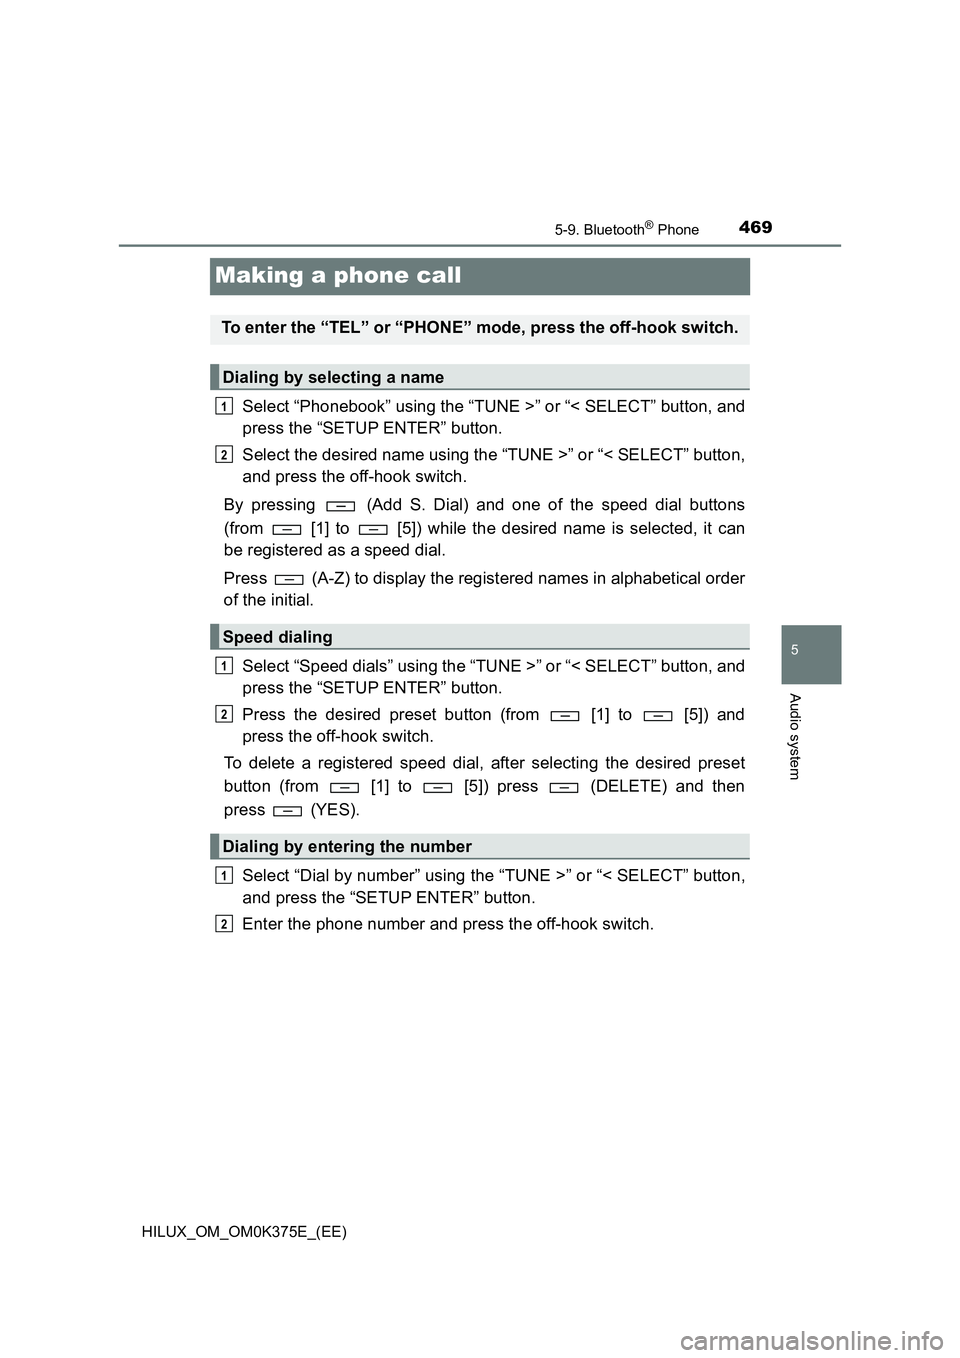
Making a phone call
Select “Phonebook” using the “TUNE >” or “< SELECT” button, and
press the “SETUP ENTER” button.
Select the desired name using the “TUNE >” or “< SELECT” button,
and press the off-hook switch.
By pressing (Add S. Dial) and one of the speed dial buttons
(from [1] to [5]) while the desired name is selected, it can
be registered as a speed dial.
Press (A-Z) to display the registered names in alphabetical order
of the initial.
Select “Speed dials” using the “TUNE >” or “< SELECT” button, and
press the “SETUP ENTER” button.
Press the desired preset button (from [1] to [5]) and
press the off-hook switch.
To delete a registered speed dial, after selecting the desired preset
button (from [1] to [5]) press (DELETE) and then
press (YES).
Select “Dial by number” using the “TUNE >” or “< SELECT” button,
and press the “SETUP ENTER” button.
Enter the phone number and press the off-hook switch.
To enter the “TEL” or “PHONE” mode, press the off-hook switch.
Dialing by selecting a name
Speed dialing
Dialing by entering the number
1
2
1
2
1
2
Page 470 of 708
4705-9. Bluetooth® Phone
HILUX_OM_OM0K375E_(EE)
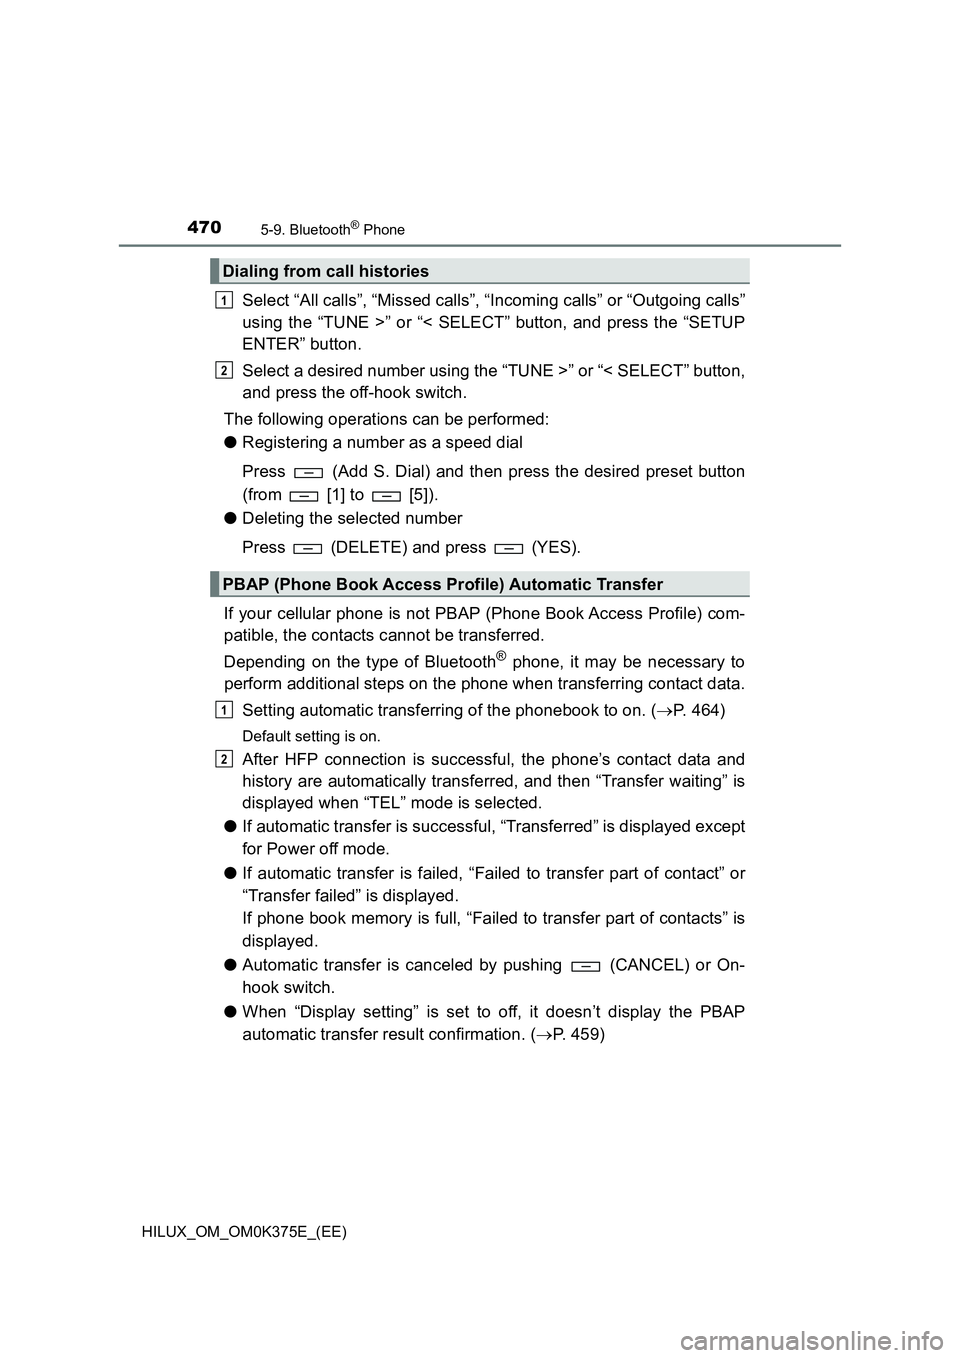
Select “All calls”, “Missed calls”, “Incoming calls” or “Outgoing calls”
using the “TUNE >” or “< SELECT” button, and press the “SETUP
ENTER” button.
Select a desired number using the “TUNE >” or “< SELECT” button,
and press the off-hook switch.
The following operations can be performed:
● Registering a number as a speed dial
Press (Add S. Dial) and then press the desired preset button
(from [1] to [5]).
● Deleting the selected number
Press (DELETE) and press (YES).
If your cellular phone is not PBAP (Phone Book Access Profile) com-
patible, the contacts cannot be transferred.
Depending on the type of Bluetooth® phone, it may be necessary to
perform additional steps on the phone when transferring contact data.
Setting automatic transferring of the phonebook to on. ( P. 464)
Default setting is on.
After HFP connection is successful, the phone’s contact data and
history are automatically transferred, and then “Transfer waiting” is
displayed when “TEL” mode is selected.
● If automatic transfer is successful, “Transferred” is displayed except
for Power off mode.
● If automatic transfer is failed, “Failed to transfer part of contact” or
“Transfer failed” is displayed.
If phone book memory is full, “Failed to transfer part of contacts” is
displayed.
● Automatic transfer is canceled by pushing (CANCEL) or On-
hook switch.
● When “Display setting” is set to off, it doesn’t display the PBAP
automatic transfer result confirmation. ( P. 459)
Dialing from call histories
PBAP (Phone Book Access Profile) Automatic Transfer
1
2
1
2