warning light TOYOTA iA 2016 (in English) Service Manual
[x] Cancel search | Manufacturer: TOYOTA, Model Year: 2016, Model line: iA, Model: TOYOTA iA 2016Pages: 588, PDF Size: 5.15 MB
Page 146 of 588
146
iA_OM_OM99M17z_(U)
3-1. Start/Stop Engine
Press the push button start to switch the ignition position. The ignition
switches in the order of ACC, ON, and off each time the push button start
is pressed. To switch the ignition position again, perform the operation
from the beginning.
If the KEY warning light (red) illuminates, or the push button start indi-
cator light (amber) flashes, this could indicate that the engine may not
start using the usual starting method. Have your vehicle inspected at
your Scion dealer as so on as possible. If this occurs, the engine can
be force-started. Press and hold t he push button start until the engine
starts. Other procedures necessary for starting the engine such as
having the key in the cabin, and depressing the clutch pedal (manual
transaxle) or the brake pedal (automatic transaxle) are required.
NOTICE
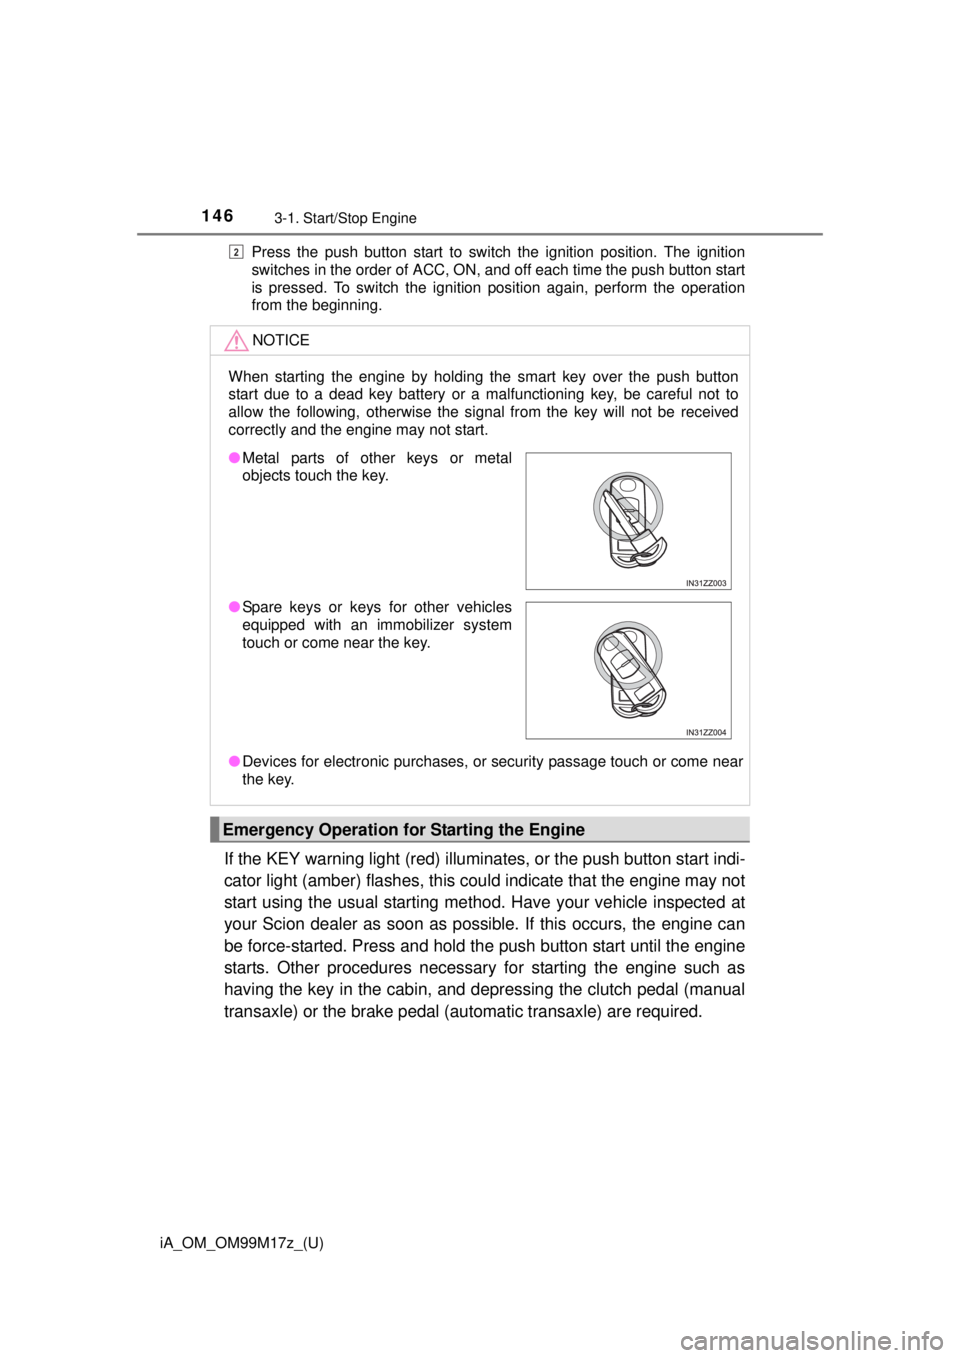
When starting the engine by holding the smart key over the push button
start due to a dead key battery or a malfunctioning key, be careful not to
allow the following, otherwise the signal from the key will not be received
correctly and the engine may not start.
● Devices for electronic purchases, or security passage touch or come near
the key.
Emergency Operation for Starting the Engine
2
●Metal parts of other keys or metal
objects touch the key.
● Spare keys or keys for other vehicles
equipped with an immobilizer system
touch or come near the key.
Page 147 of 588
147
iA_OM_OM99M17z_(U)
3-1. Start/Stop Engine
3
When Driving
Turning the Engine Off
Stop the vehicle completely.
Manual transaxle:
Shift into neutral and set the parking brake.
Automatic transaxle:
Shift the selector lever to the P position and set the parking brake.
Press the push button start to turn off the engine. The ignition posi-
tion is off.
● The cooling fan in the engine compartment could turn on for a few minutes
after the ignition is switched from ON to OFF, whether or not the A/C is on or
off, to cool the engine compartment quickly.
● When the push button start is pressed from ON to ACC or OFF, the KEY
indicator light (green) may flash for approximately 30 seconds indicating
that the remaining battery power of the key is low.
Replace with a new battery before the key becomes unusable.
Refer to Key Battery Replacement on P. 443.
● Automatic transaxle:
If the engine is turned off while the selector lever is in a position other than
P, the ignition switches to ACC.
Continuously pressing the push button start or quickly pressing it two
or more times while the engine is running or the vehicle is being
driven will turn the engine off imme diately. The ignition switches to
ACC.
WARNING
■ Do not stop the engine wh ile the vehicle is moving
Stopping the engine while the vehicle is moving for any reason other than in
an emergency is dangerous. Stopping the engine while the vehicle is mov-
ing will result in reduced braking ability due to the loss of power braking,
which could cause an accident and serious injury.
NOTICE
When leaving the vehicle, make sure the push button start is off.
Emergency Engine Stop
1
2
3
Page 151 of 588
iA_OM_OM99M17z_(U)
1513-2. Combination Meter and Display
3
When Driving
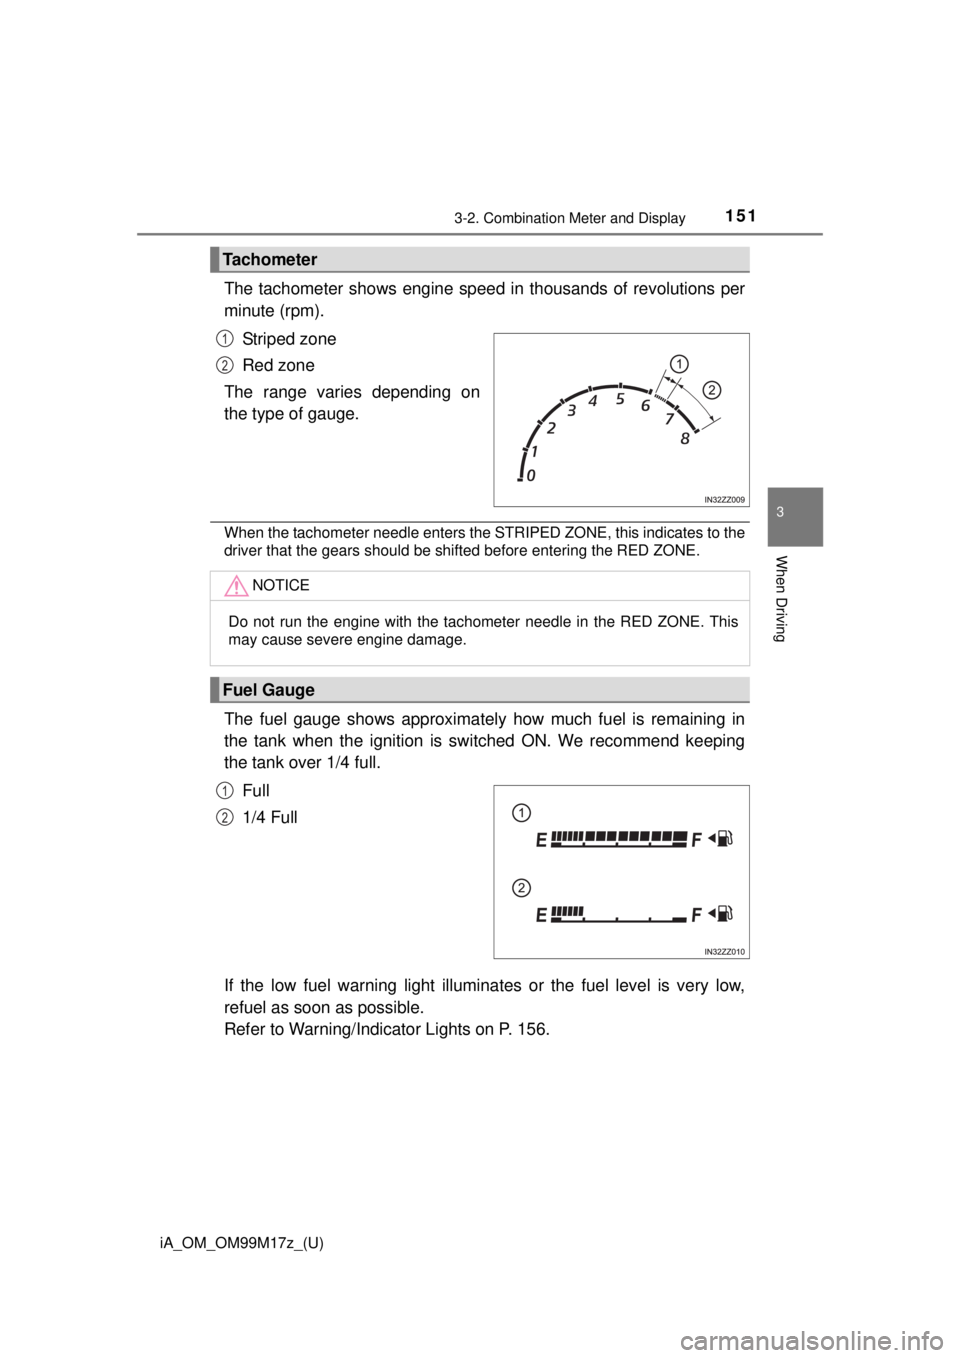
The tachometer shows engine speed in thousands of revolutions per
minute (rpm).
Striped zone
Red zone
The range varies depending on
the type of gauge.
When the tachometer needle enters the STRIPED ZONE, this indicates to the
driver that the gears should be shifted before entering the RED ZONE.
The fuel gauge shows approximately how much fuel is remaining in
the tank when the ignition is switched ON. We recommend keeping
the tank over 1/4 full.
Full
1/4 Full
If the low fuel warning light illuminates or the fuel level is very low,
refuel as soon as possible.
Refer to Warning/Indicator Lights on P. 156.
Tachometer
1
2
NOTICE
Do not run the engine with the tachometer needle in the RED ZONE. This
may cause severe engine damage.
Fuel Gauge
1
2
Page 155 of 588
iA_OM_OM99M17z_(U)
1553-2. Combination Meter and Display
3
When Driving
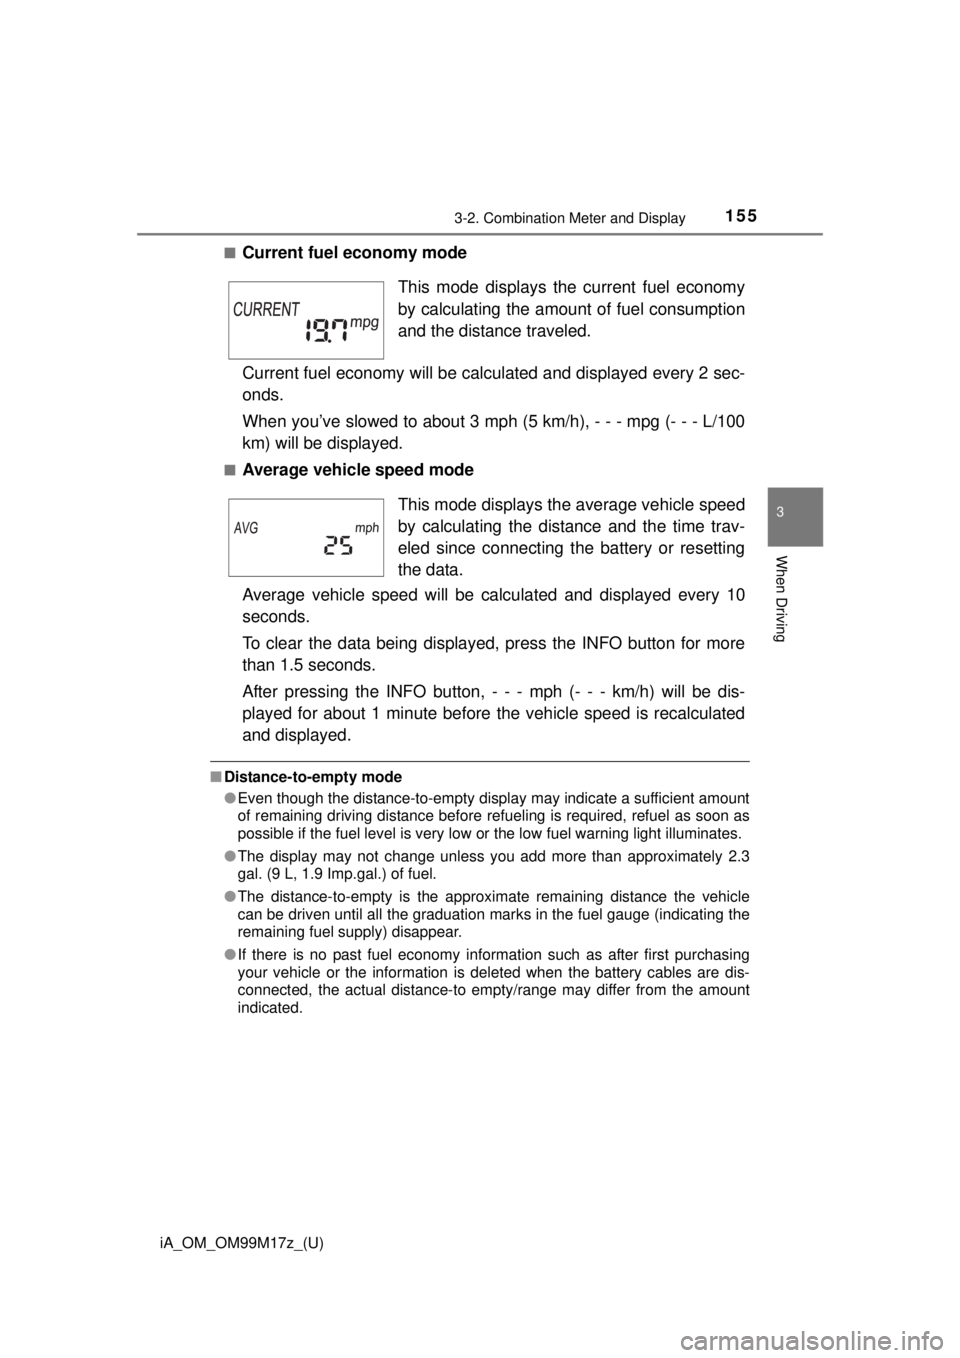
■Current fuel economy mode
Current fuel economy will be calculated and displayed every 2 sec-
onds.
When you’ve slowed to about 3 mph (5 km/h), - - - mpg (- - - L/100
km) will be displayed.
■Average vehicle speed mode
Average vehicle speed will be calculated and displayed every 10
seconds.
To clear the data being displayed, press the INFO button for more
than 1.5 seconds.
After pressing the INFO button, - - - mph (- - - km/h) will be dis-
played for about 1 minute before the vehicle speed is recalculated
and displayed.
■ Distance-to-empty mode
●Even though the distance-to-empty display may indicate a sufficient amount
of remaining driving distance before ref ueling is required, refuel as soon as
possible if the fuel level is very low or the low fuel warning light illuminates.
● The display may not change unless you add more than approximately 2.3
gal. (9 L, 1.9 Imp.gal.) of fuel.
● The distance-to-empty is the approximate remaining distance the vehicle
can be driven until all the graduation marks in the fuel gauge (indicating the
remaining fuel supply) disappear.
● If there is no past fuel economy information such as after first purchasing
your vehicle or the information is deleted when the battery cables are dis-
connected, the actual distance-to empty/range may differ from the amount
indicated.
This mode displays the current fuel economy
by calculating the amount of fuel consumption
and the distance traveled.
This mode displays th e average vehicle speed
by calculating the distance and the time trav-
eled since connecting the battery or resetting
the data.
Page 156 of 588
156
iA_OM_OM99M17z_(U)
3-2. Combination Meter and Display
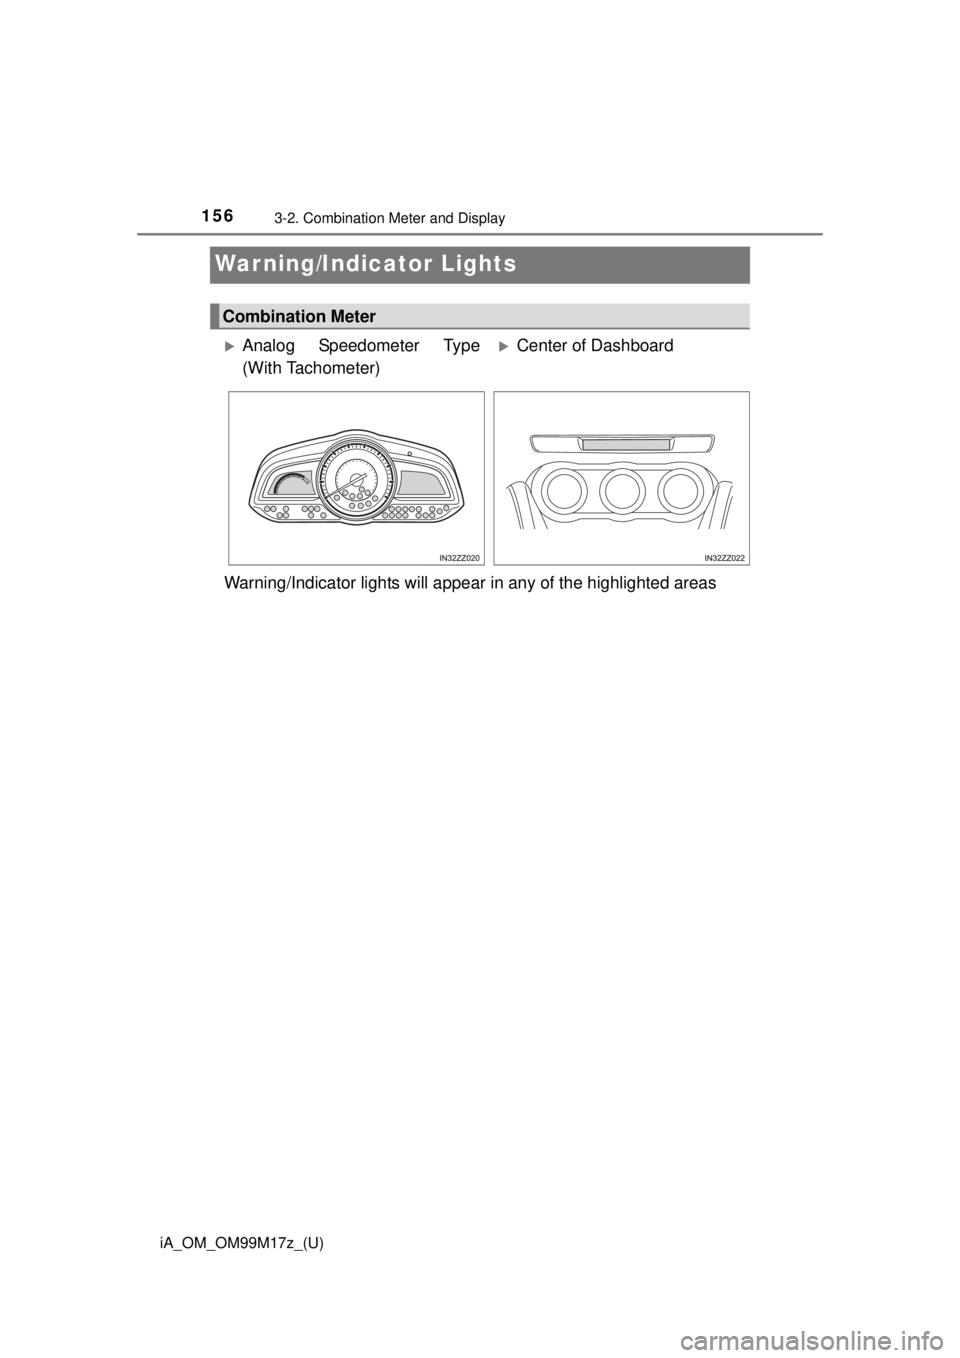
Warning/Indicator Lights
Combination Meter
Analog Speedometer Type
(With Tachometer)Center of Dashboard
Warning/Indicator lights will appear in any of the highlighted areas
Page 157 of 588

iA_OM_OM99M17z_(U)
1573-2. Combination Meter and Display
3
When Driving
These lights turn on or flash to notify the user of the system operation
status or a system malfunction.
*1: The light turns on when the ignition is switched on for an operation chec\
k, and turns off a few seconds later or when the engine is started. If the light
does not turn on or remains turned on, have the vehicle inspected at your
Scion dealer.
*2: The light turns on continuously when the parking brake is applied.
Warning Lights
*1Master Warning Light
(P. 507)*1Air Bag/Front Seat Belt
Pretensioner System
Warning Light ( P. 507)
*1, 2Brake System Warning
Light (P. 507) Low Fuel Warning Light
(
P. 507)
*1ABS Warning
Light ( P. 507)*1Check Fuel Cap
Warning Light ( P. 507)
*1Charging System
Warning Light (P. 507) Seat Belt Warning Light
(Front seat) (
P. 507)
*1Engine Oil Warning
Light (P. 507) Door-Ajar Warning Light
(
P. 507)
*1Check Engine Light
(P. 507)
(If equipped)
Low Washer Fluid Level
Warning Light ( P. 507)
*1
(Red)
High Engine Coolant
Temperature Warning
Light (P. 507)*1
(If equipped)
Tire Pressure Monitoring
System Warning Light
(P. 507)
*1
(If equipped)
Automatic Transaxle
Warning Light ( P. 507)*1
(Red)
KEY Warning Light
(P. 507)
*1Power Steering
Malfunction Indicator
Light ( P. 507)
(Amber)
(If equipped)
Smart City Brake
Support (SCBS)
Warning Light ( P. 507)
Page 158 of 588
158
iA_OM_OM99M17z_(U)
3-2. Combination Meter and Display
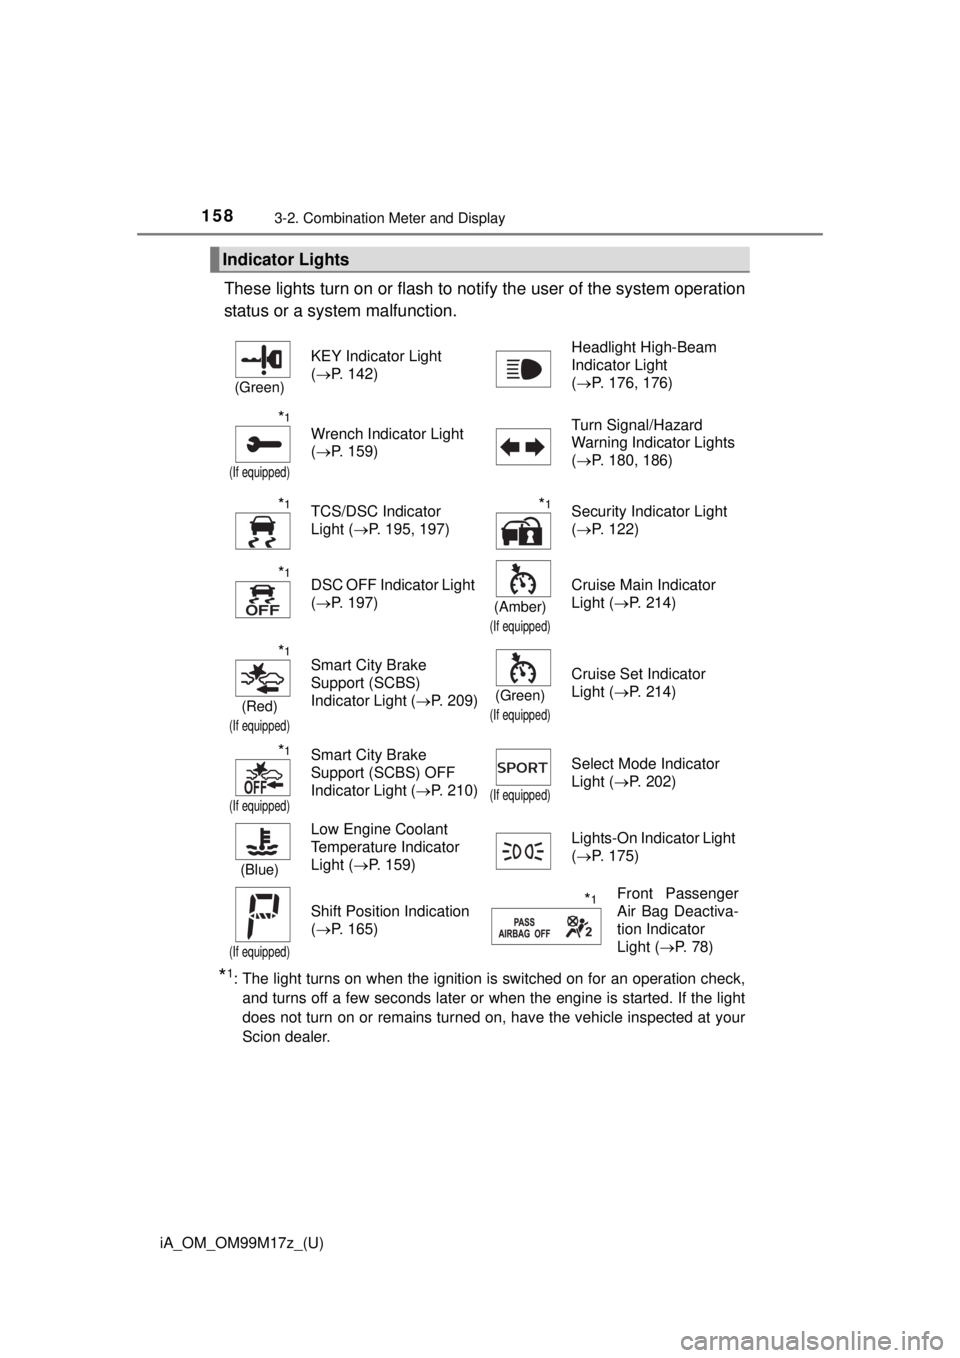
These lights turn on or flash to notify the user of the system operation
status or a system malfunction.
*1: The light turns on when the ignition is switched on for an operation chec\
k, and turns off a few seconds later or when the engine is started. If the light
does not turn on or remains turned on, have the vehicle inspected at your
Scion dealer.
Indicator Lights
(Green)
KEY Indicator Light
(P. 142) Headlight High-Beam
Indicator Light
(
P. 176, 176)
*1
(If equipped)
Wrench Indicator Light
(P. 159) Turn Signal/Hazard
Warning Indicator Lights
(
P. 180, 186)
*1TCS/DSC Indicator
Light ( P. 195, 197)*1Security Indicator Light
(P. 122)
*1DSC OFF Indicator Light
(P. 197)
(Amber)
(If equipped)
Cruise Main Indicator
Light ( P. 214)
*1
(Red)
(If equipped)
Smart City Brake
Support (SCBS)
Indicator Light ( P. 209)
(Green)
(If equipped)
Cruise Set Indicator
Light (P. 214)
*1
(If equipped)
Smart City Brake
Support (SCBS) OFF
Indicator Light ( P. 210)
(If equipped)
Select Mode Indicator
Light (P. 202)
(Blue)
Low Engine Coolant
Temperature Indicator
Light (P. 159) Lights-On Indicator Light
(
P. 175)
(If equipped)
Shift Position Indication
(P. 165)*1Front Passenger
Air Bag Deactiva-
tion Indicator
Light ( P. 78)
Page 165 of 588
iA_OM_OM99M17z_(U)
1653-3. Transaxle
3
When Driving
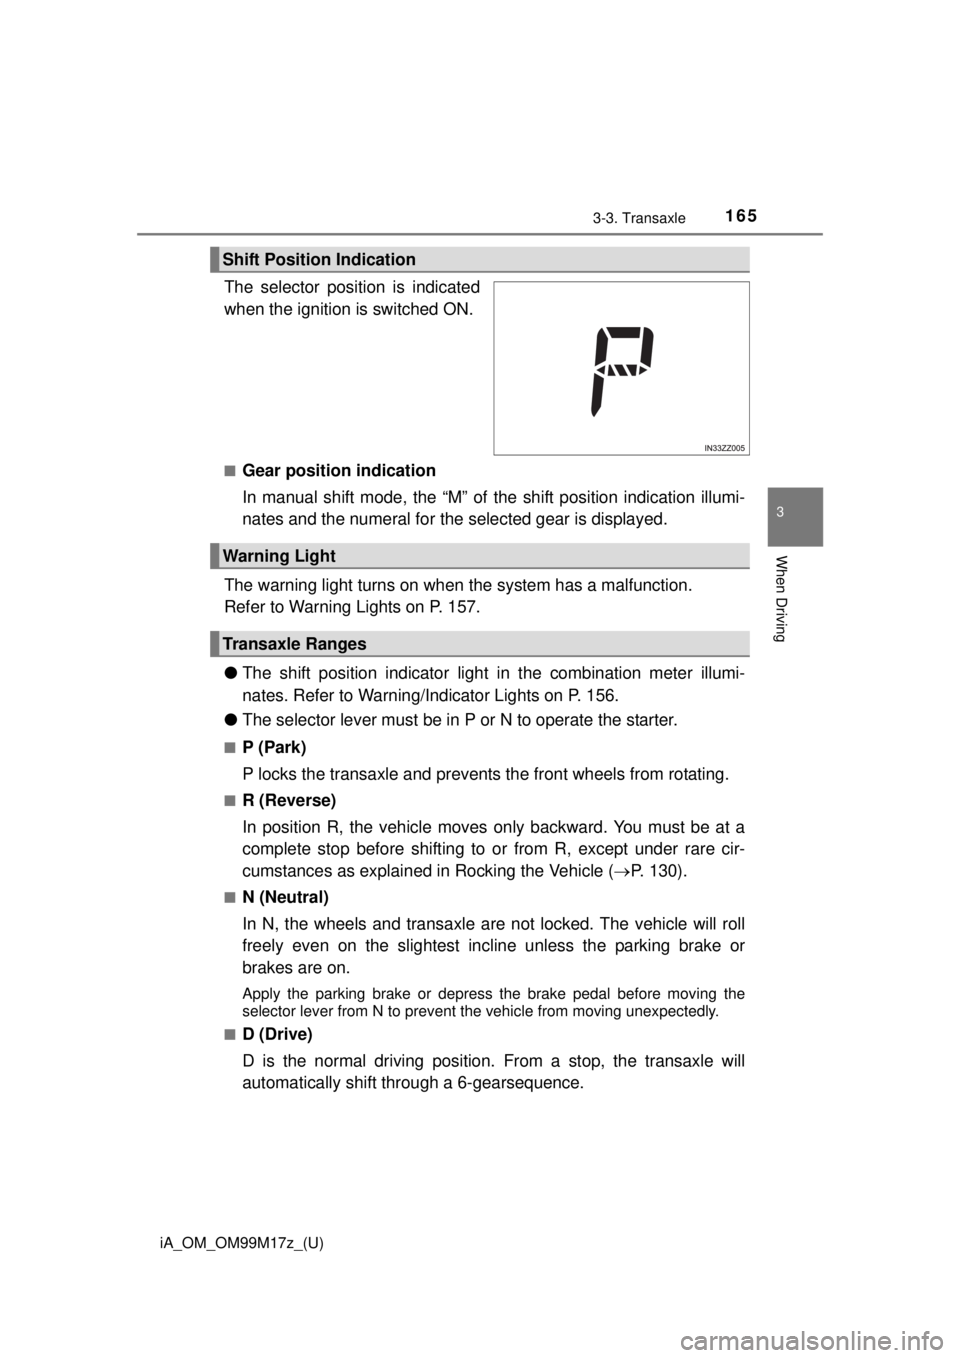
The selector position is indicated
when the ignition is switched ON.
■Gear position indication
In manual shift mode, the “M” of the shift position indication illumi-
nates and the numeral for the selected gear is displayed.
The warning light turns on when the system has a malfunction.
Refer to Warning Lights on P. 157.
● The shift position indicator light in the combination meter illumi-
nates. Refer to Warning/Indicator Lights on P. 156.
● The selector lever must be in P or N to operate the starter.
■P (Park)
P locks the transaxle and prevents the front wheels from rotating.
■R (Reverse)
In position R, the vehicle moves only backward. You must be at a
complete stop before shifting to or from R, except under rare cir-
cumstances as explained in Rocking the Vehicle ( P. 130).
■N (Neutral)
In N, the wheels and transaxle are not locked. The vehicle will roll
freely even on the slightest inc line unless the parking brake or
brakes are on.
Apply the parking brake or depress the brake pedal before moving the
selector lever from N to prevent the vehicle from moving unexpectedly.
■
D (Drive)
D is the normal driving position. From a stop, the transaxle will
automatically shift through a 6-gearsequence.
Shift Position Indication
Warning Light
Transaxle Ranges
Page 174 of 588
174
iA_OM_OM99M17z_(U)
3-3. Transaxle
■Passing
For extra power when passing another vehicle or climbing steep
grades, depress the accelerator full y. The transaxle will shift to a
lower gear, depending on vehicle speed.
Some models:
The accelerator pedal may initially feel heavy as it is being depressed,
then feel lighter as it is depressed further. This change in pedal force
aids the engine control system in determining how much the accelerator
pedal has been depressed for performing kickdown, and functions to
control whether or not kickdown should be performed.
■
Climbing steep grades from a stop
To climb a steep grade from a stopped position:
Depress the brake pedal.
Shift to D or M1, depending on the load weight and grade steep-
ness.
Release the brake pedal while gradually accelerating.
■Descending steep grades
When descending a steep grade, shift to lower gears, depending on
load weight and grade steepness. Descend slowly, using the
brakes only occasionally to pr event them from overheating.
Driving Tips
WARNING
■Do not let the vehicle move in a di rection opposite to the direction
selected by the selector lever
Do not let the vehicle move backward with the selector lever in a forward
position, or do not let the vehicle move forward with the selector lever in the
reverse position. Otherwise, the engine may stop, causing the loss of the
power brake and power steering functions , and make it difficult to control
the vehicle which could result in an accident.
1
2
3
Page 186 of 588
186
iA_OM_OM99M17z_(U)
3-4. Switches and Controls
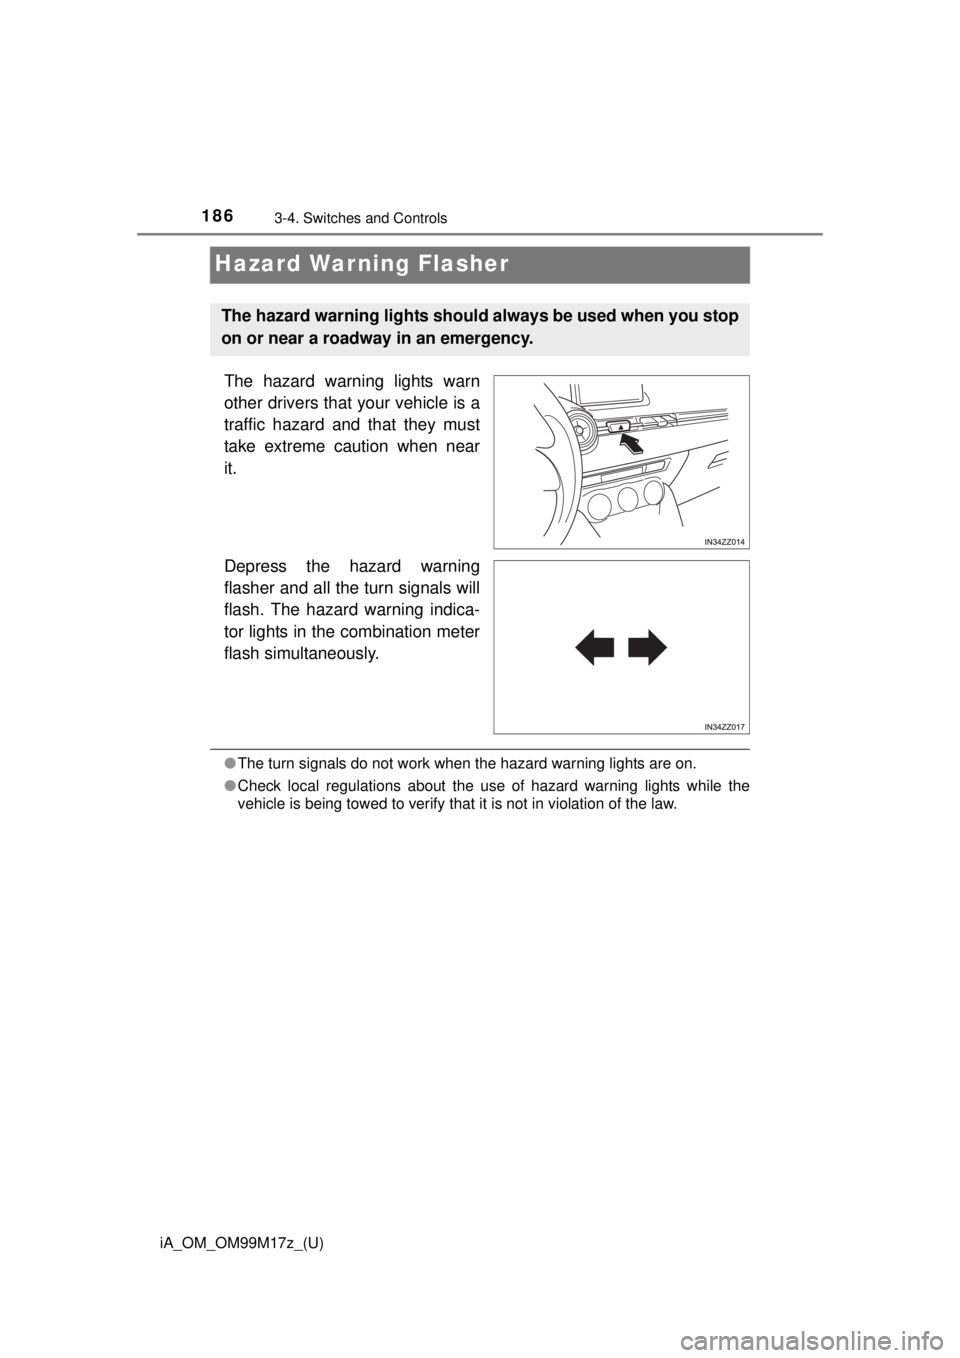
Hazard Warning Flasher
The hazard warning lights warn
other drivers that your vehicle is a
traffic hazard and that they must
take extreme caution when near
it.
Depress the hazard warning
flasher and all the turn signals will
flash. The hazard warning indica-
tor lights in the combination meter
flash simultaneously.
●The turn signals do not work when the hazard warning lights are on.
● Check local regulations about the use of hazard warning lights while the
vehicle is being towed to verify that it is not in violation of the law.
The hazard warning lights should always be used when you stop
on or near a roadway in an emergency.