tire pressure TOYOTA LAND CRUISER 2017 J200 Owners Manual
[x] Cancel search | Manufacturer: TOYOTA, Model Year: 2017, Model line: LAND CRUISER, Model: TOYOTA LAND CRUISER 2017 J200Pages: 608, PDF Size: 15.88 MB
Page 5 of 608

5
1
8 7
6
5
4
3
2
LC200_OM_OM60P24U_(U)
9
6-1. Maintenance and careCleaning and protecting the vehicle exterior .......... 434
Cleaning and protecting the vehicle interior ........... 437
6-2. Maintenance Maintenance requirements ................... 440
General maintenance ........ 443
Emission inspection and maintenance (I/M)
programs ......................... 446
6-3. Do-it-yourself maintenance Do-it-yourself service precautions ..................... 447
Hood.................................. 449
Engine compartment ......... 450
Tires .................................. 463
Tire inflation pressure........ 472
Wheels .............................. 475
Air conditioning filter .......... 477
Electronic key battery ........ 479
Checking and replacing fuses ............................... 481
Headlight aim .................... 485
Light bulbs ......................... 487 7-1. Essential information
Emergency flashers ........... 500
If your vehicle has to be stopped in
an emergency.................. 501
7-2. Steps to take in an emergency
If your vehicle needs to be towed ...................... 502
If you think something is wrong............................... 508
Fuel pump shut off system ............................. 509
If a warning light turns on or a warning buzzer
sounds ............................. 510
If a warning message is displayed ......................... 519
If you have a flat tire .......... 524
If the engine will not start ................................. 538
If the electronic key does not operate properly ........ 540
If the vehicle battery is discharged ....................... 543
If your vehicle overheats.... 546
If the vehicle becomes stuck ................................ 549
6Maintenance and care7When trouble arises
Page 15 of 608
15Pictorial index
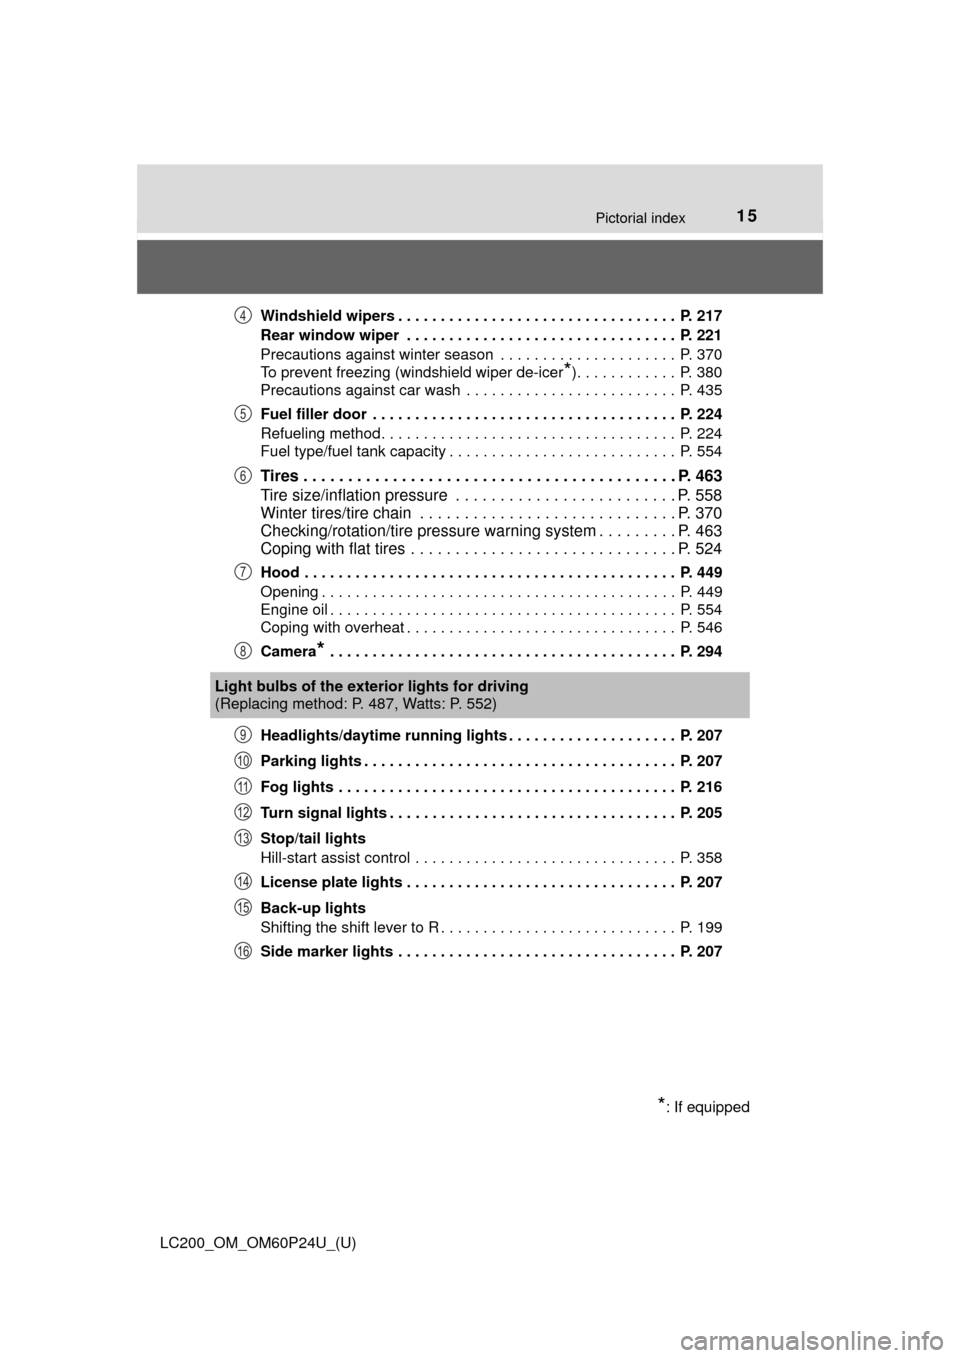
LC200_OM_OM60P24U_(U)Windshield wipers . . . . . . . . . . . . . . . . . . . . . . . . . . . . . . . . . P. 217
Rear window wiper . . . . . . . . . . . . . . . . . . . . . . . . . . . . . . . . P. 221
Precautions against winter season . . . . . . . . . . . . . . . . . . . . . P. 370
To prevent freezing (windshield wiper de-icer
*). . . . . . . . . . . . P. 380
Precautions against car wash . . . . . . . . . . . . . . . . . . . . . . . . . P. 435
Fuel filler door . . . . . . . . . . . . . . . . . . . . . . . . . . . . . . . . . . . . P. 224
Refueling method . . . . . . . . . . . . . . . . . . . . . . . . . . . . . . . . . . . P. 224
Fuel type/fuel tank capacity . . . . . . . . . . . . . . . . . . . . . . . . . . . P. 554
Tires . . . . . . . . . . . . . . . . . . . . . . . . . . . . . . . . . . . . . . . . . . P. 463
Tire size/inflation pressure . . . . . . . . . . . . . . . . . . . . . . . . . P. 558
Winter tires/tire chain . . . . . . . . . . . . . . . . . . . . . . . . . . . . . P. 370
Checking/rotation/tire pressure warning system . . . . . . . . . P. 463
Coping with flat tires . . . . . . . . . . . . . . . . . . . . . . . . . . . . . . P. 524
Hood . . . . . . . . . . . . . . . . . . . . . . . . . . . . . . . . . . . . . . . . . . . . P. 449
Opening . . . . . . . . . . . . . . . . . . . . . . . . . . . . . . . . . . . . . . . . . . P. 449
Engine oil . . . . . . . . . . . . . . . . . . . . . . . . . . . . . . . . . . . . . . . . . P. 554
Coping with overheat . . . . . . . . . . . . . . . . . . . . . . . . . . . . . . . . P. 546
Camera
* . . . . . . . . . . . . . . . . . . . . . . . . . . . . . . . . . . . . . . . . . P. 294
Headlights/daytime running lights . . . . . . . . . . . . . . . . . . . . P. 207
Parking lights . . . . . . . . . . . . . . . . . . . . . . . . . . . . . . . . . . . . . P. 207
Fog lights . . . . . . . . . . . . . . . . . . . . . . . . . . . . . . . . . . . . . . . . P. 216
Turn signal lights . . . . . . . . . . . . . . . . . . . . . . . . . . . . . . . . . . P. 205
Stop/tail lights
Hill-start assist control . . . . . . . . . . . . . . . . . . . . . . . . . . . . . . . P. 358
License plate lights . . . . . . . . . . . . . . . . . . . . . . . . . . . . . . . . P. 207
Back-up lights
Shifting the shift lever to R . . . . . . . . . . . . . . . . . . . . . . . . . . . . P. 199
Side marker lights . . . . . . . . . . . . . . . . . . . . . . . . . . . . . . . . . P. 207
4
5
6
7
8
Light bulbs of the exter ior lights for driving
(Replacing method: P. 487, Watts: P. 552)
*: If equipped
9
10
11
12
13
14
15
16
Page 19 of 608
19Pictorial index
LC200_OM_OM60P24U_(U)
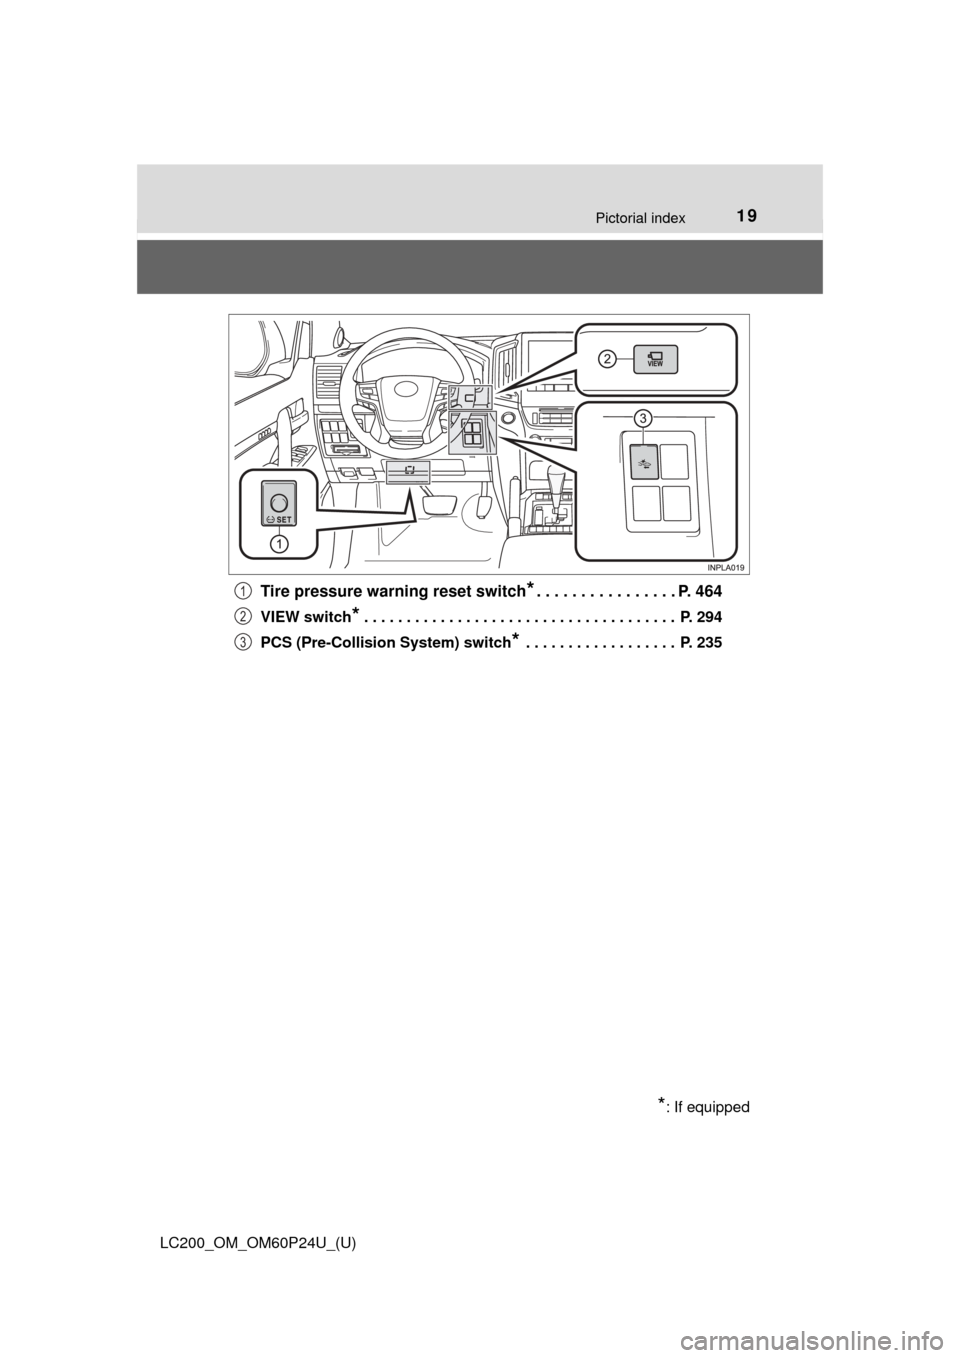
Tire pressure warning reset switch*. . . . . . . . . . . . . . . . P. 464
VIEW switch* . . . . . . . . . . . . . . . . . . . . . . . . . . . . . . . . . . . . . P. 294
PCS (Pre-Collision System) switch
* . . . . . . . . . . . . . . . . . . P. 235
*: If equipped
1
2
3
Page 81 of 608
LC200_OM_OM60P24U_(U)
812. Instrument cluster
2
Instrument cluster
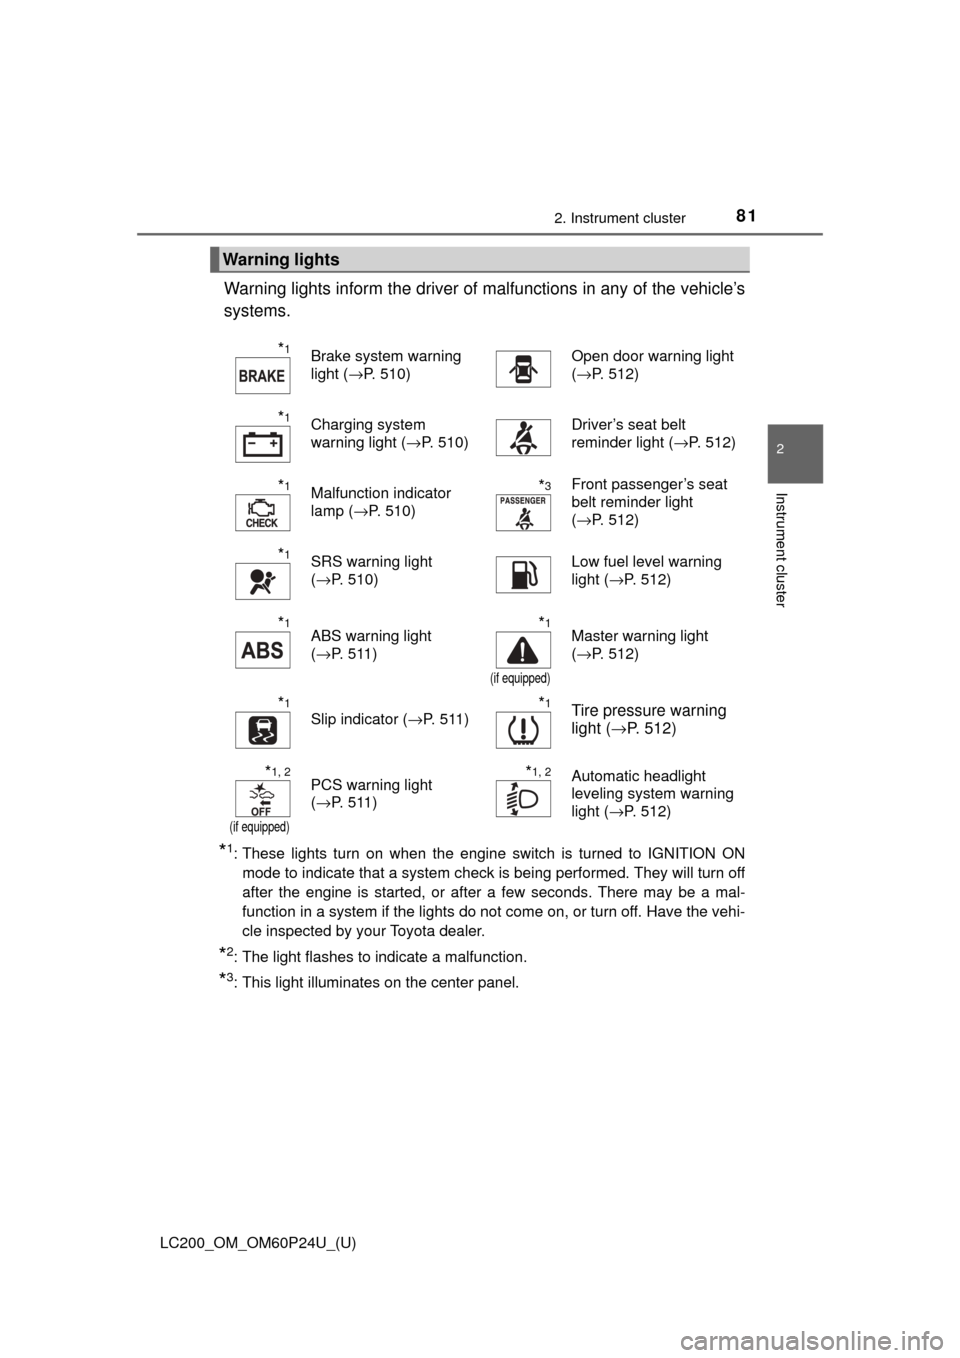
Warning lights inform the driver of malfunctions in any of the vehicle’s
systems.
*1: These lights turn on when the engine switch is turned to IGNITION ON mode to indicate that a system check is being performed. They will turn off
after the engine is started, or after a few seconds. There may be a mal-
function in a system if the lights do not come on, or turn off. Have the vehi-
cle inspected by your Toyota dealer.
*2: The light flashes to indicate a malfunction.
*3: This light illuminates on the center panel.
Warning lights
*1Brake system warning
light ( →P. 510)Open door warning light
(→P. 512)
*1Charging system
warning light ( →P. 510)Driver’s seat belt
reminder light ( →P. 512)
*1Malfunction indicator
lamp (→P. 510)*3Front passenger’s seat
belt reminder light
(→P. 512)
*1SRS warning light
(→P. 510)Low fuel level warning
light ( →P. 512)
*1ABS warning light
(→P. 511)*1
(if equipped)
Master warning light
(→P. 512)
*1
Slip indicator ( →P. 511)*1Tire pressure warning
light (→P. 512)
*1, 2
(if equipped)
PCS warning light
(→P. 511)*1, 2Automatic headlight
leveling system warning
light ( →P. 512)
Page 94 of 608
94
LC200_OM_OM60P24U_(U)
2. Instrument cluster
Items displayed can be switched by operating up and down.
■Front tire angle (if equipped)
Displays the direction of the front tires.
The tire direction is displayed in 3 stages for both left and right, in
accordance with the angle of the tire.
If a battery terminal is disconnected and reconnected, the display may
be disabled temporarily. After driving the vehicle for a while, the display
will be enabled.
■
Tire inflation pressure (if equipped)
Displays inflation pressure of each tire
The inflation pressure of the spare tire will be displayed.
■Oil maintenance
Displays the remaining distance before the next maintenance is
required.
The settings of some features can be changed by using the meter
control switches.
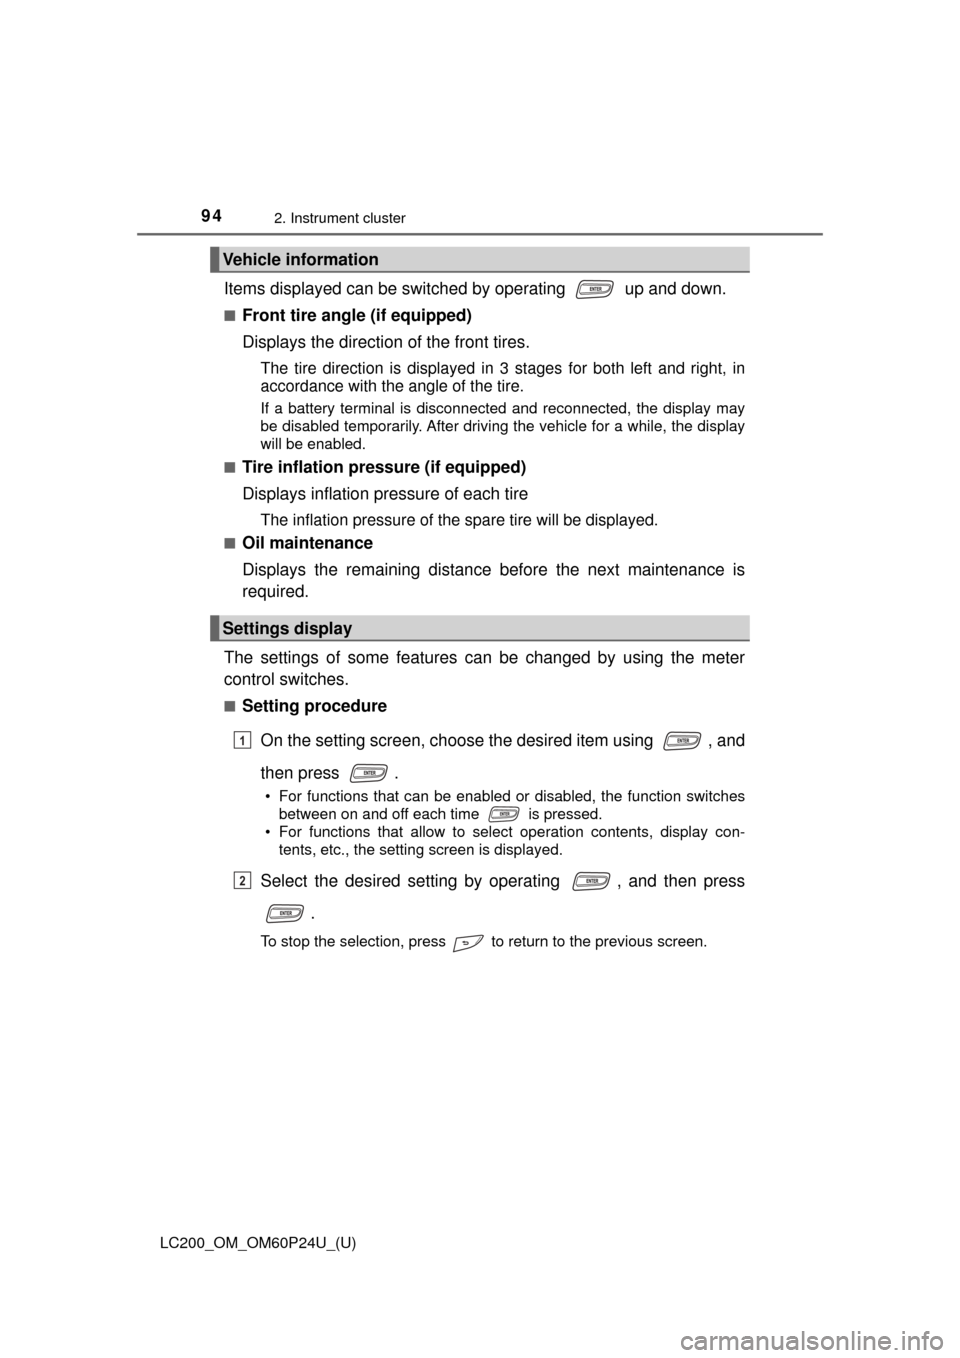
■Setting procedure On the setting screen, choose the desired item using , and
then press .
• For functions that can be enabled or disabled, the function switches between on and off each time is pressed.
• For functions that allow to select operation contents, display con-
tents, etc., the setting screen is displayed.
Select the desired setting by operating , and then press
.
To stop the selection, press to return to the previous screen.
Vehicle information
Settings display
1
2
Page 97 of 608
LC200_OM_OM60P24U_(U)
972. Instrument cluster
2
Instrument cluster
■Tire inflation pressure
●It may take a few minutes to display the tire inflation pressure after the
engine switch is turned to IGNITION ON mode. It may also take a few
minutes to display the tire inflation pressure after inflation pressure has
been adjusted.
●“---” may be displayed if the tire information cannot be determined due to
unfavorable radio wave conditions.
●Tire inflation pressure changes with temperature. The displayed values
may also be different from the values measured using a tire pressure
gauge.
■ When setting up the display
Stop the vehicle in a safe place, apply the parking brake, and shift the shift
lever to P
■ Suspension of the settings display
In the following situations, the settings display using the meter control
switches will be suspended.
●When a warning message appears on the multi-information display
● When the vehicle begins to move
■ Liquid crystal display
Small spots or light spots may appear on the display. This phenomenon is
characteristic of liquid crystal displays, and there is no problem continuing to
use the display.
WARNING
■Caution for use while driving
For safety, avoid operating the meter control switch while driving as much
as possible, and do not look continuously at the multi-information display
while driving. Stop the vehicle and operate the meter control switch. Failure
to do so may cause a steering wheel operation error, resulting in an unex-
pected accident.
■ Cautions while setting up the display
As the engine needs to be running during setting up the display, ensure that
the vehicle is parked in a place with adequate ventilation. In a closed area
such as a garage, exhaust gases including harmful carbon monoxide (CO)
may collect and enter the vehicle. This may lead to death or a serious
health hazard.
NOTICE
■While setting up the display
To prevent battery discharge, ensure that the engine is running while setting
up the display features.
Page 246 of 608
246
LC200_OM_OM60P24U_(U)
4-5. Using the driving support systems
• When a very bright light, such as the sun or the headlights of oncoming
traffic, shines directly into the camera sensor
• When the surrounding area is dim, such as at dawn or dusk, or while at night or in a tunnel
• After the engine has started the vehicle has not been driven for a certain amount of time
• While making a left/right turn and for a few seconds after making a left/
right turn
• While driving on a curve and for a few seconds after driving on a curve
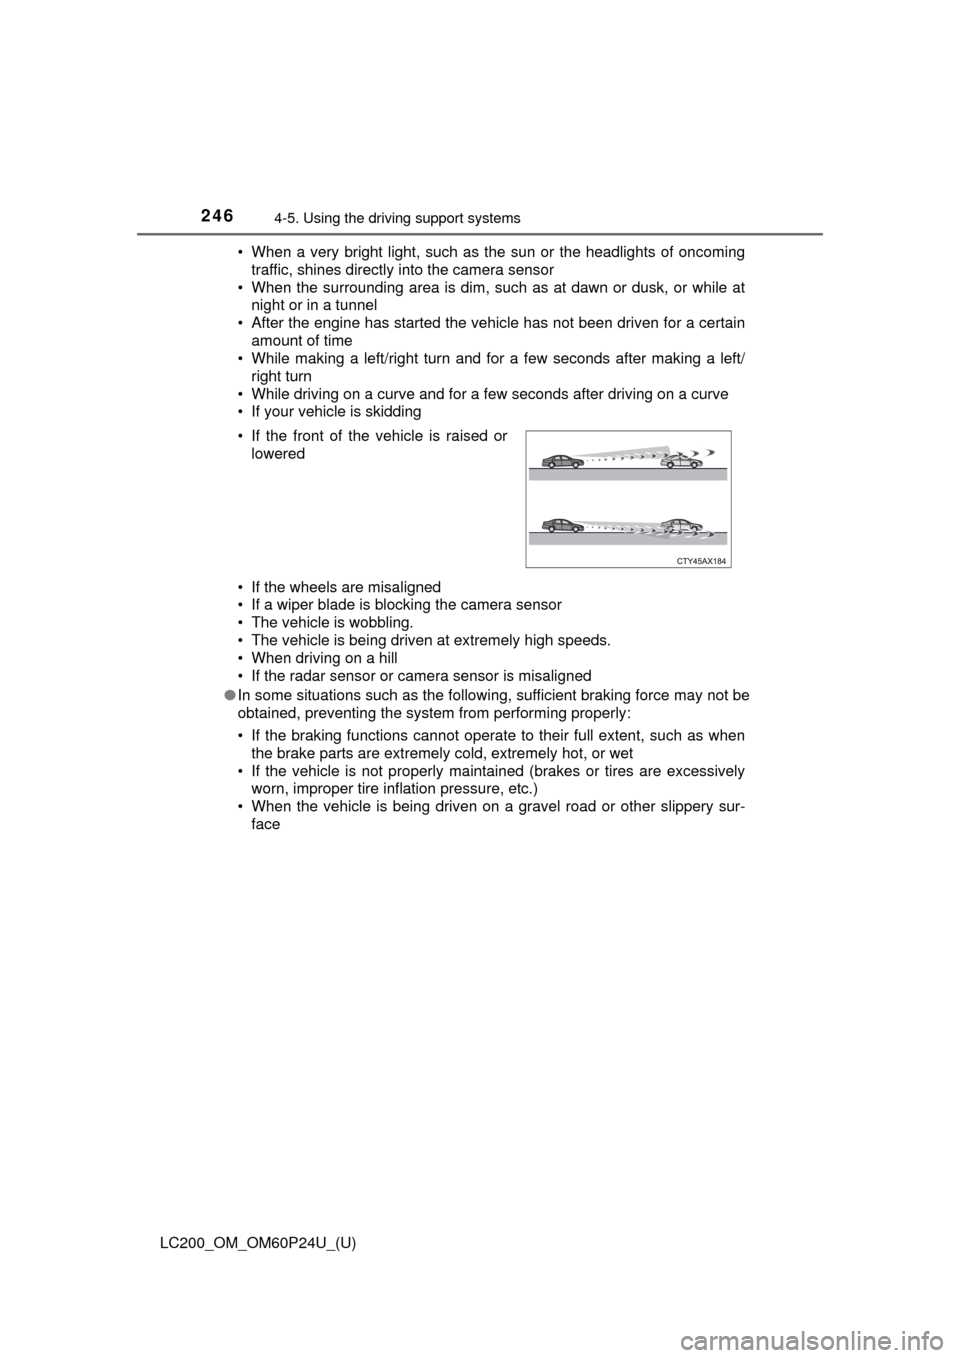
• If your vehicle is skidding
• If the wheels are misaligned
• If a wiper blade is blocking the camera sensor
• The vehicle is wobbling.
• The vehicle is being driven at extremely high speeds.
• When driving on a hill
• If the radar sensor or camera sensor is misaligned
● In some situations such as the following, sufficient braking force may not be
obtained, preventing the system from performing properly:
• If the braking functions cannot operate to their full extent, such as when
the brake parts are extremely cold, extremely hot, or wet
• If the vehicle is not properly maintained (brakes or tires are excessively worn, improper tire inflation pressure, etc.)
• When the vehicle is being driven on a gravel road or other slippery sur- face
• If the front of the vehicle is raised or
lowered
Page 255 of 608

LC200_OM_OM60P24U_(U)
2554-5. Using the driving support systems
4
Driving
■Conditions in which functions may not operate properly
In the following situations, the camera sensor may not detect white (yellow)
lines and various functions may not operate normally.
●There are shadows on the road that run parallel with, or cover, the white
(yellow) lines.
● The vehicle is driven in an area without white (yellow) lines, such as in front
of a tollgate or checkpoint, or at an intersection, etc.
● The white (yellow) lines are cracked, “Botts’ dots”, “Raised pavement
marker” or stones are present.
● The white (yellow) lines cannot be seen or are difficult to see due to sand,
etc.
● The vehicle is driven on a road surface that is wet due to rain, puddles, etc.
● The traffic lines are yellow (which may be more difficult to recognize than
lines that are white).
● The white (yellow) lines cross over a curb, etc.
● The vehicle is driven on a bright surface, such as concrete.
● The vehicle is driven on a surface that is bright due to reflected light, etc.
● The vehicle is driven in an area where the brightness changes suddenly,
such as at the entrances and exits of tunnels, etc.
● Light from the headlights of an oncoming vehicle, the sun, etc. enters the
camera.
● The vehicle is driven where the road diverges, merges, etc.
● The vehicle is driven on a slope.
● The vehicle is driven on a road which tilts left or right, or a winding road.
● The vehicle is driven on an unpaved or rough road.
● The vehicle is driven around a sharp curve.
● The traffic lane is excessively narrow or wide.
● The vehicle is extremely tilted due to carrying heavy luggage or having
improper tire pressure.
● The distance to the preceding vehicle is extremely short.
● The vehicle is moving up and down a large amount due to road conditions
during driving (poor roads or road seams).
● The headlight lenses are dirty and emit a faint amount of light at night, or the
beam axis has deviated.
● The vehicle has just changed lanes or crossed an intersection.
Page 341 of 608
LC200_OM_OM60P24U_(U)
3414-5. Using the driving support systems
4
Driving
■If you notice any symptoms
If you notice any of the following symptoms, refer to the likely cause
and the solution, and re-check.
If the symptom is not resolved by the solution, have the vehicle
inspected by your Toyota dealer.
Likely causeSolution
The image is difficult to see
• The vehicle is in a dark area
• The temperature around the lens
is either high or low
• The outside temperature is low
• There are water droplets on the camera
• It is raining or humid
• Foreign matter (mud etc.) is adhering to the camera
• Sunlight or headlights are shining directly into the camera
• The vehicle is under fluorescent
lights, sodium lights, mercury
lights, etc.
Drive while visually checking the
vehicle’s surroundings. (Use the
Multi-terrain Monitor again once
conditions have been improved.)
The image on the rear view monitor
system screen can be adjusted,
refer to the “Navigation system
Owner’s manual”, “Multimedia
Owner’s Manual” or “Navigation and
Multimedia System Owner’s Man-
ual”.
The image is blurry
Dirt or foreign matter (such as water
droplets, snow, mud, etc.) is adher-
ing to the cameraFlush the camera with a large quan-
tity of water and wipe the camera
lens with a soft and wet cloth.
The image is out of alignment
The camera or surrounding area has
received a strong impactHave the vehicle inspected by your
Toyota dealer.
The guide lines are very far out of alignment
The camera position is out of align-
mentHave the vehicle inspected at your
Toyota dealer.
• The vehicle is tilted (there is a
heavy load on the vehicle, tire
pressure is low due to a tire punc-
ture, etc.)
• The vehicle is used on an inclineIf this happens due to these causes,
it does not indicate a malfunction.
Drive while visually checking the
vehicle’s surroundings.
Page 363 of 608

LC200_OM_OM60P24U_(U)
3634-5. Using the driving support systems
4
Driving
WARNING
■When the VSC and Trailer Sway Control are activated
The slip indicator light flashes. Always drive carefully.
Reckless driving may cause an accident. Exercise particular care when the
indicator light flashes.
■
Replacing tires
Make sure that all tires are of the same size, brand, tread pattern and
total load capacity. In addition, make sure that the tires are inflated to
the specified tire pressure level.
The Multi Terrain ABS, Active TRAC, VSC and Trailer Sway Control will
not function correctly if differen t tires are fitted on the vehicle.
Contact your Toyota dealer for furt her information when replacing tires
or wheels.
■Handling of tires and suspension
Using tires with any kind of problem or modifying the suspension will
affect the driving assist systems, and may cause the system to malfunc-
tion.
■ Trailer Sway Control precaution
The Trailer Sway Control system is not able to reduce trailer sway in all situ-
ations. Depending on many factors such as the conditions of the vehicle,
trailer, road surface, and driving environment, the Trailer Sway Control sys-
tem may not be effective. Refer to your trailer owner’s manual for informa-
tion on how to tow your trailer properly.
■ If trailer sway occurs
Observe the following precautions.
Failing to do so may cause death or serious injury.
● Firmly grip the steering wheel. Steer straight ahead.
Do not try to control trailer swaying by turning the steering wheel.
● Begin releasing the accelerator pedal immediately but very gradually to
reduce speed.
Do not increase speed. Do not apply vehicle brakes.
If you make no extreme correction with the steering or brakes, your vehicle
and trailer should stabilize. (→P. 189)