roof TOYOTA MIRAI 2020 (in English) User Guide
[x] Cancel search | Manufacturer: TOYOTA, Model Year: 2020, Model line: MIRAI, Model: TOYOTA MIRAI 2020Pages: 528, PDF Size: 11.98 MB
Page 352 of 528
3527-1. Maintenance and care
MIRAI_OM_USA_OM62073U
Cleaning and protecting the vehicle
exterior
● Working from top to bottom, liberally apply water to the vehicl e
body, wheel wells and underside of the vehicle to remove any di rt
and dust.
● Wash the vehicle body using a sponge or soft cloth, such as a
chamois.
● For hard-to-remove marks, use car wash soap and rinse thoroughl y
with water.
● Wipe away any water.
● Wax the vehicle when the wate rproof coating deteriorates.
If water does not bead on a clean surface, apply wax when the vehicle
body is cool.
■Automatic car washes
●Fold the mirrors before washing the vehicle. Start washing from the front of
the vehicle. Make sure to extend the mirrors before driving.
● Brushes used in automatic car washes may scratch the vehicle su rface and
harm your vehicle’s paint.
■ High pressure car washes
●As water may enter the cabin, do not bring the nozzle tip near the gaps
around the doors or perimeter of the windows, or spray these areas continu-
ously.
● Turn the power switch off.
Perform the following to protect the vehicle and maintain it in
prime condition:
Page 446 of 528
4468-2. Steps to take in an emergency
MIRAI_OM_USA_OM62073U
NOTICE
■When performing an emergency repair
●A tire should only be repaired with the emergency tire puncture repair
kit if the damage is caused by a sharp object such as nail or s crew
passing through the tire tread.
Do not remove the sharp object from the tire. Removing the obje ct may
widen the opening and disenable e mergency repair with the repair kit.
●The repair kit is not waterproof. Make sure that the repair kit is not
exposed to water, such as when it is being used in the rain.
●Do not put the repair kit direct ly onto dusty ground such as sa nd at the
side of the road. If the repair kit vacuums up dust etc., a mal function
may occur.
■Handling the emergency tire puncture repair kit
●The repair kit power source should be 12 V DC suitable for vehi cle
use. Do not connect the repa ir kit to any other source.
●If organic substances such as benzene or gasoline splatters on the
repair kit, the repair kit may deteriorate. Take care not to al low organic
substances to contact it.
●Place the repair kit in a stor age to prevent it from being exposed to dirt
or water.
●Store the repair kit in the assigned place out of reach of chil dren.
●Do not disassemble or modify the repair kit. Do not subject par ts such
as the air pressure indicator to impacts. This may cause a malf unction.
■To avoid damage to the tire pressure warning valves and transmi t-
ters
When a tire is repaired with liqui d sealants, the tire pressure warning
valve and transmitter may not operate properly. If a liquid sea lant is
used, contact your Toyota dealer as soon as possible. After use of liquid
sealant, make sure to replace the tire pressure warning valve a nd trans-
mitter when repairing or replacing the tire. ( P. 379)
Page 479 of 528
4799-1. Specifications
MIRAI_OM_USA_OM62073U
9
Vehicle specifications
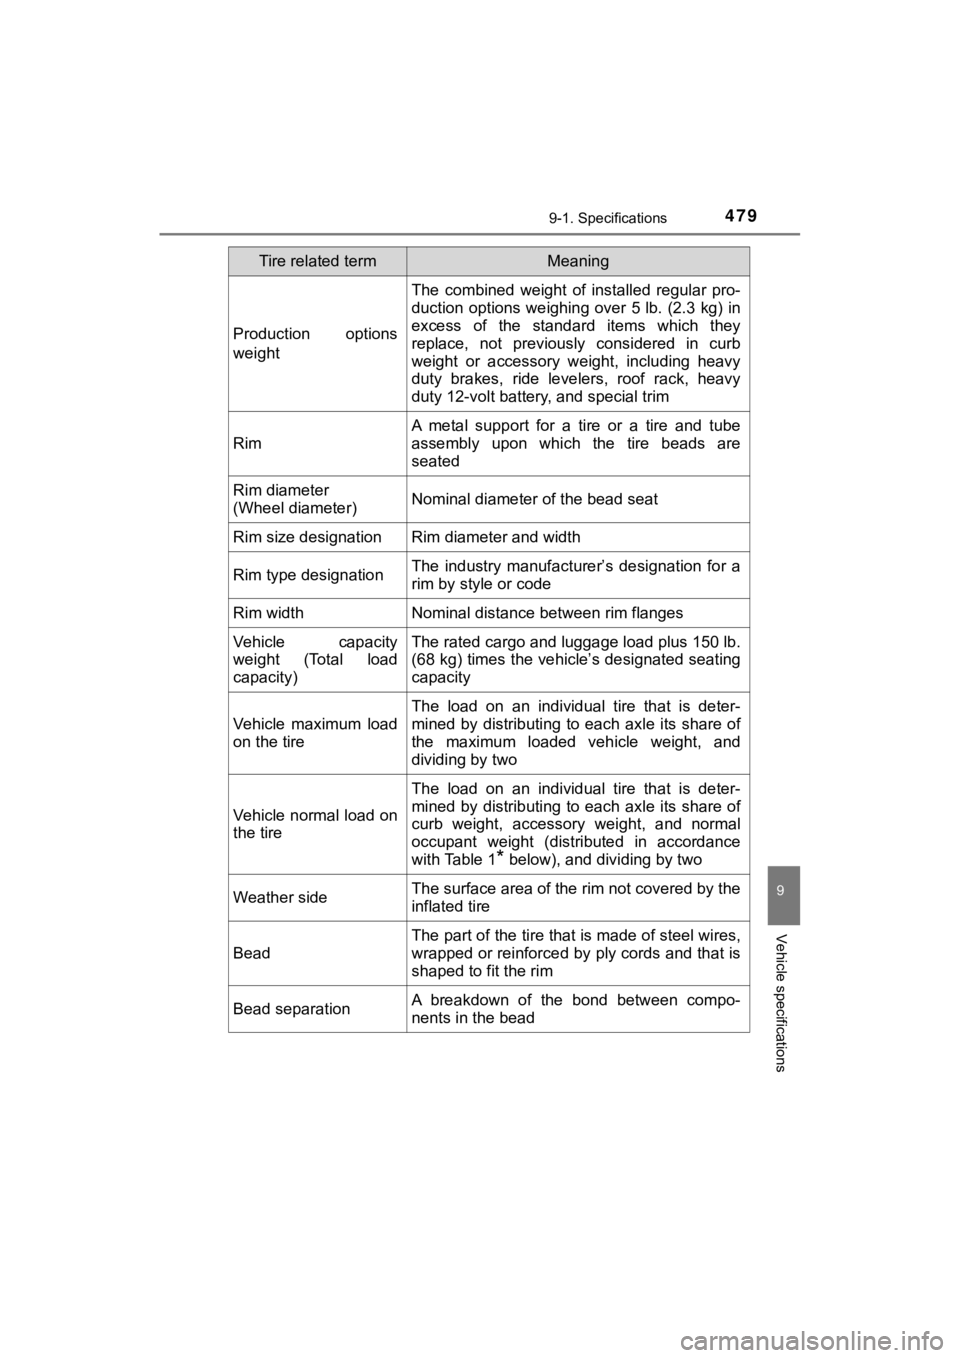
Production options
weight
The combined weight of installed regular pro-
duction options weighing over 5 lb. (2.3 kg) in
excess of the standard items which they
replace, not previously considered in curb
weight or accessory weight, including heavy
duty brakes, ride levelers, roof rack, heavy
duty 12-volt battery, and special trim
Rim
A metal support for a tire or a tire and tube
assembly upon which the tire beads are
seated
Rim diameter
(Wheel diameter)Nominal diameter of the bead seat
Rim size designationRim diameter and width
Rim type designationThe industry manufacturer’s designation for a
rim by style or code
Rim widthNominal distance between rim flanges
Vehicle capacity
weight (Total load
capacity)The rated cargo and l uggage load plus 150 lb.
(68 kg) times the vehicle’s designated seating
capacity
Vehicle maximum load
on the tire
The load on an individual tire that is deter-
mined by distributing to each axle its share of
the maximum loaded vehicle weight, and
dividing by two
Vehicle normal load on
the tire
The load on an individual tire that is deter-
mined by distributing to each axle its share of
curb weight, accessory weight, and normal
occupant weight (distributed in accordance
with Table 1
* below), and dividing by two
Weather sideThe surface area of the rim not covered by the
inflated tire
Bead
The part of the tire that is made of steel wires,
wrapped or reinforced by ply cords and that is
shaped to fit the rim
Bead separationA breakdown of the bond between compo-
nents in the bead
Tire related termMeaning