key TOYOTA PRIUS C 2012 NHP10 / 1.G Workshop Manual
[x] Cancel search | Manufacturer: TOYOTA, Model Year: 2012, Model line: PRIUS C, Model: TOYOTA PRIUS C 2012 NHP10 / 1.GPages: 552, PDF Size: 8.27 MB
Page 200 of 552
200 2-2. Instrument cluster
■The clock is displayed when
Vehicles without a smart key system
The engine switch is in the “ON” position.
Vehicles with a smart key system
The “POWER” switch is in ON mode.
■ Eco score
●As the accelerator pedal is not depressed, the driven distance using
cruise control (if equipped) is not included in the eco score.
● As the eco score evaluation differs according to driving conditions and
environmental factors, in some cases it may not be linked to fuel con-
sumption.
■ Eco savings
●Fuel cost and savings should be used as a guide only.
● Depending on refueling methods, driving conditions and environmental
factors, the actual and displayed fuel costs may differ.
● In some cases, fuel cost and savings may not be linked to the eco score
evaluation.
■ When disconnecting and reconnect ing 12-volt battery terminals
The following information data will be reset:
● Clock
● Past record (aside from the top 3 results)
● Average fuel consumption
● Cruising range
● Average vehicle speed
● Driving time
● EV driving rate/EV driven distance
Additionally, some displays may return to their default settings.
■ Liquid crystal display
Small spots or light spots may appear on the display. This phenomenon is
characteristic of liquid crystal displays, and there is no problem continuing to
use the display.
Page 204 of 552

204 2-3. Operating the lights and wipers
■Daytime running light system
●To make your vehicle more visible to other drivers, the headlights turn on
automatically (at a reduced intensity) whenever the hybrid system is
started and the parking brake is released. Daytime running lights are not
designed for use at night.
For type A: Daytime running lights can be turned off by operating the
switch.
● Compared to turning on the headlights, the daytime running light system
offers greater durability and consumes less electricity, so it can help
improve fuel economy.
■ Light reminder buzzer
Vehicles without a smart key system
A buzzer sounds when the engine switch is turned to the “LOCK” or “ACC”
position and the driver's door is opened while the lights are turned on.
Vehicles with a smart key system
A buzzer sounds when the “POWER” switch is turned off or turned to
ACCESSORY mode and the driver's door is opened while the lights are
turned on.
■ Battery-saving function
In the following conditions, the remaining lights will go off automatically after
20 minutes in order to prevent the vehicle battery from being discharged:
●The headlights and/or tail lights are on.
● The engine switch is turned to the “ACC” or “LOCK” position (vehicles
without a smart key system) or the “P OWER” switch is turned to ACCES-
SORY mode or turned off (vehicles with a smart key system).
This function will be canceled in any of the following situations:
● When the engine switch is turned to the “ON” position (vehicles without a
smart key system) or the “POWER” switch is turned to ON mode (vehi-
cles with a smart key system).
● When the light switch is operated.
● When the door is opened or closed.
Page 210 of 552
210 2-3. Operating the lights and wipers
■The windshield wipers and washer can be operated when
Vehicles without a smart key system
The engine switch is in the “ON” position.
Vehicles with a smart key system
The “POWER” switch is in ON mode.
■ If no windshield washer fluid sprays
Check that the washer nozzles are not blocked if there is washer fluid in the
windshield washer fluid reservoir.
CAUTION
■Caution regarding the use of washer fluid
When it is cold, do not use the washer fluid until the windshield becomes
warm. The fluid may freeze on the windshield and cause low visibility. This
may lead to an accident, resulting in death or serious injury.
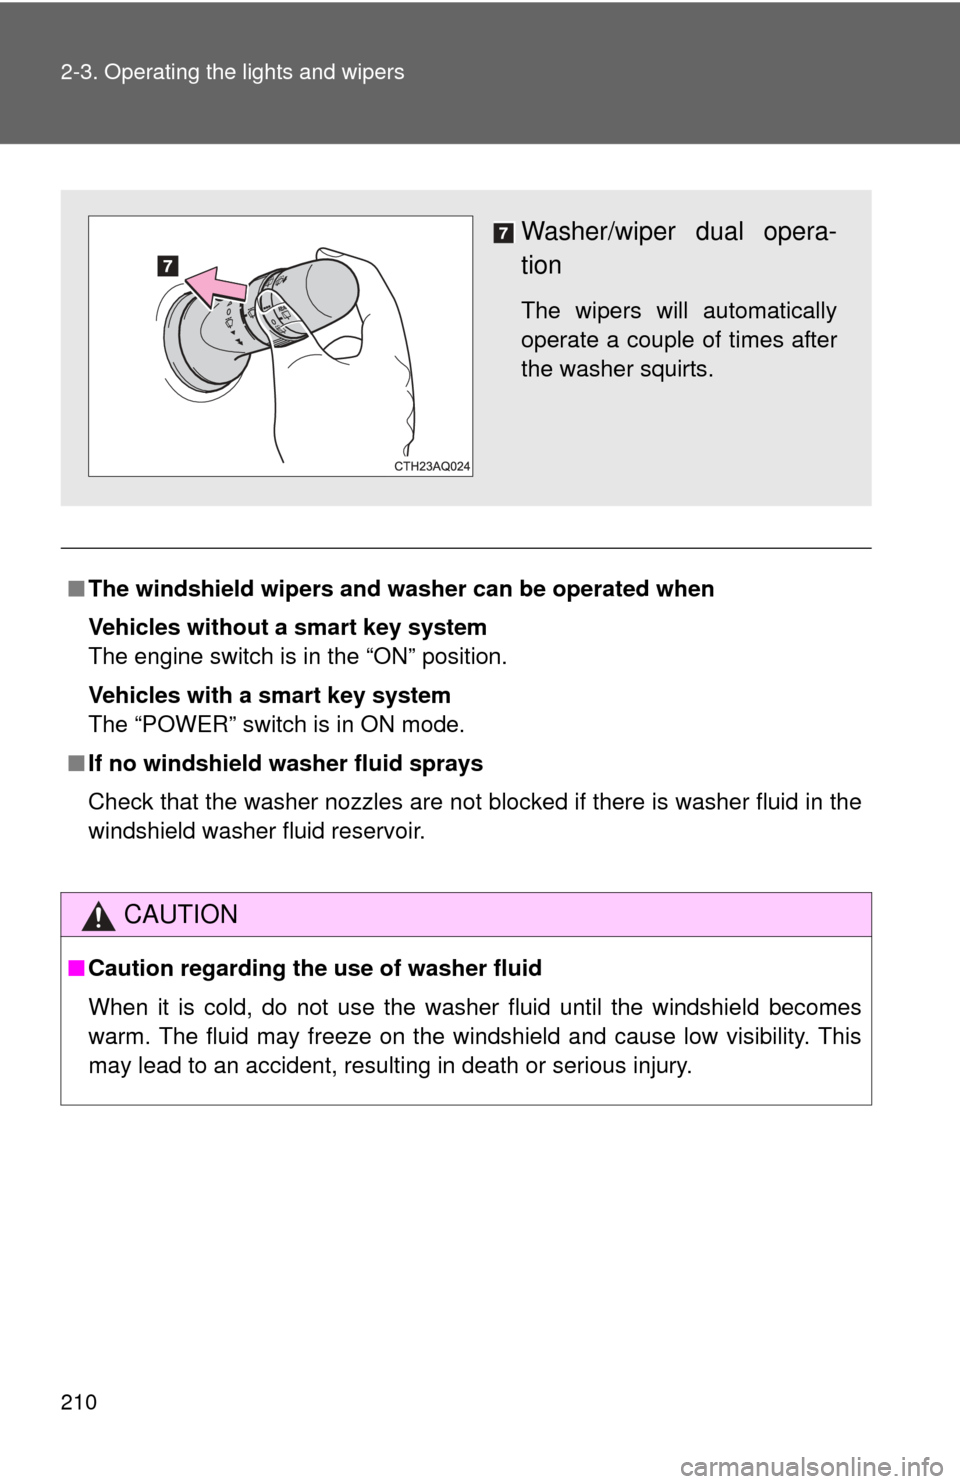
Washer/wiper dual opera-
tion
The wipers will automatically
operate a couple of times after
the washer squirts.
Page 213 of 552
213
2-3. Operating the lights and wipers
2
When driving
■
The rear window wiper and washer can be operated when
Vehicles without a smart key system
The engine switch is in the “ON” position.
Vehicles with a smart key system
The “POWER” switch is in ON mode.
■ If no washer fluid sprays
Check that the washer nozzle is not blocked if there is washer fluid in the
washer fluid reservoir.
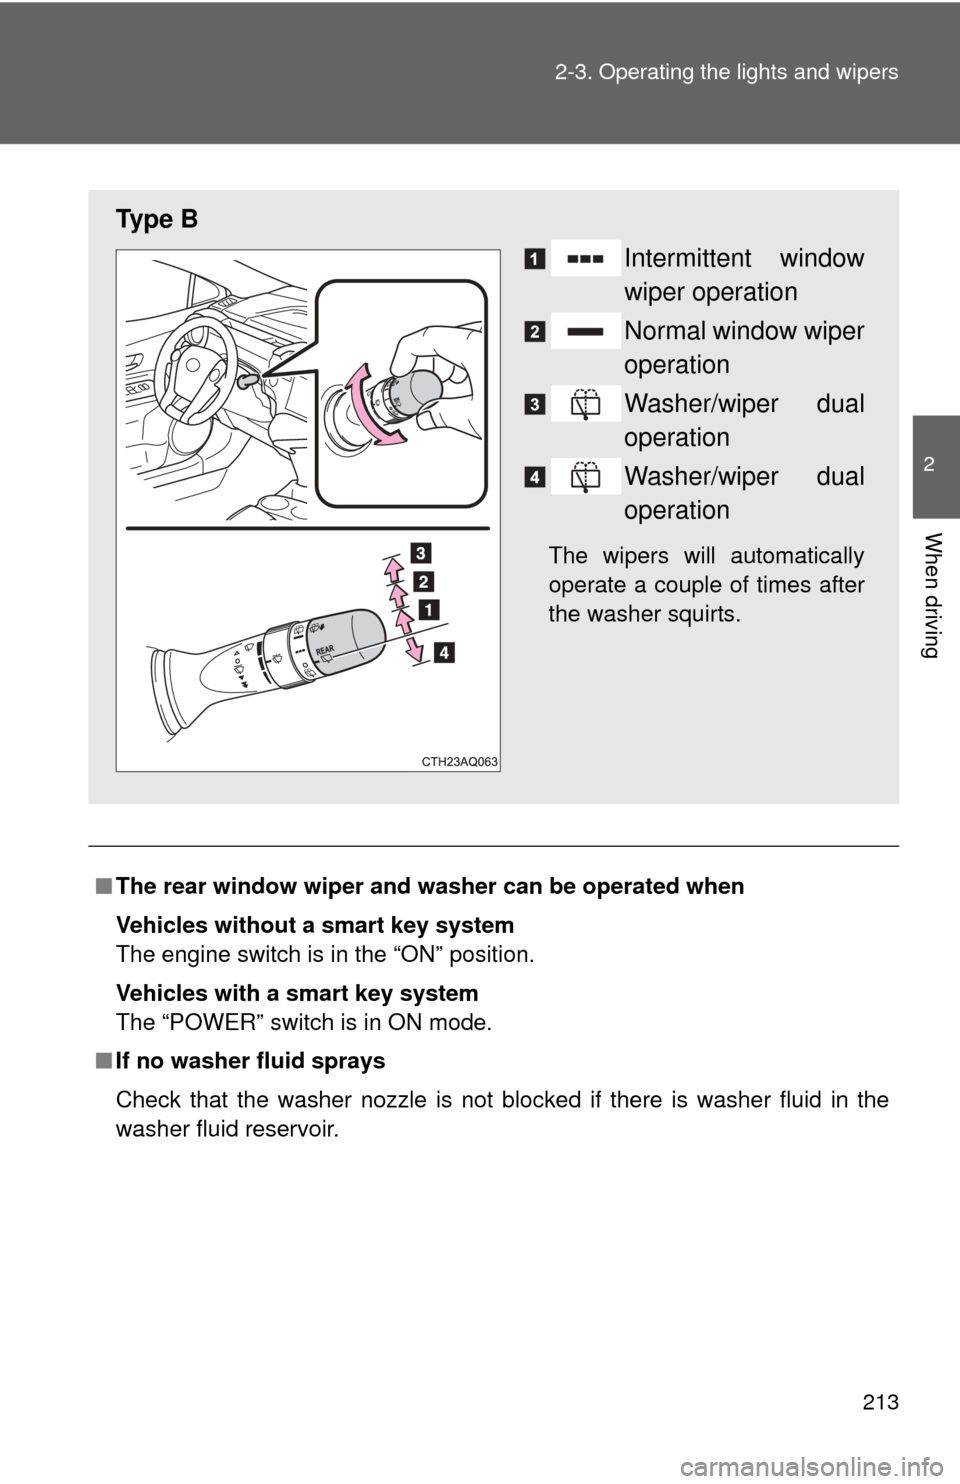
Ty p e B
Intermittent window
wiper operation
Normal window wiper
operation
Washer/wiper dual
operation
Washer/wiper dual
operation
The wipers will automatically
operate a couple of times after
the washer squirts.
Page 243 of 552
243
3-1. Using the air conditioning system
and defogger
3
Interior features
■Outside/recirculated air mode
●When driving on dusty roads such as tunnels or in heavy traffic, set the
outside/recirculated air mode button to the recirculated air mode. This is
effective in preventing outside air from entering the vehicle interior. Dur-
ing cooling operation, setting the recirculated air mode will also cool the
vehicle interior effectively.
● Outside/recirculated air mode may automatically switch depending on
the temperature setting or the inside temperature.
■ When the outside temperature exceeds 75 F (24C) and the air condi-
tioning system is on
● In order to reduce the air conditioning power consumption, the air condi-
tioning system may switch to recirculated air mode automatically. This
may also reduce fuel consumption.
● Recirculated air mode is selected as a default mode when the engine
switch is turned to the “ON” position (vehicles without a smart key sys-
tem) or the “POWER” switch is turned to ON mode (vehicles with a smart
key system).
● It is possible to switch to outside air mode at any time by pressing
.
■ When the outside temperature falls to nearly 32 F (0 C)
The dehumidification function may not operate even when is
pressed.
■ Air conditioning odors
●During use, various odors from inside and outside the vehicle may enter
into and accumulate in the air conditioning system. This may then cause
odor to be emitted from the vents.
● To reduce potential odors from occurring:
• It is recommended that the air conditioning system be set to outside air
mode prior to turning the vehicle off.
• The start timing of the blower may be delayed for a short period of time immediately after the air conditioning system is started in automatic
mode.
Page 245 of 552
245
3-1. Using the air conditioning system and defogger
3
Interior features
Rear window and outside rear view mirror defoggers
■The defoggers can be operated when
Vehicles without a smart key system
The engine switch is in the “ON” position.
Vehicles with a smart key system
The “POWER” switch is in ON mode.
■ The outside rear view mirr or defoggers (if equipped)
Turning the rear window defogger on will turn the outside rear view mirror
defoggers on.
CAUTION
■ When the outside rear view mirr or defoggers are on (if equipped)
Do not touch the outside surface of the rear view mirrors, as they can
become very hot and burn you.
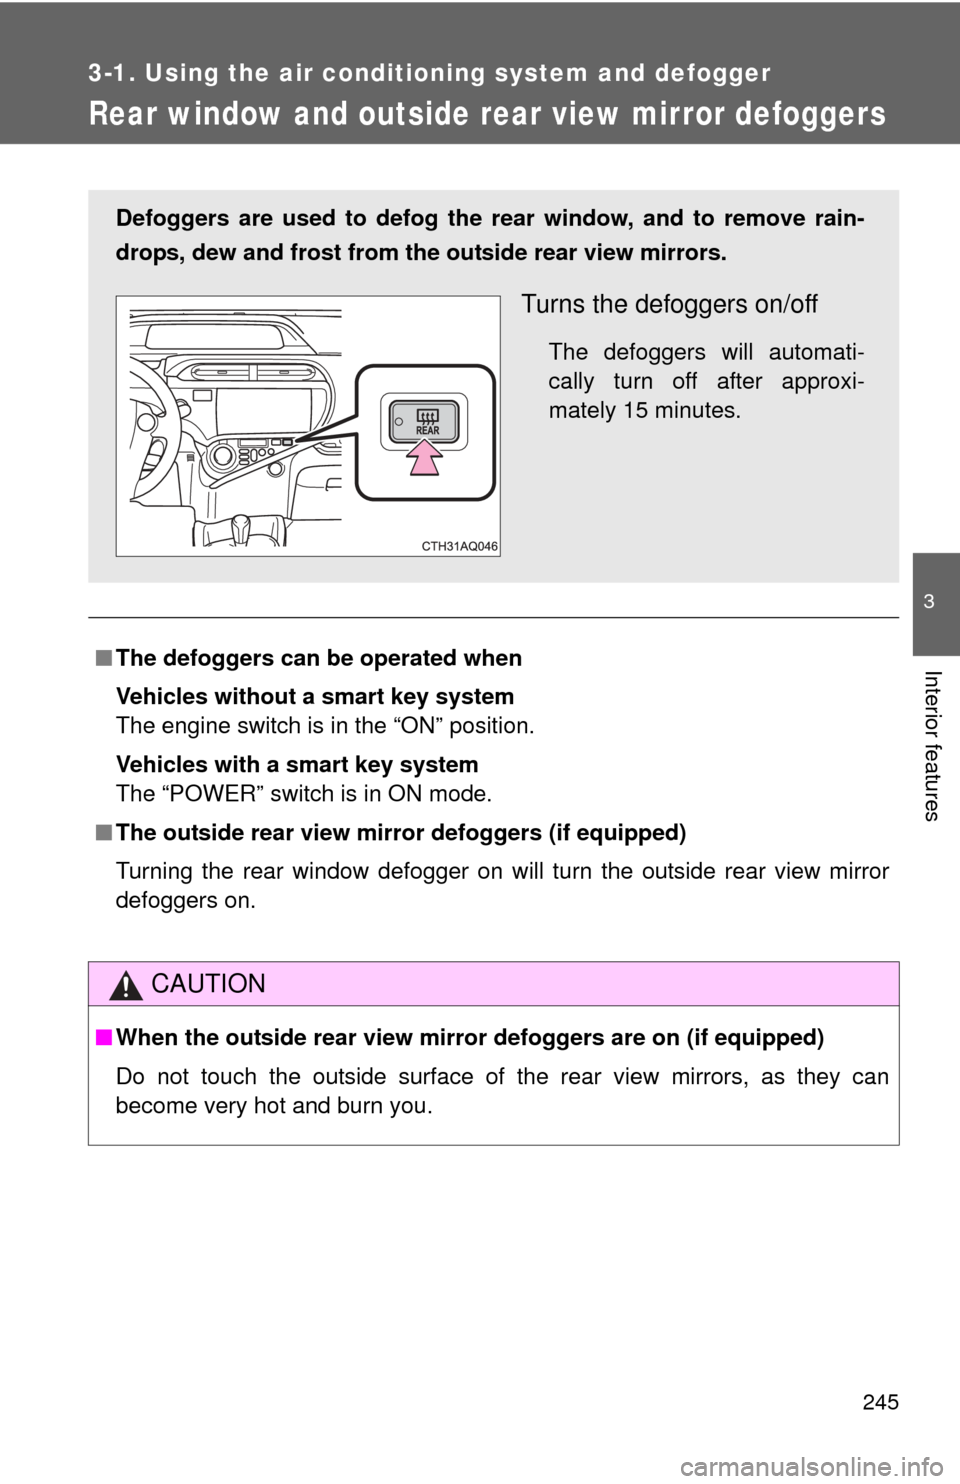
Defoggers are used to defog the rear window, and to remove rain-
drops, dew and frost from the outside rear view mirrors.
Turns the defoggers on/off
The defoggers will automati-
cally turn off after approxi-
mately 15 minutes.
Page 294 of 552
294 3-3. Using the Bluetooth
® audio system
Using the Bluetooth® audio/phone for the first time
Before using the Bluetooth
® audio/phone, it is nec essary to register a
Bluetooth® device in the system. Follow the procedure below to reg-
ister (pair) a device:
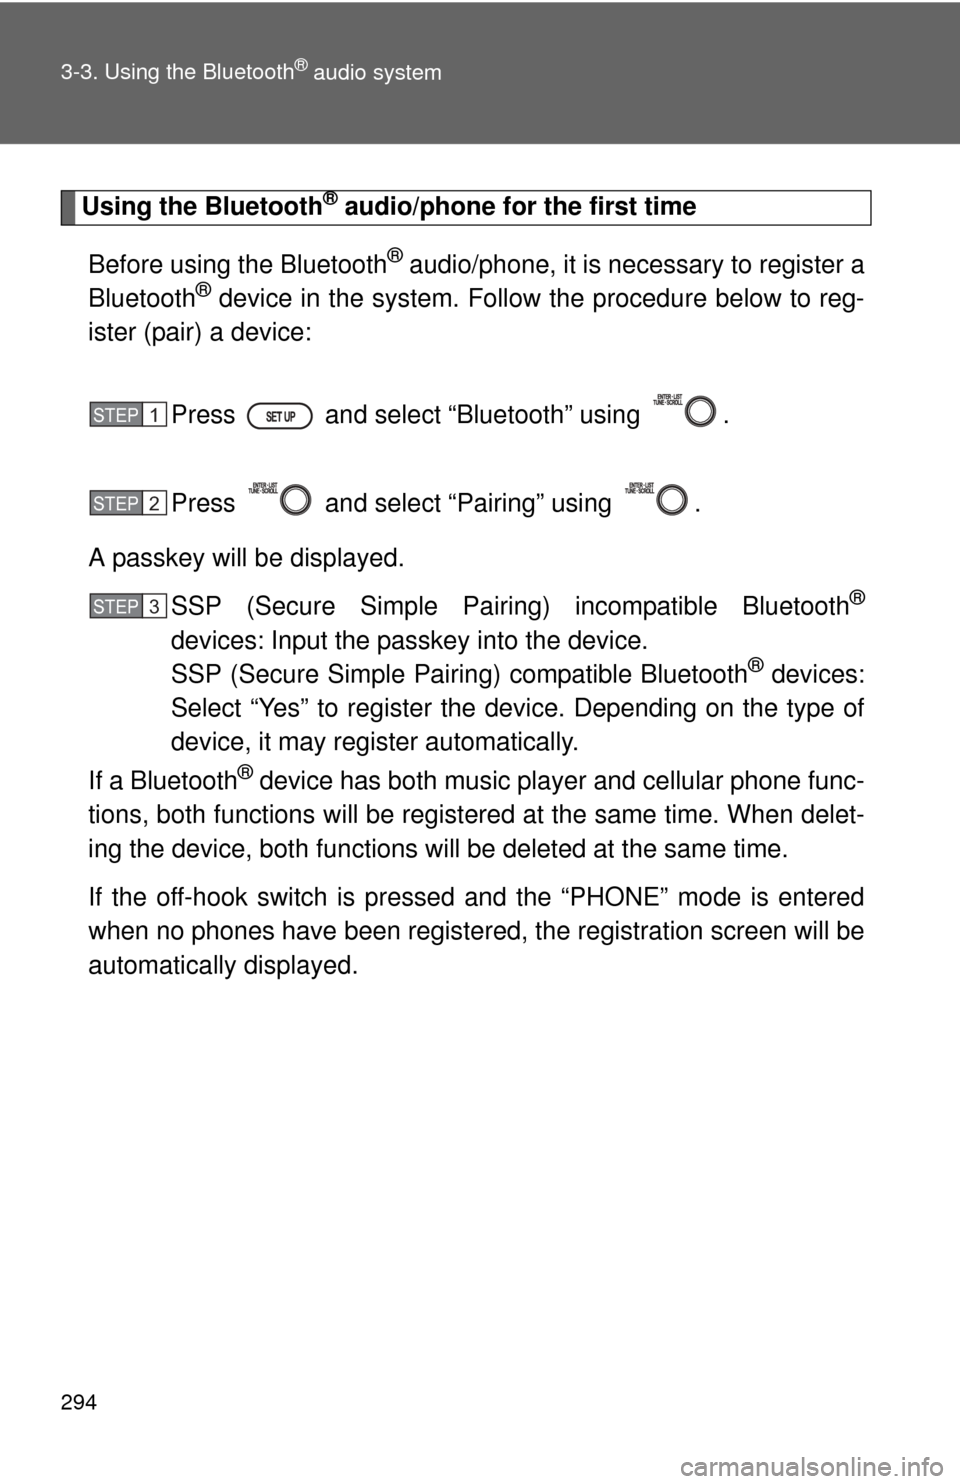
Press and select “Bluetooth” using .
Press and select “Pairing” using .
A passkey will be displayed. SSP (Secure Simple Pairing) incompatible Bluetooth
®
devices: Input the passkey into the device.
SSP (Secure Simple Pairing) compatible Bluetooth® devices:
Select “Yes” to register the device. Depending on the type of
device, it may register automatically.
If a Bluetooth
® device has both music player and cellular phone func-
tions, both functions will be regist ered at the same time. When delet-
ing the device, both f unctions will be deleted at the same time.
If the off-hook switch is pressed and the “PHONE” mode is entered
when no phones have been registered, the re gistration screen will be
automatically displayed.
STEP1
STEP2
STEP3
Page 295 of 552
295
3-3. Using the Bluetooth
® audio system
3
Interior features
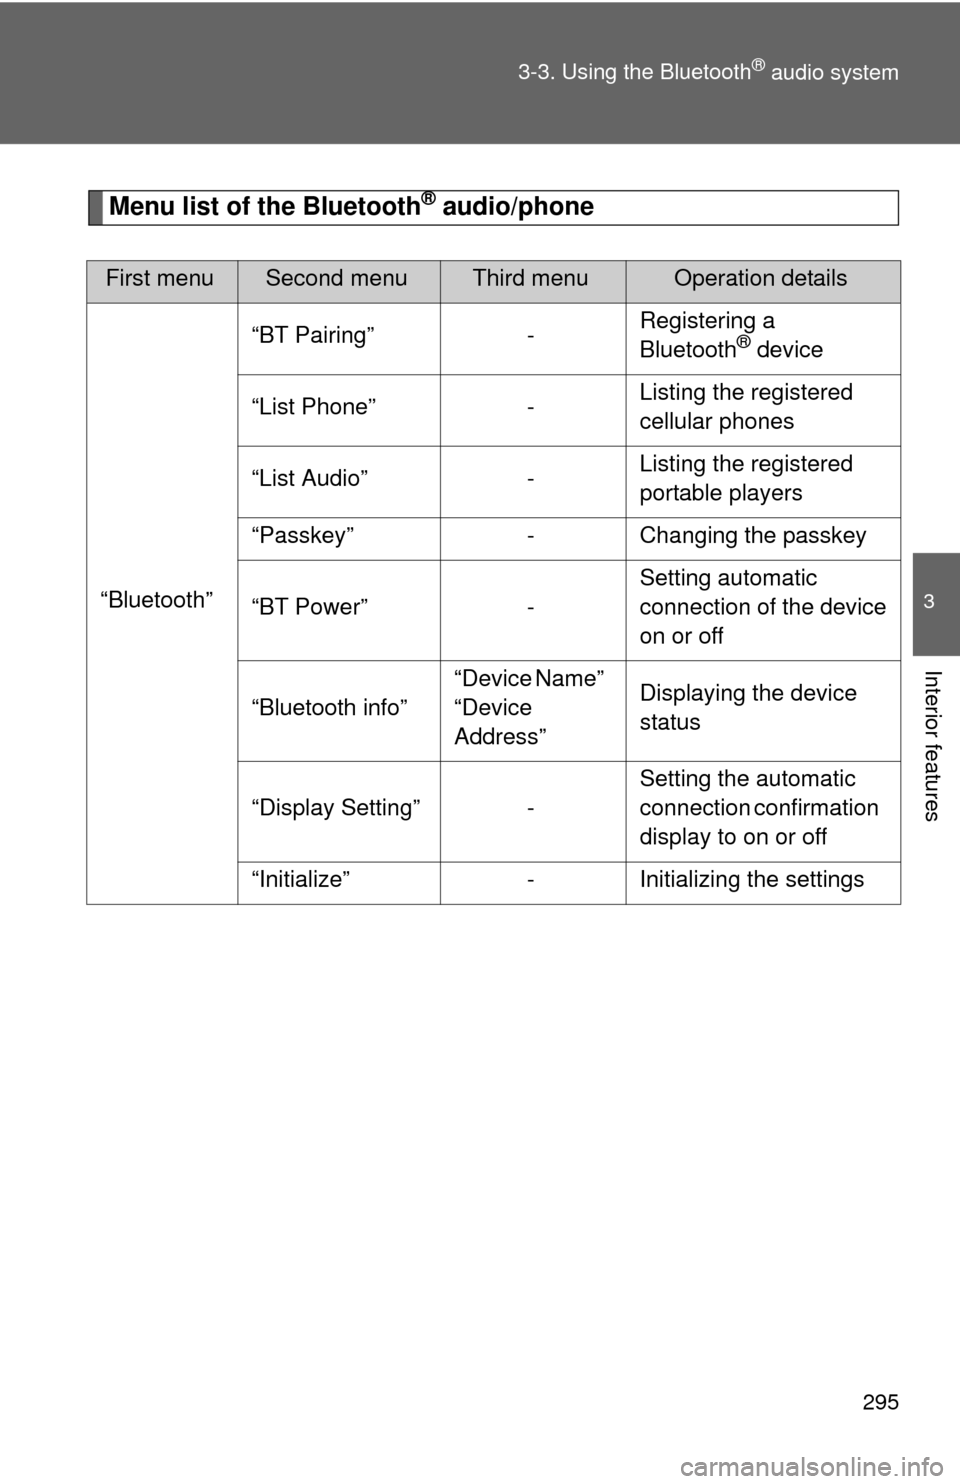
Menu list of the Bluetooth® audio/phone
First menuSecond menuThird menuOperation details
“Bluetooth” “BT Pairing” -
Registering a
Bluetooth
® device
“List Phone” - Listing the registered
cellular phones
“List Audio” - Listing the registered
portable players
“Passkey” - Changing the passkey
“BT Power” - Setting automatic
connection of the device
on or off
“Bluetooth info” “Device Name”
“Device
Address”Displaying the device
status
“Display Setting” - Setting the automatic
connection confirmation
display to on or off
“Initialize” - Initializing the settings
Page 305 of 552
305
3-3. Using the Bluetooth® audio system
3
Interior features
Using the “SET UP” menu (“Bluetooth” menu)
Registering a Bluetooth® device in the system allows the system to
function. The following functions can be used for registered devices:
■Functions and operation procedures
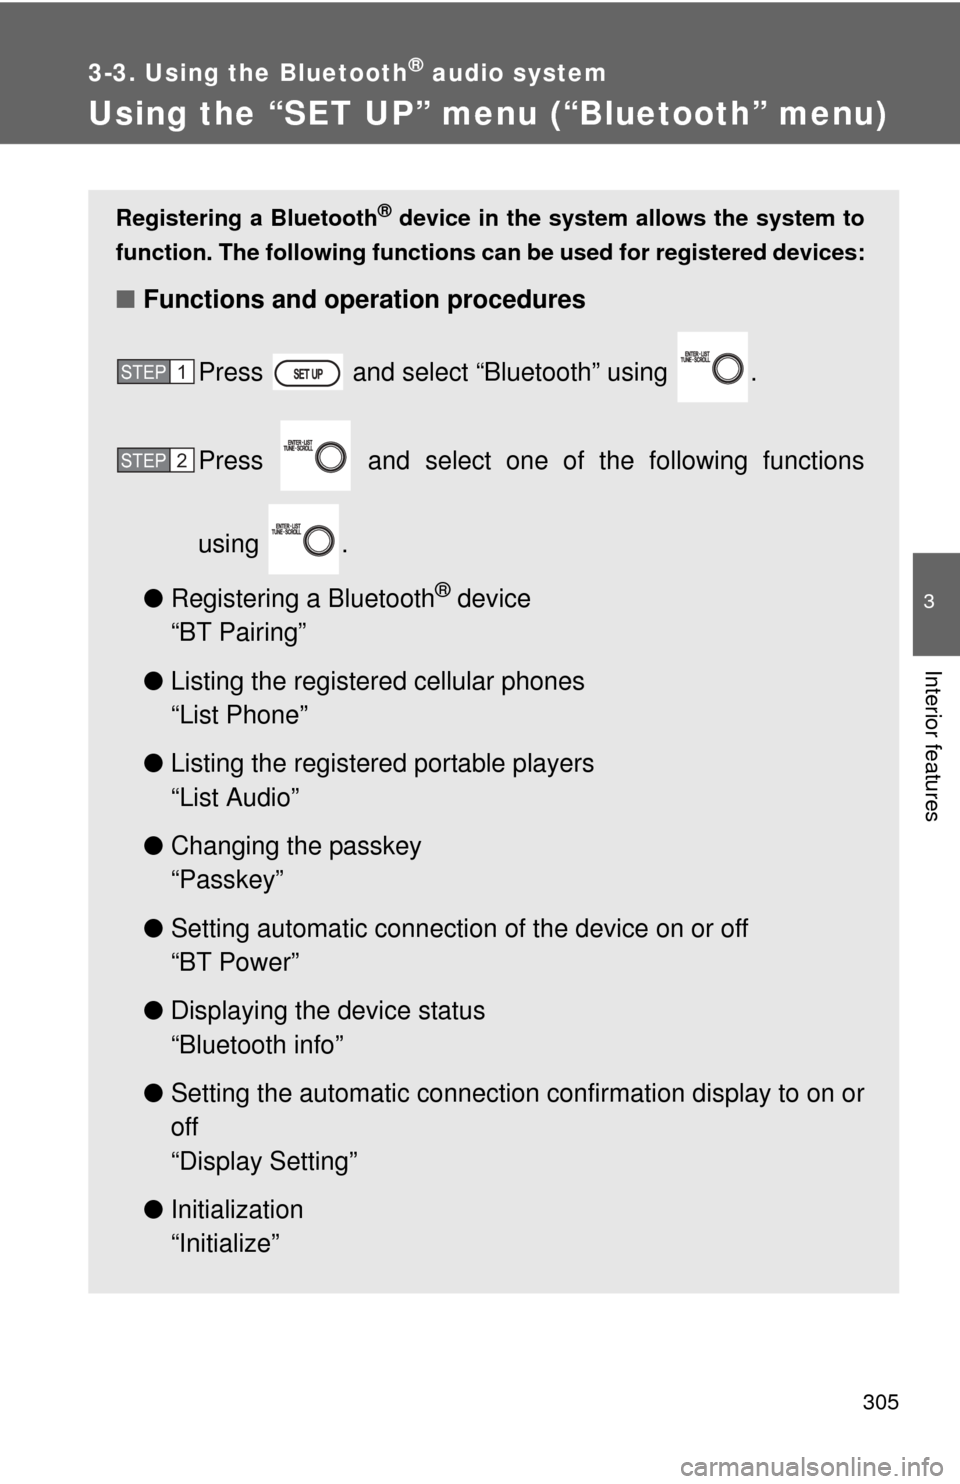
Press and select “Bluetooth” using .
Press and select one of the following functions
using .
● Registering a Bluetooth
® device
“BT Pairing”
● Listing the registered cellular phones
“List Phone”
● Listing the registered portable players
“List Audio”
● Changing the passkey
“Passkey”
● Setting automatic connection of the device on or off
“BT Power”
● Displaying the device status
“Bluetooth info”
● Setting the automatic connection confirmation display to on or
off
“Display Setting”
● Initialization
“Initialize”
STEP1
STEP2
Page 308 of 552
308 3-3. Using the Bluetooth
® audio system
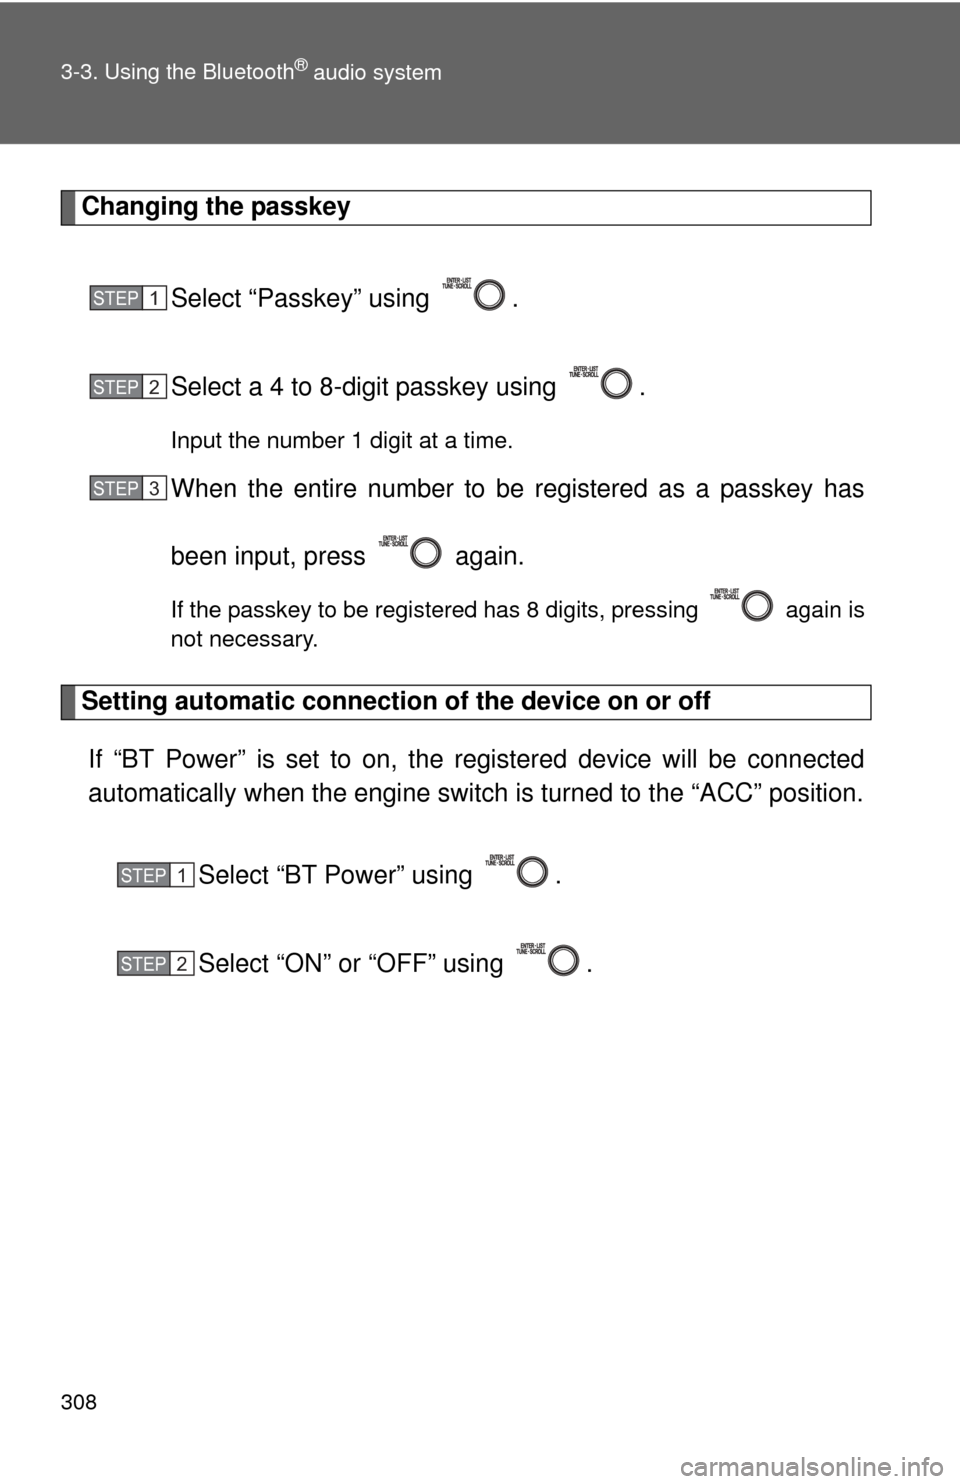
Changing the passkeySelect “Passkey” using .
Select a 4 to 8-digit passkey using .
Input the number 1 digit at a time.
When the entire number to be registered as a passkey has
been input, press again.
If the passkey to be registered has 8 digits, pressing again is
not necessary.
Setting automatic connection of the device on or offIf “BT Power” is set to on, the r egistered device will be connected
automatically when the engine switch is turned to the “ACC” position.
Select “BT Power” using .
Select “ON” or “OFF” using .
STEP1
STEP2
STEP3
STEP1
STEP2