key TOYOTA PRIUS C 2012 NHP10 / 1.G Repair Manual
[x] Cancel search | Manufacturer: TOYOTA, Model Year: 2012, Model line: PRIUS C, Model: TOYOTA PRIUS C 2012 NHP10 / 1.GPages: 552, PDF Size: 8.27 MB
Page 310 of 552
310 3-3. Using the Bluetooth
® audio system
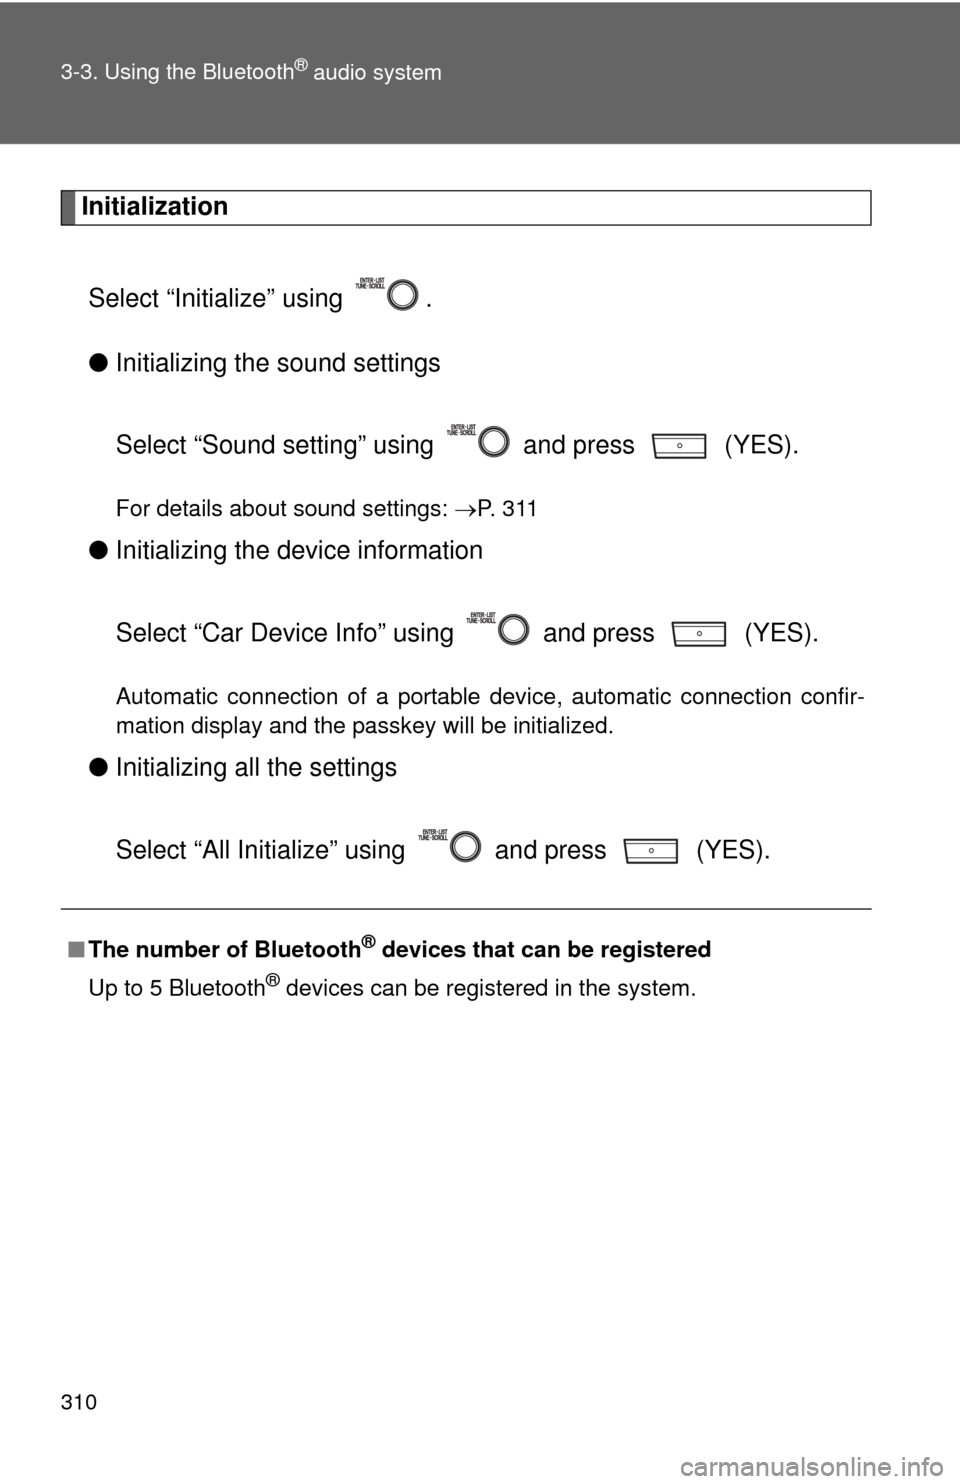
InitializationSelect “Initialize” using .
● Initializing the sound settings
Select “Sound setting” using and press (YES).
For details about sound settings: P. 3 1 1
●Initializing the device information
Select “Car Device Info” using and press (YES).
Automatic connection of a portable device, automatic connection confir-
mation display and the passkey will be initialized.
●Initializing a ll the settings
Select “All Initialize” using and press (YES).
■ The number of Bluetooth® devices that can be registered
Up to 5 Bluetooth
® devices can be registered in the system.
Page 320 of 552
320 3-4. Using the interior lights
■Illuminated entry system
Vehicles without a smart key system
When the interior lights switch is in the “DOOR” position, the interior lights
automatically turn on/off according to the engine switch position, whether the
doors are locked/unlocked, and whether the doors are open/closed.
Vehicles with a smart key system
When the interior lights switch is in the “DOOR” position, the interior lights
automatically turn on/off according to “POWER” switch mode, the presence
of the electronic key, whether the doors are locked/unlocked, and whether
the doors are open/closed.
■ To prevent 12-volt battery discharge
Vehicles without a smart key system
If the interior lights, personal lights or luggage compartment light remain on
when the engine switch is “LOCK” position, the lights will go off automatically
after 20 minutes.
Vehicles with a smart key system
If the interior lights, personal lights or luggage compartment light remain on
when the “POWER” switch is off, the lights will go off automatically after 20
minutes.
■ Customization that can be co nfigured at Toyota dealer
Settings (e.g. the time elapsed before lights turn off) can be changed.
(Customizable features P. 516)
NOTICE
■To prevent 12-volt battery discharge
Do not leave the lights on longer than necessary when the hybrid system is
off.
Interior lights/personal lights
Page 331 of 552
331
3-6. Other interior features
3
Interior features
Outside temperature display
■The outside temperatur e is displayed when
Vehicles without a smart key system
The engine switch is in the “ON” position.
Vehicles with a smart key system
The “POWER” switch is in ON mode.
■ Outside temperature display
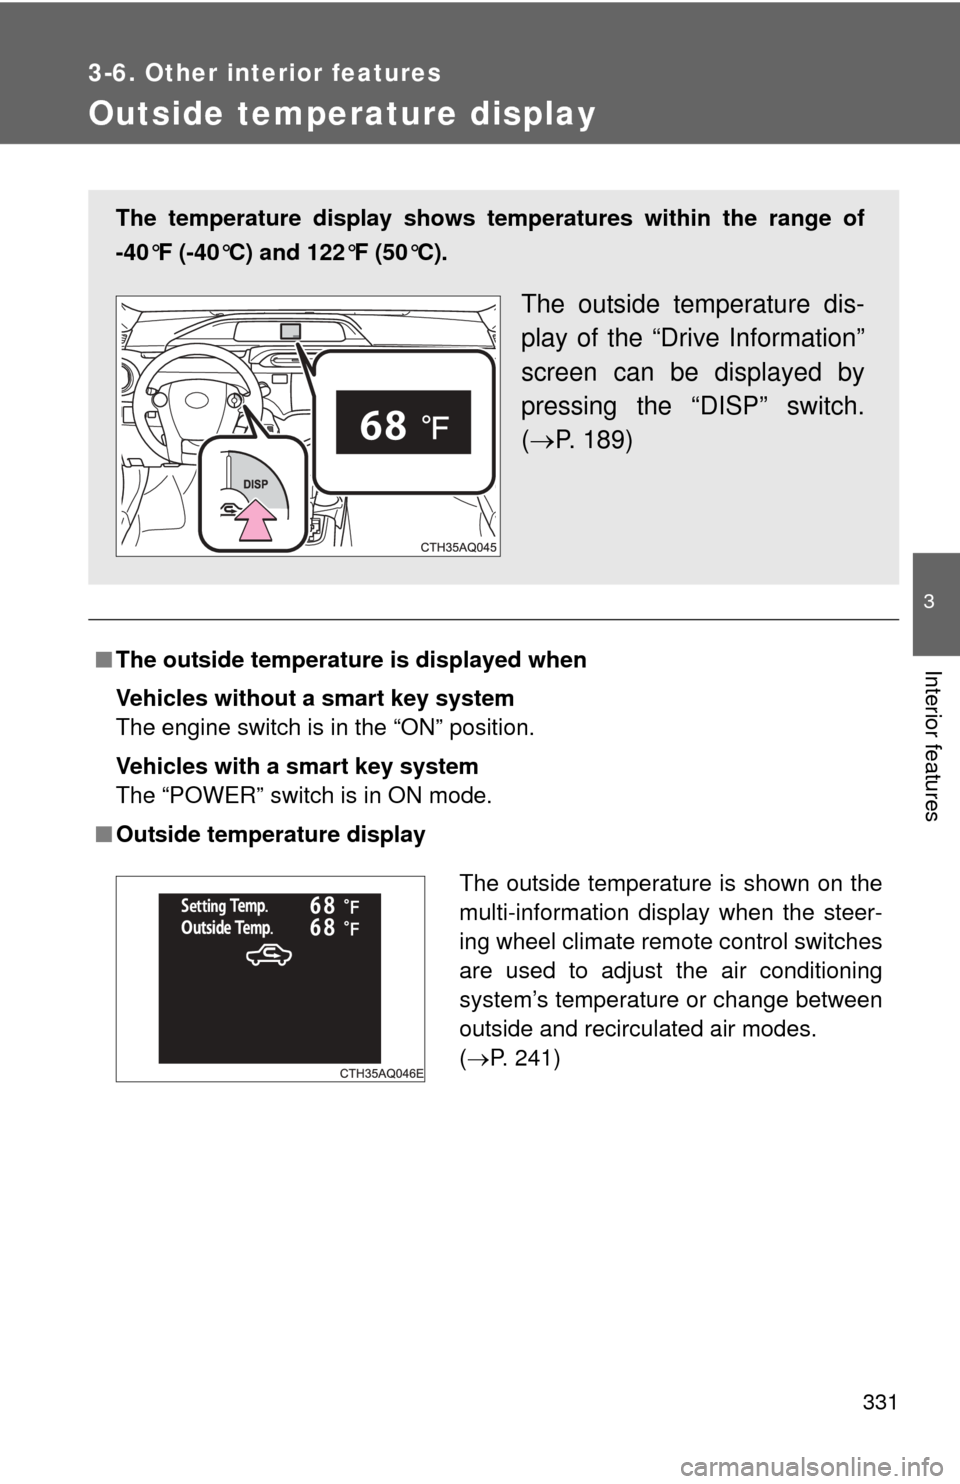
The temperature display shows temperatures within the range of
-40°F (-40°C) and 122°F (50°C).
The outside temperature dis-
play of the “Drive Information”
screen can be displayed by
pressing the “DISP” switch.
( P. 189)
The outside temperature is shown on the
multi-information display when the steer-
ing wheel climate remote control switches
are used to adjust the air conditioning
system’s temperature or change between
outside and recirculated air modes.
(P. 241)
Page 333 of 552
333
3-6. Other interior features
3
Interior features
Power outlet
■The power outlet can be used when
Vehicles without a smart key system
The engine switch is in the “ACC” or “ON” position.
Vehicles with a smart key system
The “POWER” switch is in ACCESSORY or ON mode.
NOTICE
■ To avoid damaging the power outlet
Close the power outlet lid when the power outlet is not in use.
Foreign objects or liquids that enter the power outlet may cause a short cir-
cuit.
■ To prevent blown fuse
Do not use an accessory that uses more than 12 V 10 A.
■ To prevent 12-volt battery discharge
Do not use the power outlet longer than necessary when the hybrid system
is off.
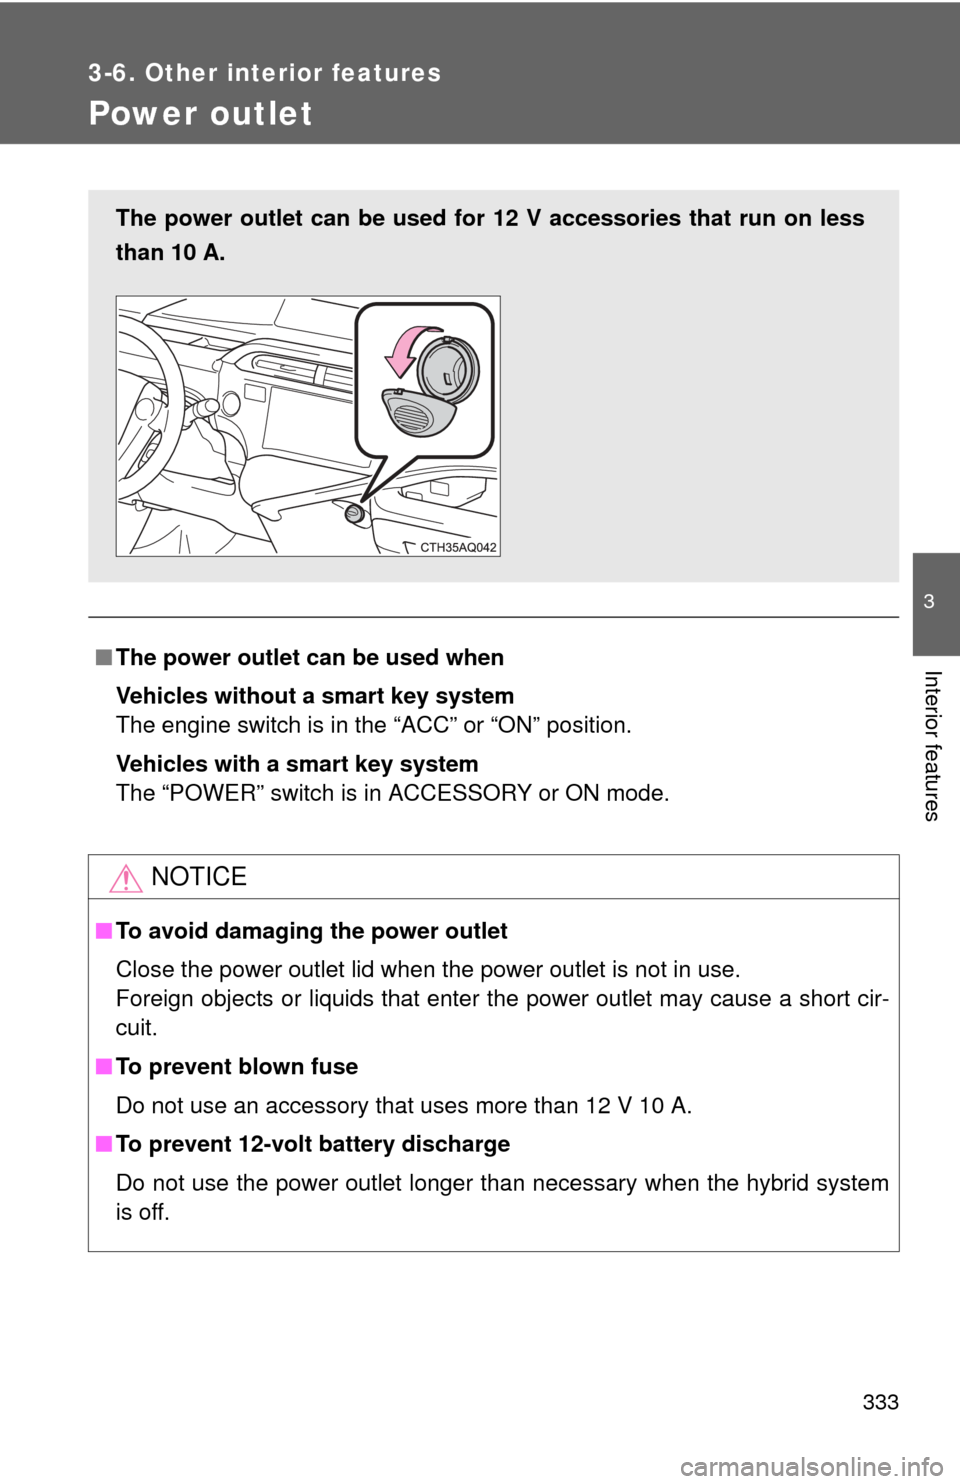
The power outlet can be used for 12 V accessories that run on less
than 10 A.
Page 341 of 552
Maintenance and care4
341
4-1. Maintenance and careCleaning and protecting the vehicle exterior......... 342
Cleaning and protecting the vehicle interior.......... 345
4-2. Maintenance Maintenance requirements .................. 348
General maintenance....... 351
Emission inspection and maintenance (I/M)
programs........................ 355 4-3. Do-it-yourself maintenance
Do-it-yourself service precautions .................... 356
Hood ................................ 360
Positioning a floor jack ..... 362
Engine compartment ........ 364
12-volt battery .................. 375
Tires ................................. 380
Tire inflation pressure ...... 388
Wheels ............................. 392
Air conditioning filter......... 395
Wireless remote control/ electronic key battery ..... 397
Checking and replacing fuses .............................. 400
Light bulbs........................ 411
Page 343 of 552
343
4-1. Maintenance and care
4
Maintenance and care
■
When using a car wash (veh icles with a smart key system)
If the door handle becomes wet while the electronic key is within the effec-
tive range, the door may lock and unlock repeatedly. In that case, follow the
following correction procedures to wash the vehicle:
● Place the electronic key in a location 6 ft. (2 m) or more away from the
vehicle. (Take care to ensure that the key is not stolen.)
● Set the electronic key to battery-saving mode to disable the smart key
system. ( P. 53)
■ Aluminum wheels (if equipped)
●Remove any dirt immediately by using a neutral detergent. Do not use
hard brushes or abrasive cleaners. Do not use strong or harsh chemical
cleaners.
Use the same mild detergent and wax as used on the paint.
● Do not use detergent on the wheels when they are hot, for example after
driving for long distance in the hot weather.
● Wash detergent from the wheels immediately after use.
■ Bumpers
Do not scrub with abrasive cleaners.
CAUTION
■When washing the vehicle
Do not apply water to the inside of the engine compartment. Doing so may
cause the electrical components etc. to catch fire.
■ Precautions regardin g the exhaust pipe
Exhaust gasses cause the exhaust pipe to become quite hot.
When washing the vehicle, be careful not to touch the pipe until it has cooled
sufficiently, as touching a hot exhaust pipe can cause burns.
Page 349 of 552
349
4-2. Maintenance
4
Maintenance and care
■
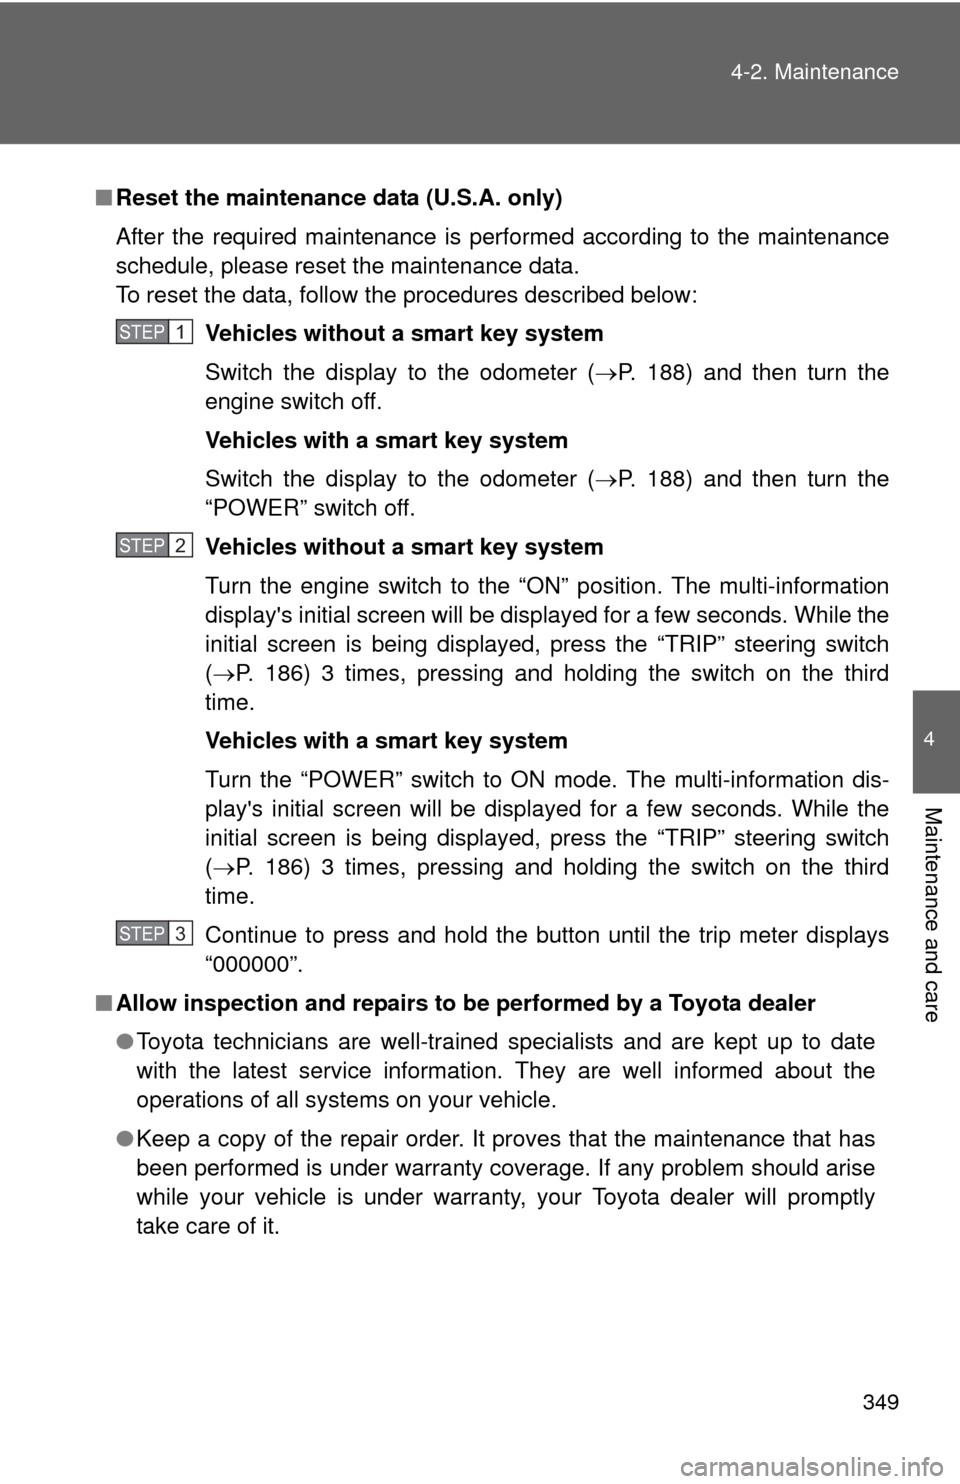
Reset the maintenance data (U.S.A. only)
After the required maintenance is performed according to the maintenance
schedule, please reset the maintenance data.
To reset the data, follow the procedures described below:
Vehicles without a smart key system
Switch the display to the odometer ( P. 188) and then turn the
engine switch off.
Vehicles with a smart key system
Switch the display to the odometer ( P. 188) and then turn the
“POWER” switch off.
Vehicles without a smart key system
Turn the engine switch to the “ON” position. The multi-information
display's initial screen will be displayed for a few seconds. While the
initial screen is being displayed, press the “TRIP” steering switch
( P. 186) 3 times, pressing and holding the switch on the third
time.
Vehicles with a smart key system
Turn the “POWER” switch to ON mode. The multi-information dis-
play's initial screen will be displayed for a few seconds. While the
initial screen is being displayed, press the “TRIP” steering switch
( P. 186) 3 times, pressing and holding the switch on the third
time.
Continue to press and hold the button until the trip meter displays
“000000”.
■ Allow inspection and repairs to be performed by a Toyota dealer
● Toyota technicians are well-trained specialists and are kept up to date
with the latest service information. They are well informed about the
operations of all systems on your vehicle.
● Keep a copy of the repair order. It proves that the maintenance that has
been performed is under warranty coverage. If any problem should arise
while your vehicle is under warranty, your Toyota dealer will promptly
take care of it.
STEP1
STEP2
STEP3
Page 358 of 552

358 4-3. Do-it-yourself maintenance
CAUTION
The engine compartment contains many mechanisms and fluids that may
move suddenly, become hot, or become electrically energized. To avoid death
or serious injury, observe the following precautions:
■When working on the engine compartment
●Vehicles without a smart key system: Make sure that the engine switch is
in the “LOCK” position and the “READY” indicator is off.
Vehicles with a smart key system: Make sure that the indicator on the
“POWER” switch and the “READY” indicator are both off.
● Keep hands, clothing and tools away from the moving fans and engine
drive belt.
● Be careful not to touch the engine, power control unit, radiator, exhaust
manifold, etc. right after driving as they may be hot. Oil and other fluids
may also be hot.
● Do not leave anything that may burn easily, such as paper and rags, in the
engine compartment.
● Do not smoke, cause sparks or expose an open flame to fuel. Fuel fumes
are flammable.
■ When working near the electric c ooling fans or radiator grille
Vehicles without a smart key system: The electric cooling fan may keep
rotating for about 3 minutes even after the engine switch is turned to the
“LOCK” position.
With the engine switch in the “ON” position, the electric cooling fan may
automatically start to run if the air conditioning is on and/or the coolant tem-
perature is high. Be sure the engine switch is in the “LOCK” position when
working near the electric cooling fan or radiator grille.
Vehicles with a smart key system: The electric cooling fan may keep rotating
for about 3 minutes even after the “POWER” switch is off.
With the “POWER” switch in ON mode, the electric cooling fans may auto-
matically start to run if the air conditioning is on and/or the coolant tempera-
ture is high. Be sure the “POWER” switch is off when working near the
electric cooling fans or radiator grille.
Page 377 of 552
377
4-3. Do-it-yourself maintenance
4
Maintenance and care
■
Before recharging
When recharging, the 12-volt battery produces hydrogen gas which is flam-
mable and explosive. Therefore, observe the following precautions before
recharging:
●If recharging with the 12-volt battery installed on the vehicle, be sure to
disconnect the ground cable.
● Make sure the power switch on the charger is off when connecting and
disconnecting the charger cables to the 12-volt battery.
■ When disconnecting the 12- volt battery terminals
Always disconnect the negative (-) terminal first.
■ After recharging/reconn ecting the 12-volt battery (vehicles with a
smart key system)
● Unlocking the doors using the smart key system may not be possible
immediately after reconnecting the 12-volt battery. If this happens, use
the wireless remote control or the mechanical key to lock/unlock the
doors.
● Start the hybrid system with the “POWER” switch in ACCESSORY mode.
The hybrid system may not start with the “POWER” switch turned off.
However, the hybrid system will operate normally from the second
attempt.
● The “POWER” switch mode is recorded by the vehicle. If the 12-volt bat-
tery is reconnected, the vehicle will return the “POWER” switch mode to
the status it was in before the 12-volt battery was disconnected. Make
sure to turn off the power before disconnect the 12-volt battery. Take
extra care when connecting the 12-volt battery if the “POWER” switch
mode prior to discharge is unknown.
If the system will not start even after multiple attempts, contact your Toyota
dealer.
Page 381 of 552
381
4-3. Do-it-yourself maintenance
4
Maintenance and care
Installing tire pressure warning valves and transmitters
When replacing tires or wheels, tire pressure warning valves and
transmitters must also be installed.
When new tire pressure warning valves and transmitters are
installed, new ID codes must be registered in the tire pressure warn-
ing computer and the tire pressure warning system must be initial-
ized. Have tire pressure warning valve and transmitter ID codes
registered by your Toyota dealer. ( P. 382)
■ The tire pressure warning system must be initialized in the fol-
lowing circumstances:
●When rotating front and rear tires which have different tire infla-
tion pressures
● When changing the tire size
When the tire pressure warning system is initialized, the current
tire inflation pressure is set as the benchmark pressure.
■ How to initialize the tire pressure warning system
Park the vehicle in a safe pl ace and turn the engine switch
(vehicles without a smart key system) or the “POWER” switch
(vehicles with a smart key system) off.
Initialization cannot be performed while the vehicle is moving.
Adjust the tire inflation pressure to the specified cold tire infla-
tion pressure level. ( P. 498)
Make sure to adjust the tire pressure to the specified cold tire
inflation pressure level. The ti re pressure warning system will
operate based on this pressure level.
STEP1
STEP2