TOYOTA PRIUS C 2014 NHP10 / 1.G Owners Manual
PRIUS C 2014 NHP10 / 1.G
TOYOTA
TOYOTA
https://www.carmanualsonline.info/img/14/6627/w960_6627-0.png
TOYOTA PRIUS C 2014 NHP10 / 1.G Owners Manual
Trending: brake, Parking light, water pump, phone, wheel bolts, brake light, tire size
Page 311 of 563
308
3-3. Using the Bluetooth® audio system
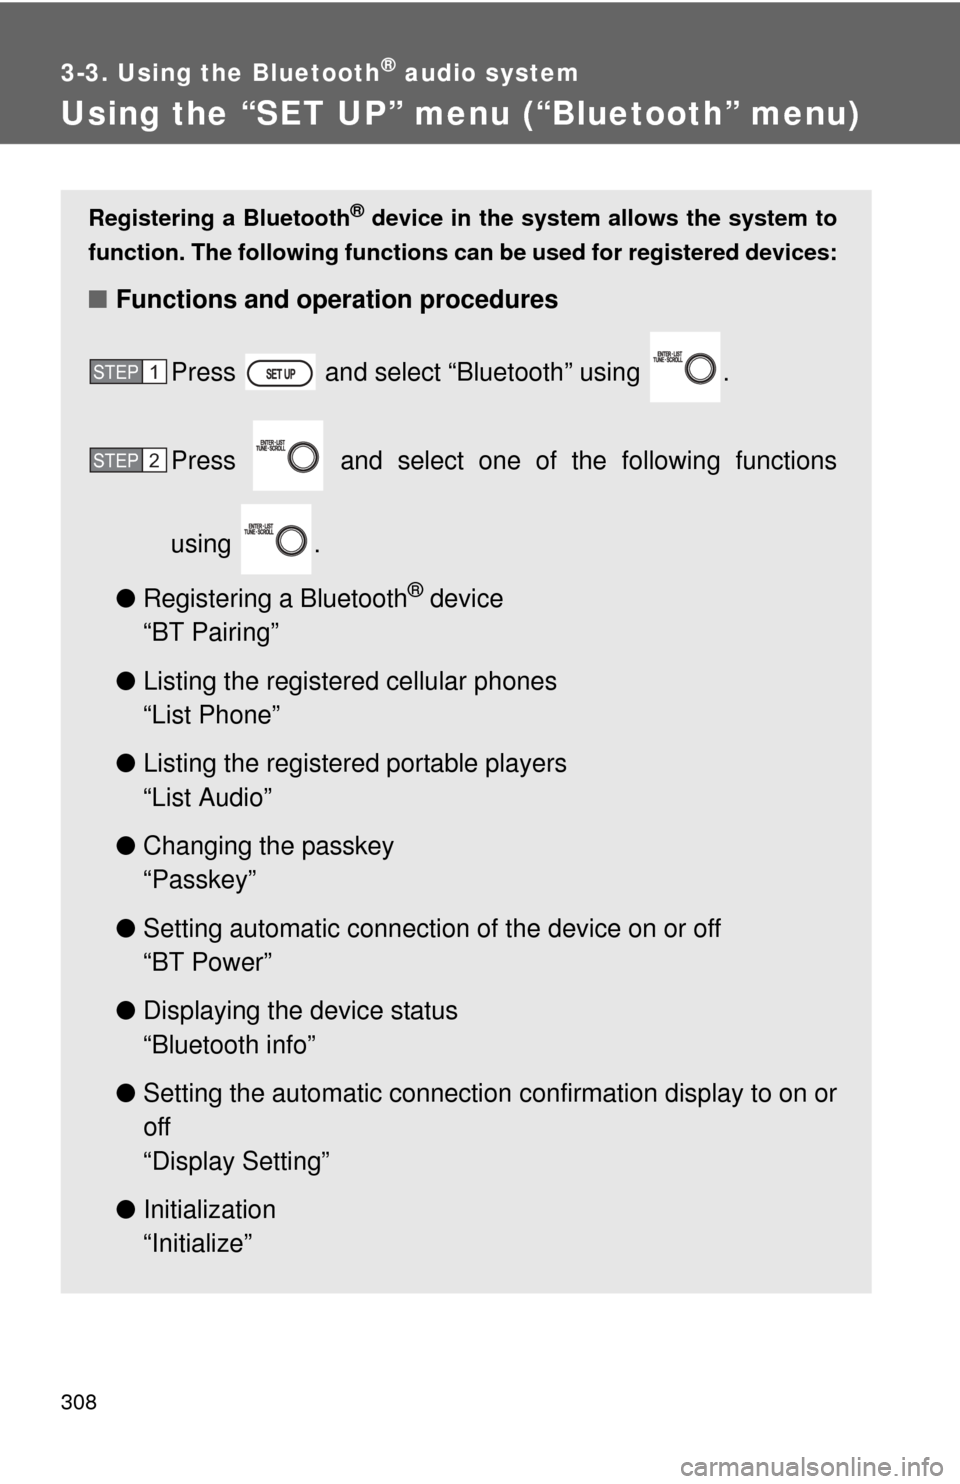
Using the “SET UP” menu (“Bluetooth” menu)
Registering a Bluetooth® device in the system allows the system to
function. The following functions can be used for registered devices:
■Functions and operation procedures
Press and select “Bluetooth” using .
Press and select one of the following functions
using .
● Registering a Bluetooth
® device
“BT Pairing”
● Listing the registered cellular phones
“List Phone”
● Listing the registered portable players
“List Audio”
● Changing the passkey
“Passkey”
● Setting automatic connection of the device on or off
“BT Power”
● Displaying the device status
“Bluetooth info”
● Setting the automatic connection confirmation display to on or
off
“Display Setting”
● Initialization
“Initialize”
STEP1
STEP2
Page 312 of 563
309
3-3. Using the Bluetooth
® audio system
3
Interior features
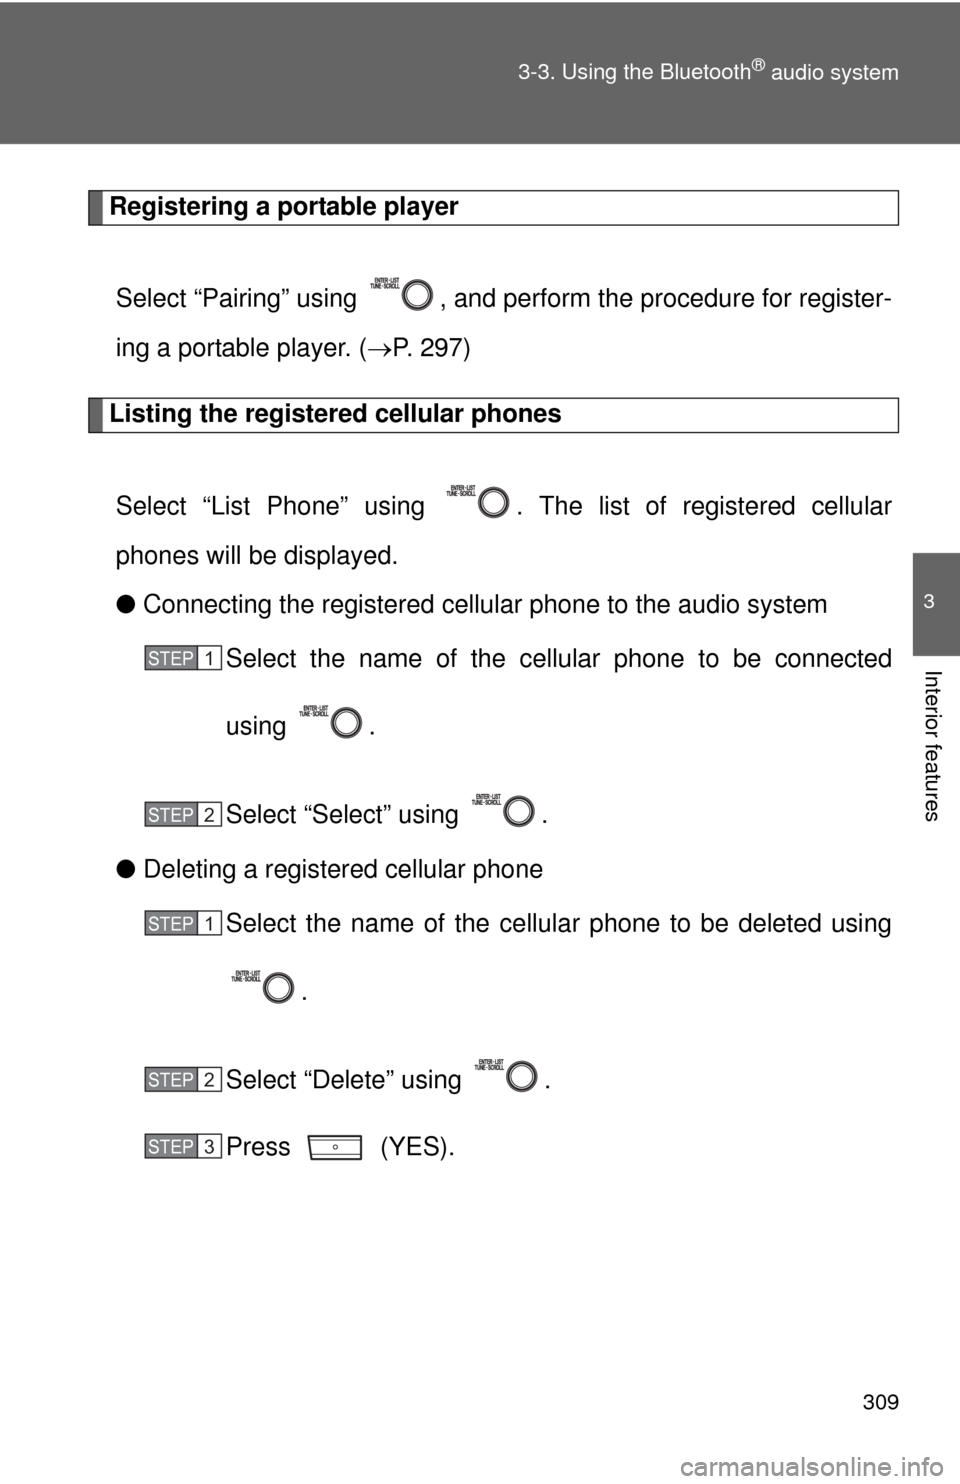
Registering a portable player
Select “Pairing” using , and perform the procedure for register-
ing a portable player. ( P. 297)
Listing the registered cellular phones
Select “List Phone” using . The list of registered cellular
phones will be displayed.
● Connecting the registered cellular phone to the audio system
Select the name of the cellular phone to be connected
using .
Select “Select” using .
● Deleting a registered cellular phone
Select the name of the cellular phone to be deleted using
.
Select “Delete” using .
Press (YES).
STEP1
STEP2
STEP1
STEP2
STEP3
Page 313 of 563
310 3-3. Using the Bluetooth
® audio system
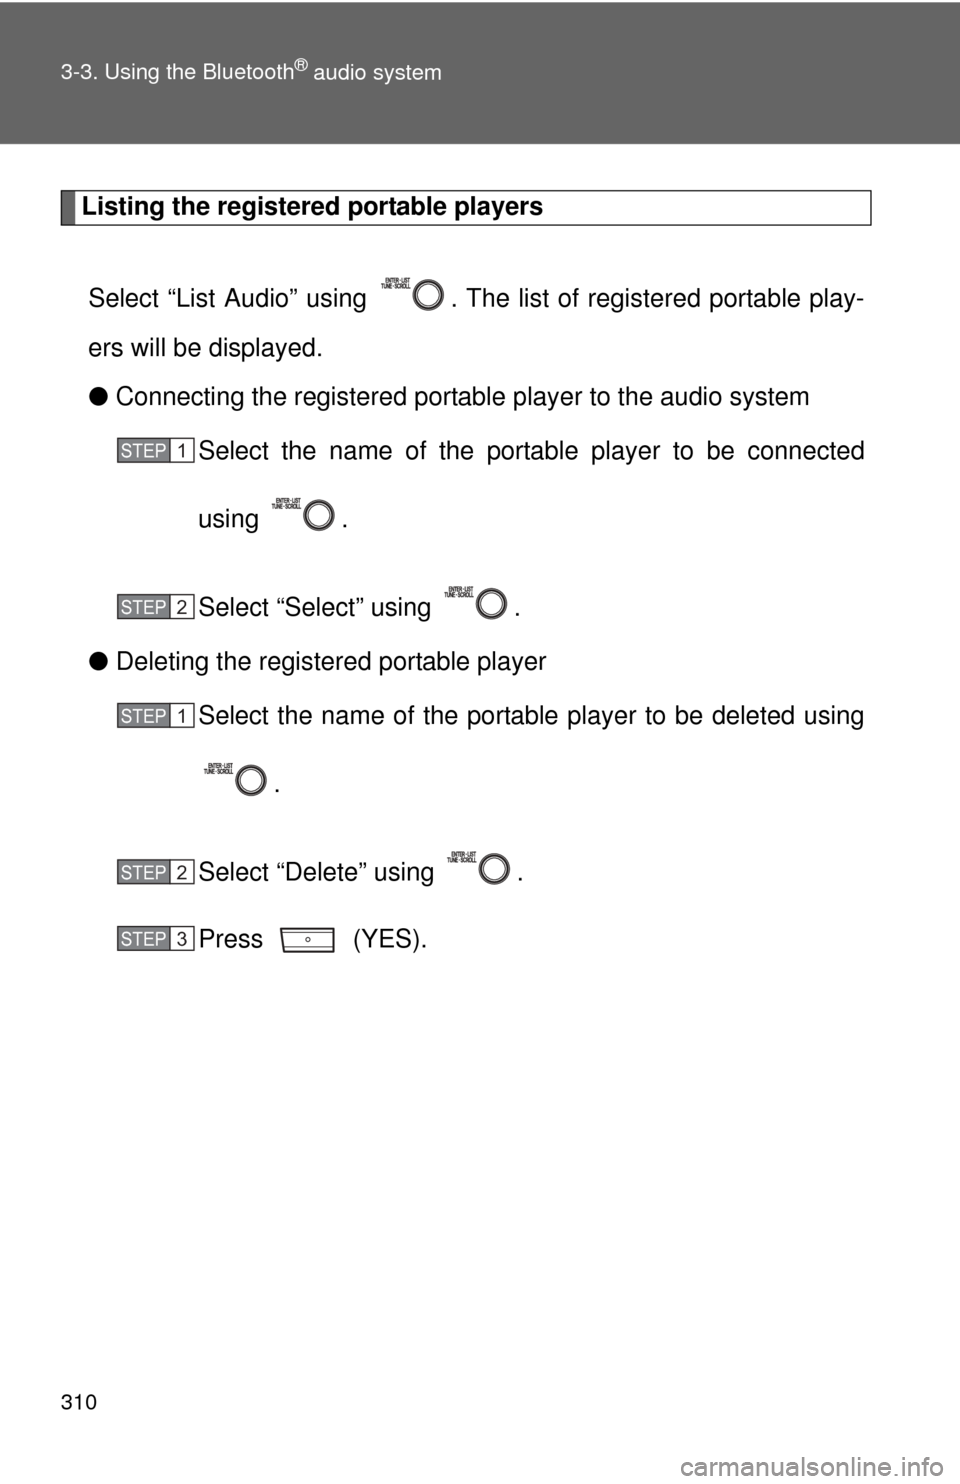
Listing the registered portable playersSelect “List Audio” using . The list of registered portable play-
ers will be displayed.
● Connecting the registered portable player to the audio system
Select the name of the portab le player to be connected
using .
Select “Select” using .
● Deleting the registered portable player
Select the name of the portable player to be deleted using
.
Select “Delete” using .
Press (YES).
STEP1
STEP2
STEP1
STEP2
STEP3
Page 314 of 563
311
3-3. Using the Bluetooth
® audio system
3
Interior features
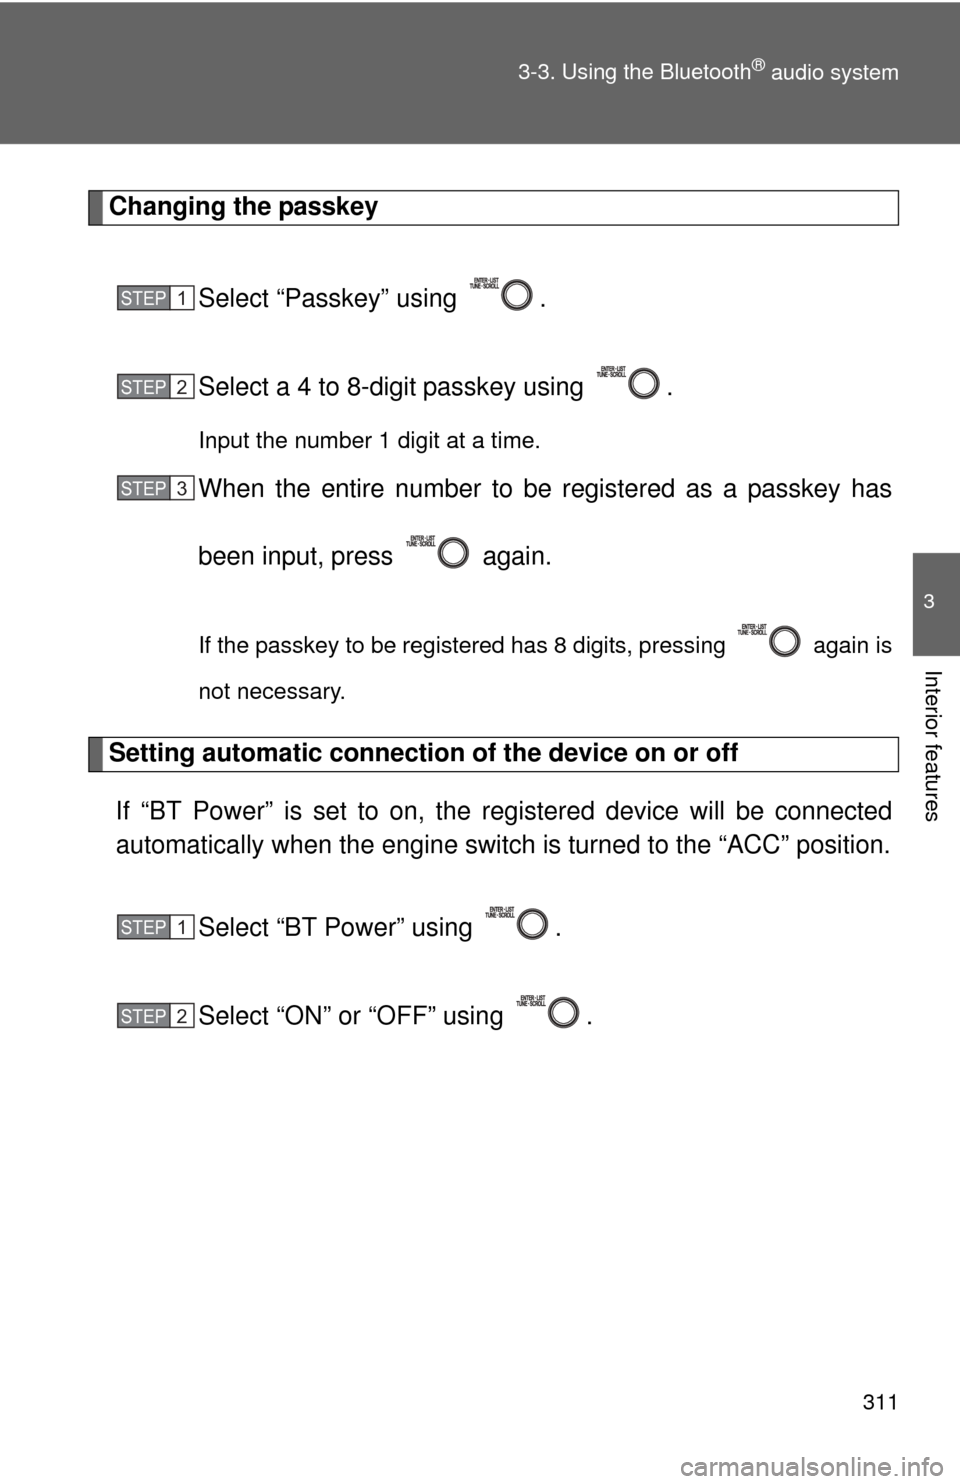
Changing the passkey
Select “Passkey” using .
Select a 4 to 8-digit passkey using .
Input the number 1 digit at a time.
When the entire number to be registered as a passkey has
been input, press again.
If the passkey to be registered has 8 digits, pressing again is
not necessary.
Setting automatic connection of the device on or offIf “BT Power” is set to on, the r egistered device will be connected
automatically when the engine switch is turned to the “ACC” position.
Select “BT Power” using .
Select “ON” or “OFF” using .
STEP1
STEP2
STEP3
STEP1
STEP2
Page 315 of 563
312 3-3. Using the Bluetooth
® audio system
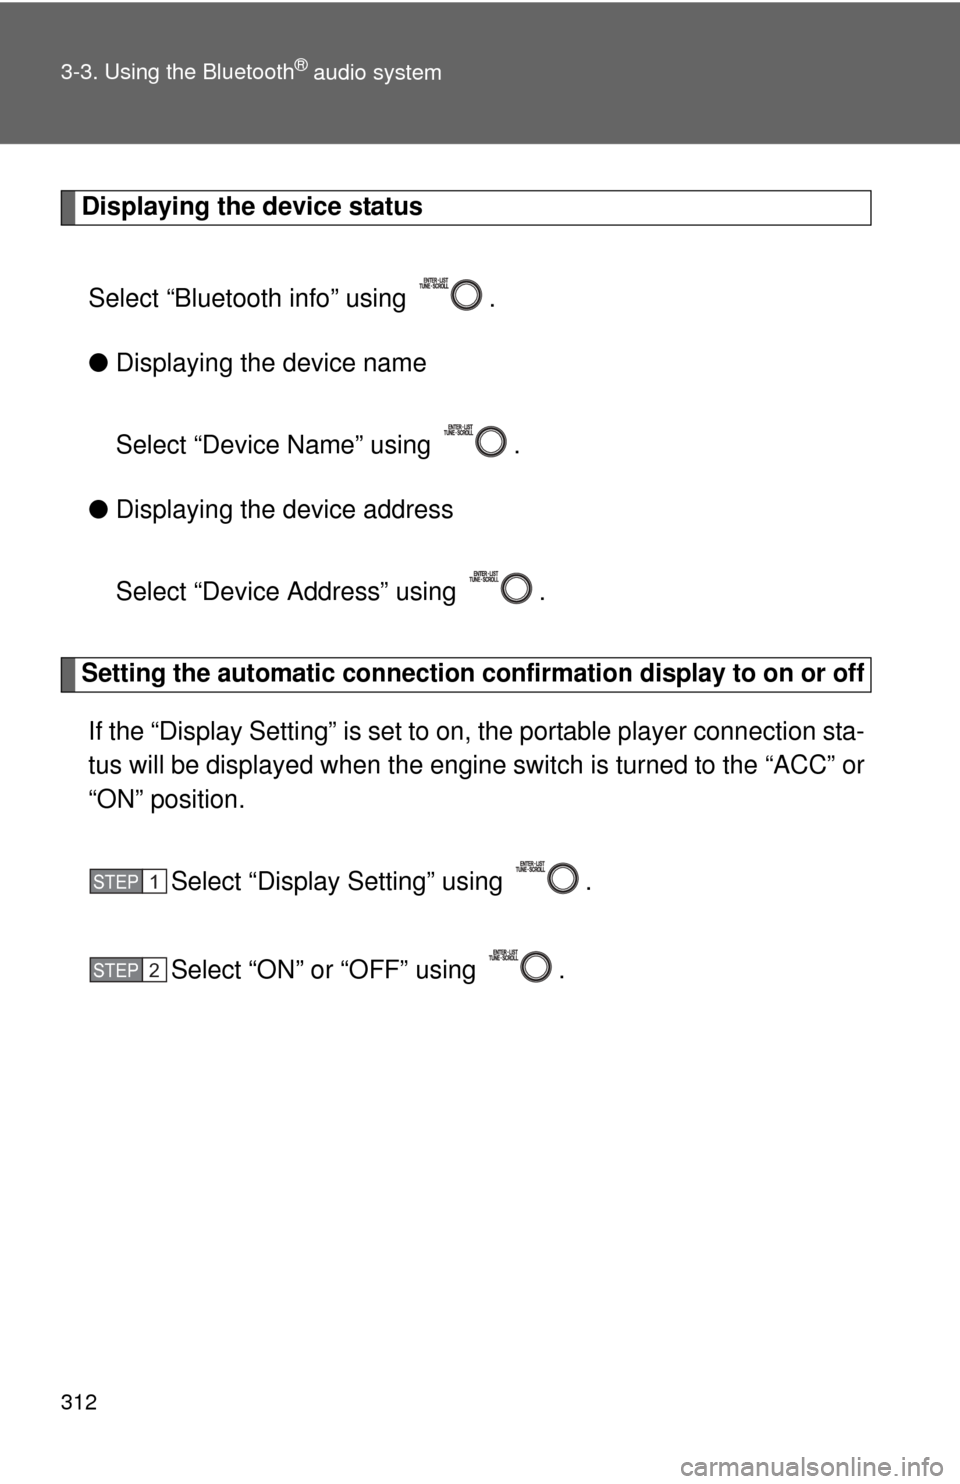
Displaying the device statusSelect “Bluetooth info” using .
● Displaying the device name
Select “Device Name” using .
● Displaying the device address
Select “Device Address” using .
Setting the automatic connection conf irmation display to on or off
If the “Display Setting” is set to on, the portable player connection sta-
tus will be displayed when the engine switch is turned to the “ACC” or
“ON” position.
Select “Display Setting” using .
Select “ON” or “OFF” using .
STEP1
STEP2
Page 316 of 563
313
3-3. Using the Bluetooth
® audio system
3
Interior features
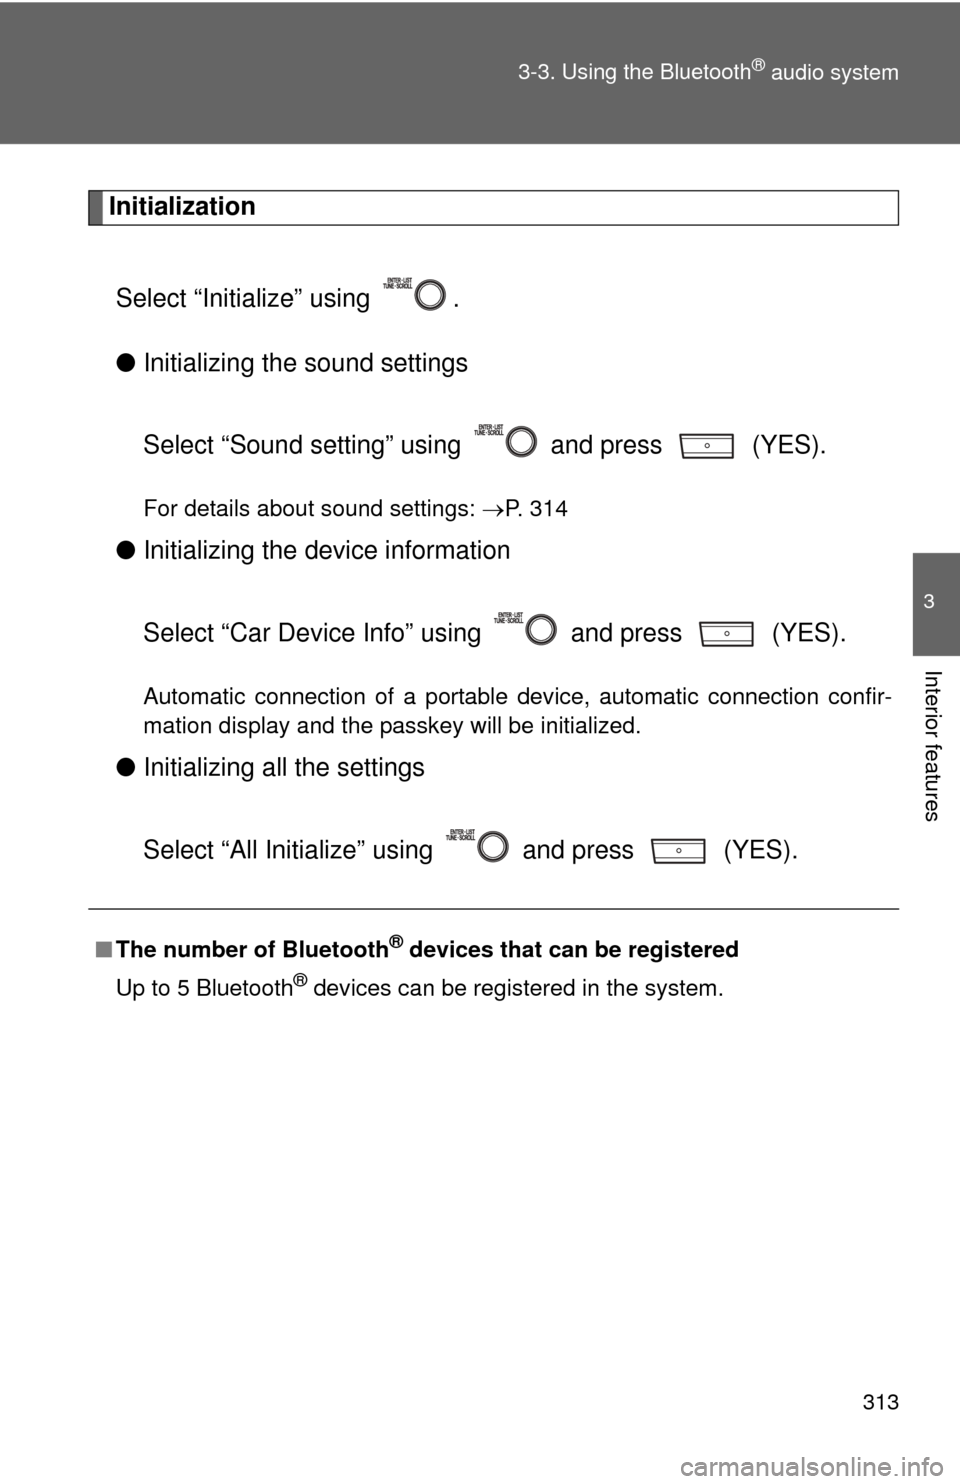
Initialization
Select “Initialize” using .
● Initializing the sound settings
Select “Sound setting” using and press (YES).
For details about sound settings: P. 314
●Initializing the device information
Select “Car Device Info” using and press (YES).
Automatic connection of a portable device, automatic connection confir-
mation display and the passkey will be initialized.
●Initializing a ll the settings
Select “All Initialize” using and press (YES).
■ The number of Bluetooth® devices that can be registered
Up to 5 Bluetooth
® devices can be registered in the system.
Page 317 of 563
314
3-3. Using the Bluetooth® audio system
Using the “SET UP” menu (“Phone” menu)
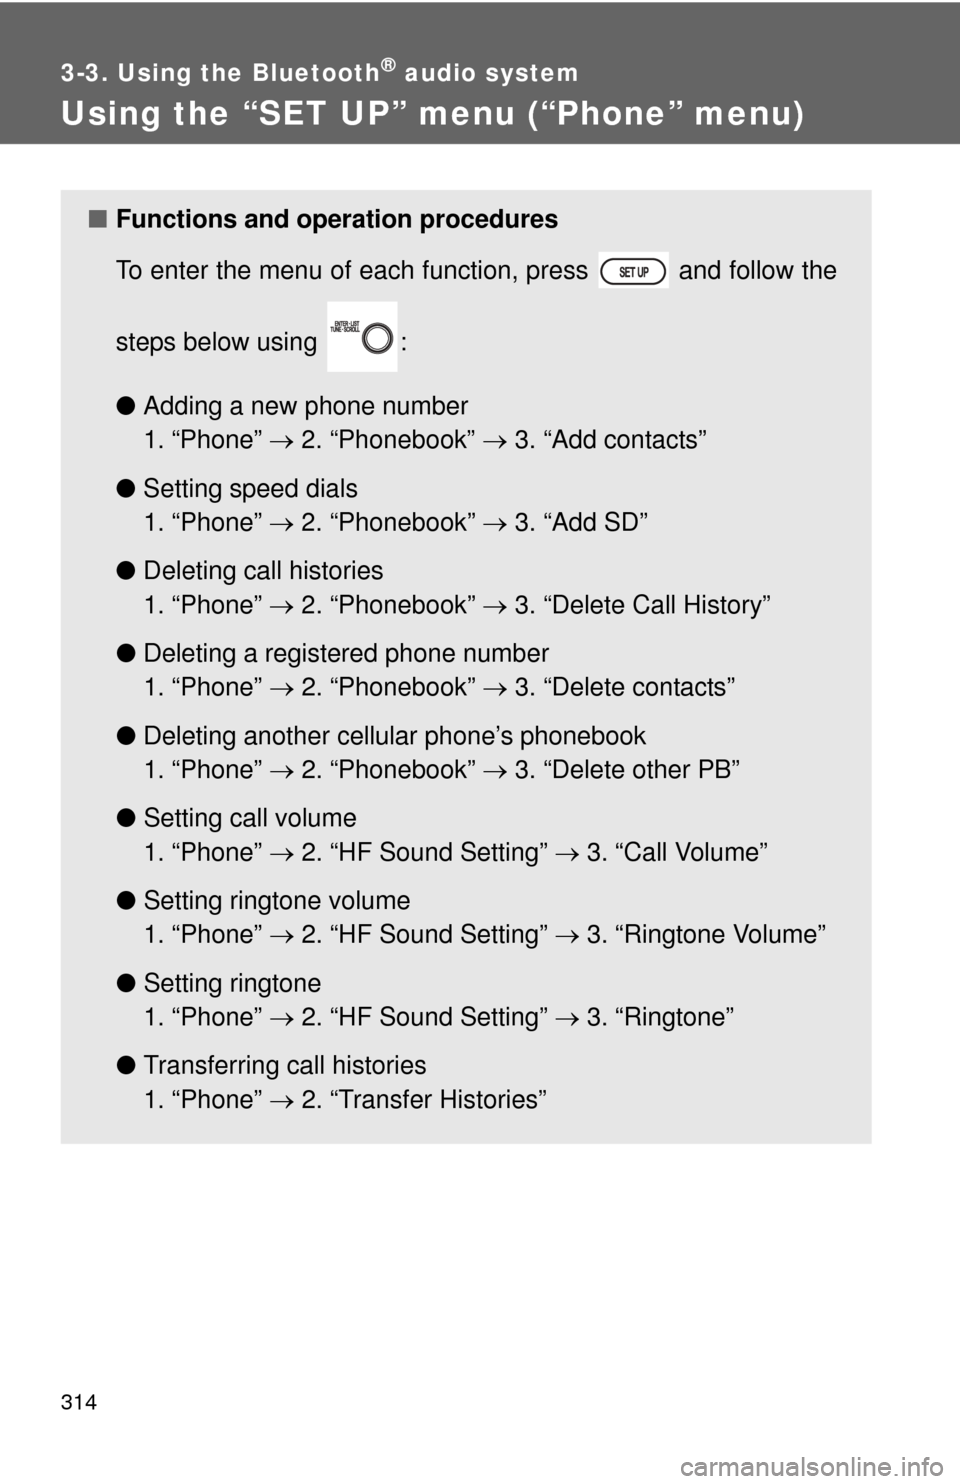
■Functions and operation procedures
To enter the menu of each function, press and follow the
steps below using :
●Adding a new phone number
1. “Phone” 2. “Phonebook” 3. “Add contacts”
● Setting speed dials
1. “Phone” 2. “Phonebook” 3. “Add SD”
● Deleting call histories
1. “Phone” 2. “Phonebook” 3. “Delete Call History”
● Deleting a registered phone number
1. “Phone” 2. “Phonebook” 3. “Delete contacts”
● Deleting another cellular phone’s phonebook
1. “Phone” 2. “Phonebook” 3. “Delete other PB”
● Setting call volume
1. “Phone” 2. “HF Sound Setting” 3. “Call Volume”
● Setting ringtone volume
1. “Phone” 2. “HF Sound Setting” 3. “Ringtone Volume”
● Setting ringtone
1. “Phone” 2. “HF Sound Setting” 3. “Ringtone”
● Transferring call histories
1. “Phone” 2. “Transfer Histories”
Page 318 of 563
315
3-3. Using the Bluetooth
® audio system
3
Interior features
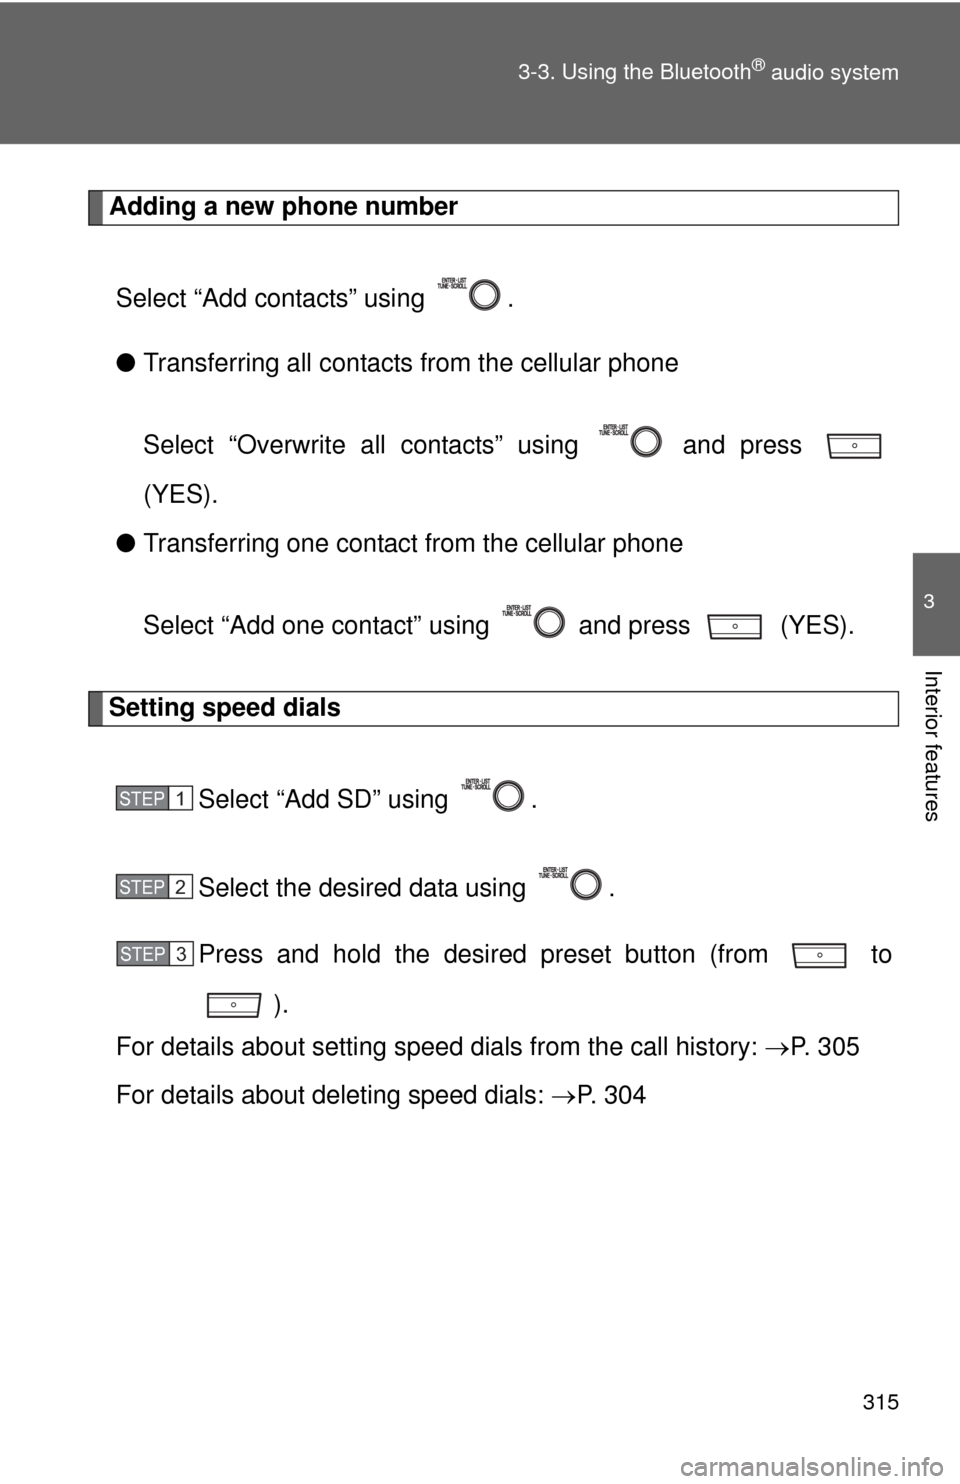
Adding a new phone number
Select “Add contacts” using .
● Transferring all contacts from the cellular phone
Select “Overwrite all contacts” using and press
(YES).
● Transferring one contact from the cellular phone
Select “Add one contact” using and press (YES).
Setting speed dials
Select “Add SD” using .
Select the desired data using .
Press and hold the desired preset button (from to).
For details about setting speed dials from the call history: P. 3 0 5
For details about deleting speed dials: P. 3 0 4
STEP1
STEP2
STEP3
Page 319 of 563
316 3-3. Using the Bluetooth
® audio system
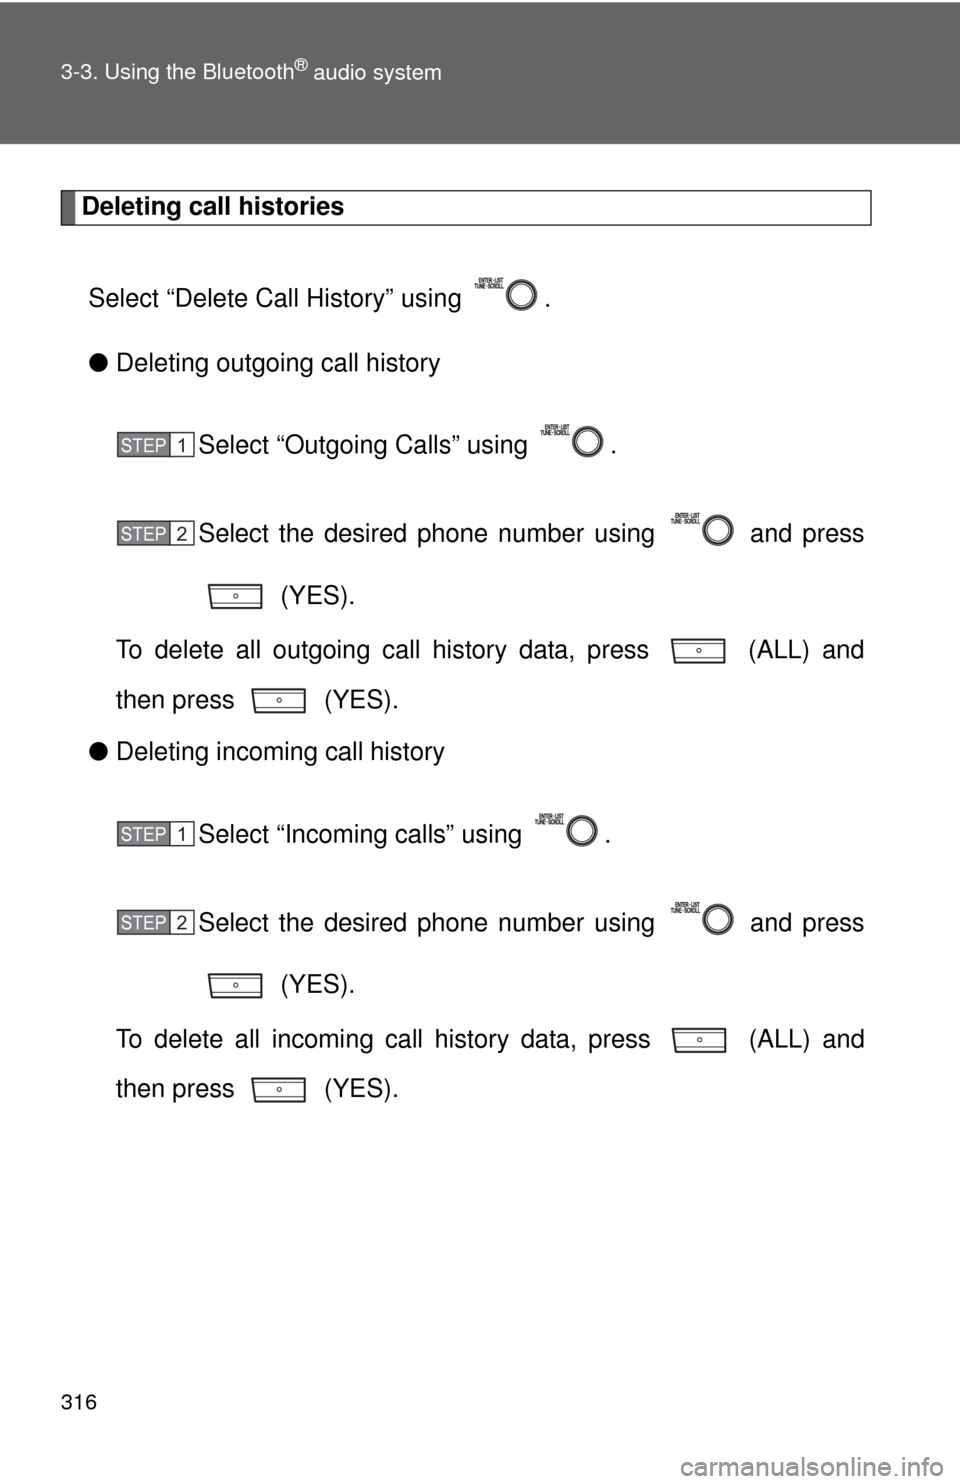
Deleting call historiesSelect “Delete Call History” using .
● Deleting outgoing call history
Select “Outgoing Calls” using .
Select the desired phone number using and press (YES).
To delete all outgoing call history data, press (ALL) and
then press (YES).
● Deleting incoming call history
Select “Incoming calls” using .
Select the desired phone number using and press (YES).
To delete all incoming call history data, press (ALL) and
then press (YES).
STEP1
STEP2
STEP1
STEP2
Page 320 of 563
317
3-3. Using the Bluetooth
® audio system
3
Interior features
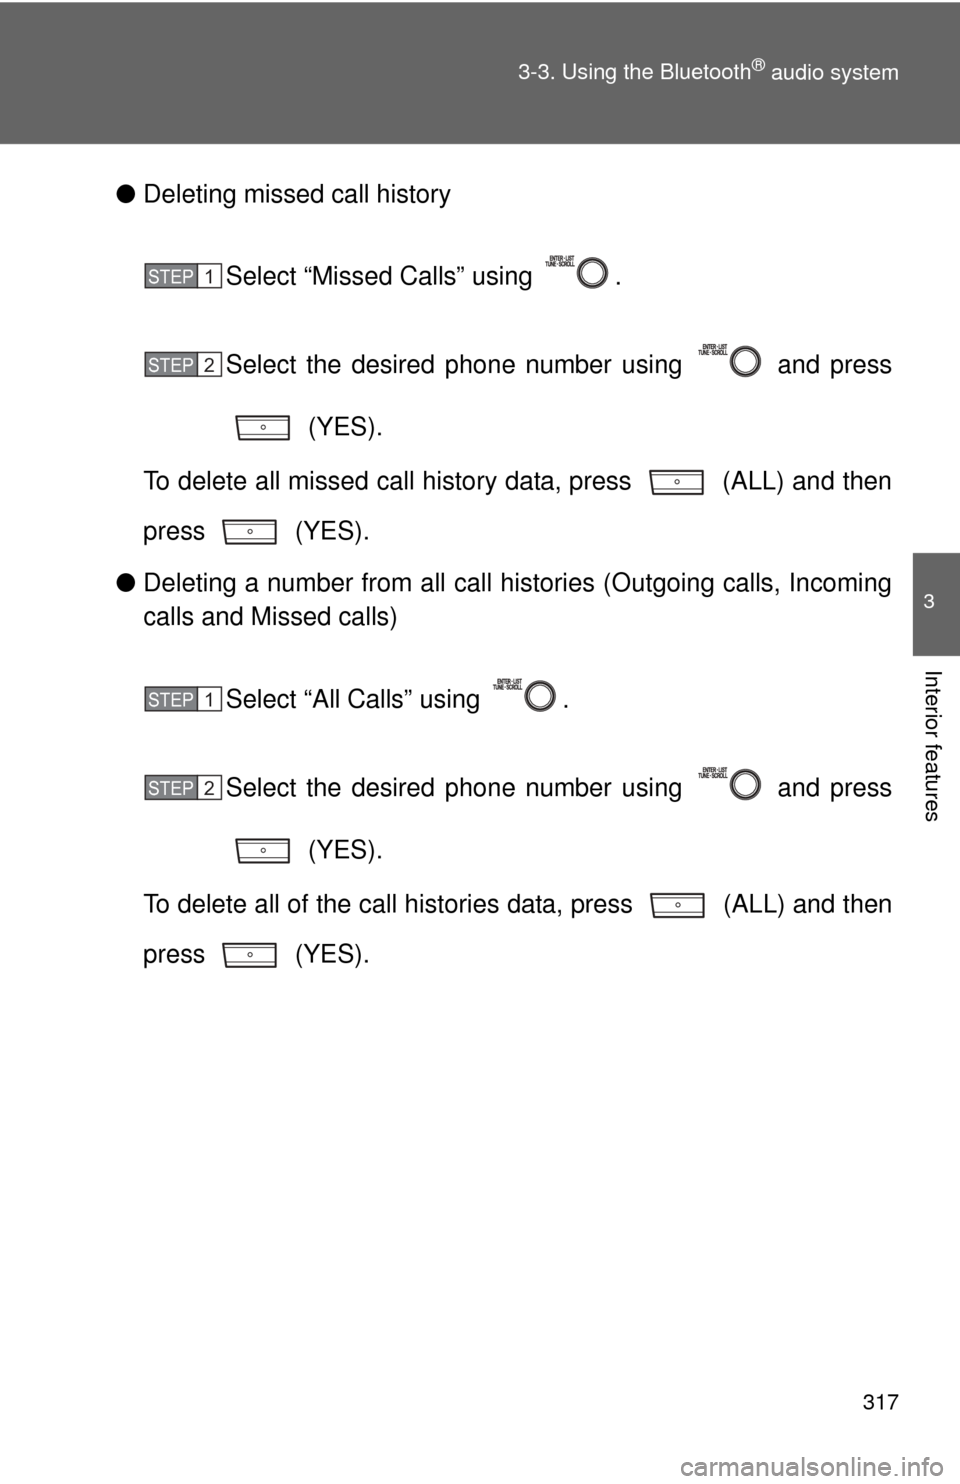
●
Deleting missed call history
Select “Missed Calls” using .
Select the desired phone number using and press (YES).
To delete all missed call history data, press (ALL) and then
press (YES).
● Deleting a number from all call histories (Outgoing calls, Incoming
calls and Missed calls)
Select “All Calls” using .
Select the desired phone number using and press (YES).
To delete all of the call histories data, press (ALL) and then
press (YES).
STEP1
STEP2
STEP1
STEP2
Trending: ground clearance, USB, lights, fuel cap, steering, Ignitin, service
