TOYOTA PRIUS PLUG-IN HYBRID 2016 Manual PDF
PRIUS PLUG-IN HYBRID 2016
TOYOTA
TOYOTA
https://www.carmanualsonline.info/img/14/60304/w960_60304-0.png
TOYOTA PRIUS PLUG-IN HYBRID 2016 Manual PDF
Trending: wheel, oil viscosity, relay, ignition, coolant reservoir, engine coolant, remote control
Page 71 of 744
711-2. Child safety
1
PRIUS PHV_OM_OM47A89E_(EE)
For safety and security
The child restraint systems mentioned in the table may not be avail-
able outside the EU area.
● When installing a child restraint in the rear seats, adjust the front
seat so that it does not interfere with the child or child restraint
system.
■i-Size child restraint systems fastened with ISOFIX (ECE
R129) - Compatibility table
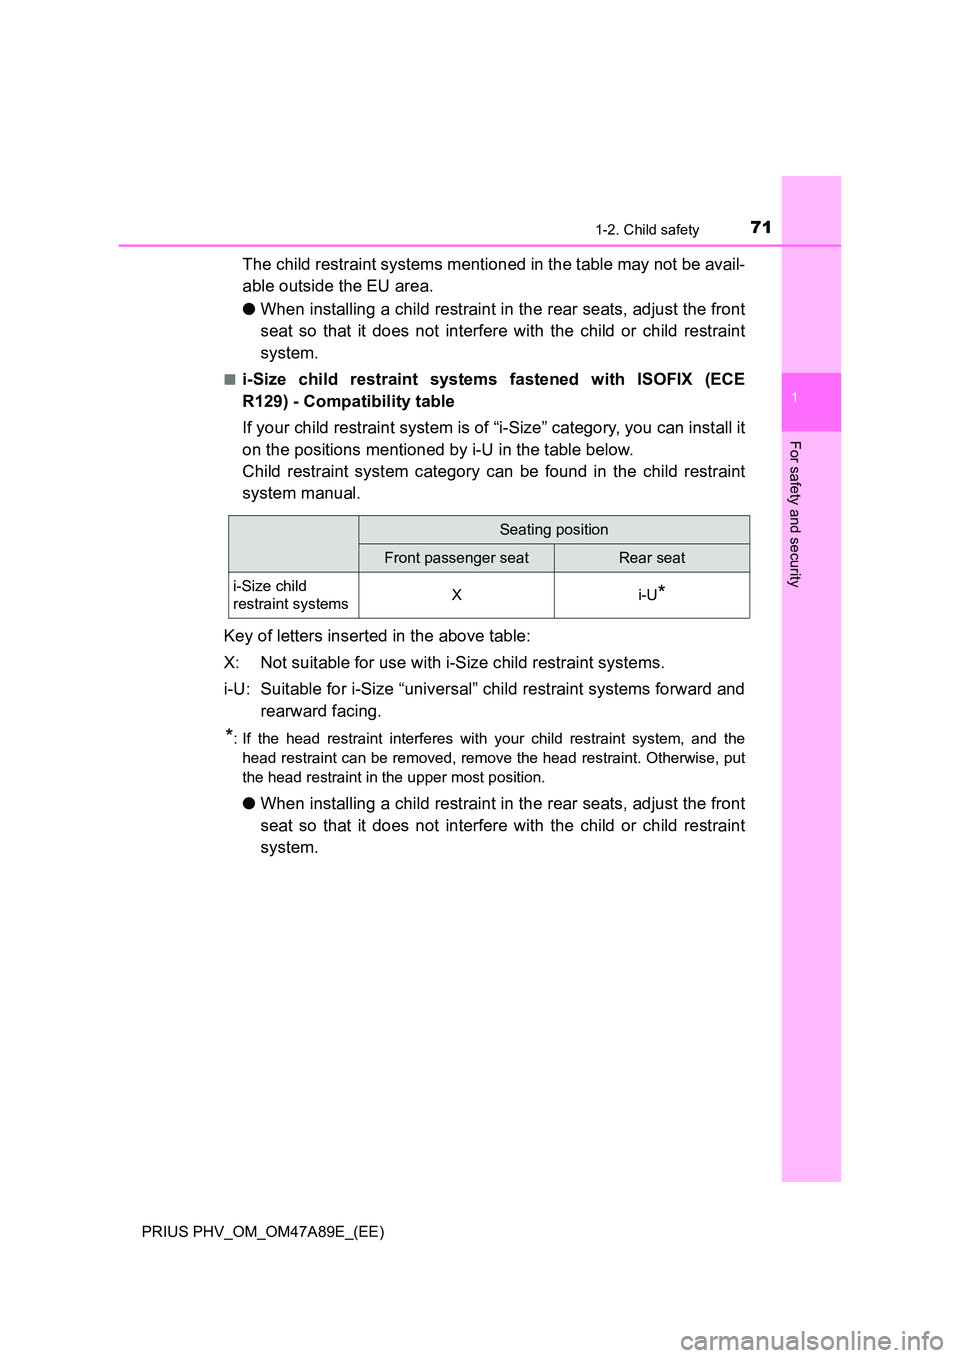
If your child restraint system is of “i-Size” category, you can install it
on the positions mentioned by i-U in the table below.
Child restraint system category can be found in the child restraint
system manual.
Key of letters inserted in the above table:
X: Not suitable for use with i-Size child restraint systems.
i-U: Suitable for i-Size “universal” child restraint systems forward and
rearward facing.
*: If the head restraint interferes with your child restraint system, and the
head restraint can be removed, remove the head restraint. Otherwise, put
the head restraint in the upper most position.
● When installing a child restraint in the rear seats, adjust the front
seat so that it does not interfere with the child or child restraint
system.
Seating position
Front passenger seatRear seat
i-Size child
restraint systemsXi-U*
Page 72 of 744
721-2. Child safety
PRIUS PHV_OM_OM47A89E_(EE)
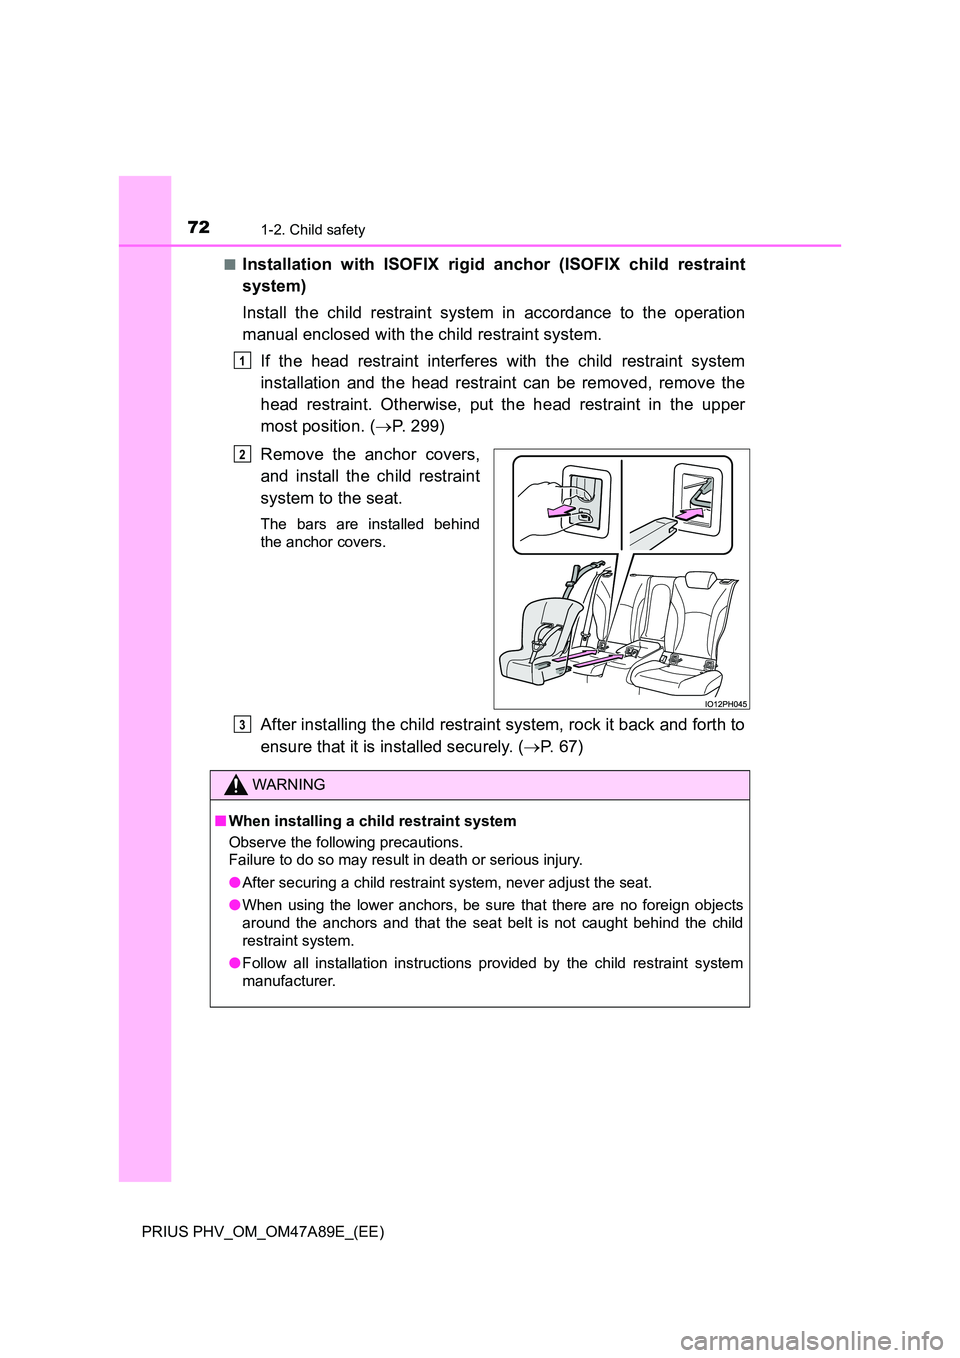
■Installation with ISOFIX rigid anchor (ISOFIX child restraint
system)
Install the child restraint system in accordance to the operation
manual enclosed with the child restraint system.
If the head restraint interferes with the child restraint system
installation and the head restraint can be removed, remove the
head restraint. Otherwise, put the head restraint in the upper
most position. ( P. 299)
Remove the anchor covers,
and install the child restraint
system to the seat.
The bars are installed behind
the anchor covers.
After installing the child restraint system, rock it back and forth to
ensure that it is installed securely. ( P. 6 7 )
1
2
WARNING
■When installing a child restraint system
Observe the following precautions.
Failure to do so may result in death or serious injury.
● After securing a child restraint system, never adjust the seat.
● When using the lower anchors, be sure that there are no foreign objects
around the anchors and that the seat belt is not caught behind the child
restraint system.
● Follow all installation instructions provided by the child restraint system
manufacturer.
3
Page 73 of 744
731-2. Child safety
1
PRIUS PHV_OM_OM47A89E_(EE)
For safety and security
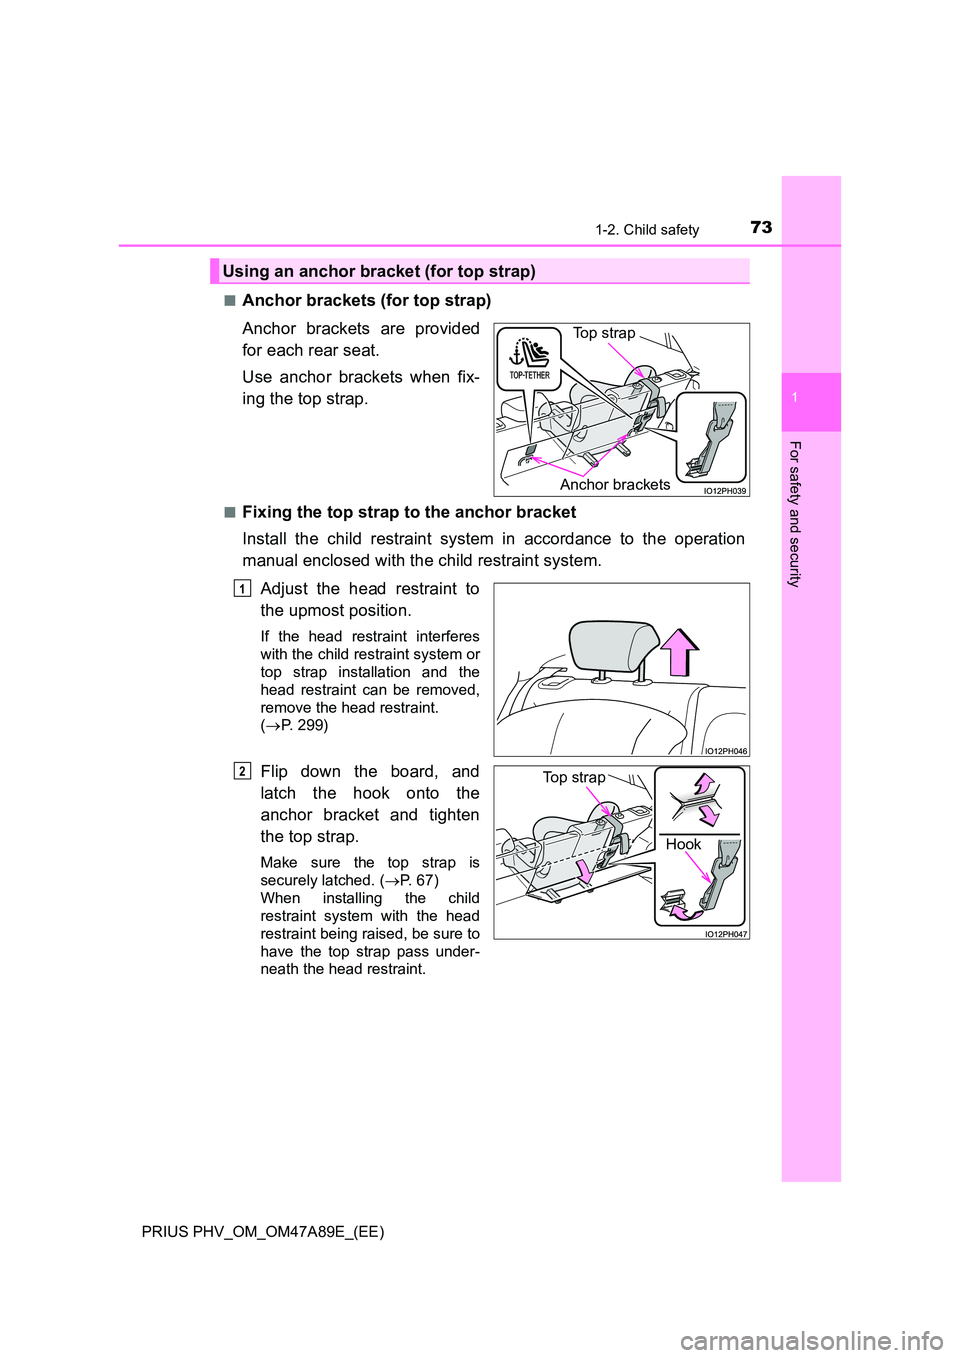
■Anchor brackets (for top strap)
Anchor brackets are provided
for each rear seat.
Use anchor brackets when fix-
ing the top strap.
■Fixing the top strap to the anchor bracket
Install the child restraint system in accordance to the operation
manual enclosed with the child restraint system.
Adjust the head restraint to
the upmost position.
If the head restraint interferes
with the child restraint system or
top strap installation and the
head restraint can be removed,
remove the head restraint.
( P. 299)
Flip down the board, and
latch the hook onto the
anchor bracket and tighten
the top strap.
Make sure the top strap is
securely latched. ( P. 67)
When installing the child
restraint system with the head
restraint being raised, be sure to
have the top strap pass under-
neath the head restraint.
Using an anchor bracket (for top strap)
Anchor brackets
Top strap
1
Hook
Top strap 2
Page 74 of 744
741-2. Child safety
PRIUS PHV_OM_OM47A89E_(EE)
WARNING
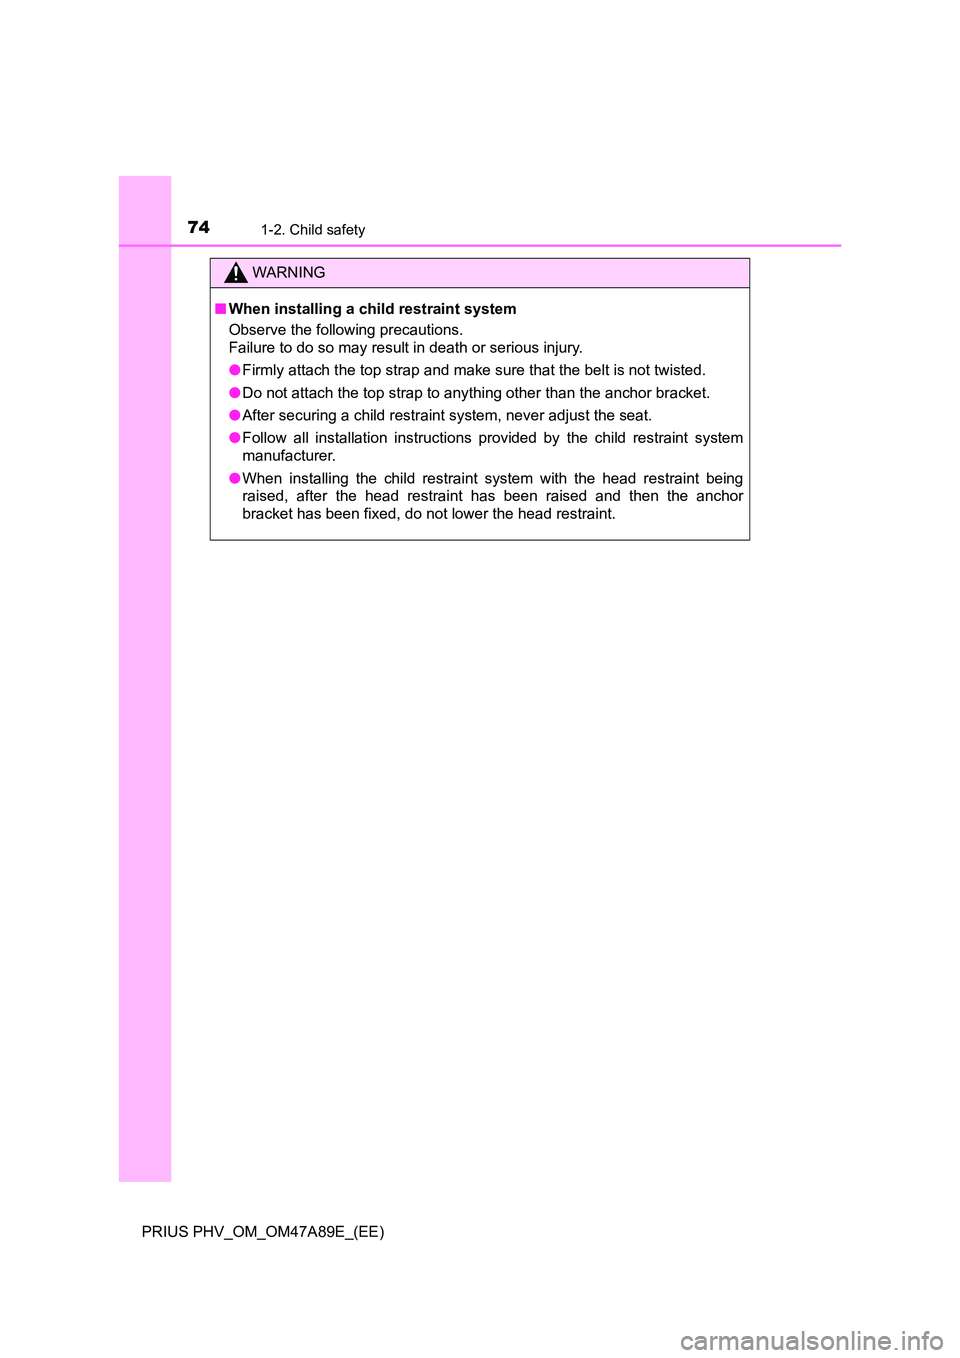
■When installing a child restraint system
Observe the following precautions.
Failure to do so may result in death or serious injury.
● Firmly attach the top strap and make sure that the belt is not twisted.
● Do not attach the top strap to anything other than the anchor bracket.
● After securing a child restraint system, never adjust the seat.
● Follow all installation instructions provided by the child restraint system
manufacturer.
● When installing the child restraint system with the head restraint being
raised, after the head restraint has been raised and then the anchor
bracket has been fixed, do not lower the head restraint.
Page 75 of 744
75
1
1-3. Theft deterrent system
PRIUS PHV_OM_OM47A89E_(EE)
For safety and security
Immobilizer system
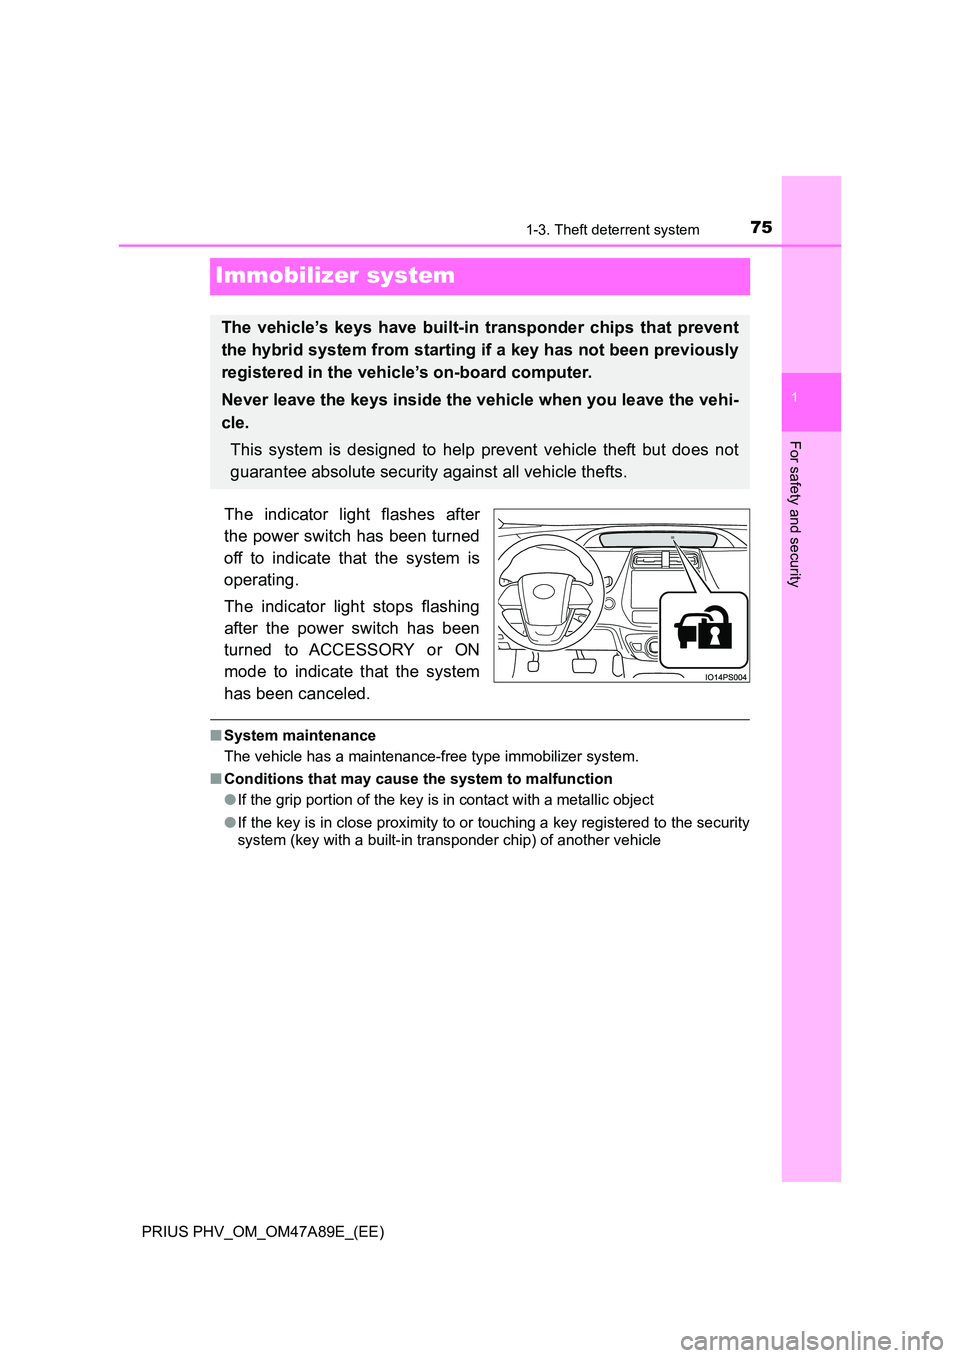
The indicator light flashes after
the power switch has been turned
off to indicate that the system is
operating.
The indicator light stops flashing
after the power switch has been
turned to ACCESSORY or ON
mode to indicate that the system
has been canceled.
■ System maintenance
The vehicle has a maintenance-free type immobilizer system.
■ Conditions that may cause the system to malfunction
● If the grip portion of the key is in contact with a metallic object
● If the key is in close proximity to or touching a key registered to the security
system (key with a built-in transponder chip) of another vehicle
The vehicle’s keys have built-in transponder chips that prevent
the hybrid system from starting if a key has not been previously
registered in the vehicle’s on-board computer.
Never leave the keys inside the vehicle when you leave the vehi-
cle.
This system is designed to help prevent vehicle theft but does not
guarantee absolute security against all vehicle thefts.
Page 76 of 744
761-3. Theft deterrent system
PRIUS PHV_OM_OM47A89E_(EE)
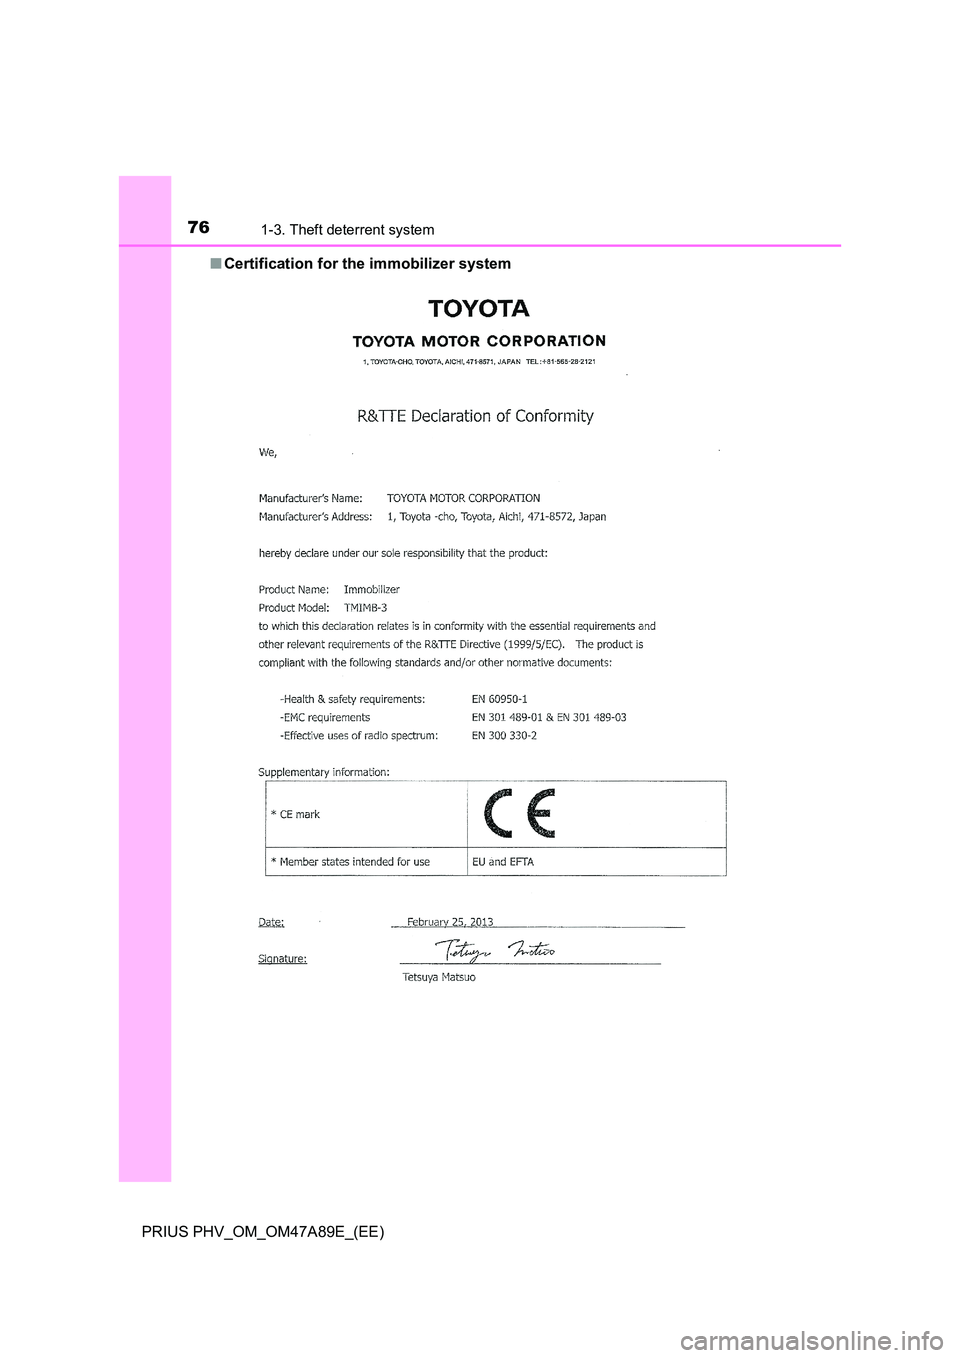
■ Certification for the immobilizer system
Page 77 of 744
771-3. Theft deterrent system
1
PRIUS PHV_OM_OM47A89E_(EE)
For safety and security
Page 78 of 744
781-3. Theft deterrent system
PRIUS PHV_OM_OM47A89E_(EE)
Page 79 of 744
791-3. Theft deterrent system
1
PRIUS PHV_OM_OM47A89E_(EE)
For safety and security
NOTICE
■To ensure the system operates correctly
Do not modify or remove the system. If modified or removed, the proper
operation of the system cannot be guaranteed.
Page 80 of 744
801-3. Theft deterrent system
PRIUS PHV_OM_OM47A89E_(EE)
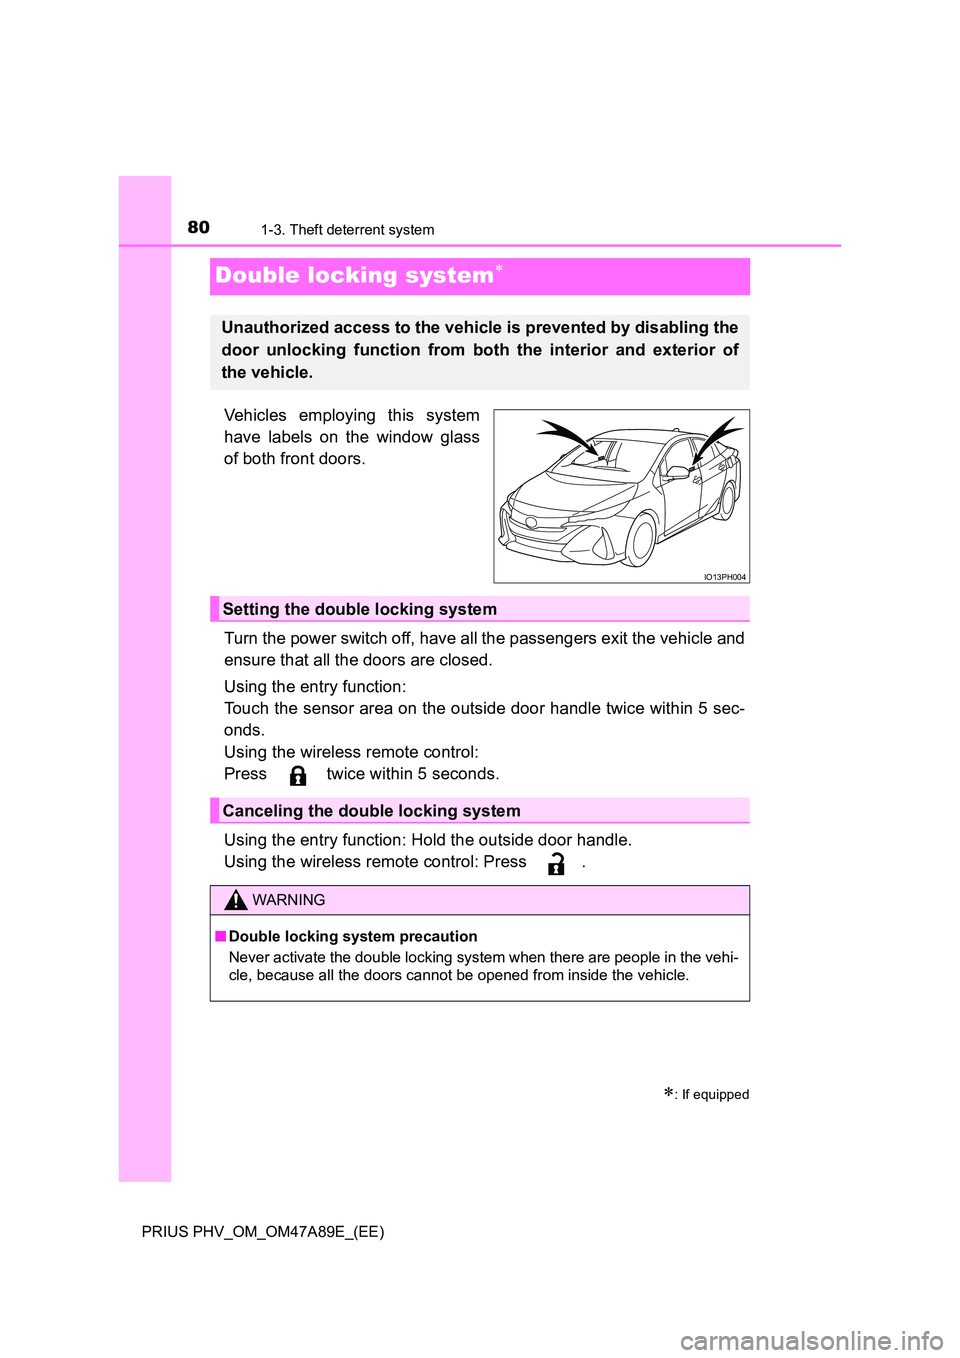
Double locking system
Vehicles employing this system
have labels on the window glass
of both front doors.
Turn the power switch off, have all the passengers exit the vehicle and
ensure that all the doors are closed.
Using the entry function:
Touch the sensor area on the outside door handle twice within 5 sec-
onds.
Using the wireless remote control:
Press twice within 5 seconds.
Using the entry function: Hold the outside door handle.
Using the wireless remote control: Press .
: If equipped
Unauthorized access to the vehicle is prevented by disabling the
door unlocking function from both the interior and exterior of
the vehicle.
IO13PH004
Setting the double locking system
Canceling the double locking system
WARNING
■ Double locking system precaution
Never activate the double locking system when there are people in the vehi-
cle, because all the doors cannot be opened from inside the vehicle.
Trending: battery, alarm, oil capacity, language, park assist, window, radiator


