display TOYOTA PROACE 2022 (in English) Repair Manual
[x] Cancel search | Manufacturer: TOYOTA, Model Year: 2022, Model line: PROACE, Model: TOYOTA PROACE 2022Pages: 360, PDF Size: 70.79 MB
Page 188 of 360
188
Operation
The system operates subject to the following conditions:– The vehicle's speed does not exceed 37 mph (60 km/h) when a pedestrian is detected.– The vehicle's speed does not exceed 50 mph (80 km/h) when a stationary vehicle or a cyclist is detected.– The vehicle's speed is between 6 mph and
53 mph (10 km/h and 85 km/h) (versions with camera only) or 87 mph (140 km/h) (versions with camera and radar) when a moving vehicle is detected.This warning lamp flashes (for approximately 10 seconds) as soon as the function applies the vehicle’s brakes.With an automatic gearbox, in the event of automatic emergency braking bringing the vehicle to a complete stop, keep the brake pedal depressed to prevent the vehicle from moving off again.With a manual gearbox, in the event of automatic emergency braking bringing the vehicle to a complete stop, the engine may stall.
NOTIC E
The driver can maintain control of the vehicle
at any time by firmly turning the steering wheel and/or firmly depressing the accelerator pedal.
NOTIC E
Operation of the function may be felt by slight vibration in the brake pedal.If the vehicle comes to a complete stop, automatic braking is maintained for 1 to 2 seconds.
Deactivation/Activation
By default, the system is automatically activated at every engine start.It is set via the vehicle configuration menu.Deactivation of the system is signalled by the illumination of this warning lamp, accompanied by the display of a message.
Malfunction
In the event of a malfunction, this warning lamp comes on on the instrument panel, accompanied by the display of a message and an audible signal.Have it checked by any authorized Toyota retailer or Toyota authorized repairer, or any reliable repairer.If these warning lamps come on after the engine has been switched off and then restarted, contact any authorized Toyota retailer or Toyota authorized repairer, or any reliable repairer to have the system checked.
These warning lamps light up on the instrument panel to indicate that the driver's and/or front passenger's seat belt is not fastened (depending on version).
Lane departure warning
system
WARNI NG
Refer to the General recommendations on the use of driving and manoeuvring aids.
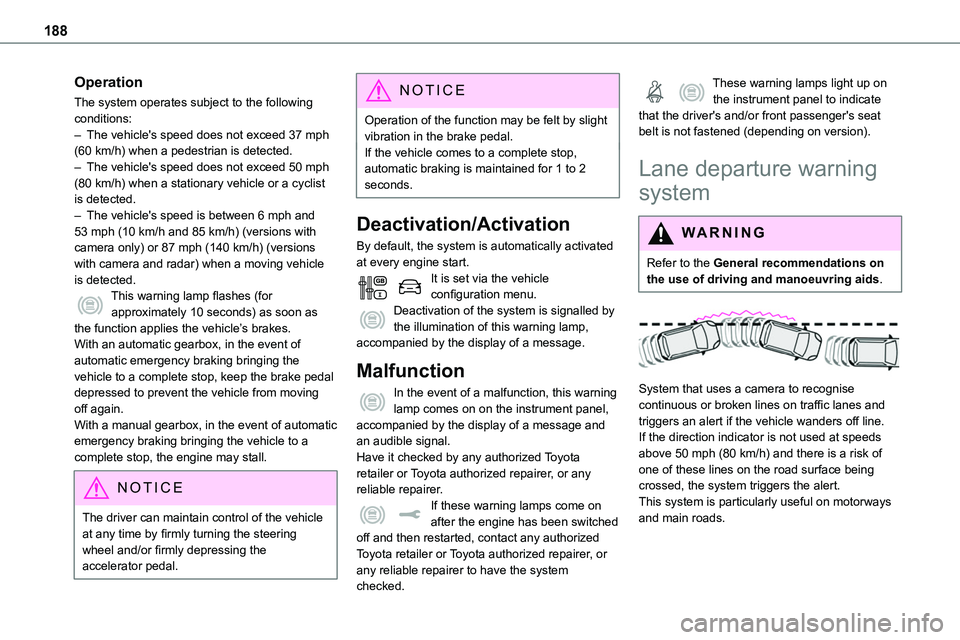
System that uses a camera to recognise continuous or broken lines on traffic lanes and triggers an alert if the vehicle wanders off line. If the direction indicator is not used at speeds above 50 mph (80 km/h) and there is a risk of one of these lines on the road surface being crossed, the system triggers the alert.This system is particularly useful on motorways and main roads.
Page 190 of 360
190
Coffee Break Alert
The system triggers an alert as soon as it detects that the driver has not taken a break after two hours of driving at a speed above 65 km/h (40 mph).This alert is issued via the display of a message encouraging you to take a break, accompanied by an audible signal.If the driver does not follow this advice, the alert
is repeated hourly until the vehicle is stopped.The system resets itself if one of the following conditions is met:– engine running, the vehicle has been stationary for more than 15 minutes,– the ignition has been switched off for a few minutes,– the driver's seat belt is unfastened and their door is opened.
NOTIC E
As soon as the speed of the vehicle drops below 65 km/h (40 mph), the system goes into standby.The driving time is counted again once the speed is above 65 km/h (40 mph).
Driver Attention Warning
Depending on version, the "Coffee Break Alert" system is combined with the "Driver Attention Warning" system.
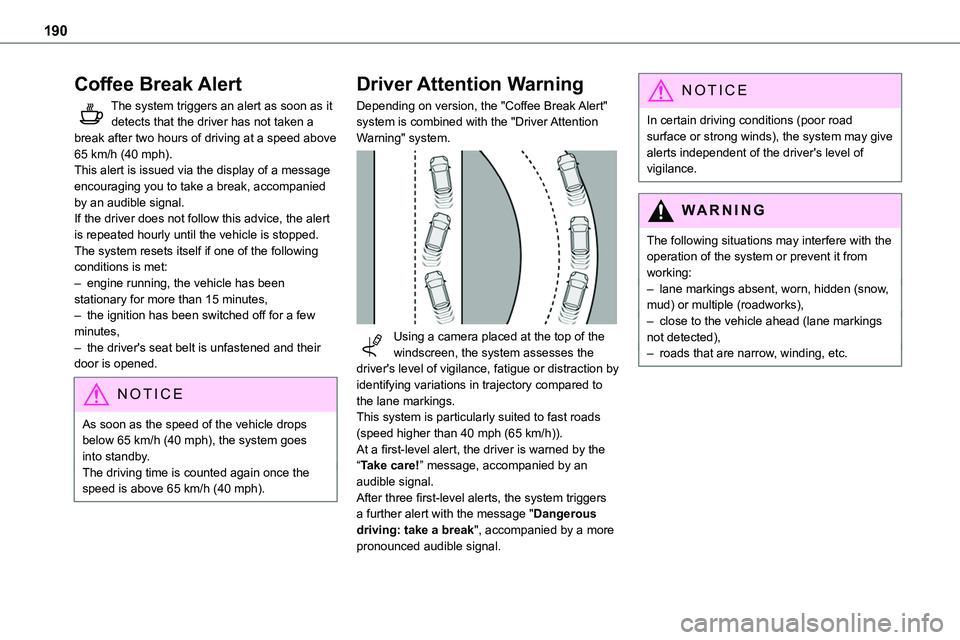
Using a camera placed at the top of the windscreen, the system assesses the driver's level of vigilance, fatigue or distraction by identifying variations in trajectory compared to the lane markings.This system is particularly suited to fast roads (speed higher than 40 mph (65 km/h)).At a first-level alert, the driver is warned by the “Take care!” message, accompanied by an audible signal.After three first-level alerts, the system triggers a further alert with the message "Dangerous driving: take a break", accompanied by a more
pronounced audible signal.
NOTIC E
In certain driving conditions (poor road surface or strong winds), the system may give alerts independent of the driver's level of vigilance.
WARNI NG
The following situations may interfere with the operation of the system or prevent it from working:– lane markings absent, worn, hidden (snow, mud) or multiple (roadworks),– close to the vehicle ahead (lane markings not detected),– roads that are narrow, winding, etc.
Page 193 of 360
193
Driving
6
Audible assistance
The function signals the presence of obstacles
present within the sensors’ detection zone.The proximity information is given by an intermittent audible signal, the frequency of which increases as the vehicle approaches the obstacle.When the distance between the vehicle and the obstacle becomes less than about thirty centimetres, the audible signal becomes continuous.The sound emitted by the speaker (right or left) allows you to identify the side on which the obstacle is located.
Visual assistance
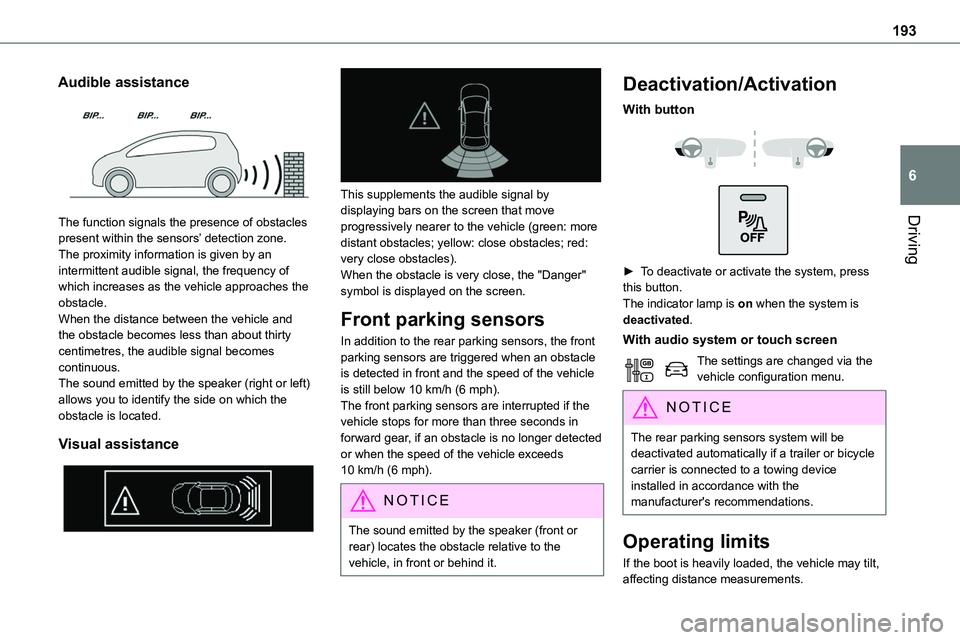
This supplements the audible signal by displaying bars on the screen that move
progressively nearer to the vehicle (green: more distant obstacles; yellow: close obstacles; red: very close obstacles).When the obstacle is very close, the "Danger" symbol is displayed on the screen.
Front parking sensors
In addition to the rear parking sensors, the front parking sensors are triggered when an obstacle is detected in front and the speed of the vehicle is still below 10 km/h (6 mph).The front parking sensors are interrupted if the vehicle stops for more than three seconds in forward gear, if an obstacle is no longer detected or when the speed of the vehicle exceeds 10 km/h (6 mph).
NOTIC E
The sound emitted by the speaker (front or rear) locates the obstacle relative to the vehicle, in front or behind it.
Deactivation/Activation
With button
► To deactivate or activate the system, press this button.The indicator lamp is on when the system is deactivated.
With audio system or touch screen
The settings are changed via the vehicle configuration menu.
NOTIC E
The rear parking sensors system will be deactivated automatically if a trailer or bicycle carrier is connected to a towing device installed in accordance with the manufacturer's recommendations.
Operating limits
If the boot is heavily loaded, the vehicle may tilt, affecting distance measurements.
Page 194 of 360
194
Malfunction
In the event of a malfunction when changing into reverse gear, this warning lamp lights up on the instrument panel, accompanied by the display of a message and an audible signal (short beep).Have it checked by any authorized Toyota retailer or Toyota authorized repairer, or any reliable repairer.
VisioPark Light
WARNI NG
Refer to the General recommendations on the use of driving and manoeuvring aids.
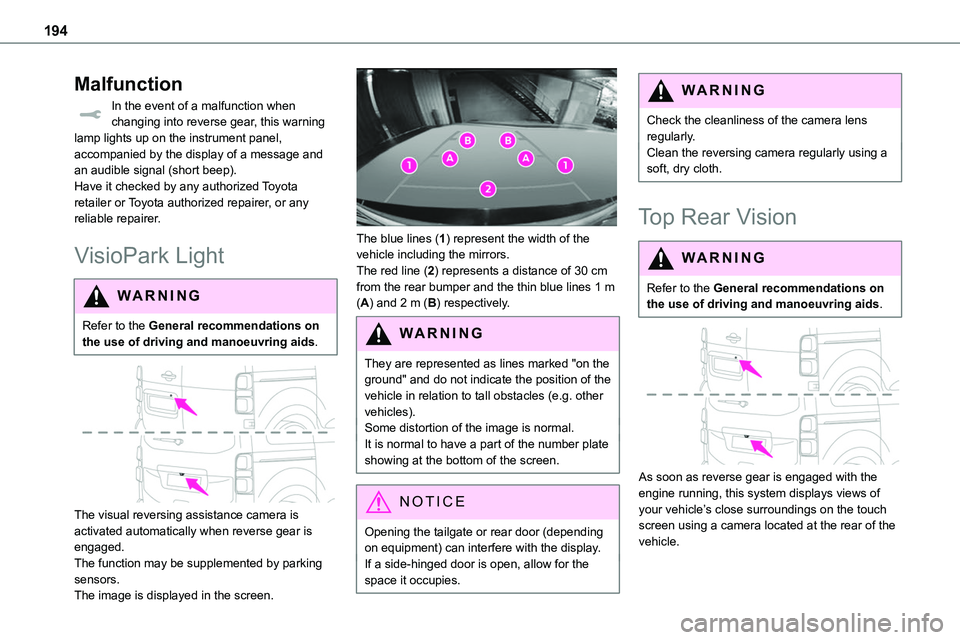
The visual reversing assistance camera is activated automatically when reverse gear is engaged.The function may be supplemented by parking sensors.The image is displayed in the screen.
The blue lines (1) represent the width of the vehicle including the mirrors.The red line (2) represents a distance of 30 cm from the rear bumper and the thin blue lines 1 m (A) and 2 m (B) respectively.
WARNI NG
They are represented as lines marked "on the ground" and do not indicate the position of the vehicle in relation to tall obstacles (e.g. other vehicles).Some distortion of the image is normal.It is normal to have a part of the number plate showing at the bottom of the screen.
NOTIC E
Opening the tailgate or rear door (depending on equipment) can interfere with the display.If a side-hinged door is open, allow for the space it occupies.
WARNI NG
Check the cleanliness of the camera lens regularly.Clean the reversing camera regularly using a soft, dry cloth.
Top Rear Vision
WARNI NG
Refer to the General recommendations on the use of driving and manoeuvring aids.
As soon as reverse gear is engaged with the engine running, this system displays views of your vehicle’s close surroundings on the touch screen using a camera located at the rear of the vehicle.
Page 195 of 360
195
Driving
6
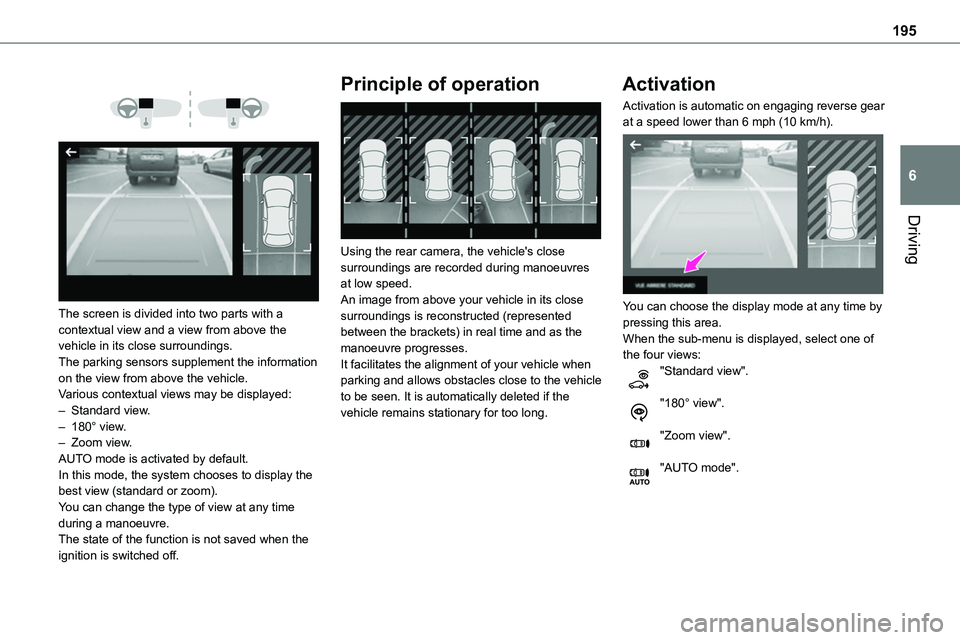
The screen is divided into two parts with a contextual view and a view from above the vehicle in its close surroundings.The parking sensors supplement the information on the view from above the vehicle.Various contextual views may be displayed:– Standard view.– 180° view.– Zoom view.AUTO mode is activated by default.In this mode, the system chooses to display the best view (standard or zoom).You can change the type of view at any time during a manoeuvre.The state of the function is not saved when the ignition is switched off.
Principle of operation
Using the rear camera, the vehicle's close surroundings are recorded during manoeuvres at low speed.An image from above your vehicle in its close surroundings is reconstructed (represented between the brackets) in real time and as the manoeuvre progresses.It facilitates the alignment of your vehicle when parking and allows obstacles close to the vehicle to be seen. It is automatically deleted if the vehicle remains stationary for too long.
Activation
Activation is automatic on engaging reverse gear at a speed lower than 6 mph (10 km/h).
You can choose the display mode at any time by pressing this area.When the sub-menu is displayed, select one of the four views:"Standard view".
"180° view".
"Zoom view".
"AUTO mode".
Page 196 of 360
196
NOTIC E
The function will be deactivated:– If a trailer is attached or a bicycle carrier is fitted on a towing device (vehicle fitted with a towing device installed in line with the manufacturer's recommendations).– Above about 6 mph (10 km/h).– When the boot is opened.
– Upon changing out of reverse gear (the image remains displayed for 7 seconds).– By pressing the white arrow in the upper-left corner of the touch screen.
AUTO mode
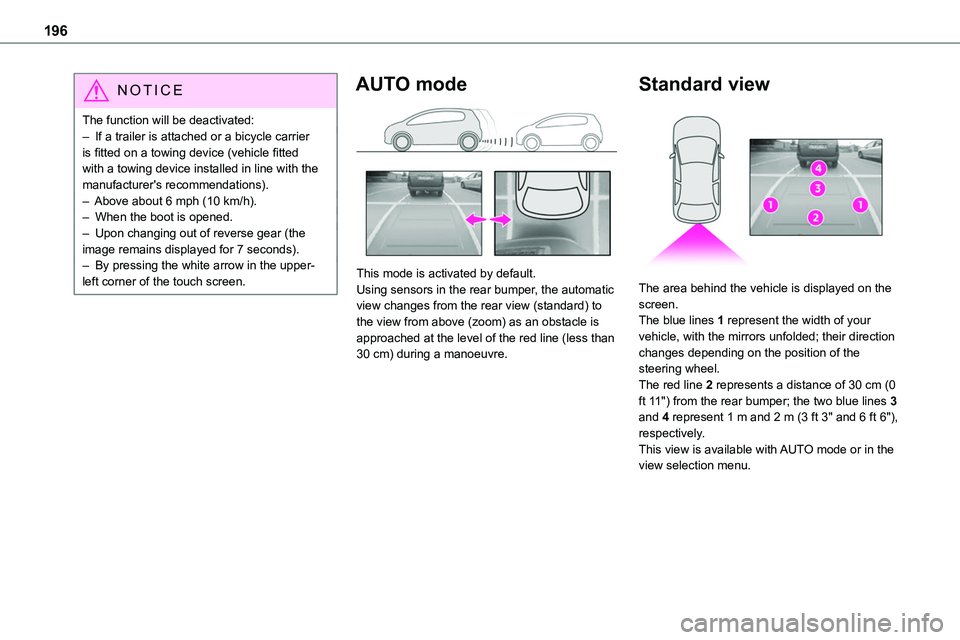
This mode is activated by default.Using sensors in the rear bumper, the automatic view changes from the rear view (standard) to the view from above (zoom) as an obstacle is approached at the level of the red line (less than 30 cm) during a manoeuvre.
Standard view
The area behind the vehicle is displayed on the screen.The blue lines 1 represent the width of your vehicle, with the mirrors unfolded; their direction changes depending on the position of the steering wheel.The red line 2 represents a distance of 30 cm (0 ft 11") from the rear bumper; the two blue lines 3 and 4 represent 1 m and 2 m (3 ft 3" and 6 ft 6"), respectively.This view is available with AUTO mode or in the view selection menu.
Page 197 of 360
197
Driving
6
Zoom view
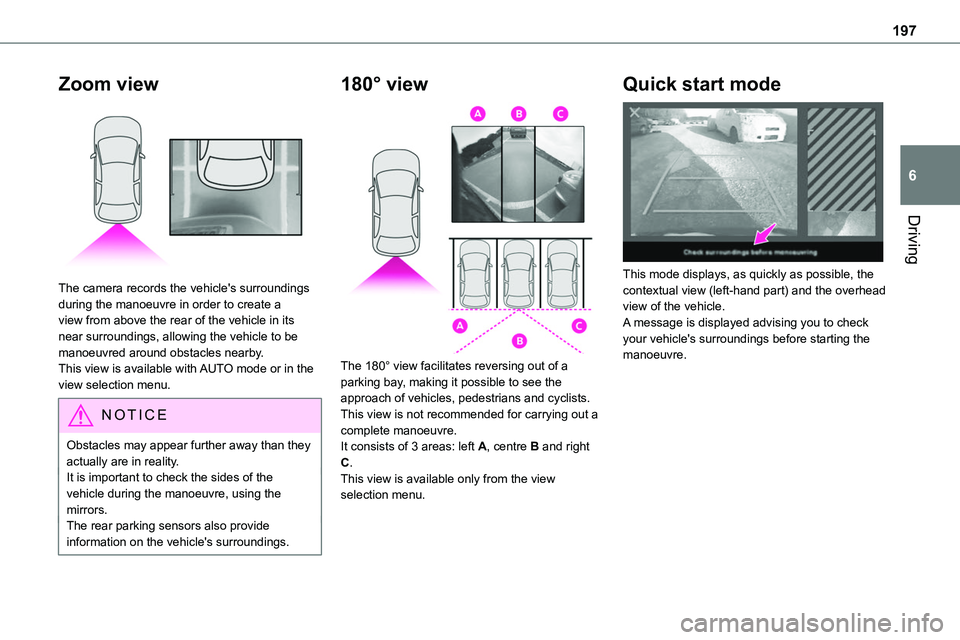
The camera records the vehicle's surroundings during the manoeuvre in order to create a view from above the rear of the vehicle in its near surroundings, allowing the vehicle to be manoeuvred around obstacles nearby.This view is available with AUTO mode or in the view selection menu.
NOTIC E
Obstacles may appear further away than they actually are in reality.It is important to check the sides of the vehicle during the manoeuvre, using the mirrors.The rear parking sensors also provide information on the vehicle's surroundings.
180° view
The 180° view facilitates reversing out of a parking bay, making it possible to see the approach of vehicles, pedestrians and cyclists.This view is not recommended for carrying out a
complete manoeuvre.It consists of 3 areas: left A, centre B and right C.This view is available only from the view selection menu.
Quick start mode
This mode displays, as quickly as possible, the contextual view (left-hand part) and the overhead view of the vehicle.A message is displayed advising you to check your vehicle's surroundings before starting the manoeuvre.
Page 198 of 360
198
Compatibility of fuels
Diesel fuels conforming to the EN590, EN16734 and EN16709 standards and containing up to 7%, 10%, 20% and 30% fatty acid methyl ester respectively. The use of B20 or B30 fuels, even occasionally, imposes special maintenance
conditions referred to as "Arduous conditions".
Paraffinic Diesel fuel conforming to the EN15940 standard.
WARNI NG
The use of any other type of (bio) fuel (vegetable or animal oils, pure or diluted, domestic fuel, etc.) is strictly prohibited (risk of damage to the engine and fuel system).
NOTIC E
The only Diesel fuel additives authorised for use are those that meet the B715000 standard.
Diesel at low temperature
At temperatures below 0 °C (+32 °F), the formation of paraffins in summer-type Diesel fuels could prevent the engine from operating correctly. In these temperature conditions, use winter-type Diesel fuel and keep the fuel tank more than 50 % full.At temperatures below -15 °C (+5 °F) to avoid problems starting, it is best to park the vehicle
under shelter (heated garage).
Travelling abroad
Certain fuels could damage your vehicle’s engine.In certain countries, the use of a particular fuel may be required (specific octane rating, specific trade name, etc.) to ensure correct operation of the engine.For all additional information, consult a dealer.
Refuelling
Fuel tank capacity: approximately 69 litres.Reserve level: approximately 6 litres.
Low fuel level
When the low fuel level is reached, one of these warning lamps lights up on the instrument panel, accompanied by the
display of a message and an audible signal. When it first comes on, about 8 litres of fuel remain.You must refuel as soon as possible to avoid running out of fuel.For more information on Running out of fuel (Diesel), refer to the corresponding section.
NOTIC E
A small arrow by the warning lamp indicates which side of the vehicle the fuel filler flap is located on.
WARNI NG
Stop & StartNever refuel with the engine in STOP mode; you must switch off the ignition.
Page 208 of 360
208
Charging the traction
battery (Electric)
To recharge, connect the vehicle to a domestic electricity supply (domestic or accelerated charging) or to a fast public charger (superfast charging).For a full charge, follow the desired charging procedure without pausing it, until it ends
automatically. Charging can be either immediate or deferred (except fast public charger, mode 4).You can stop domestic or accelerated charging at any time by unlocking the vehicle and removing the nozzle. For superfast charging, refer to the fast public charger.For more information on the charging displays on the Instrument panel and the Touch screen, refer to the corresponding section.
NOTIC E
It is also possible to monitor the charging progress using the MyToyota application (Available soon).For more information on Remote functions, refer to the corresponding section.
NOTIC E
Lounge modeWhen the vehicle is connected, it is possible to switch on the ignition and use certain functions such as the audio and telematics system and the air conditioning system for several hours.
WARNI NG
As a safety measure, the engine will not start if the charging cable is plugged into the connector on the vehicle. A warning is displayed on the instrument panel.
NOTIC E
Cooling the traction batteryThe cooling fan in the engine compartment comes on during charging to cool the on-board charger and the traction battery.
NOTIC E
Vehicle immobilised for 1 to 12 monthsDischarge the traction battery down to 2 or 3 bars on the charge level indicator on the instrument panel.Do not connect the charging cable.
Always park the vehicle in a place with temperatures between -10°C and 30°C (parking in a place with extreme temperatures can damage the traction battery).Disconnect the cable from the (+) terminal of the accessory battery in the engine compartment.Connect a 12 V battery charger to the (+) and (-) terminals of the accessory battery about
every 3 months in order to recharge the accessory battery and maintain an operating voltage.
Precautions
Electric vehicles were developed in accordance with the guidelines on maximum electromagnetic fields issued by the International Commission on Non-Ionizing Radiation Protection (ICNIRP - 1998 Guidelines).
Wearers of pacemakers or equivalent devices
The electric vehicles have been developed in accordance with the guidelines on the maximum levels for electromagnetic fields issued by the International Commission on Non-Ionizing Radiation Protection (ICNIRP - 1998 Guidelines).
Page 210 of 360
210
► Connect the charging cable from the control unit to the domestic socket.When the connection is made, all of the indicator lamps on the control unit light up, then only the POWER indicator lamp remains on in green.► Remove the protective cover from the charging nozzle.► Insert the nozzle into the charging connector.The start of charging is confirmed by the flashing
green CHARGE indicator lamps in the flap, then those on the control unit.If this is not the case, charging has not started; restart the procedure, ensuring that all connections are properly established.The red indicator lamp in the flap comes on to indicate that the nozzle is locked.
NOTIC E
When charging is complete and while the charging cable is still connected, opening the driver's door will display the charge level on the instrument panel for about 20 seconds.
Accelerated charging, mode 3
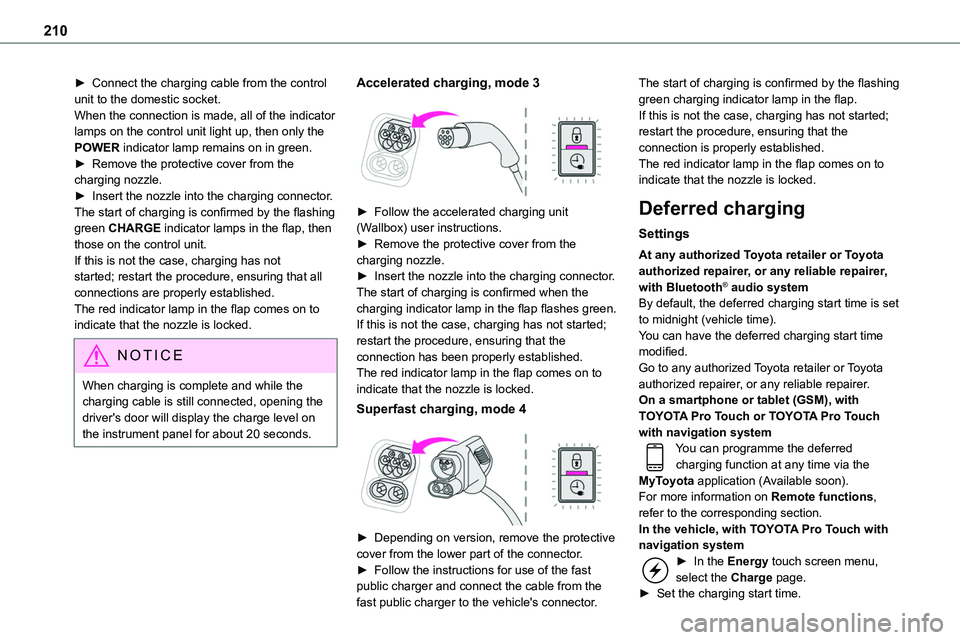
► Follow the accelerated charging unit (Wallbox) user instructions.► Remove the protective cover from the charging nozzle.► Insert the nozzle into the charging connector.The start of charging is confirmed when the charging indicator lamp in the flap flashes green.If this is not the case, charging has not started; restart the procedure, ensuring that the connection has been properly established.The red indicator lamp in the flap comes on to indicate that the nozzle is locked.
Superfast charging, mode 4
► Depending on version, remove the protective cover from the lower part of the connector.► Follow the instructions for use of the fast public charger and connect the cable from the fast public charger to the vehicle's connector.
The start of charging is confirmed by the flashing green charging indicator lamp in the flap.If this is not the case, charging has not started; restart the procedure, ensuring that the connection is properly established.The red indicator lamp in the flap comes on to indicate that the nozzle is locked.
Deferred charging
Settings
At any authorized Toyota retailer or Toyota authorized repairer, or any reliable repairer, with Bluetooth® audio systemBy default, the deferred charging start time is set to midnight (vehicle time).You can have the deferred charging start time modified.Go to any authorized Toyota retailer or Toyota authorized repairer, or any reliable repairer.On a smartphone or tablet (GSM), with TOYOTA Pro Touch or TOYOTA Pro Touch with navigation systemYou can programme the deferred charging function at any time via the MyToyota application (Available soon).For more information on Remote functions, refer to the corresponding section.In the vehicle, with TOYOTA Pro Touch with navigation system► In the Energy touch screen menu, select the Charge page.► Set the charging start time.