bluetooth TOYOTA PROACE 2023 Owners Manual
[x] Cancel search | Manufacturer: TOYOTA, Model Year: 2023, Model line: PROACE, Model: TOYOTA PROACE 2023Pages: 360, PDF Size: 70.22 MB
Page 3 of 360
3
Contents
Under-inflation detection 168Driving and manoeuvring aids - General recommendations 169Head-up display 171Memorising speeds 172Speed Limit Recognition and Recommendation 173Speed limiter 175Cruise control - particular recommendations 177Cruise control 178Adaptive Cruise Control 180Active Safety Brake with Collision Risk Alert and Intelligent emergency braking assistance 184Lane departure warning system 186Distraction detection 187Blind Spot Monitoring System 189Parking sensors 190VisioPark Light 192Top Rear Vision 192
7Practical information
Compatibility of fuels 196Refuelling 196Misfuel prevention (Diesel) 198Charging system (Electric) 198Charging the traction battery (Electric) 206Energy economy mode 210Snow chains 210Towing device 2 11Roof bars / Roof rack 212Bonnet 213Engine compartment 214Checking levels 215Speed checks 217AdBlue® (Diesel engines) 220
Free-wheeling 223Advice on care and maintenance 224
8In the event of a breakdown
Warning triangle 227Running out of fuel (Diesel) 227Tool box 228Temporary puncture repair kit 229Spare wheel 233Changing a bulb 238Changing a fuse 24312 V battery / Accessory battery 246Towing 250
9Technical data
Engine technical data and towed loads 253Diesel engines 254Electric motor 258Dimensions 260Identification markings 262
10Bluetooth® audio system
First steps 263Steering mounted controls 264Menus 265Radio 265DAB (Digital Audio Broadcasting) radio 267Media 268Telephone 271Frequently asked questions 274
11TOYOTA Pro Touch
First steps 276Steering mounted controls 277Menus 278
Applications 279Radio 280DAB (Digital Audio Broadcasting) radio 282Media 282Telephone 284Settings 287Frequently asked questions 289
12TOYOTA Pro Touch with navigation system
First steps 291Steering mounted controls 292Menus 293Voice commands 294Navigation 298Connected navigation 301Applications 303Radio 306DAB (Digital Audio Broadcasting) radio 308Media 308Telephone 310Settings 313Frequently asked questions 315
13Event data recorders
■Alphabetical index
Page 29 of 360
29
Instruments
1
Setting the date and time
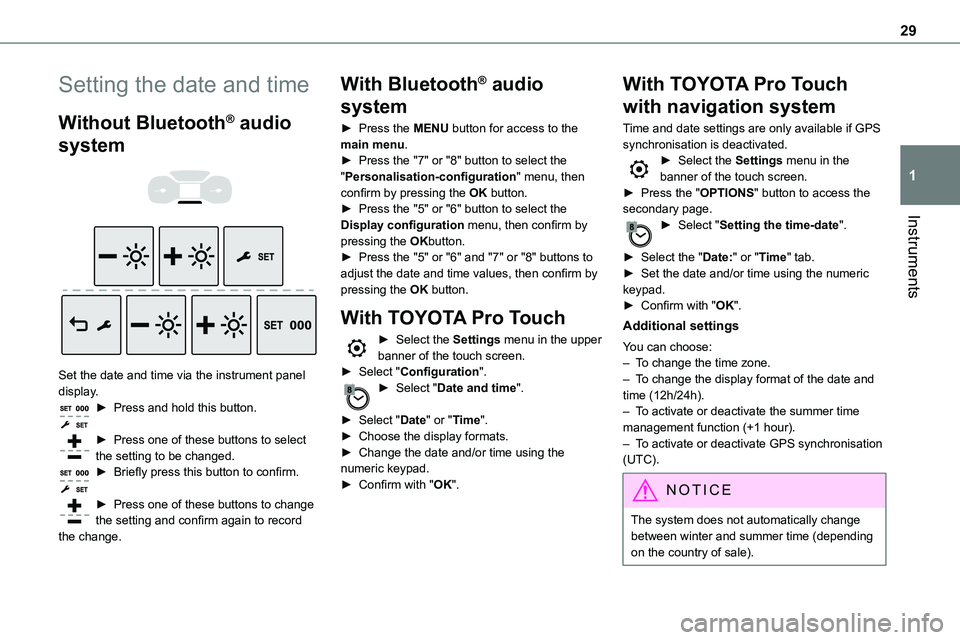
Without Bluetooth® audio
system
Set the date and time via the instrument panel display.► Press and hold this button.
► Press one of these buttons to select the setting to be changed.► Briefly press this button to confirm.
► Press one of these buttons to change the setting and confirm again to record
the change.
With Bluetooth® audio
system
► Press the MENU button for access to the main menu.► Press the "7" or "8" button to select the "Personalisation-configuration" menu, then confirm by pressing the OK button.► Press the "5" or "6" button to select the
Display configuration menu, then confirm by pressing the OKbutton.► Press the "5" or "6" and "7" or "8" buttons to adjust the date and time values, then confirm by pressing the OK button.
With TOYOTA Pro Touch
► Select the Settings menu in the upper banner of the touch screen.► Select "Configuration".► Select "Date and time".
► Select "Date" or "Time".► Choose the display formats.► Change the date and/or time using the numeric keypad.► Confirm with "OK".
With TOYOTA Pro Touch
with navigation system
Time and date settings are only available if GPS synchronisation is deactivated.► Select the Settings menu in the banner of the touch screen.► Press the "OPTIONS" button to access the secondary page.
► Select "Setting the time-date".
► Select the "Date:" or "Time" tab.► Set the date and/or time using the numeric keypad.► Confirm with "OK".
Additional settings
You can choose:– To change the time zone.– To change the display format of the date and time (12h/24h).– To activate or deactivate the summer time management function (+1 hour).– To activate or deactivate GPS synchronisation (UTC).
NOTIC E
The system does not automatically change
between winter and summer time (depending on the country of sale).
Page 93 of 360
93
Ease of use and comfort
3
Programming
With a TOYOTA Pro Touch with navigation system, use the remote control to start/stop the additional heating.With a Bluetooth® audio system or a TOYOTA Pro Touch, use the remote control to start/stop the additional heating and/or adjust the pre-heating times.
With Bluetooth® audio system
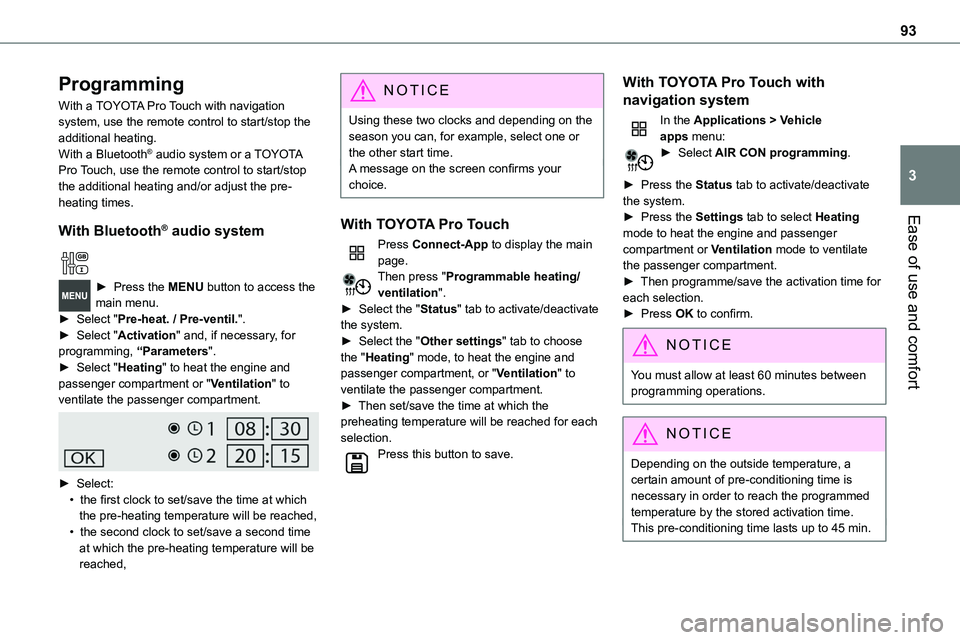
► Press the MENU button to access the main menu. ► Select "Pre-heat. / Pre-ventil.".► Select "Activation" and, if necessary, for programming, “Parameters".► Select "Heating" to heat the engine and passenger compartment or "Ventilation" to ventilate the passenger compartment.
► Select:• the first clock to set/save the time at which the pre-heating temperature will be reached,• the second clock to set/save a second time at which the pre-heating temperature will be reached,
N OTIC E
Using these two clocks and depending on the season you can, for example, select one or the other start time.A message on the screen confirms your choice.
With TOYOTA Pro Touch
Press Connect-App to display the main page.Then press "Programmable heating/ventilation".► Select the "Status" tab to activate/deactivate the system.► Select the "Other settings" tab to choose the "Heating" mode, to heat the engine and passenger compartment, or "Ventilation" to ventilate the passenger compartment.► Then set/save the time at which the preheating temperature will be reached for each selection.Press this button to save.
With TOYOTA Pro Touch with
navigation system
In the Applications > Vehicle apps menu:► Select AIR CON programming.
► Press the Status tab to activate/deactivate the system.► Press the Settings tab to select Heating
mode to heat the engine and passenger compartment or Ventilation mode to ventilate the passenger compartment.► Then programme/save the activation time for each selection.► Press OK to confirm.
NOTIC E
You must allow at least 60 minutes between programming operations.
NOTIC E
Depending on the outside temperature, a certain amount of pre-conditioning time is necessary in order to reach the programmed temperature by the stored activation time.This pre-conditioning time lasts up to 45 min.
Page 96 of 360
96
A/C preconditioning
(Electric)
This function allows you to programme the temperature in the passenger compartment to reach a pre-defined, non-modifiable temperature (approx. 21°C) before you enter the vehicle, on the days and at the times of your choice.This function is available when the vehicle is
connected or not connected.
Programming
With Bluetooth® audio system
Temperature pre-conditioning is not available with the Bluetooth® audio system.
With TOYOTA Pro Touch or TOYOTA Pro Touch with navigation system
Programming can be carried out from a smartphone using the MyToyota application (Available soon).For more information on the Remotely-operable functions, refer to the corresponding section.
With TOYOTA Pro Touch with navigation system
In the Applications menu:
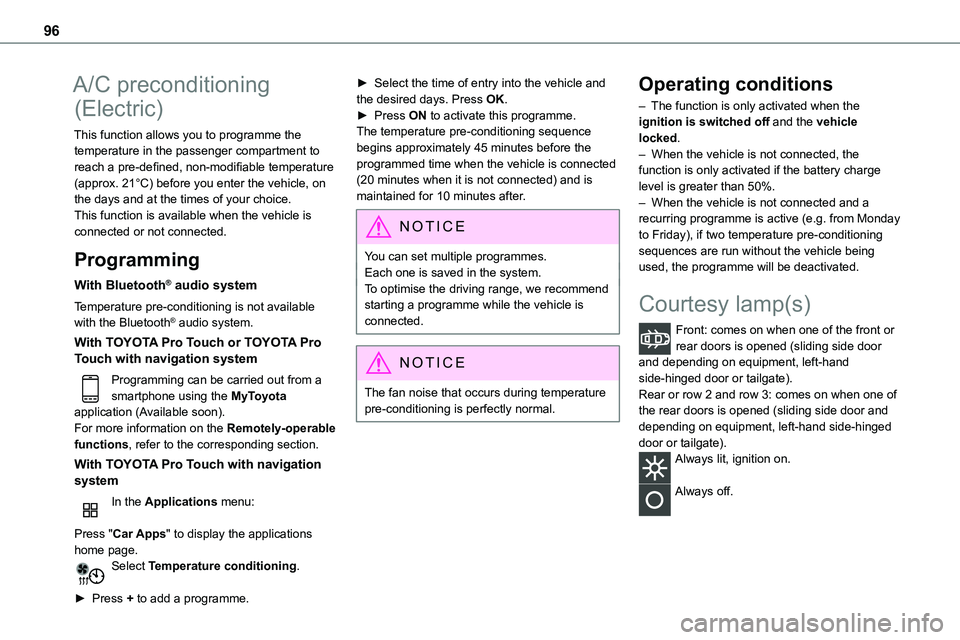
Press "Car Apps" to display the applications home page.Select Temperature conditioning.
► Press + to add a programme.
► Select the time of entry into the vehicle and the desired days. Press OK.► Press ON to activate this programme.The temperature pre-conditioning sequence begins approximately 45 minutes before the programmed time when the vehicle is connected (20 minutes when it is not connected) and is maintained for 10 minutes after.
NOTIC E
You can set multiple programmes.Each one is saved in the system.To optimise the driving range, we recommend starting a programme while the vehicle is connected.
NOTIC E
The fan noise that occurs during temperature pre-conditioning is perfectly normal.
Operating conditions
– The function is only activated when the ignition is switched off and the vehicle locked.– When the vehicle is not connected, the function is only activated if the battery charge level is greater than 50%.– When the vehicle is not connected and a recurring programme is active (e.g. from Monday
to Friday), if two temperature pre-conditioning sequences are run without the vehicle being used, the programme will be deactivated.
Courtesy lamp(s)
Front: comes on when one of the front or rear doors is opened (sliding side door and depending on equipment, left-hand side-hinged door or tailgate).Rear or row 2 and row 3: comes on when one of the rear doors is opened (sliding side door and depending on equipment, left-hand side-hinged door or tailgate).Always lit, ignition on.
Always off.
Page 208 of 360
208
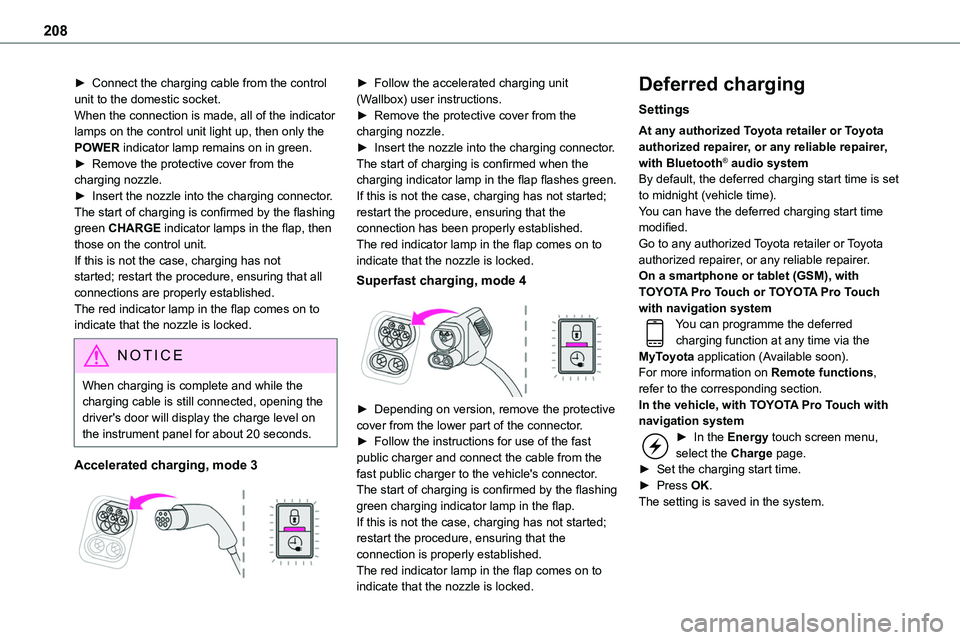
► Connect the charging cable from the control unit to the domestic socket.When the connection is made, all of the indicator lamps on the control unit light up, then only the POWER indicator lamp remains on in green.► Remove the protective cover from the charging nozzle.► Insert the nozzle into the charging connector.The start of charging is confirmed by the flashing
green CHARGE indicator lamps in the flap, then those on the control unit.If this is not the case, charging has not started; restart the procedure, ensuring that all connections are properly established.The red indicator lamp in the flap comes on to indicate that the nozzle is locked.
NOTIC E
When charging is complete and while the charging cable is still connected, opening the driver's door will display the charge level on the instrument panel for about 20 seconds.
Accelerated charging, mode 3
► Follow the accelerated charging unit (Wallbox) user instructions.► Remove the protective cover from the charging nozzle.► Insert the nozzle into the charging connector.The start of charging is confirmed when the charging indicator lamp in the flap flashes green.If this is not the case, charging has not started; restart the procedure, ensuring that the
connection has been properly established.The red indicator lamp in the flap comes on to indicate that the nozzle is locked.
Superfast charging, mode 4
► Depending on version, remove the protective cover from the lower part of the connector.
► Follow the instructions for use of the fast public charger and connect the cable from the fast public charger to the vehicle's connector.The start of charging is confirmed by the flashing green charging indicator lamp in the flap.If this is not the case, charging has not started; restart the procedure, ensuring that the connection is properly established.The red indicator lamp in the flap comes on to indicate that the nozzle is locked.
Deferred charging
Settings
At any authorized Toyota retailer or Toyota authorized repairer, or any reliable repairer, with Bluetooth® audio systemBy default, the deferred charging start time is set to midnight (vehicle time).You can have the deferred charging start time
modified.Go to any authorized Toyota retailer or Toyota authorized repairer, or any reliable repairer.On a smartphone or tablet (GSM), with TOYOTA Pro Touch or TOYOTA Pro Touch with navigation systemYou can programme the deferred charging function at any time via the MyToyota application (Available soon).For more information on Remote functions, refer to the corresponding section.In the vehicle, with TOYOTA Pro Touch with navigation system► In the Energy touch screen menu, select the Charge page.► Set the charging start time.► Press OK.The setting is saved in the system.
Page 263 of 360
263
Bluetooth® audio system
10
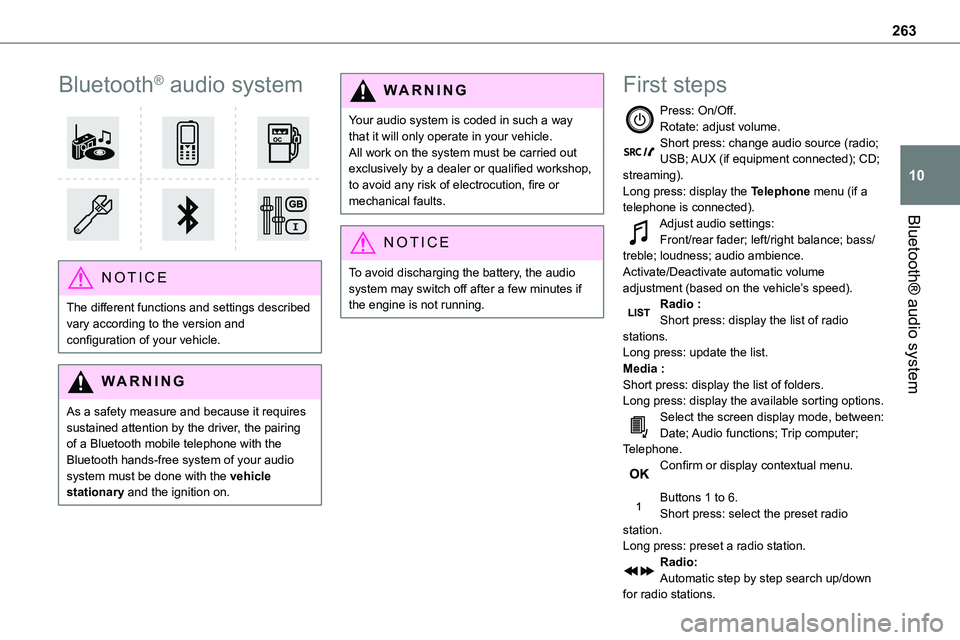
Bluetooth® audio system
NOTIC E
The different functions and settings described vary according to the version and configuration of your vehicle.
WARNI NG
As a safety measure and because it requires sustained attention by the driver, the pairing of a Bluetooth mobile telephone with the Bluetooth hands-free system of your audio system must be done with the vehicle stationary and the ignition on.
WARNI NG
Your audio system is coded in such a way that it will only operate in your vehicle.All work on the system must be carried out exclusively by a dealer or qualified workshop, to avoid any risk of electrocution, fire or mechanical faults.
NOTIC E
To avoid discharging the battery, the audio system may switch off after a few minutes if the engine is not running.
First steps
Press: On/Off.Rotate: adjust volume.Short press: change audio source (radio; USB; AUX (if equipment connected); CD; streaming).Long press: display the Telephone menu (if a telephone is connected).
Adjust audio settings:Front/rear fader; left/right balance; bass/treble; loudness; audio ambience.Activate/Deactivate automatic volume adjustment (based on the vehicle’s speed).Radio :Short press: display the list of radio stations.Long press: update the list.Media :Short press: display the list of folders.Long press: display the available sorting options.Select the screen display mode, between:Date; Audio functions; Trip computer; Telephone.Confirm or display contextual menu.
Buttons 1 to 6.Short press: select the preset radio station.Long press: preset a radio station.Radio:Automatic step by step search up/down for radio stations.
Page 265 of 360
265
Bluetooth® audio system
10
In the event of a telephone call:Short press: accept the call.Long press: reject the call.During a telephone call:Short press: open the contextual telephone menu.Long press: end the call.Start voice recognition on your smartphone via the system.
Radio:Short press: display the list of radio stations.Long press: update the list.Media:Short press: display the list of folders.Long press: display the available sorting options.Radio:Select the previous / next preset radio station.Select the previous / next item in a menu or a list.Media:Select the previous / next track.Select the previous / next item in a menu or a list.Press the thumbwheel: confirm.
Menus
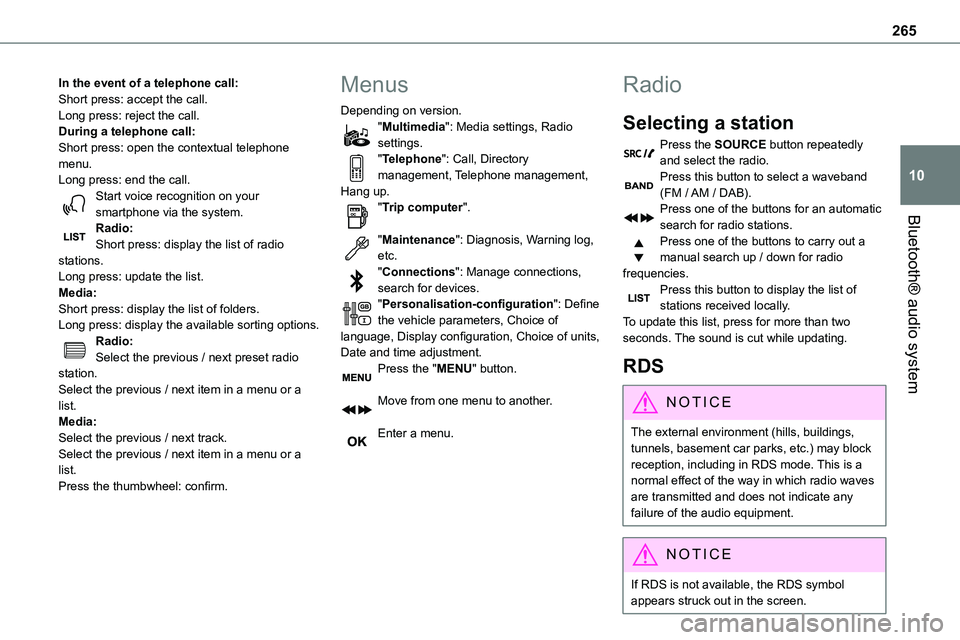
Depending on version."Multimedia": Media settings, Radio settings."Telephone": Call, Directory management, Telephone management, Hang up."Trip computer".
"Maintenance": Diagnosis, Warning log, etc."Connections": Manage connections, search for devices."Personalisation-configuration": Define the vehicle parameters, Choice of language, Display configuration, Choice of units, Date and time adjustment.Press the "MENU" button.
Move from one menu to another.
Enter a menu.
Radio
Selecting a station
Press the SOURCE button repeatedly and select the radio.Press this button to select a waveband (FM / AM / DAB).Press one of the buttons for an automatic
search for radio stations.Press one of the buttons to carry out a manual search up / down for radio frequencies.Press this button to display the list of stations received locally.To update this list, press for more than two seconds. The sound is cut while updating.
RDS
NOTIC E
The external environment (hills, buildings, tunnels, basement car parks, etc.) may block reception, including in RDS mode. This is a normal effect of the way in which radio waves are transmitted and does not indicate any failure of the audio equipment.
NOTIC E
If RDS is not available, the RDS symbol appears struck out in the screen.
Page 267 of 360
267
Bluetooth® audio system
10
Select "RadioText (TXT) display" and confirm OK to save.
DAB (Digital Audio
Broadcasting) radio
Terrestrial Digital Radio
Depending on version
NOTIC E
If the current DAB radio station is not available on FM, "DAB FM" is struck out.
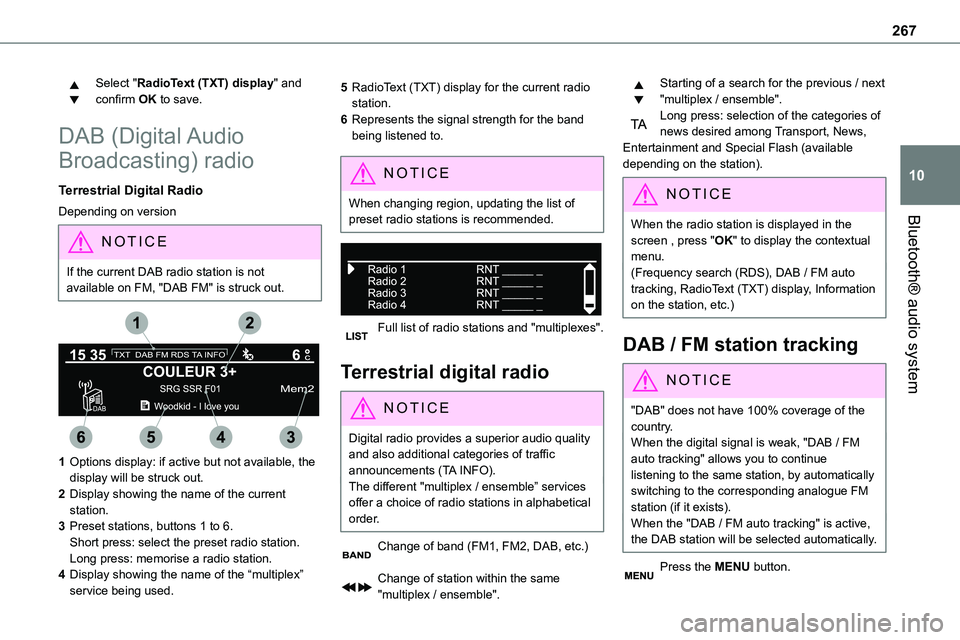
1Options display: if active but not available, the display will be struck out.
2Display showing the name of the current station.
3Preset stations, buttons 1 to 6.Short press: select the preset radio station.Long press: memorise a radio station.
4Display showing the name of the “multiplex” service being used.
5RadioText (TXT) display for the current radio station.
6Represents the signal strength for the band being listened to.
NOTIC E
When changing region, updating the list of preset radio stations is recommended.
Full list of radio stations and "multiplexes".
Terrestrial digital radio
NOTIC E
Digital radio provides a superior audio quality and also additional categories of traffic announcements (TA INFO).The different "multiplex / ensemble” services offer a choice of radio stations in alphabetical order.
Change of band (FM1, FM2, DAB, etc.)
Change of station within the same "multiplex / ensemble".
Starting of a search for the previous / next "multiplex / ensemble".Long press: selection of the categories of news desired among Transport, News, Entertainment and Special Flash (available depending on the station).
NOTIC E
When the radio station is displayed in the screen , press "OK" to display the contextual menu.(Frequency search (RDS), DAB / FM auto tracking, RadioText (TXT) display, Information on the station, etc.)
DAB / FM station tracking
NOTIC E
"DAB" does not have 100% coverage of the country.When the digital signal is weak, "DAB / FM auto tracking" allows you to continue listening to the same station, by automatically switching to the corresponding analogue FM station (if it exists).When the "DAB / FM auto tracking" is active, the DAB station will be selected automatically.
Press the MENU button.
Page 269 of 360
269
Bluetooth® audio system
10
File classification
Make a long press on this button to display the different classifications.Select by "Folder" / "Artist" / "Genre" / "Playlist".Depending on availability and type of device used.Press OK to select the desired classification, then press OK again to
confirm.
Playing files
Make a short press on this button to display the chosen classification.Navigate in the list using the left / right and up / down buttons.Confirm the selection by pressing OK.
Press one of these buttons to go to the previous / next track in the list.Press and hold one of these buttons for fast forward or rewind.Press one of these buttons to go to the previous / next "Folder" / "Artist" / "Genre" / "Playlist"* in the list.
* Depending on availability and the type of device used.
CD player
Insert circular compact discs only.Some anti-pirating systems, on original discs or CDs copied using a personal recorder, may cause faults which are no reflection on the quality of the original player.Insert a CD in the player, play begins automatically.
W ARNI NG
External CD players connected via the USB port are not recognised by the system.
To play a disc which has already been inserted, press the SOURCE button several times in succession and select "CD".Press one of the buttons to select a track on the CD.Press the LIST button to display the list of tracks on the CD.Press and hold one of these buttons for fast forward or rewind.
Playing an MP3 compilation
Insert an MP3 compilation in the CD player.The audio equipment searches for all of the music tracks, which may take anything between
a few seconds and several tens of seconds, before play begins.
WARNI NG
On a single disc, the CD player can read up to 255 MP3 files spread over 8 directory levels.However, it is advisable to keep to a limit of two levels to reduce the access time before the CD is played.The folder structure is not observed during
playback.All of the files are displayed on a single level.
To play a disc which has already been inserted, press the SOURCE button several times in succession and select "CD".Press one of the buttons to select a folder on the CD.Press one of the buttons to select a track on the CD.Press the LIST button to display the list of directories of the MP3 compilation.Press and hold one of these buttons for fast forward or rewind.
Page 270 of 360
270
Bluetooth® audio streaming
Streaming allows music files on the telephone to be played via the vehicle's loudspeakers.Connect the telephone.(Refer to the "Pairing a Bluetooth® telephone" section).Activate the streaming source by pressing SOURCE.In certain cases, play of the audio files must be
initiated from the keypad.Audio files can be selected using the buttons on the audio system control panel and the steering mounted controls. The contextual information can be displayed in the screen.If the telephone supports the function. The audio quality depends on the quality of transmission by the telephone.
Connecting Apple® players
Connect the Apple® player to the USB port using a suitable cable (not supplied).Play starts automatically.Control is via the audio system.The classifications available are those of the portable device connected (artists / albums / genres / playlists).The version of software in the audio system may not be compatible with the generation of your Apple® player.
Information and advice
The CD player can play files with “.mp3”, “.wma”, “.wav” and “.aac” file extensions, with a bit rate of 32 to 320 Kbps.It also supports TAG mode (ID3 tag, WMA TAG).No other file types (“.mp”4, etc.) can be read.Files of the ".wma" type should be to the wma 9 standard.The sampling rates supported are 11, 22, 44 and
48 kHz.Via the USB port, the system can play audio files with the extension ".mp3”, “.wma”, “.wav”, “.cbr”, “.vbr" with a bit rate of 32 to 320 Kbps.No other file types (“.mp4”, etc.) can be read.Files of the ".wma" type should be to the wma 9 standard.The sampling rates supported are 11, 22, 44 and 48 kHz.File names should have fewer than 20 characters, avoiding special characters (e.g. « ? ; ù) so as to avoid any reading or display problems.In order to be able to play a burned CDR or CDRW, select standards ISO 9660 level 1, 2, or Joliet, if possible, when burning the CD.If the disc is burned in another format, it may not be played correctly.It is recommended that the same burning standard be always used on an individual disc, with the lowest speed possible (4x maximum) for the best acoustic quality.
In the particular case of a multi-session CD, the Joliet standard is recommended.To protect the system, do not use a USB hub.
WARNI NG
Use only USB memory sticks formatted FAT 32 (File Allocation Table).
NOTIC E
It is recommended that you use genuine Apple® USB cables for correct operation.