instrument panel TOYOTA PROACE CITY 2021 User Guide
[x] Cancel search | Manufacturer: TOYOTA, Model Year: 2021, Model line: PROACE CITY, Model: TOYOTA PROACE CITY 2021Pages: 272, PDF Size: 60.75 MB
Page 17 of 272
17
Instruments
1
NOTIC E
The distance indicated (in miles or kilometres) is calculated according to the distance covered and the time elapsed since the last service.The alert may be triggered close to a due date.
Resetting the service indicator
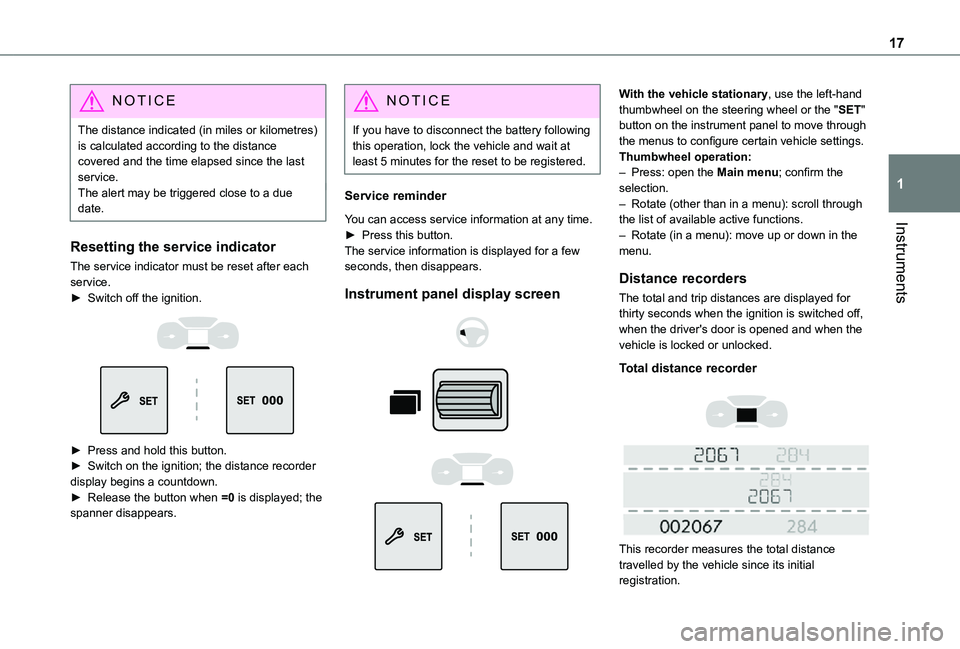
The service indicator must be reset after each service.► Switch off the ignition.
► Press and hold this button.► Switch on the ignition; the distance recorder display begins a countdown.► Release the button when =0 is displayed; the spanner disappears.
NOTIC E
If you have to disconnect the battery following this operation, lock the vehicle and wait at least 5 minutes for the reset to be registered.
Service reminder
You can access service information at any time.► Press this button.The service information is displayed for a few seconds, then disappears.
Instrument panel display screen
With the vehicle stationary, use the left-hand thumbwheel on the steering wheel or the "SET" button on the instrument panel to move through the menus to configure certain vehicle settings.Thumbwheel operation:– Press: open the Main menu; confirm the selection.– Rotate (other than in a menu): scroll through the list of available active functions.– Rotate (in a menu): move up or down in the menu.
Distance recorders
The total and trip distances are displayed for thirty seconds when the ignition is switched off, when the driver's door is opened and when the vehicle is locked or unlocked.
Total distance recorder
This recorder measures the total distance travelled by the vehicle since its initial registration.
Page 18 of 272
18
Trip distance recorder
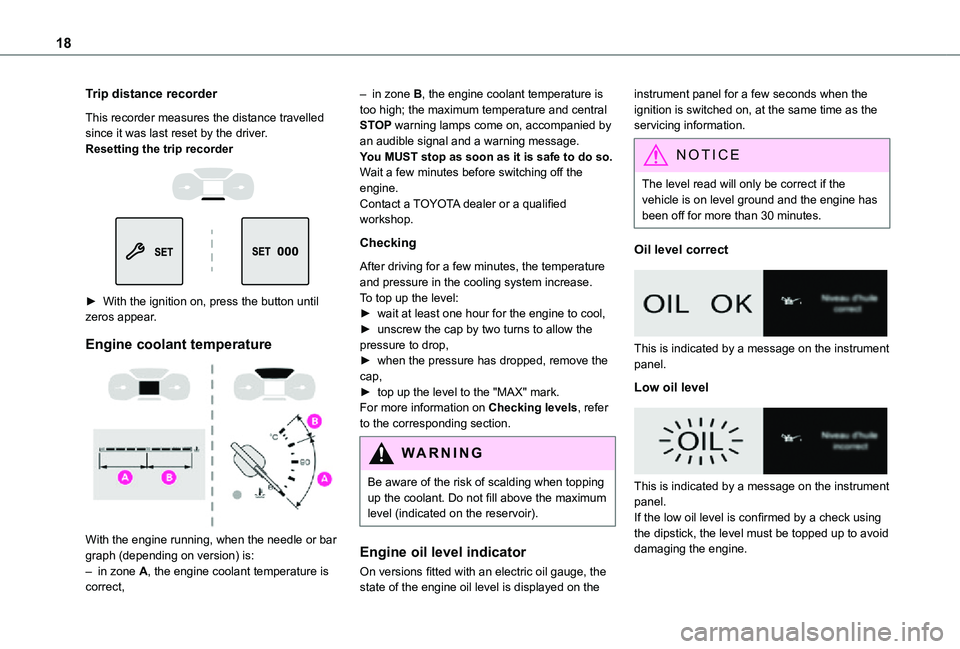
This recorder measures the distance travelled since it was last reset by the driver.Resetting the trip recorder
► With the ignition on, press the button until zeros appear.
Engine coolant temperature
With the engine running, when the needle or bar graph (depending on version) is:– in zone A, the engine coolant temperature is correct,
– in zone B, the engine coolant temperature is too high; the maximum temperature and central STOP warning lamps come on, accompanied by an audible signal and a warning message.You MUST stop as soon as it is safe to do so.Wait a few minutes before switching off the engine.Contact a TOYOTA dealer or a qualified workshop.
Checking
After driving for a few minutes, the temperature and pressure in the cooling system increase.To top up the level:► wait at least one hour for the engine to cool,► unscrew the cap by two turns to allow the pressure to drop,► when the pressure has dropped, remove the cap,► top up the level to the "MAX" mark.For more information on Checking levels, refer to the corresponding section.
WARNI NG
Be aware of the risk of scalding when topping up the coolant. Do not fill above the maximum level (indicated on the reservoir).
Engine oil level indicator
On versions fitted with an electric oil gauge, the state of the engine oil level is displayed on the
instrument panel for a few seconds when the ignition is switched on, at the same time as the servicing information.
NOTIC E
The level read will only be correct if the vehicle is on level ground and the engine has been off for more than 30 minutes.
Oil level correct
This is indicated by a message on the instrument panel.
Low oil level
This is indicated by a message on the instrument panel.If the low oil level is confirmed by a check using the dipstick, the level must be topped up to avoid
damaging the engine.
Page 19 of 272
19
Instruments
1
Oil level gauge fault
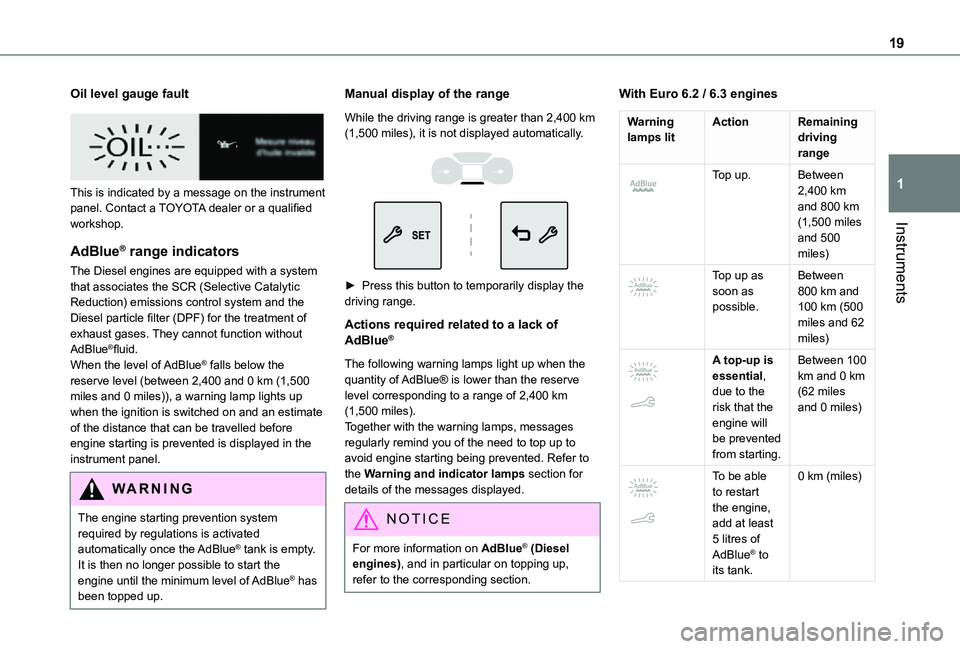
This is indicated by a message on the instrument panel. Contact a TOYOTA dealer or a qualified workshop.
AdBlue® range indicators
The Diesel engines are equipped with a system that associates the SCR (Selective Catalytic Reduction) emissions control system and the Diesel particle filter (DPF) for the treatment of exhaust gases. They cannot function without AdBlue®fluid.When the level of AdBlue® falls below the reserve level (between 2,400 and 0 km (1,500 miles and 0 miles)), a warning lamp lights up when the ignition is switched on and an estimate of the distance that can be travelled before engine starting is prevented is displayed in the
instrument panel.
WARNI NG
The engine starting prevention system required by regulations is activated
automatically once the AdBlue® tank is empty. It is then no longer possible to start the engine until the minimum level of AdBlue® has been topped up.
Manual display of the range
While the driving range is greater than 2,400 km (1,500 miles), it is not displayed automatically.
► Press this button to temporarily display the driving range.
Actions required related to a lack of AdBlue®
The following warning lamps light up when the quantity of AdBlue® is lower than the reserve level corresponding to a range of 2,400 km (1,500 miles).Together with the warning lamps, messages regularly remind you of the need to top up to avoid engine starting being prevented. Refer to the Warning and indicator lamps section for details of the messages displayed.
NOTIC E
For more information on AdBlue® (Diesel engines), and in particular on topping up, refer to the corresponding section.
With Euro 6.2 / 6.3 engines
Warning lamps litActionRemaining driving range
Top up.Between 2,400 km and 800 km (1,500 miles and 500
miles)
Top up as soon as possible.
Between 800 km and 100 km (500 miles and 62 miles)
A top-up is essential, due to the risk that the engine will be prevented from starting.
Between 100 km and 0 km (62 miles and 0 miles)
To be able to restart the engine, add at least 5 litres of AdBlue® to its tank.
0 km (miles)
Page 20 of 272
20
Malfunction of the SCR emissions control system
Malfunction detection
If a malfunction is detected, these warning lamps come on, accompanied by an audible signal and an "Emissions fault” or “NO START IN” message.
The alert is triggered while driving, when the fault is detected for the first time, and thereafter when switching on the ignition for subsequent journeys, while the cause of the fault persists.
NOTIC E
If the fault is temporary, the alert disappears during the next journey, after self-diagnostic checks of the SCR emissions control system.
Malfunction confirmed during the permitted driving phase (between 1,100 km and 0 km (685 miles and 0 miles))
If the fault indication is still displayed permanently after 50 km (31 miles) of driving, the fault in the SCR system is confirmed.The AdBlue warning lamp flashes, and an "Emissions fault: Starting prevented in X miles" or "NO START IN X miles" message is
displayed, indicating the driving range in miles or kilometres.While driving, the message is displayed every 30 seconds. The alert is repeated when switching on the ignition.You can continue driving for up to 1,100 km (685 miles) before the engine immobiliser system is triggered.
WARNI NG
Have the system checked by a TOYOTA dealer or a qualified workshop as soon as possible.
Starting prevented
Whenever the ignition is switched on, the "Emissions fault: Starting prevented" or "NO START IN" message is displayed.
WARNI NG
To be able to restart the engine, contact a TOYOTA dealer or a qualified workshop.
Lighting dimmer
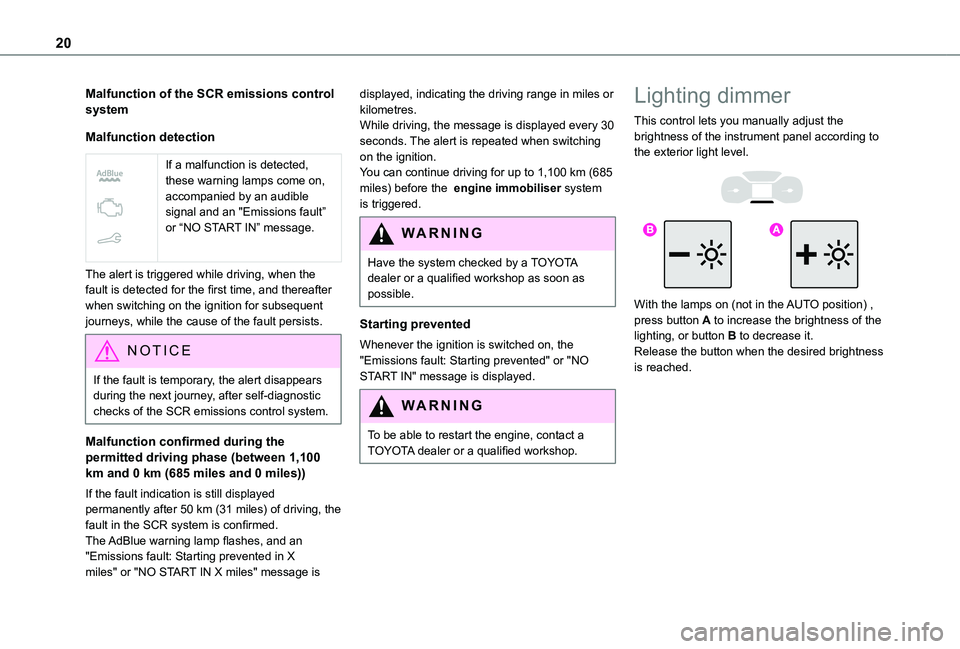
This control lets you manually adjust the brightness of the instrument panel according to the exterior light level.
With the lamps on (not in the AUTO position) , press button A to increase the brightness of the lighting, or button B to decrease it.Release the button when the desired brightness is reached.
Page 22 of 272
22
A few definitions…
Range
(km or miles)Distance that can still be travelled with the fuel remaining in the tank (based on the average fuel consumption over the last few miles (kilometres) travelled).
NOTIC E
This value may vary following a change in the driving style or terrain, resulting in a significant change in the spot fuel consumption.
When the range falls below 30 km (19 miles), dashes are displayed.After filling with at least 5 litres of fuel, the range is recalculated and is displayed if it exceeds 100 km (62 miles).
WARNI NG
If dashes instead of figures continue to be displayed when driving, contact a TOYOTA dealer or a qualified workshop.
Spot fuel consumption
(mpg or l/100 km or km/l)Calculated during the last few seconds.
NOTIC E
This function is only displayed at speeds above 30 km/h (19 mph).
Average fuel consumption
(mpg or l/100 km or km/l)Calculated since the last trip computer reset.
Average speed
(km/h or mph)Calculated since the last trip computer reset.
Distance travelled
(km or miles)Calculated since the last trip computer reset.
Stop & Start time counter
(minutes/seconds or hours/minutes)
If your vehicle is fitted with Stop & Start, a time counter calculates the time spent in STOP mode during a journey.It resets to zero every time the ignition is switched on.
Setting the date and time
Without audio system
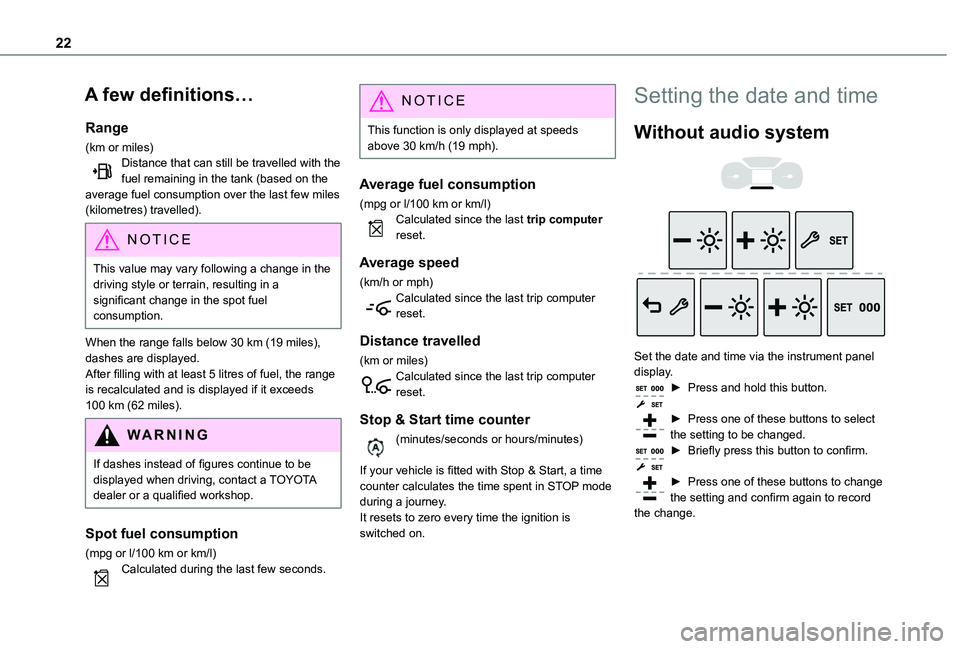
Set the date and time via the instrument panel display.► Press and hold this button.
► Press one of these buttons to select the setting to be changed.► Briefly press this button to confirm.
► Press one of these buttons to change the setting and confirm again to record the change.
Page 34 of 272

34
Automatic mode
This is the automatic central locking of the vehicle when driving, also called anti-intrusion security.For more information on Anti-intrusion security, refer to the corresponding section.
Locking/unlocking the
loading area
NOTIC E
This button is unavailable if the vehicle has been locked or deadlocked from outside (using the key, remote control or Keyless Entry and Starting, depending on equipment) or if any of the doors are still open.
NOTIC E
For more information on the Key, and, in particular, on programming selective locking for the loading area, refer to the corresponding section.
Manual mode
► With complete unlocking activated, press this button to lock (indicator lamp comes on)/unlock (indicator lamp goes off) the vehicle.► With selective unlocking activated, press this button to lock (indicator lamp comes on)/unlock (indicator lamp goes off) the loading area.
WARNI NG
Driving with the doors locked could make it more difficult for the emergency services to enter the vehicle in an emergency.
NOTIC E
The indicator lamp goes off when unlocking one or more doors of the loading area.With the ignition off and the vehicle fully locked, the indicator lamp goes off for energy
economy reasons.
Automatic mode
The loading area is always locked when driving.
NOTIC E
To deactivate the automatic locking function, go to a TOYOTA dealer or a qualified workshop.
Anti-intrusion security
This system allows automatic simultaneous locking of the doors and boot as soon as the speed of the vehicle exceeds 10 km/h (6 mph).
Operation
If one of the doors or the boot is open, the automatic central locking does not take place.This is signalled by the sound of the locks rebounding, accompanied by illumination of this warning lamp in the instrument panel, an audible signal and the display of an alert message.
Activation/Deactivation
You can activate or deactivate this function permanently.► With the ignition on, press the central locking button until an audible signal is triggered and a corresponding message of confirmation is displayed.
Page 42 of 272

42
General
recommendations for the
seats
WARNI NG
For safety reasons, seat adjustments must only be made when the vehicle is stationary.
WARNI NG
Folding or unfolding the seat backrests must only be done with the vehicle stationary.
WARNI NG
Before moving the seat backwards, ensure that there is no person or object that might prevent the full travel of the seat.There is a risk of trapping or pinching
passengers if present in the rear seats or of jamming the seat if large objects are placed on the floor behind the seat.
WARNI NG
Do not place hard or heavy objects on the backrests forming a table. They could become
dangerous projectiles in the event of sudden braking or a collision.– Do not remove a head restraint without stowing it; secure it to a support inside the vehicle.– Check that the seat belts remain accessible to the passenger and easy to fasten.– Passengers must never take their seat without adjusting and fastening their seat belt.
WARNI NG
Before carrying out the manoeuvres, check that nothing and no one is obstructing the moving elements and their locking.To avoid sudden folding, take care to hold the backrest and support it until it is horizontal.Never put your hand underneath the seat cushion to guide the seat downwards or upwards, you could get your fingers trapped. Place your hand on the grip/strap (depending on equipment) at the top of the seat cushion.
WARNI NG
Please note: an incorrectly latched backrest compromises the safety of passengers in the event of sudden braking or an impact.The contents of the boot may be thrown forward - risk of severe injury!
Front seats
Correct driving position
Before taking to the road and to make the most of the ergonomic layout of the instruments and controls, carry out these adjustments in the following order:– head restraint height.– seat backrest angle.– seat cushion height.– longitudinal seat position.– steering wheel height and reach.– rear view mirror and door mirrors.
WARNI NG
Once these adjustments have been made,
check that the instrument panel can be viewed correctly from your driving position.
Page 72 of 272
72
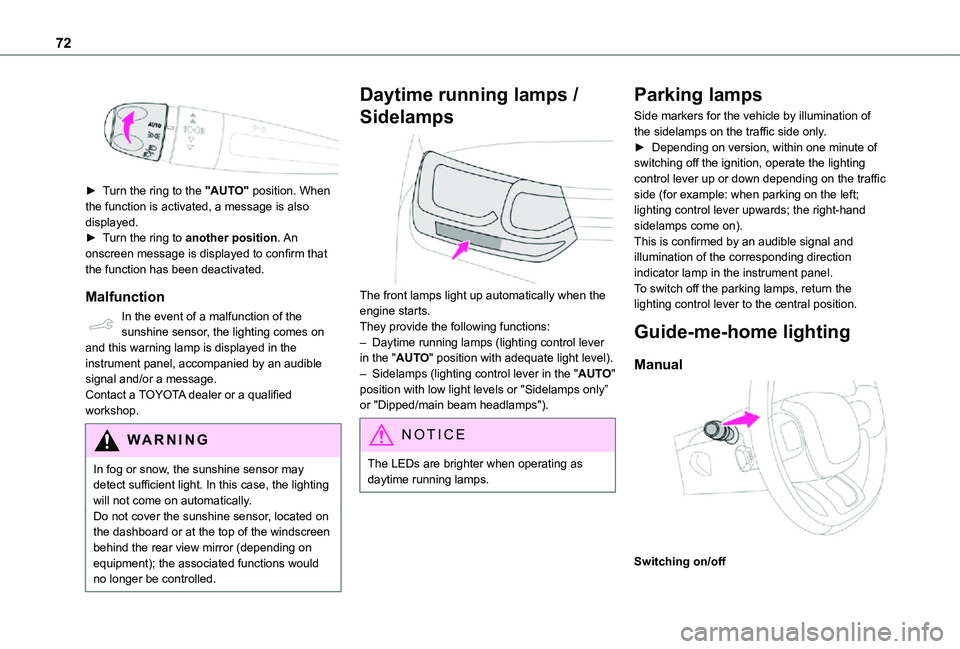
► Turn the ring to the "AUTO" position. When the function is activated, a message is also displayed.► Turn the ring to another position. An
onscreen message is displayed to confirm that the function has been deactivated.
Malfunction
In the event of a malfunction of the sunshine sensor, the lighting comes on and this warning lamp is displayed in the instrument panel, accompanied by an audible signal and/or a message.Contact a TOYOTA dealer or a qualified workshop.
WARNI NG
In fog or snow, the sunshine sensor may detect sufficient light. In this case, the lighting will not come on automatically.Do not cover the sunshine sensor, located on the dashboard or at the top of the windscreen behind the rear view mirror (depending on equipment); the associated functions would no longer be controlled.
Daytime running lamps /
Sidelamps
The front lamps light up automatically when the engine starts.They provide the following functions:– Daytime running lamps (lighting control lever in the "AUTO" position with adequate light level).– Sidelamps (lighting control lever in the "AUTO" position with low light levels or "Sidelamps only” or "Dipped/main beam headlamps").
NOTIC E
The LEDs are brighter when operating as daytime running lamps.
Parking lamps
Side markers for the vehicle by illumination of the sidelamps on the traffic side only.► Depending on version, within one minute of switching off the ignition, operate the lighting control lever up or down depending on the traffic side (for example: when parking on the left; lighting control lever upwards; the right-hand sidelamps come on).This is confirmed by an audible signal and illumination of the corresponding direction indicator lamp in the instrument panel.To switch off the parking lamps, return the lighting control lever to the central position.
Guide-me-home lighting
Manual
Switching on/off
Page 73 of 272

73
Lighting and visibility
4
► With the ignition off, "flash" the headlamps using the lighting control lever to switch the function on or off.Manual guide-me-home lighting goes off automatically at the end of a given period of time.
Automatic
With the ring in the "AUTO" position, when the light is poor, the dipped beam headlamps come on automatically when the ignition is switched off.The activation, deactivation and duration of guide-me-home lighting are set in the vehicle configuration menu.
Automatic exterior welcome
lighting
With the "Automatic headlamp illumination" function activated, when the light is poor, the sidelamps and dipped beam headlamps come
on automatically when the vehicle is unlocked.Activation, deactivation and the duration of the exterior welcome lighting are set in the vehicle configuration menu.
Automatic headlamp
dipping
This system automatically changes between dipped and main beam headlamps according to the brightness and driving conditions, using a camera located at the top of the windscreen.
WARNI NG
This system is a driving aid.The driver remains responsible for the vehicle's lighting, its correct use for the prevailing conditions of light, visibility and traffic, and for observation of driving and vehicle regulations.
NOTIC E
The system will be operational as soon as you exceed 25 km/h (16 mph).If the speed drops below 15 km/h (9 mph), the system no longer operates.
Activation/Deactivation
Activation and deactivation are done via the vehicle configuration menu.When deactivated, the lighting system changes to "automatic illumination of headlamps" mode.The state of the system stays in the memory when switching off the ignition.
Operation
If the ambient light level is sufficient and/or the traffic conditions do not allow the main beam headlamps to be lit:– The dipped beam headlamps remain lit. These indicator lamps come on on the instrument panel.If the ambient light level is very low and traffic conditions permit:– The main beam headlamps come on automatically. These
Page 74 of 272

74
indicator lamps come on on the instrument panel.The function is deactivated if the fog lamps are switched on or the system detects dense fog.When the fog lamps are switched off or the vehicle leaves the area of dense fog, the function is automatically reactivated.This indicator lamp goes out when the function is deactivated.
Pause
If the situation requires a change of headlamp beam, the driver can take over at any time.► A "headlamp flash" pauses the function and the system changes to "automatic illumination of headlamps" mode:– if the "AUTO" and "Dipped beam" indicator lamps were on, the system changes to main beam,– if the "AUTO" and "Main beam" indicator lamps were on, the system changes to dipped beam.To reactivate the system, flash the headlamps
again.
NOTIC E
The system may suffer interference or not work correctly:– under conditions of poor visibility (snow, heavy rain, etc.),
– if the windscreen in front of the camera is dirty, misted or obscured (for example, by a sticker, etc.),– if the vehicle is facing highly reflective signs.When the system detects thick fog, it temporarily deactivates the function.The system is not able to detect:– road users that do not have their own lighting, such as pedestrians,– vehicles whose lighting is obscured (for example: vehicles running behind a safety barrier on a motorway),– vehicles at the top or bottom of a steep slope, on winding roads, on crossroads.
WARNI NG
Clean the windscreen regularly, particularly the area in front of the camera.The internal surface of the windscreen can also become misted around the camera. In humid and cold weather, demist the windscreen regularly.Do not allow snow to accumulate on the bonnet or roof of the vehicle as this could obstruct the detection camera.
Headlamp beam height
adjustment
To avoid inconvenience to other road users, the height of the halogen headlamps should be adjusted according to the load in the vehicle.
0Unladen.
1Partial load.
2Medium load.
3Maximum authorised load.
4 5 6Not used.
NOTIC E
The initial setting is position 0.