wheel TOYOTA PROACE CITY 2022 User Guide
[x] Cancel search | Manufacturer: TOYOTA, Model Year: 2022, Model line: PROACE CITY, Model: TOYOTA PROACE CITY 2022Pages: 320, PDF Size: 75.81 MB
Page 35 of 320
35
Access
2
Advice
WARNI NG
Remote controlThe remote control is a sensitive, high-frequency device; avoid handling it in your pocket, due to the risk of unintentionally unlocking the vehicle.Avoid pressing the remote control buttons
while out of range of the vehicle, due to the risk of rendering the remote control inoperative. It would then be necessary to reset it.The remote control does not work when the key is in the ignition switch, even when the ignition is switched off.
WARNI NG
Anti-theft protectionDo not modify the electronic vehicle immobiliser, as this might result in malfunctions.For vehicles with a key ignition switch, remember to remove the key and turn the steering wheel to engage the steering lock.
WARNI NG
Locking the vehicleDriving with the doors locked could make it more difficult for the emergency services to enter the vehicle in an emergency.As a safety precaution, remove the key from the ignition or take the electronic key with you when leaving the vehicle, even for a short time.
NOTIC E
Purchasing a second-hand vehicleHave the key codes memorised by a TOYOTA dealer, to ensure that the keys in your possession are the only ones able to start the vehicle.
WARNI NG
Accumulations (water, dust, grime, salt, etc.) on the inner surface of the door handle may affect detection.If cleaning the inner surface of the door handle using a cloth does not restore detection, contact a TOYOTA dealer or a qualified workshop.A sudden splash of water (stream of water, high pressure jet washer, etc.) may be identified by the system as the desire to open the vehicle.
Total or selective
unlocking
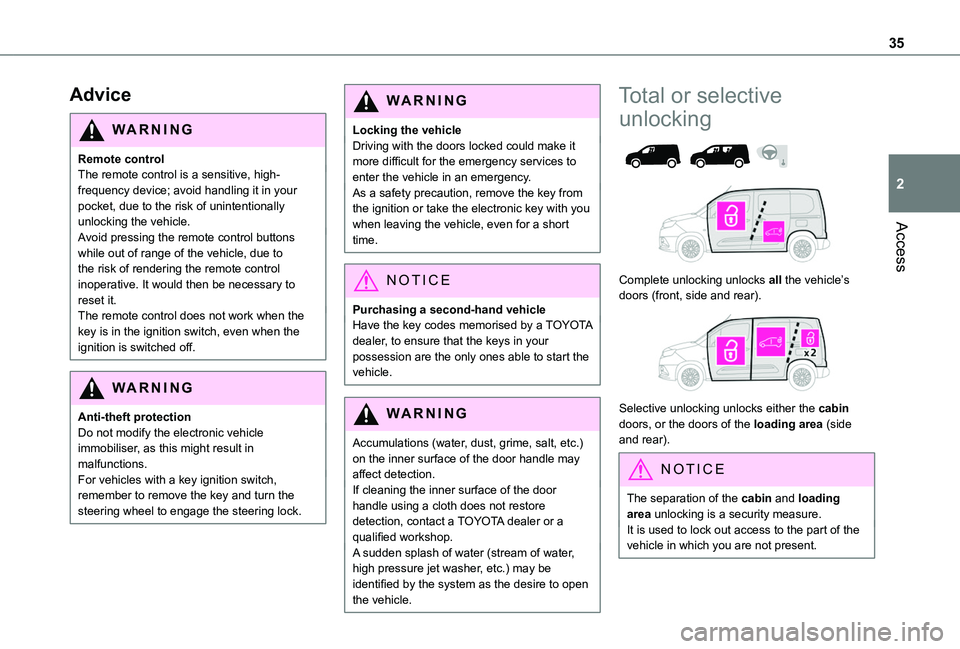
Complete unlocking unlocks all the vehicle’s doors (front, side and rear).
Selective unlocking unlocks either the cabin doors, or the doors of the loading area (side and rear).
NOTIC E
The separation of the cabin and loading area unlocking is a security measure.It is used to lock out access to the part of the vehicle in which you are not present.
Page 50 of 320
50
Anti-tilt monitoring
The system checks for any change in the attitude of the vehicle.The alarm is triggered if the vehicle is lifted or moved.
NOTIC E
When the vehicle is parked, the alarm will not be triggered if the vehicle is knocked.
Locking the vehicle with full
alarm system
Activation
► Switch off the engine and exit the vehicle.► Lock the vehicle using the remote control or the "Keyless Entry and Starting" system.The monitoring system is active: the red indicator lamp in the button flashes every second and the direction indicators come on for about 2 seconds.
NOTIC E
Following an instruction to lock the vehicle, the exterior perimeter monitoring is activated after 5 seconds and the interior volumetric
and anti-tilt monitoring after 45 seconds.
NOTIC E
If an opening (door, boot or bonnet) is not closed properly, the vehicle is not locked but the exterior perimeter monitoring will be activated after 45 seconds at the same time as the interior volumetric and anti-tilt monitoring.
Deactivation
► Press the unlocking button on the remote control.or► Unlock the vehicle with the Keyless Entry and Starting system.The monitoring system is deactivated: the indicator lamp in the button goes off and the direction indicators flash for about 2 seconds.
NOTIC E
When the vehicle automatically locks itself again (as happens if a door or the boot is not opened within 30 seconds of unlocking), the monitoring system is also reactivated automatically.
Locking the vehicle
with exterior perimeter
monitoring only
Disable volumetric and anti-tilt monitoring to avoid unwanted alarm triggering in certain cases, such as:– Slightly open window or sunroof. – Washing the vehicle.– Changing a wheel.– Towing your vehicle.– Transport on a ship or ferry.
Deactivating the interior volumetric
and anti-tilt monitoring
► Switch off the ignition and within 10 seconds press the alarm button until its red indicator lamp is on fixed.► Get out of the vehicle.► Immediately lock the vehicle using the remote control or the "Keyless Entry and Starting" system.Only the exterior perimeter monitoring is
activated; the red indicator lamp in the button flashes every second.
NOTIC E
To be taken into account, the deactivation must be carried out every time the ignition is switched off.
Page 54 of 320
54
General
recommendations for the
seats
WARNI NG
For safety reasons, seat adjustments must only be made when the vehicle is stationary.
WARNI NG
Folding or unfolding the seat backrests must only be done with the vehicle stationary.
WARNI NG
Before moving the seat backwards, ensure that there is no person or object that might prevent the full travel of the seat.There is a risk of trapping or pinching
passengers if present in the rear seats or of jamming the seat if large objects are placed on the floor behind the seat.
WARNI NG
Do not place hard or heavy objects on the backrests forming a table. They could become
dangerous projectiles in the event of sudden braking or a collision.– Do not remove a head restraint without stowing it; secure it to a support inside the vehicle.– Check that the seat belts remain accessible to the passenger and easy to fasten.– Passengers must never take their seat without adjusting and fastening their seat belt.– In row 3, be careful not to leave your feet under the row 2 seat while it is being tilted.– When a row 3 seat is in the fully folded position, ensure that the strap is correctly hooked to the Top Tether fixing of the row 2 backrest: risk of unexpected tipping of the seat.
WARNI NG
Before carrying out the manoeuvres, check that nothing and no one is obstructing the moving elements and their locking.
To avoid sudden folding, take care to hold the backrest and support it until it is horizontal.Never put your hand underneath the seat cushion to guide the seat downwards or upwards, you could get your fingers trapped. Place your hand on the grip/strap (depending on equipment) at the top of the seat cushion.
WARNI NG
Please note: an incorrectly latched backrest compromises the safety of passengers in the event of sudden braking or an impact.The contents of the boot may be thrown forward - risk of severe injury!
Front seats
Correct driving position
Before taking to the road and to make the most of the ergonomic layout of the instruments and controls, carry out these adjustments in the following order:– head restraint height.– seat backrest angle.– seat cushion height.– longitudinal seat position.– steering wheel height and reach.– rear view mirror and door mirrors.
Page 57 of 320
57
Ease of use and comfort
3
Heated seat control
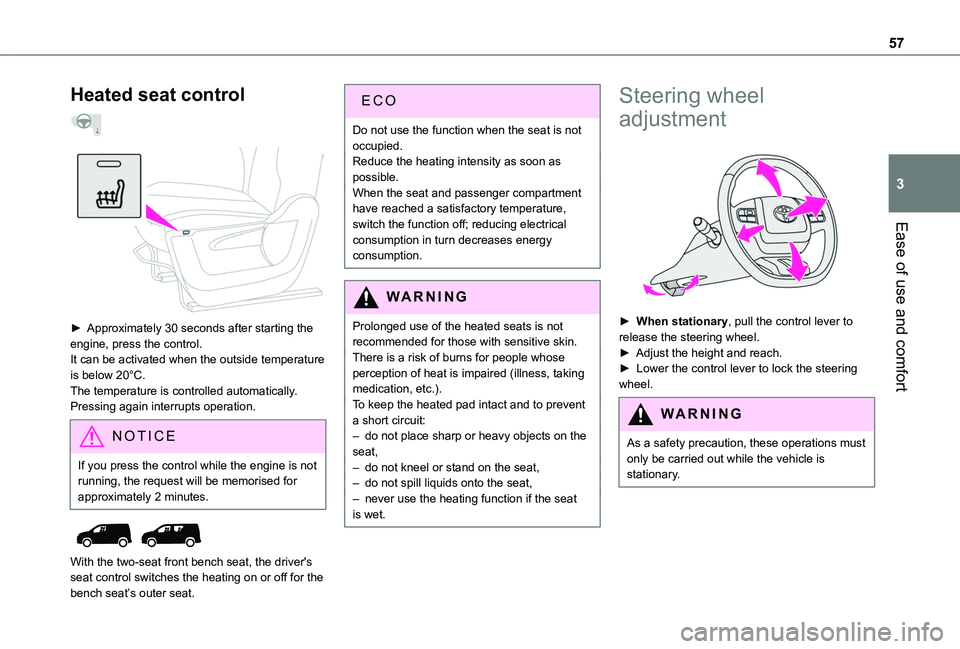
► Approximately 30 seconds after starting the engine, press the control.It can be activated when the outside temperature is below 20°C.The temperature is controlled automatically.Pressing again interrupts operation.
NOTIC E
If you press the control while the engine is not running, the request will be memorised for approximately 2 minutes.
With the two-seat front bench seat, the driver's seat control switches the heating on or off for the bench seat’s outer seat.
ECO
Do not use the function when the seat is not occupied.Reduce the heating intensity as soon as possible.When the seat and passenger compartment have reached a satisfactory temperature, switch the function off; reducing electrical consumption in turn decreases energy consumption.
WARNI NG
Prolonged use of the heated seats is not recommended for those with sensitive skin.There is a risk of burns for people whose perception of heat is impaired (illness, taking medication, etc.).To keep the heated pad intact and to prevent a short circuit:– do not place sharp or heavy objects on the
seat,– do not kneel or stand on the seat,– do not spill liquids onto the seat,– never use the heating function if the seat is wet.
Steering wheel
adjustment
► When stationary, pull the control lever to release the steering wheel.► Adjust the height and reach.► Lower the control lever to lock the steering wheel.
WARNI NG
As a safety precaution, these operations must only be carried out while the vehicle is stationary.
Page 74 of 320
74
WARNI NG
The load must be evenly distributed in the loading area so as not to interfere with driving the vehicle.Place the load close to the side panels, or even push it against the side panels between the wheel arches.However, it is recommended that heavy objects are placed as close to the cab as possible as a precaution in case of sharp braking.
WARNI NG
Firmly secure all parts of the load using the stowing rings on the floor of the loading area.For more information on the Interior fittings and in particular on the stowing rings, refer to the corresponding section.
WARNI NG
To avoid the risk of injury or accident, the load must be made stable so that it cannot slide, tip over, fall or be thrown. To do this, use only retaining straps that conform to current standards (DIN for example).For more information on putting straps in place, refer to the manufacturer’s user guide.To prevent the load sliding, there must not be any empty space between the load and the panels of the vehicle.As well as the straps, optimise the stability of the load with stable handling equipment (wedges, rigid blocks of wood or padding).
WARNI NG
When washing your vehicle, never clean the inside directly using a water jet.
For the Extenso cabin and
the Crew cab
WARNI NG
Do not place sharp or pointed objects in the protective cover to avoid damaging it.
WARNI NG
Do not place objects on the dashboard.Deactivate the front passenger airbag when carrying long objects.For more information on Deactivating the front passenger airbag, refer to the corresponding section.
WARNI NG
Avoid placing short or heavy loads in the protective cover; use the loading area whenever possible.
WARNI NG
Avoid anchoring loads or hanging items on the wall of the partition.For safety reasons, ensure that small objects do not slip through the gaps of about 3 cm (0 ft 1") between the partition and the vehicle's bodywork.
Page 81 of 320
81
Ease of use and comfort
3
NOTIC E
Servicing the ventilation and air conditioning system► Ensure that the passenger compartment filter is in good condition and have the filter elements replaced regularly.We recommend using a composite passenger compartment filter. Its specific active additive helps protect against polluting gases and bad smells.► To ensure correct operation of the air conditioning system, have it checked according to the recommendations in the Manufacturer's service schedule.
NOTIC E
Rapid heating of the interior
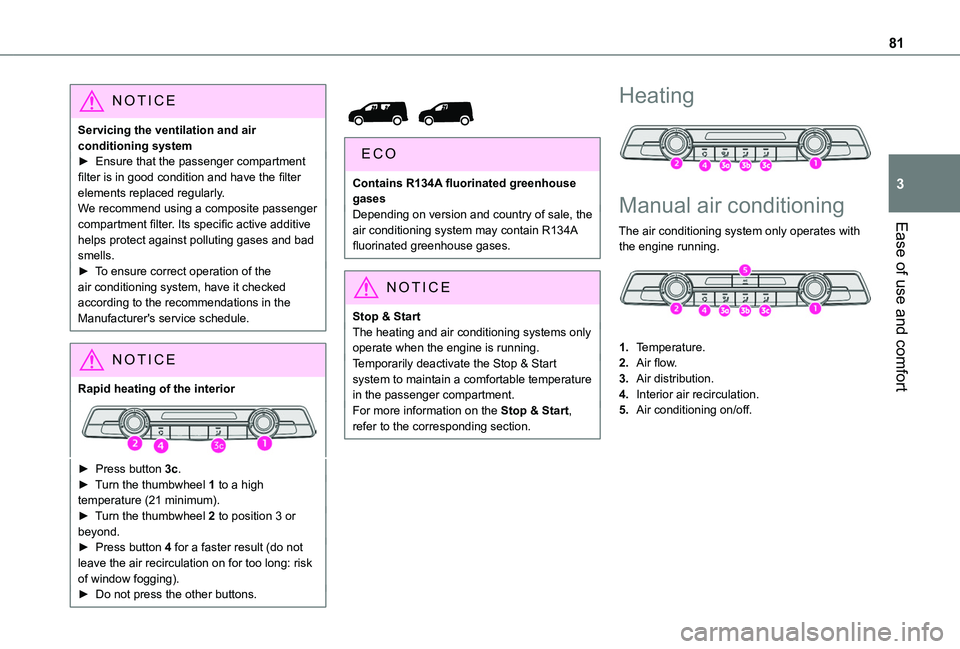
► Press button 3c.► Turn the thumbwheel 1 to a high temperature (21 minimum).► Turn the thumbwheel 2 to position 3 or beyond.► Press button 4 for a faster result (do not leave the air recirculation on for too long: risk of window fogging).► Do not press the other buttons.
Contains R134A fluorinated greenhouse gasesDepending on version and country of sale, the air conditioning system may contain R134A fluorinated greenhouse gases.
NOTIC E
Stop & StartThe heating and air conditioning systems only operate when the engine is running.Temporarily deactivate the Stop & Start system to maintain a comfortable temperature in the passenger compartment.For more information on the Stop & Start, refer to the corresponding section.
Heating
Manual air conditioning
The air conditioning system only operates with
the engine running.
1.Temperature.
2.Air flow.
3.Air distribution.
4.Interior air recirculation.
5.Air conditioning on/off.
Page 82 of 320
82
Air flow
► Turn the thumbwheel 2 to obtain a comfortable air flow.
NOTIC E
If you set the air flow thumbwheel to the minimum position (off), the temperature in the vehicle will no longer be controlled. A slight air flow can still be felt however,
resulting from the forward movement of the vehicle.
Temperature
► Turn the thumbwheel 1 from "LO" (cold) to "HI" (hot) to adjust the temperature to your requirements.
NOTIC E
A setting of around 21 provides optimum comfort. Depending on your requirements, a setting between 18 and 24 is normal.In addition, we recommend avoiding left/right setting differences of more than 3.
NOTIC E
On entering the vehicle, if the interior temperature is significantly colder or warmer than the comfort value setting, there is no need to alter the value displayed in order to reach the required level of comfort. The system compensates automatically and corrects the temperature difference as quickly as possible.
NOTIC E
For maximum cooling or heating of the passenger compartment, it is possible to exceed the minimum value 14 or the maximum value 28.► Turn the thumbwheel 1 to the left until "LO" or to the right until "HI".
Air distribution
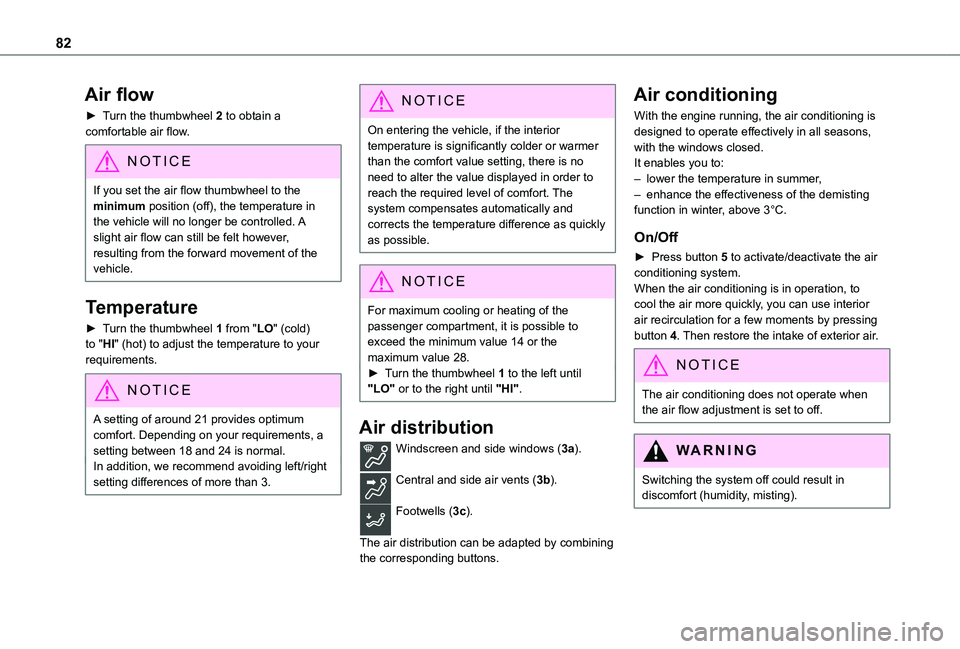
Windscreen and side windows (3a).
Central and side air vents (3b).
Footwells (3c).
The air distribution can be adapted by combining the corresponding buttons.
Air conditioning
With the engine running, the air conditioning is designed to operate effectively in all seasons, with the windows closed.It enables you to:– lower the temperature in summer,– enhance the effectiveness of the demisting function in winter, above 3°C.
On/Off
► Press button 5 to activate/deactivate the air conditioning system.When the air conditioning is in operation, to cool the air more quickly, you can use interior air recirculation for a few moments by pressing button 4. Then restore the intake of exterior air.
NOTIC E
The air conditioning does not operate when the air flow adjustment is set to off.
WARNI NG
Switching the system off could result in discomfort (humidity, misting).
Page 85 of 320
85
Ease of use and comfort
3
Recirculation of interior air
The intake of exterior air helps avoid and eliminate misting of the windscreen and side windows.Recirculating the interior air isolates the passenger compartment from polluted air when passing through high-traffic areas or tunnels.
NOTIC E
When required, this function also allows faster heating or cooling of the air in the passenger compartment.
► Press button 4 to recirculate the interior air or allow the intake of exterior air.
WARNI NG
Avoid prolonged use of interior air recirculation in order to guarantee a good renewal of the air and reduce the risk of fogging (especially when there are several people on board, when the atmosphere is cold/humid...).
Front demisting
- defrosting
Heating
For optimal demisting/defrosting in winter, make the following settings:
► Press button 3a.► Turn the thumbwheel 1 to the maximum temperature.► Turn the thumbwheel 2 on the "demisting/defrosting" symbol.► Do not press the other buttons.After demisting/defrosting is completed, change the settings according to the desired conditions.
Manual air conditioning
For defogging/non-fogging in case of high humidiy or a large temperature difference between the inside and outside of the vehicle, make the following settings:
► Press button 5.► Press button 3a.
► Turn the thumbwheel 1 to a high temperature (21 minimum).► Turn the thumbwheel 2 to level 2 or higher.► Do not press the other buttons.After defogging is completed, change the settings according to the desired conditions.
Dual-zone automatic air
conditioning
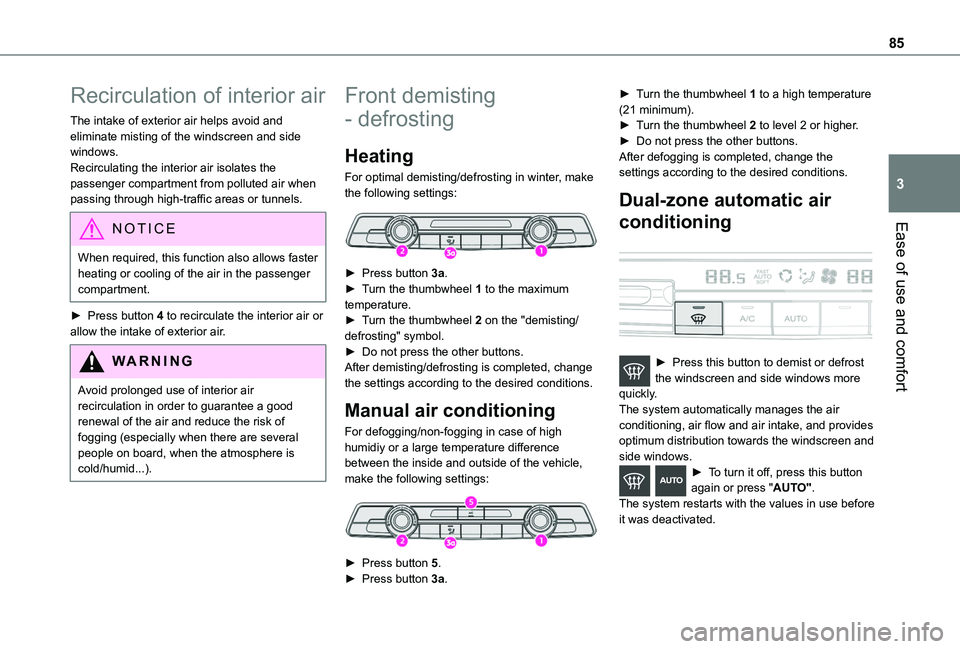
► Press this button to demist or defrost the windscreen and side windows more quickly.The system automatically manages the air conditioning, air flow and air intake, and provides optimum distribution towards the windscreen and side windows.► To turn it off, press this button again or press "AUTO".The system restarts with the values in use before it was deactivated.
Page 104 of 320
104
CountryContact information
Netherlandswww.toyota.nl/klantenservice
[email protected]
[email protected]
[email protected]
[email protected]
[email protected]
[email protected] / [email protected]
[email protected]
[email protected]
Hazard warning lamps
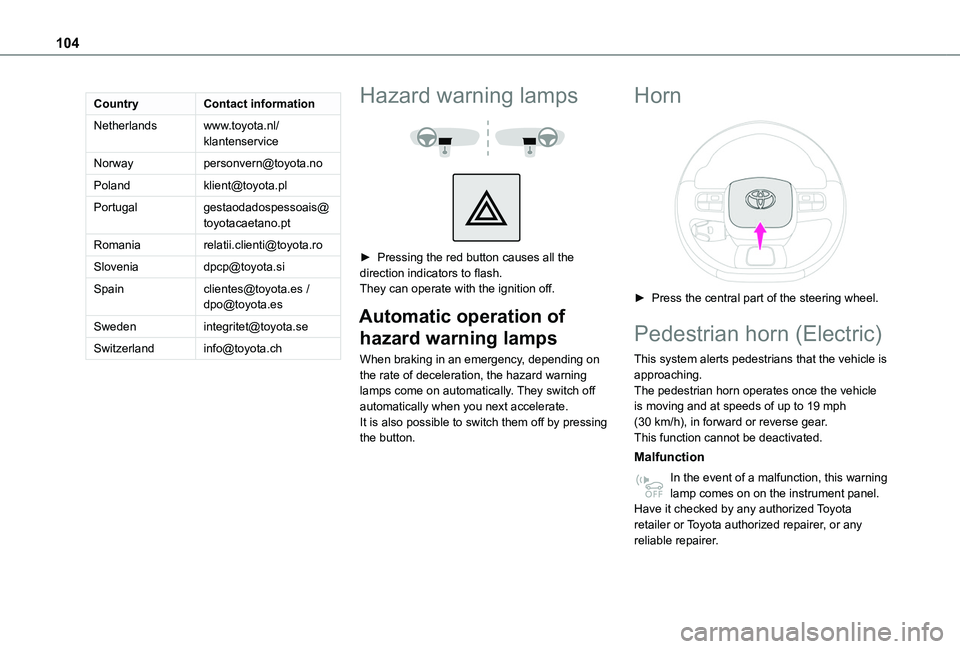
► Pressing the red button causes all the direction indicators to flash.They can operate with the ignition off.
Automatic operation of
hazard warning lamps
When braking in an emergency, depending on the rate of deceleration, the hazard warning lamps come on automatically. They switch off automatically when you next accelerate.It is also possible to switch them off by pressing the button.
Horn
► Press the central part of the steering wheel.
Pedestrian horn (Electric)
This system alerts pedestrians that the vehicle is approaching.The pedestrian horn operates once the vehicle is moving and at speeds of up to 19 mph (30 km/h), in forward or reverse gear.This function cannot be deactivated.
Malfunction
In the event of a malfunction, this warning lamp comes on on the instrument panel.Have it checked by any authorized Toyota retailer or Toyota authorized repairer, or any reliable repairer.
Page 105 of 320
105
Safety
5
Vehicle stability control
(VSC)
The electronic stability control programme includes the following systems:– Anti-lock braking system (ABS) and Electronic brake force distribution (EBFD).– Emergency braking assistance (EBA).– Anti-slip regulation (ASR).– Dynamic stability control (DSC).– Trailer stability assist (TSA).
Anti-lock braking system
(ABS)/Electronic brake force
distribution (EBFD)
These systems enhance the vehicle’s stability and handling during braking, and enable greater control while cornering, particularly on poor or slippery road surfaces.ABS prevents wheel locking in the event of emergency braking.Electronic brake force distribution (EBFD)
manages overall braking pressure on each individual wheel.► When braking in an emergency, depress the pedal very firmly and maintain this pressure.
NOTIC E
Normal operation of the ABS may make itself felt by slight vibrations of the brake pedal.
The fixed illumination of this warning lamp signals that there is a fault with the ABS.The vehicle retains conventional braking. Drive carefully at a moderate speed.Have it checked by any authorized Toyota retailer or Toyota authorized repairer, or any reliable repairer.This warning lamp, when lit together with the STOP and ABS warning lamps, accompanied by a message and an audible signal, indicates an EBFD malfunction.You must stop the vehicle.Stop as soon as it is safe to do so and switch off the ignition.Contact any authorized Toyota retailer or Toyota authorized repairer, or any reliable repairer.
WARNI NG
When changing wheels (tyres and rims), ensure that these are approved for your vehicle.
WARNI NG
After an impactHave it checked by any authorized Toyota retailer or Toyota authorized repairer, or any reliable repairer.
Emergency braking
assistance (EBA)
This system reduces the emergency stopping distance, by optimising the braking pressure.It is triggered in relation to the speed at which the brake pedal is depressed. The effect of this is a reduction in the resistance of the pedal and an increase in breaking efficiency.
Anti-slip regulation (ASR)
/ Dynamic stability control
(DSC)
Anti-slip regulation (or traction control) optimises traction by using engine braking and by applying the brakes on the driving wheels to avoid one or more wheels spinning. It also enhances the vehicle's directional stability.If there is a difference between the vehicle’s trajectory and the path desired by the driver, the dynamic stability control system automatically uses engine braking and the brakes on one or
more wheels to return the vehicle to the desired path, within the limits of the laws of physics.These systems are activated automatically every time the vehicle is started.These systems are activated in the event of a problem with grip or trajectory (confirmed by this warning lamp flashing on the instrument panel).