stop start TOYOTA SEQUOIA 2009 2.G User Guide
[x] Cancel search | Manufacturer: TOYOTA, Model Year: 2009, Model line: SEQUOIA, Model: TOYOTA SEQUOIA 2009 2.GPages: 612
Page 251 of 612
251
2-5. Driving information
2
When driving
Shift into P and turn off the engine.
● When restarting after parking on a slope:
With the transmission in P, start the engine. Be sure to keep
the brake pedal pressed.
Shift into D or R (if reversing).
Release the parking brake and brake pedal, and slowly pull or
back away from the wheel blocks. Stop and apply the brakes.
Have someone retrieve the blocks.
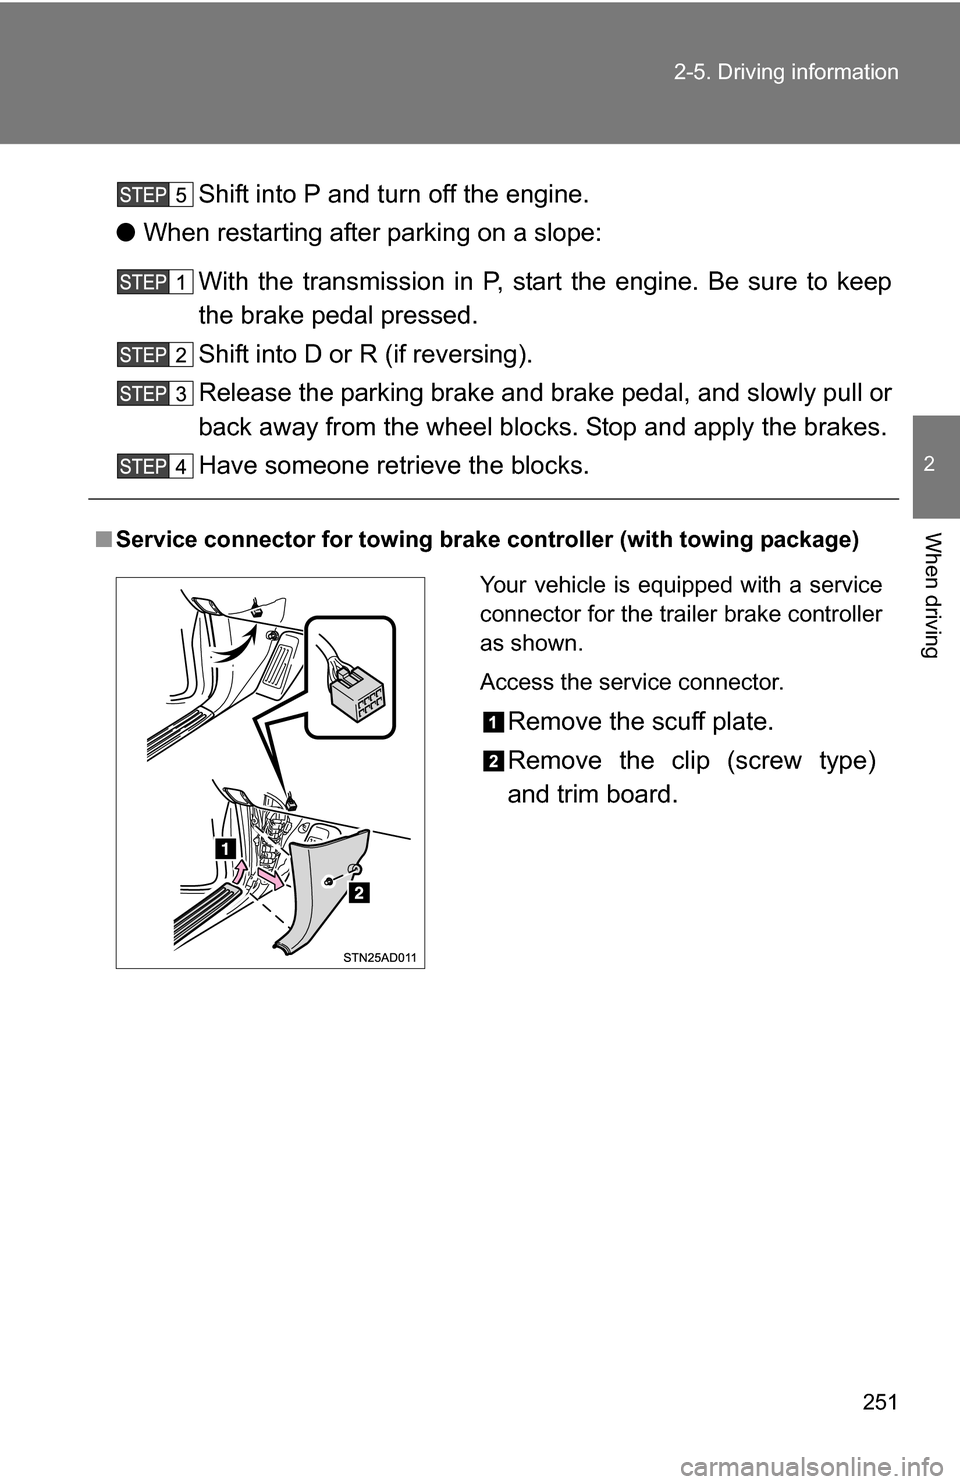
■ Service connector for towing br ake controller (with towing package)
Your vehicle is equipped with a service
connector for the trailer brake controller
as shown.
Access the service connector.
Remove the scuff plate.
Remove the clip (screw type)
and trim board.
Page 488 of 612

488 4-3. Do-it-yourself maintenance
13 FOG15 A Front fog lights
14 STOP 15 AStop lights, high mounted stop-
light, vehicle stability control sys-
tem, anti-lock brake system, shift
lock system, multiport fuel injection
system/sequential multiport fuel
injection system, towing converter
15 TOW BRK 30 A Trailer brake controller
16 IMB 7.5 A Engine immobilizer system
17 AM2 7.5 A Starting system
18 TOWING 30 A Towing converter
19 ALT-S 5 A Charging system
20 TURN-HAZ 15 A Turn signal lights, emergency
flashers, towing converter
21 F/PMP 15 A No circuit
22 ETCS 10 AMultiport fuel injection system/
sequential multiport fuel injection
system, electric throttle control sys-
tem
23 MET-B 5 A Gauges and meters
24 AMP 30 AAudio system, rear view monitor,
navigation system, rear seat enter-
tainment system
25 RAD NO.1 15 A Audio system, rear view monitor,
navigation system, rear seat enter-
tainment system
26 ECU-B1 7.5 AMultiplex communication system,
Multiport fuel injection system/
sequential multiport fuel injection
system, auto anti-glare inside rear
view mirror, power outlets, power
front driver’s seat, power tilt and
power telescopic, power back door
FuseAmpereCircuit
Page 490 of 612
490 4-3. Do-it-yourself maintenance
*: Replace the fuse with one of the same ampere rating as the original.
42 PBD 30 A Power back door
43 RR HTR 40 A Air conditioning system
44 H-LP CLN 30 A Headlight cleaner
45 DEFOG 40 A Rear window defogger
46 SUB BATT 40 A Trailer towing
47 ABS1 50 A
Anti-lock brake system, vehicle sta-
bility control system
48 ABS2 40 A Anti-lock brake system, vehicle sta-
bility control system
49 ST 30 A Starting system
50 HTR 50 A Air conditioning system
51 LH-J/B 150 A AM1, TAIL, PANEL, ACC, CIG, LH-
IG, 4WD, ECU-IG NO.1, BK/UP LP,
SEAT-HTR, A/C IG, ECU-IG NO.2,
WSH, WIPER, OBD, A/C, TI&TE,
FR P/SEAT RH, MIR, DR/LCK, FR
P/SEAT LH, CARGO LP, PWR
OUTLET, POWER NO.1 fuses
52 ALT 180 A
*LH-J/B, HTR, SUB BATT, TOW
BRK, STOP, FOG, TOW TAIL,
DEICER fuses
140 A
*
53 A/PUMP NO.1 50 A Multiport fuel injection system/
sequential multiport fuel injection
system
54 A/PUMP NO.2 50 A Multiport fuel injection
system/sequential multiport fuel
injection system
55 MAIN 40 A HEAD LL, HEAD RL,
HEAD LH, HEAD RH fuses
FuseAmpereCircuit
Page 515 of 612
5
When trouble arises
515
5-1. Essential information
Fuel pump shut off system
Follow the procedure below to restart the engine after the system is
activated.Turn the engine switch to the ACC or LOCK position.
Restart the engine.
NOTICE
■Before starting the engine
Inspect the ground under the vehicle.
If you find that fuel has leaked onto the ground, the fuel system has been
damaged and is in need of repair. Do not restart the engine.
To minimize the risk of fuel leakage when the engine stalls or an air-
bag inflates upon collision, the fu el pump shut off system stops sup-
plying fuel to the engine.
Page 525 of 612
5
When trouble arises
525
5-2. Steps to take in an emergency
CAUTION
■Maintenance of the tire
Each tire, including the spare (if provided), should be checked monthly
when cold and inflated to the inflation pressure recommended by the
vehicle manufacturer on the vehicle
placard or tire inflation pressure
label (tire and load information label). (If your vehicle has tires of a differ-
ent size than the size indicated on the vehicle placard or tire inflation
pressure label [tire and load information label], you should determine the
proper tire inflation pr essure for those tires.)
As an added safety feature, your vehicle has been equipped with a tire
pressure monitoring system (TPMS-ti re pressure warning system) that
illuminates a low tire pressure telltal e (tire pressure warning light) when
one or more of your tires is significantly under-inflated. Accordingly,
when the low tire pressure telltale (tire pre ssure warning light) illumi-
nates, you should stop and check your tires as soon as possible, and
inflate them to the proper pressure. Driving on a significantly under-
inflated tire causes the tire to overheat and can lead to tire failure.
Under-inflation also reduces fuel effi ciency and tire tread life, and may
affect the vehicle’s handling and stopping ability.
Please note that the TPMS (tire pressure warning system) is not a sub-
stitute for proper tire ma intenance, and it is the driver’s responsibility to
maintain correct tire pressure, even if under-inflation has not reached the
level to trigger illu mination of the TPMS low ti re pressure telltale (tire
pressure warning light).
Your vehicle has also been equipped with a TPMS (tire pressure warning
system) malfunction indicator to indi cate when the system is not operat-
ing properly. The TPMS (tire pressure warning system) malfunction indi-
cator is combined with the low tire pressure telltale (tire pressure
warning light). When the system det ects a malfunction, the telltale will
flash for approximately one minute an d then remain continuously illumi-
nated. This sequence will continue upon subsequent vehicle start-ups as
long as the malfunction exists. When the malfunction indi cator is illumi-
nated, the system may not be able to detect or signal low tire pressure
as intended.
Page 550 of 612
550
5-2. Steps to take in an emergency
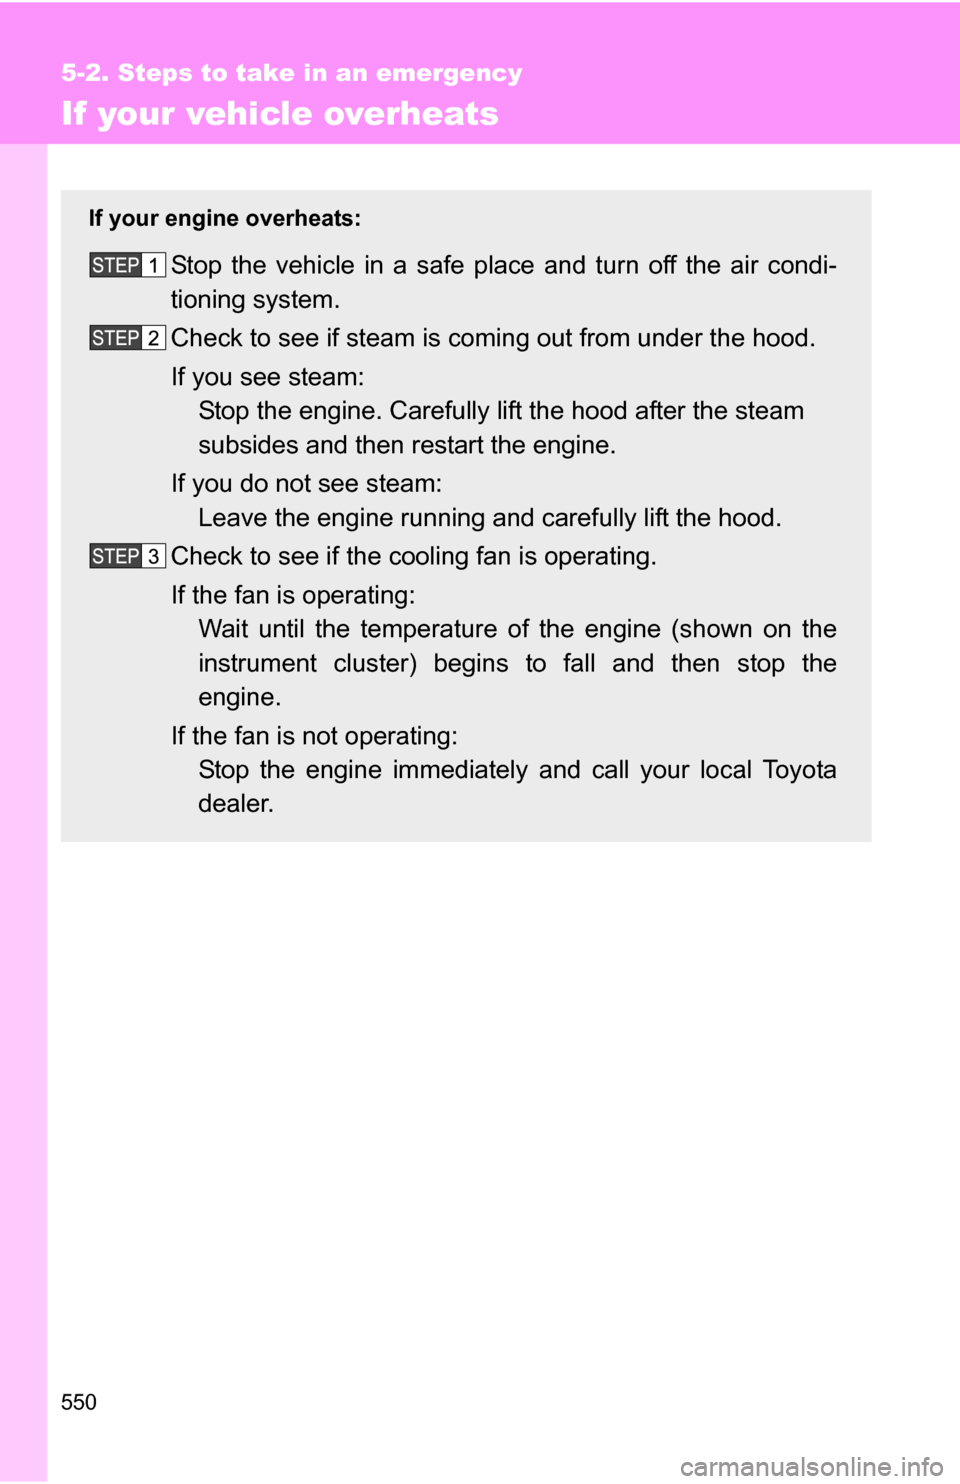
If your vehicle overheats
If your engine overheats:
Stop the vehicle in a safe place and turn off the air condi-
tioning system.
Check to see if steam is coming out from under the hood.
If you see steam: Stop the engine. Carefully lift the hood after the steam
subsides and then restart the engine.
If you do not see steam: Leave the engine running and carefully lift the hood.
Check to see if the cooling fan is operating.
If the fan is operating: Wait until the temperature of the engine (shown on the
instrument cluster) begins to fall and then stop the
engine.
If the fan is not operating: Stop the engine immediately and call your local Toyota
dealer.
Page 553 of 612
5
When trouble arises
553
5-2. Steps to take in an emergency
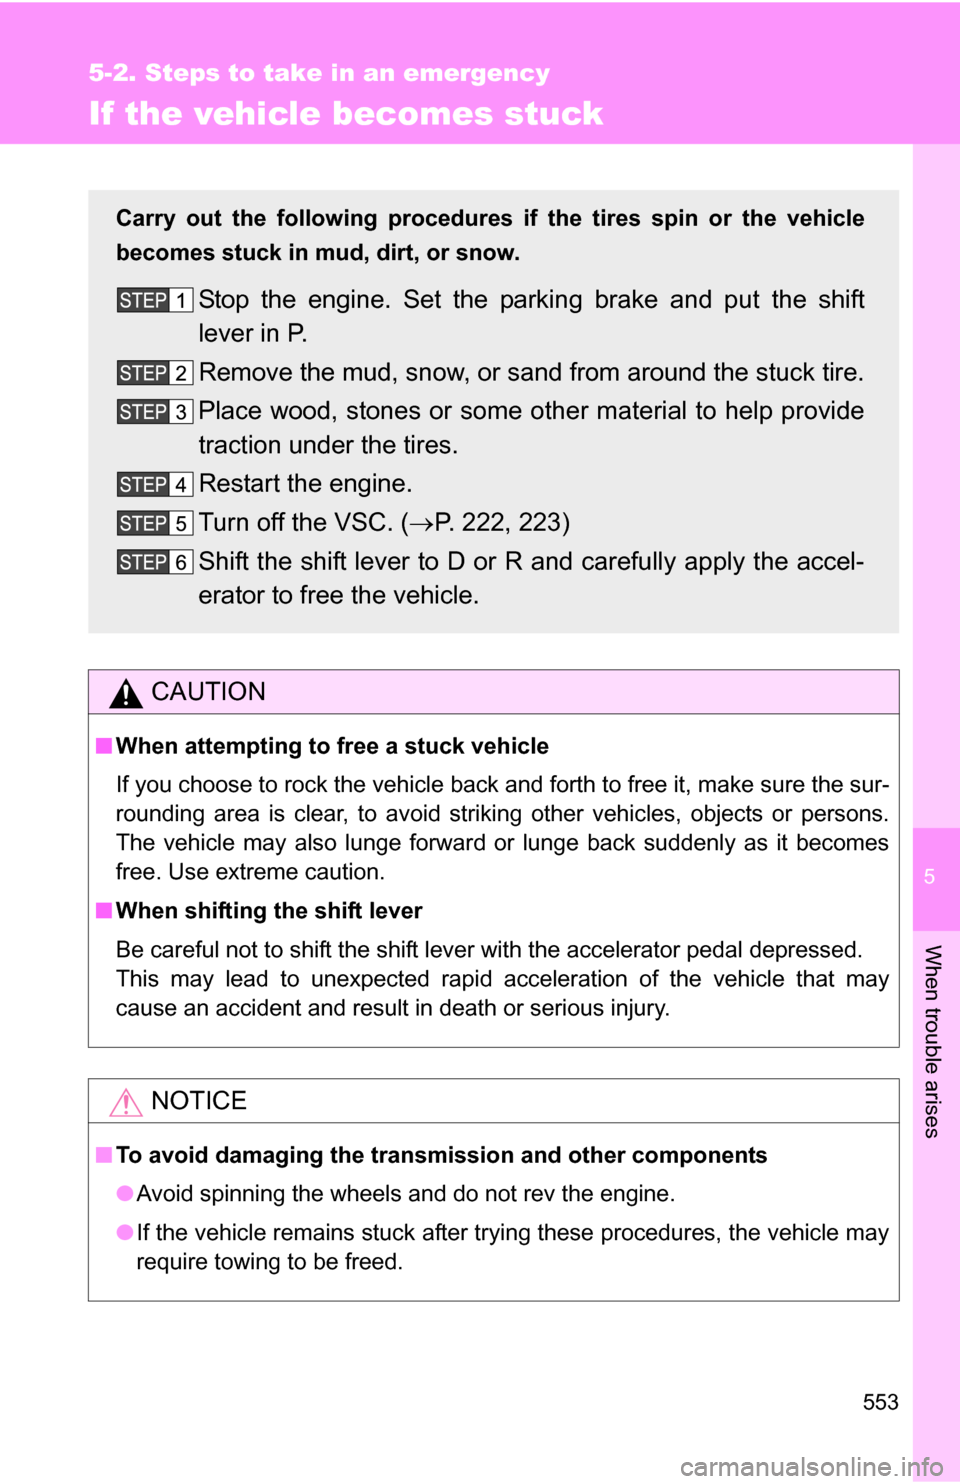
If the vehicle becomes stuck
CAUTION
■When attempting to free a stuck vehicle
If you choose to rock the vehicle back and forth to free it, make sure the sur-
rounding area is clear, to avoid striking other vehicles, objects or persons.
The vehicle may also lunge forward or lunge back suddenly as it becomes
free. Use extreme caution.
■ When shifting the shift lever
Be careful not to shift the shift lever with the accelerator pedal depressed.
This may lead to unexpected rapid acceleration of the vehicle that may
cause an accident and result in death or serious injury.
NOTICE
■To avoid damaging the transmission and other components
●Avoid spinning the wheels and do not rev the engine.
● If the vehicle remains stuck after trying these procedures, the vehicle may
require towing to be freed.
Carry out the following procedures if the tires spin or the vehicle
becomes stuck in mud, dirt, or snow.
Stop the engine. Set the parking brake and put the shift
lever in P.
Remove the mud, snow, or sand from around the stuck tire.
Place wood, stones or some other material to help provide
traction under the tires.
Restart the engine.
Turn off the VSC. ( P. 222, 223)
Shift the shift lever to D or R and carefully apply the accel-
erator to free the vehicle.