TOYOTA SIENNA 2009 XL20 / 2.G Owners Manual
SIENNA 2009 XL20 / 2.G
TOYOTA
TOYOTA
https://www.carmanualsonline.info/img/14/6800/w960_6800-0.png
TOYOTA SIENNA 2009 XL20 / 2.G Owners Manual
Trending: flat tire, weight, tow bar, keyless, coolant temperature, homelink, brake
Page 291 of 592
291
3-2. Using the audio system
3
Interior features
Using the AUX adapter
■Operating portable audio devices connected to the audio system
The volume can be adjusted using the vehicle's audio controls. All other
adjustments must be made on the portable audio device itself.
■ When using a portable audio devi ce connected to the power outlet
Noise may occur during playback. Use the power source of the portable
audio device.
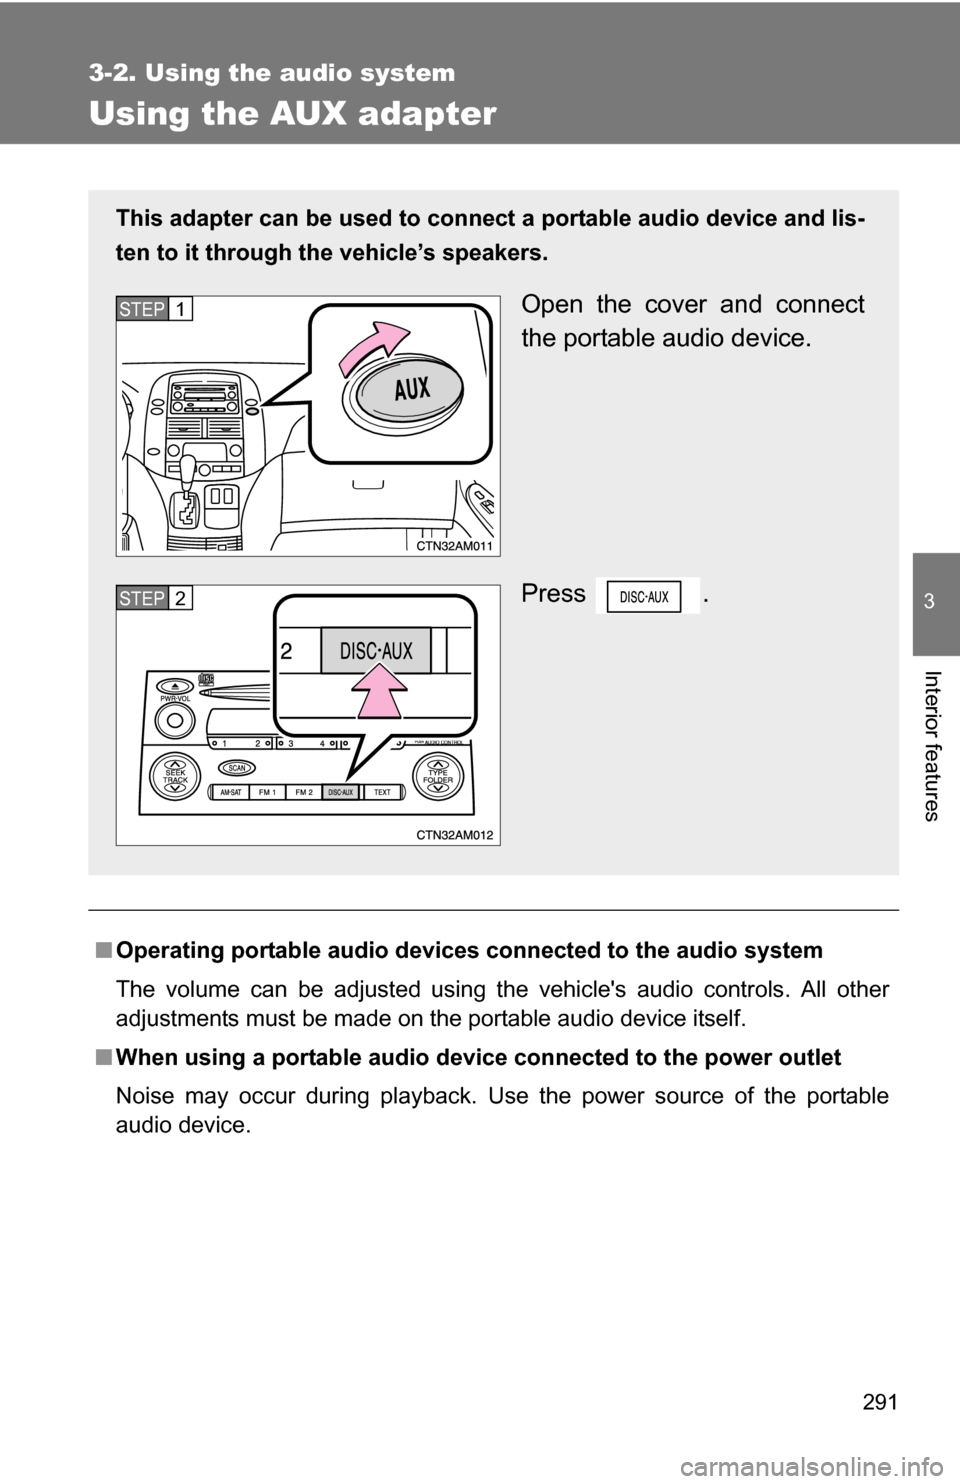
This adapter can be used to connect a portable audio device and lis-
ten to it through the vehicle’s speakers.
Open the cover and connect
the portable audio device.
Press .STEP1
STEP2
Page 292 of 592
292
3-2. Using the audio system
Using the steering wheel audio switches (if equipped)
Turning on the powerPress when the audio system is turned off.
The audio system can be turned off by holding down until you
hear a beep.
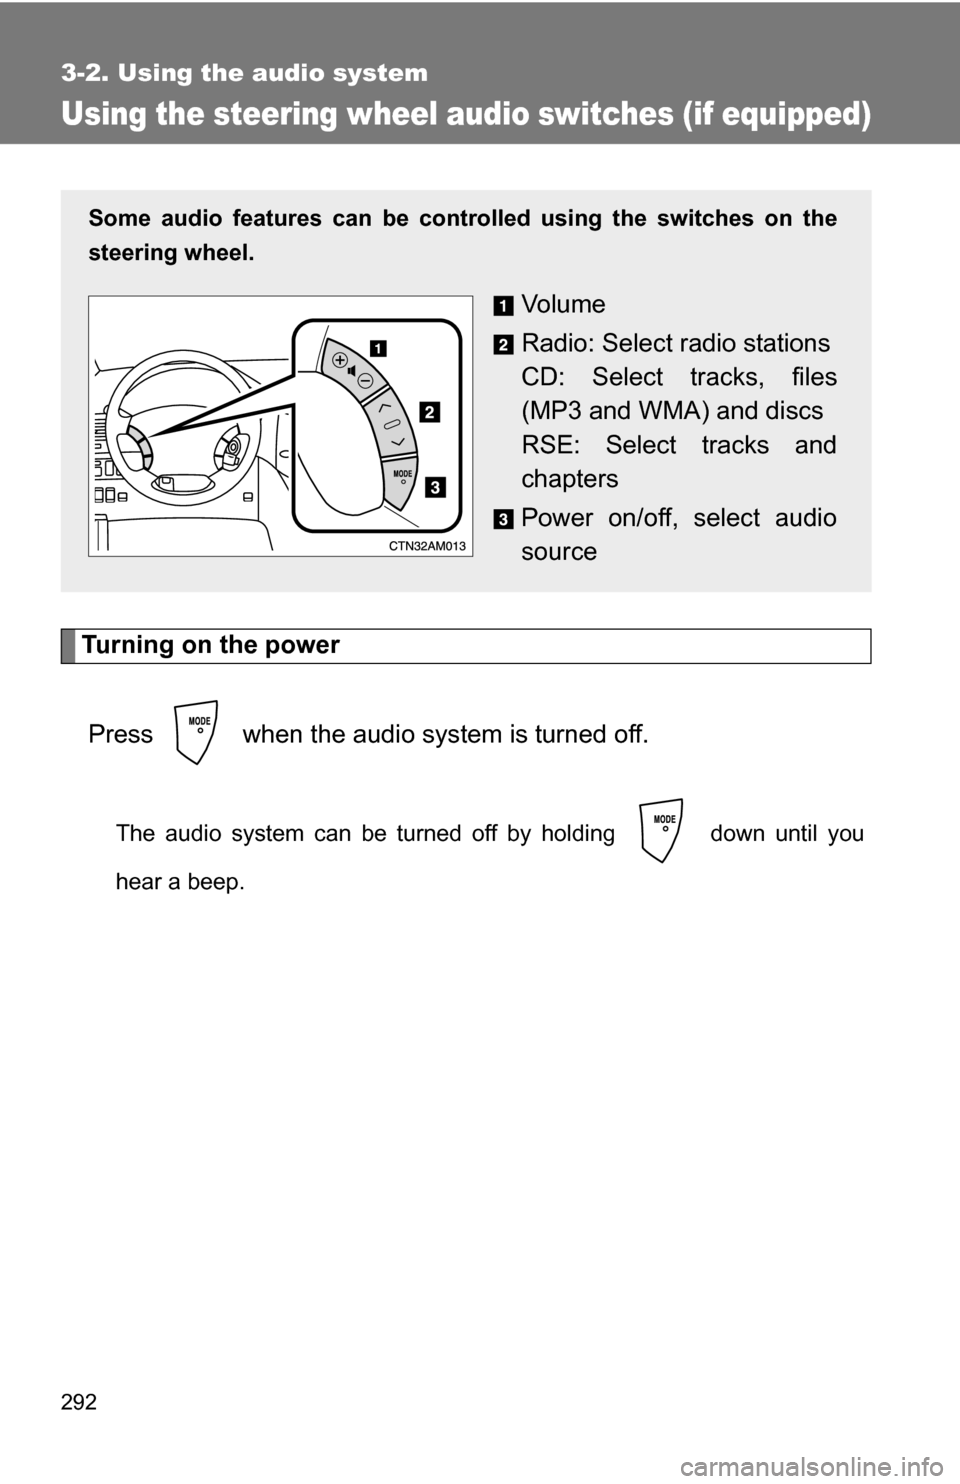
Some audio features can be cont rolled using the switches on the
steering wheel.
Vo l u m e
Radio: Select radio stations
CD: Select tracks, files
(MP3 and WMA) and discs
RSE: Select tracks and
chapters
Power on/off, select audio
source
Page 293 of 592
293
3-2. Using the audio system
3
Interior features
Changing the audio source
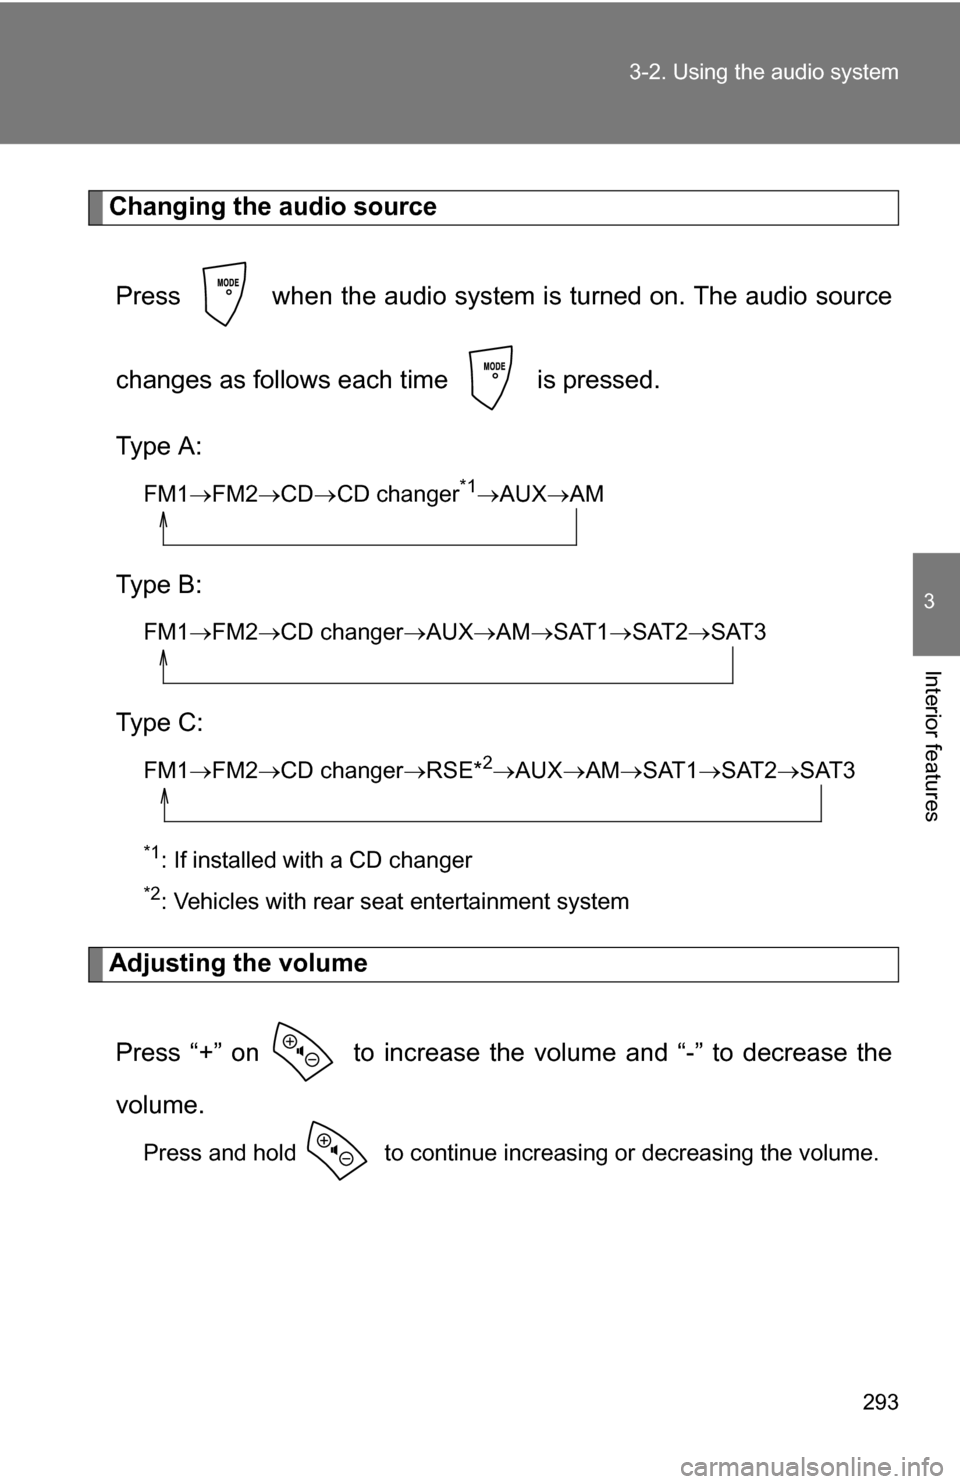
Press when the audio system is turned on. The audio source
changes as follows each time is pressed.
Type A:
FM1 FM2 CD CD changer*1AUXAM
Type B:
FM1FM2 CD changer AUXAMSAT1 SAT2SAT3
Type C:
FM1FM2 CD changer RSE*2AUXAMSAT1 SAT2SAT3
*1: If installed with a CD changer
*2: Vehicles with rear seat entertainment system
Adjusting the volume
Press “+” on to increase the vo lume and “-” to decrease the
volume.
Press and hold to continue increasing or decreasing the volume.
Page 294 of 592
294 3-2. Using the audio system
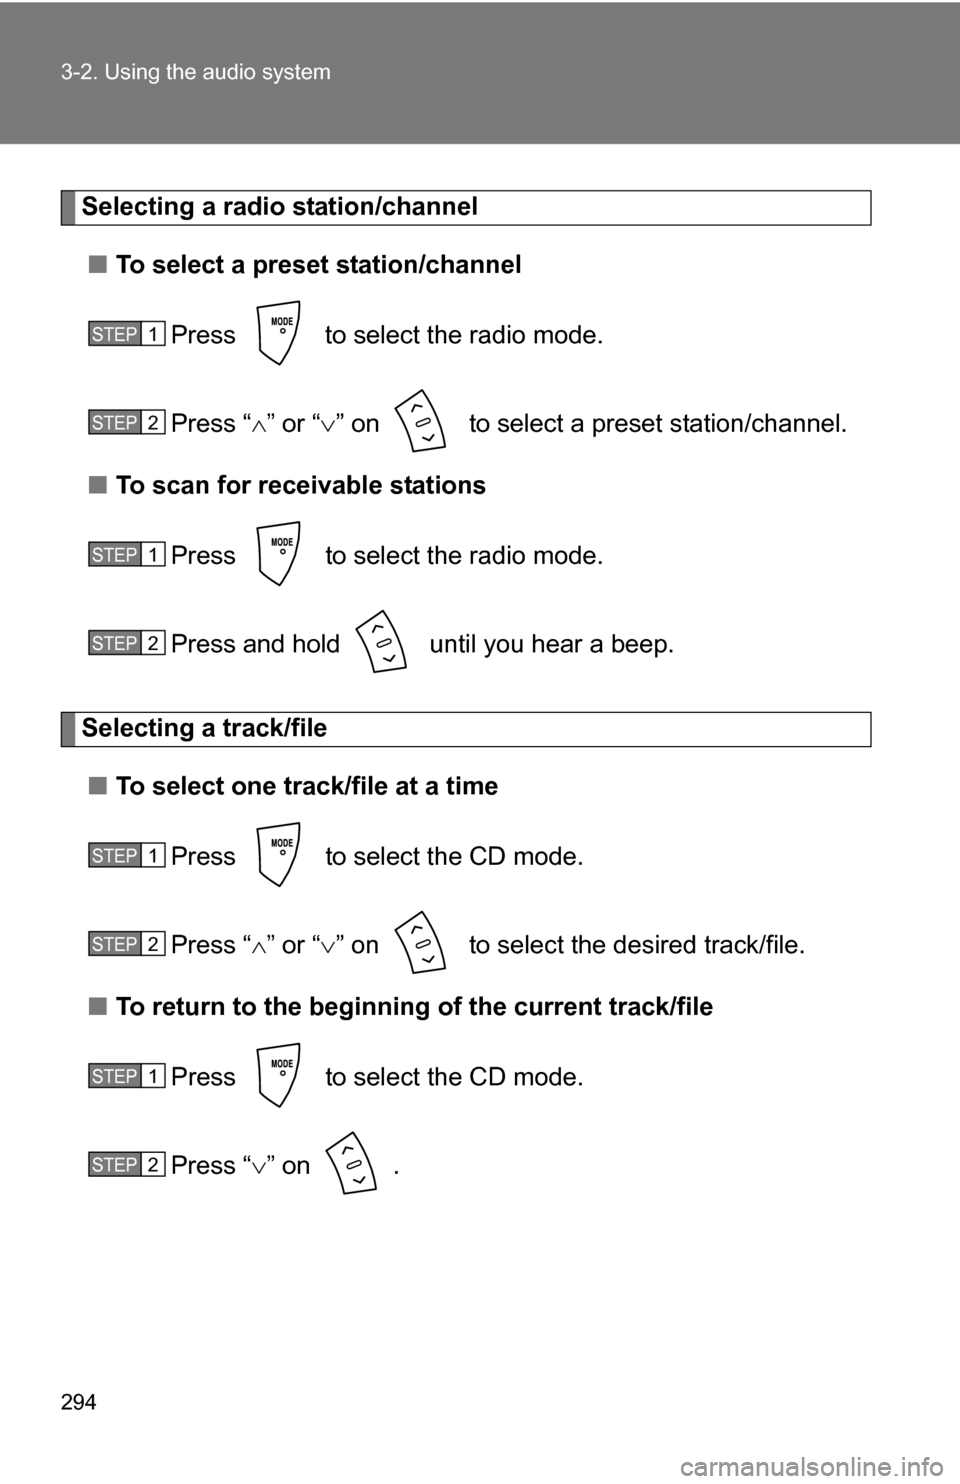
Selecting a radio station/channel■ To select a preset station/channel
Press to select the radio mode.
Press “ ” or “ ” on to select a preset station/channel.
■ To scan for receivable stations
Press to select the radio mode.
Press and hold until you hear a beep.
Selecting a track/file■ To select one track/file at a time
Press to select the CD mode.
Press “ ” or “ ” on to select t he desired track/file.
■ To return to the beginning of the current track/file
Press to select the CD mode.
Press “ ” on .
STEP1
STEP2
STEP1
STEP2
STEP1
STEP2
STEP1
STEP2
Page 295 of 592
295
3-2. Using the audio system
3
Interior features
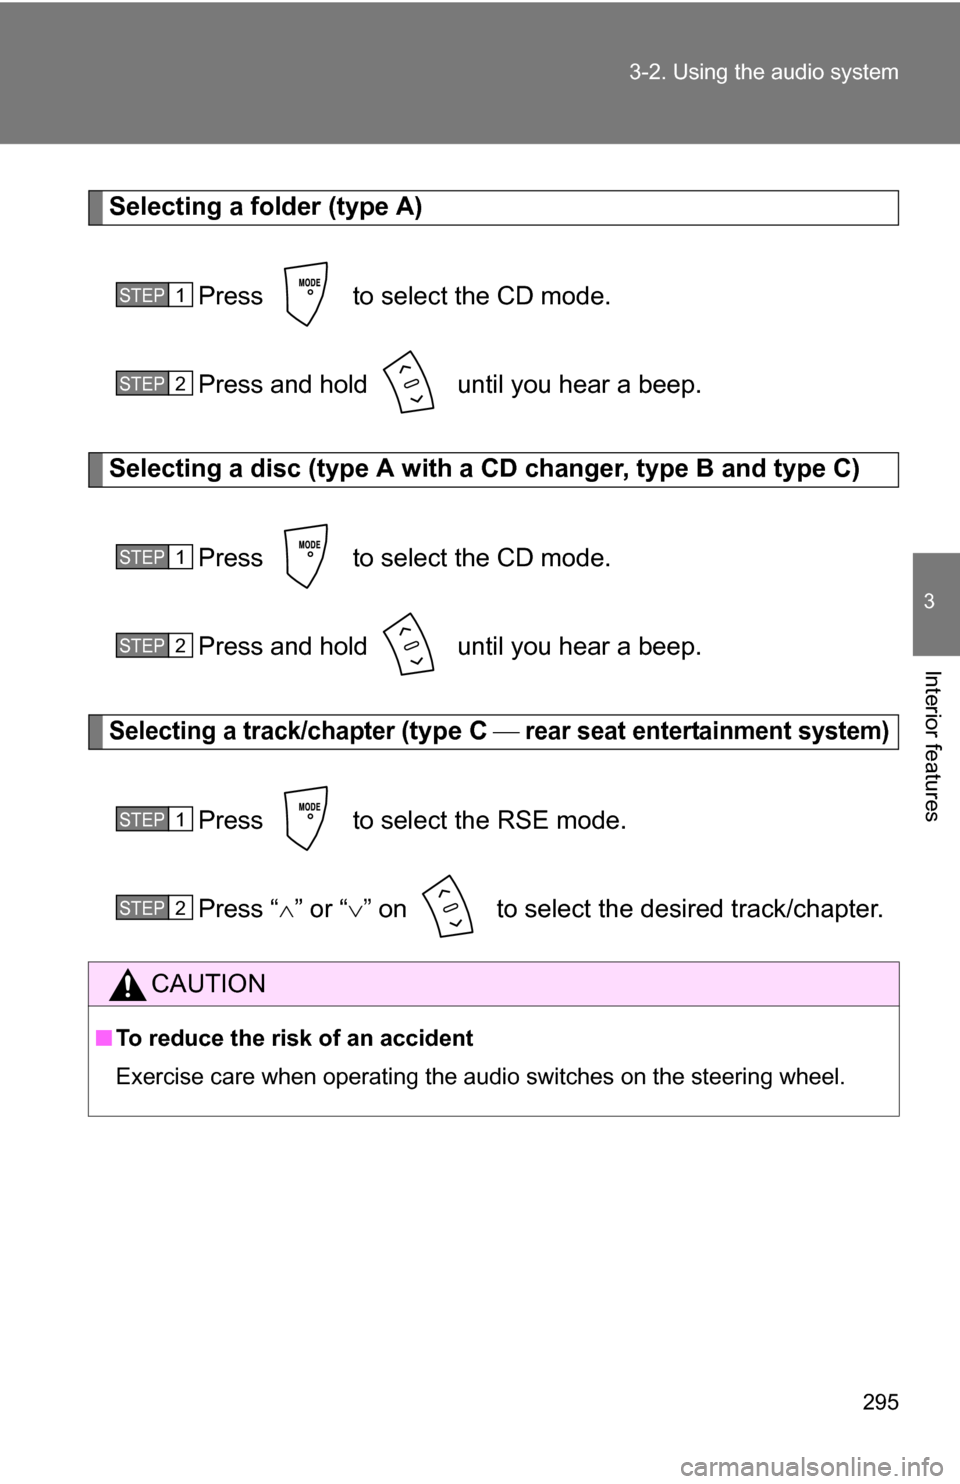
Selecting a folder (type A)
Press to select the CD mode.
Press and hold until you hear a beep.
Selecting a disc (type A with a CD changer, type B and type C)
Press to select the CD mode.
Press and hold until you hear a beep.
Selecting a track/chapter (type C rear seat entertainment system)
Press to select the RSE mode.
Press “ ” or “ ” on to select the desired track/chapter.
CAUTION
■ To reduce the risk of an accident
Exercise care when operating the audio switches on the steering wheel.
STEP1
STEP2
STEP1
STEP2
STEP1
STEP2
Page 296 of 592
296
3-3. Using the rear audio system
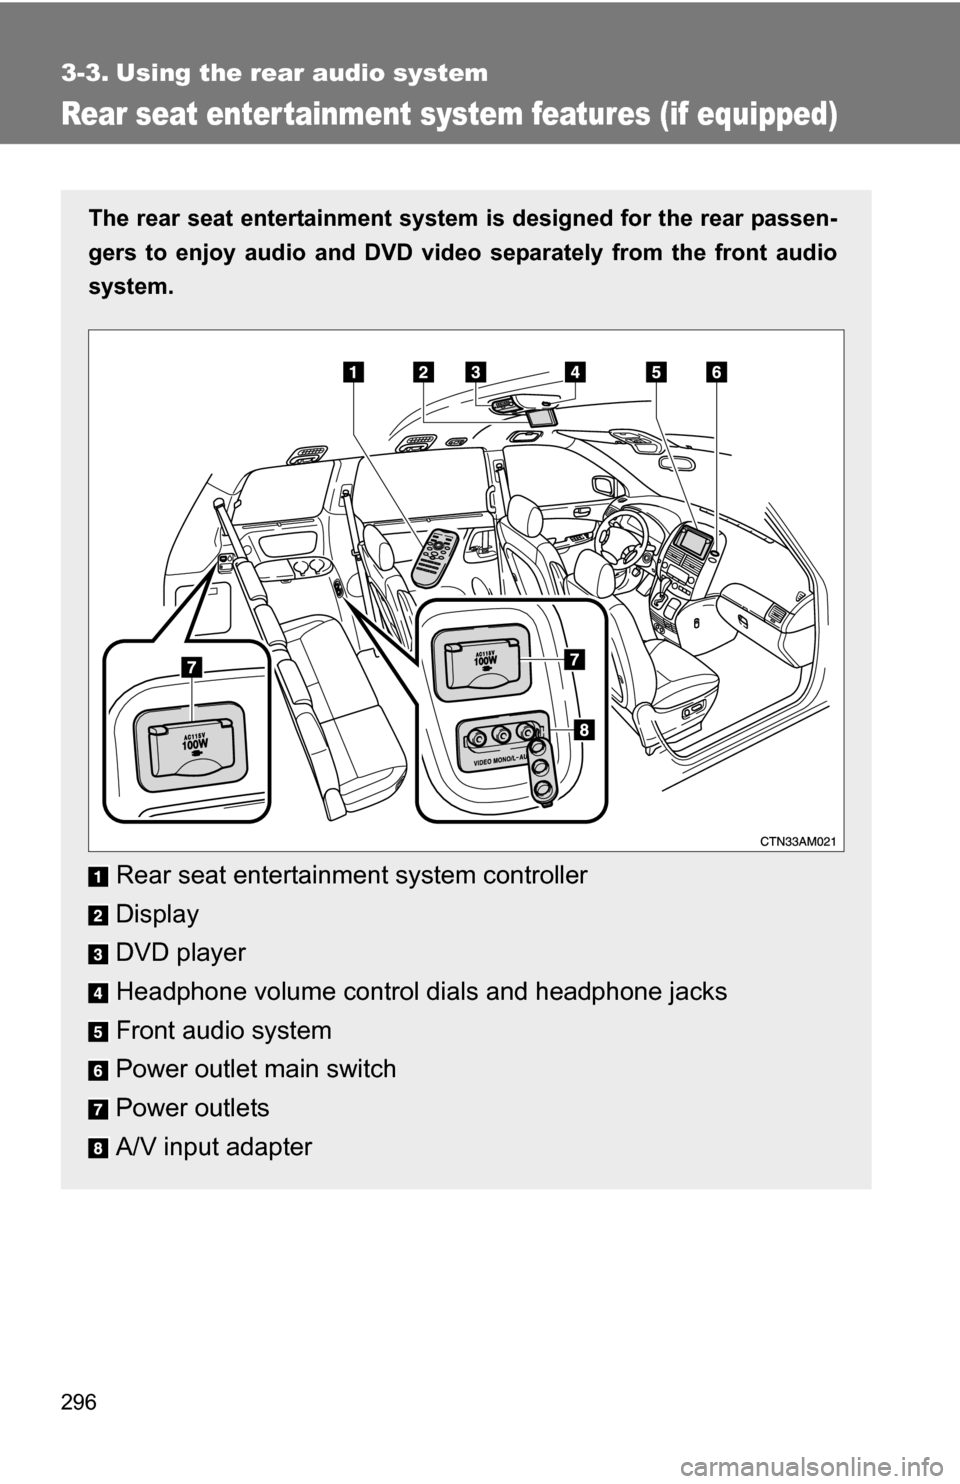
Rear seat enter tainment system features (if equipped)
The rear seat entertainment system is designed for the rear passen-
gers to enjoy audio and DVD vide o separately from the front audio
system.
Rear seat entertainment system controller
Display
DVD player
Headphone volume control dials and headphone jacks
Front audio system
Power outlet main switch
Power outlets
A/V input adapter
Page 297 of 592
297
3-3. Using the rear audio system
3
Interior features
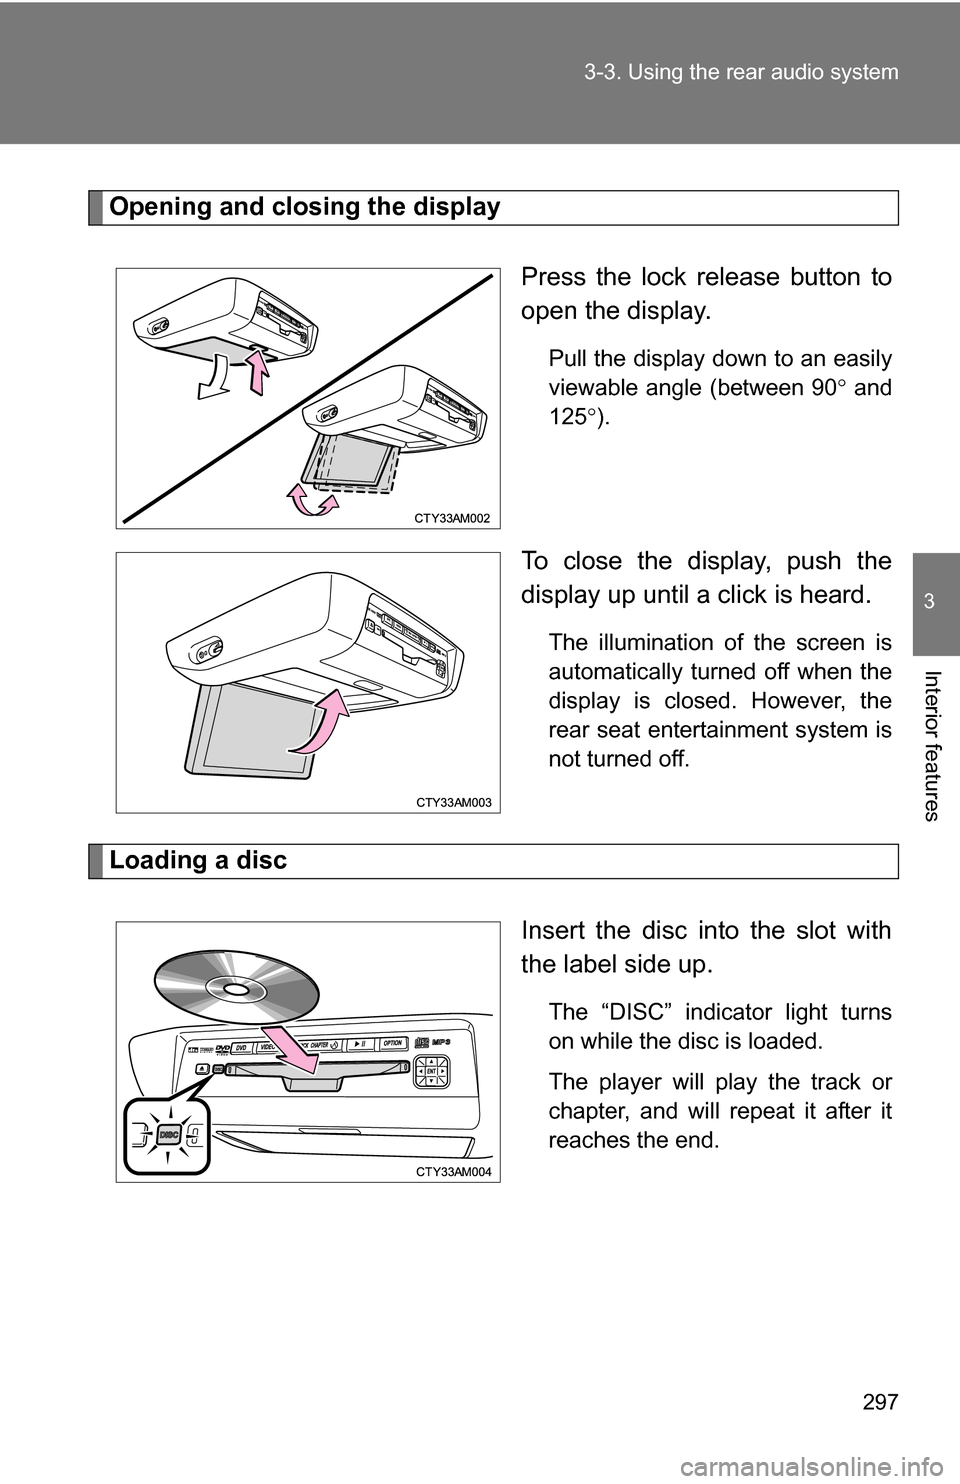
Opening and closing the display
Press the lock release button to
open the display.
Pull the display down to an easily
viewable angle (between 90 and
125 ).
To close the display, push the
display up until a click is heard.
The illumination of the screen is
automatically turned off when the
display is closed. However, the
rear seat entertainment system is
not turned off.
Loading a disc
Insert the disc into the slot with
the label side up.
The “DISC” indicator light turns
on while the disc is loaded.
The player will play the track or
chapter, and will repeat it after it
reaches the end.
Page 298 of 592
298 3-3. Using the rear audio system
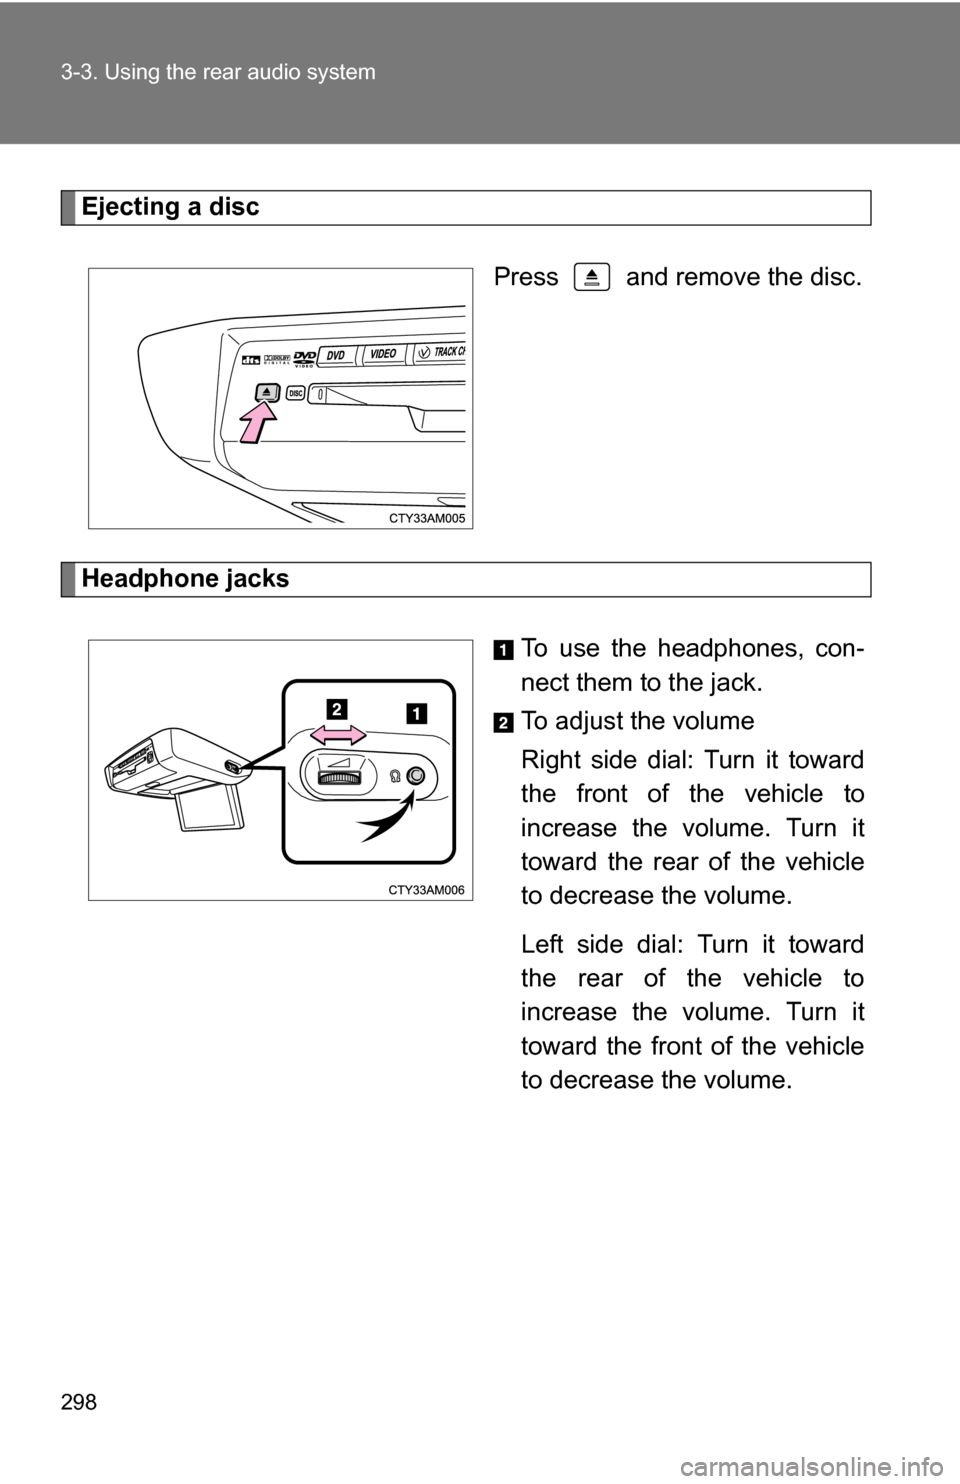
Ejecting a discPress and remove the disc.
Headphone jacks To use the headphones, con-
nect them to the jack.
To adjust the volume
Right side dial: Turn it toward
the front of the vehicle to
increase the volume. Turn it
toward the rear of the vehicle
to decrease the volume.
Left side dial: Turn it toward
the rear of the vehicle to
increase the volume. Turn it
toward the front of the vehicle
to decrease the volume.
Page 299 of 592
299
3-3. Using the rear audio system
3
Interior features
■
The rear seat entertainmen t system can be used when
The engine switch is in the “ACC” or “ON” position.
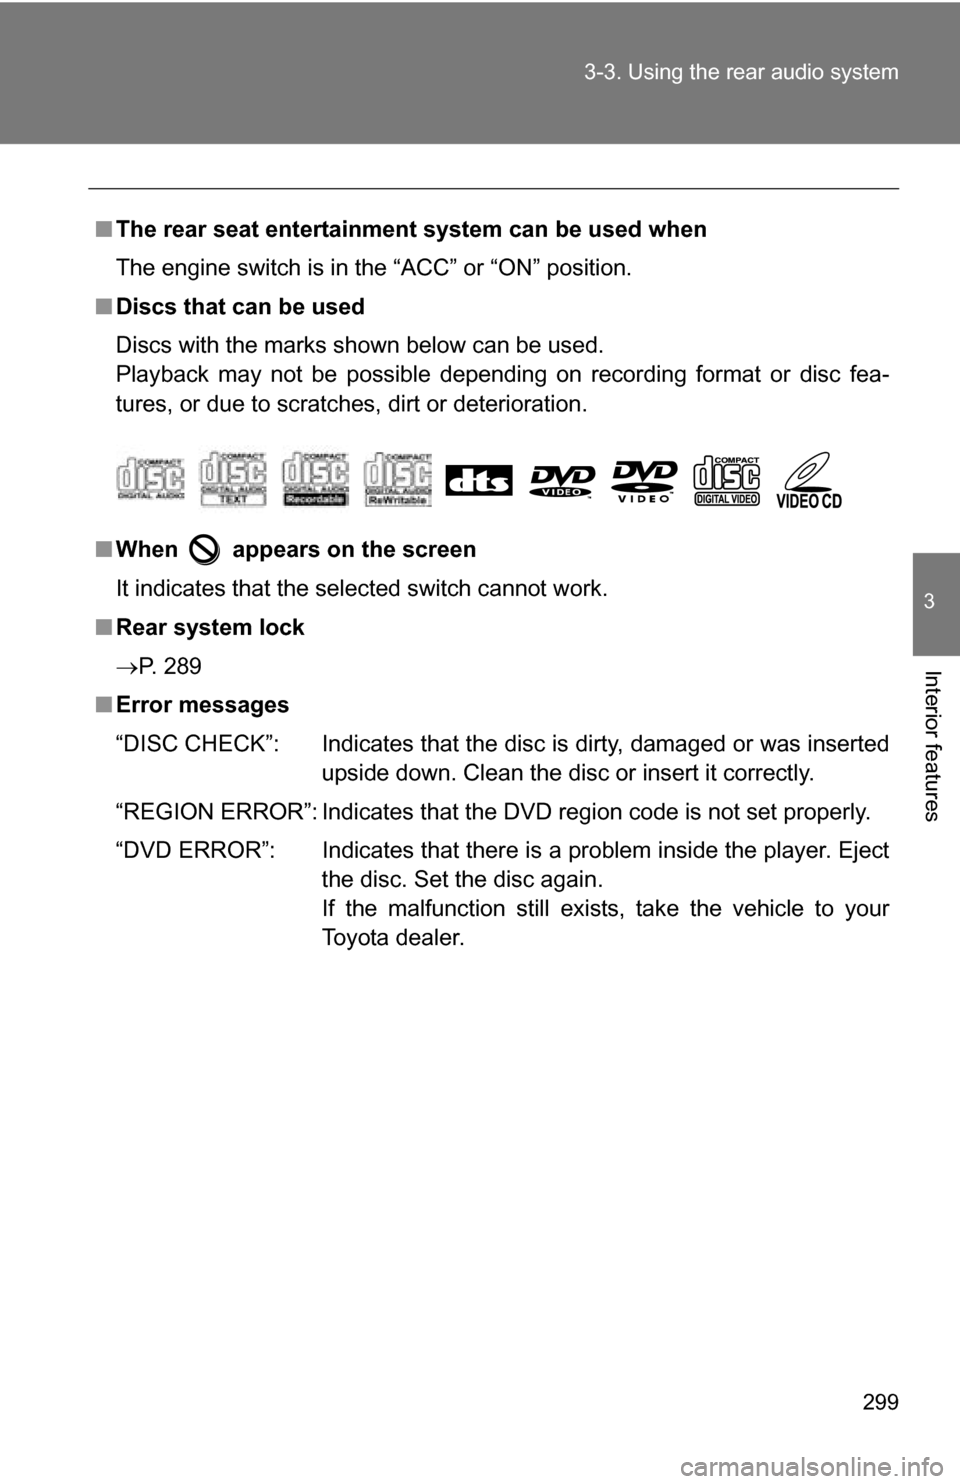
■ Discs that can be used
Discs with the marks shown below can be used.
Playback may not be possible depending on recording format or disc fea-
tures, or due to scratches, dirt or deterioration.
■ When appears on the screen
It indicates that the selected switch cannot work.
■ Rear system lock
P. 289
■ Error messages
“DISC CHECK”: Indicates that the disc is dirty, damaged or was inserted
upside down. Clean the disc or insert it correctly.
“REGION ERROR”: Indicates that the DVD region code is not set properly.
“DVD ERROR”: Indicates that there is a problem inside the player. Eject the disc. Set the disc again.
If the malfunction still exists, take the vehicle to your
Toyota dealer.
Page 300 of 592
300 3-3. Using the rear audio system
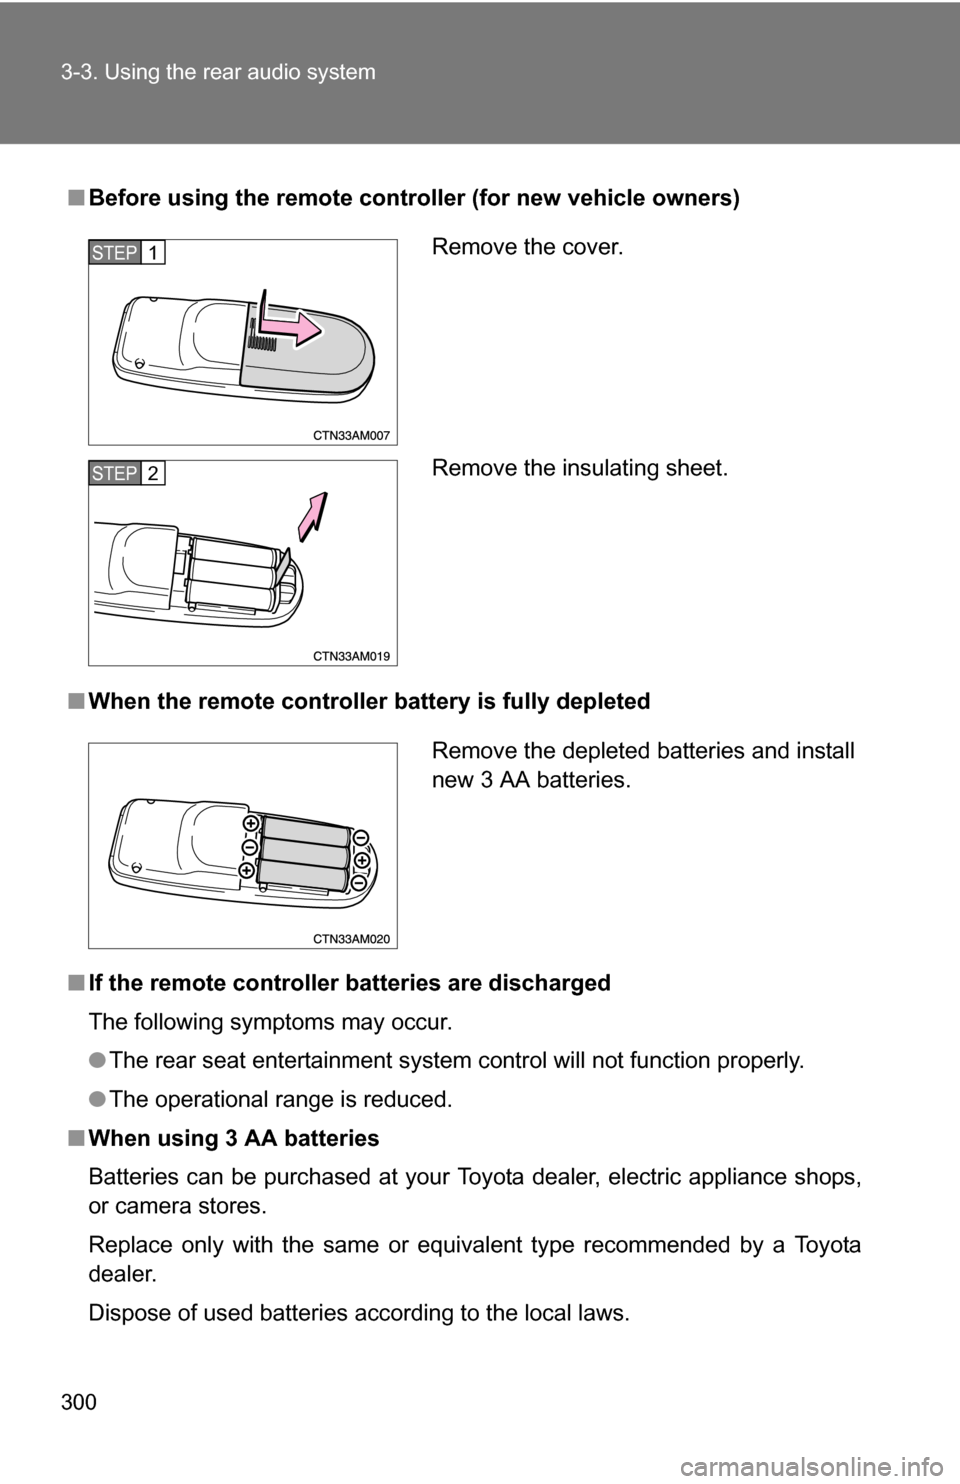
■Before using the remote controller (for new vehicle owners)
■ When the remote controller battery is fully depleted
■ If the remote controller batteries are discharged
The following symptoms may occur.
●The rear seat entertainment system control will not function properly.
● The operational range is reduced.
■ When using 3 AA batteries
Batteries can be purchased at your Toyota dealer, electric appliance shops,
or camera stores.
Replace only with the same or equivalent type recommended by a Toyota
dealer.
Dispose of used batteries according to the local laws.
Remove the cover.
Remove the insulating sheet.STEP1
STEP2
Remove the depleted batteries and install
new 3 AA batteries.
Trending: wipers, brake rotor, service indicator, warning light, differential, display, coolant temperature
