change time TOYOTA TACOMA 2009 Owners Manual (in English)
[x] Cancel search | Manufacturer: TOYOTA, Model Year: 2009, Model line: TACOMA, Model: TOYOTA TACOMA 2009Pages: 520, PDF Size: 10.75 MB
Page 24 of 520
24
For your information
Main Owners Manual
Please note that this manual applies to all models explains and all equip-
ment, including options. Therefore, you may find some explanations for
equipment not installed on your vehicle.
All specifications provided in this manual are current at the time of printing.
However, because of the Toyota policy of continual product improvement, we
reserve the right to make changes at any time without notice.
Depending on specifications, the vehicle shown in the illustrations may differ
from your vehicle in terms of equipment.
Accessories, spare parts and modification of your Toyota
A wide variety of non-genuine spare parts and accessories for Toyota
vehicles are currently available in the market. You should know that Toyota
does not warrant these products and is not responsible for their
performance, repair, or replacement, or for any damage they may cause to,
or adverse effect they may have on, your Toyota vehicle.
This vehicle should not be modified with non-genuine Toyota products.
Modification with non-genuine Toyota products could affect its performance,
safety or durability, and may even violate governmental regulations. In
addition, damage or performance problems resulting from the modification
may not be covered under warranty.
Installation of a mobile two-way radio system
As the installation of a mobile two-way radio system in your vehicle could
affect electronic systems such as the multiport fuel injection system/sequen-
tial multiport fuel injection system, cruise control system, anti-lock brake sys-
tem, SRS airbag system and seat belt pretensioner system, be sure to check
with your Toyota dealer for precautionary measures or special instructions
regarding installation.
Page 232 of 520
232 3-2. Using the audio system
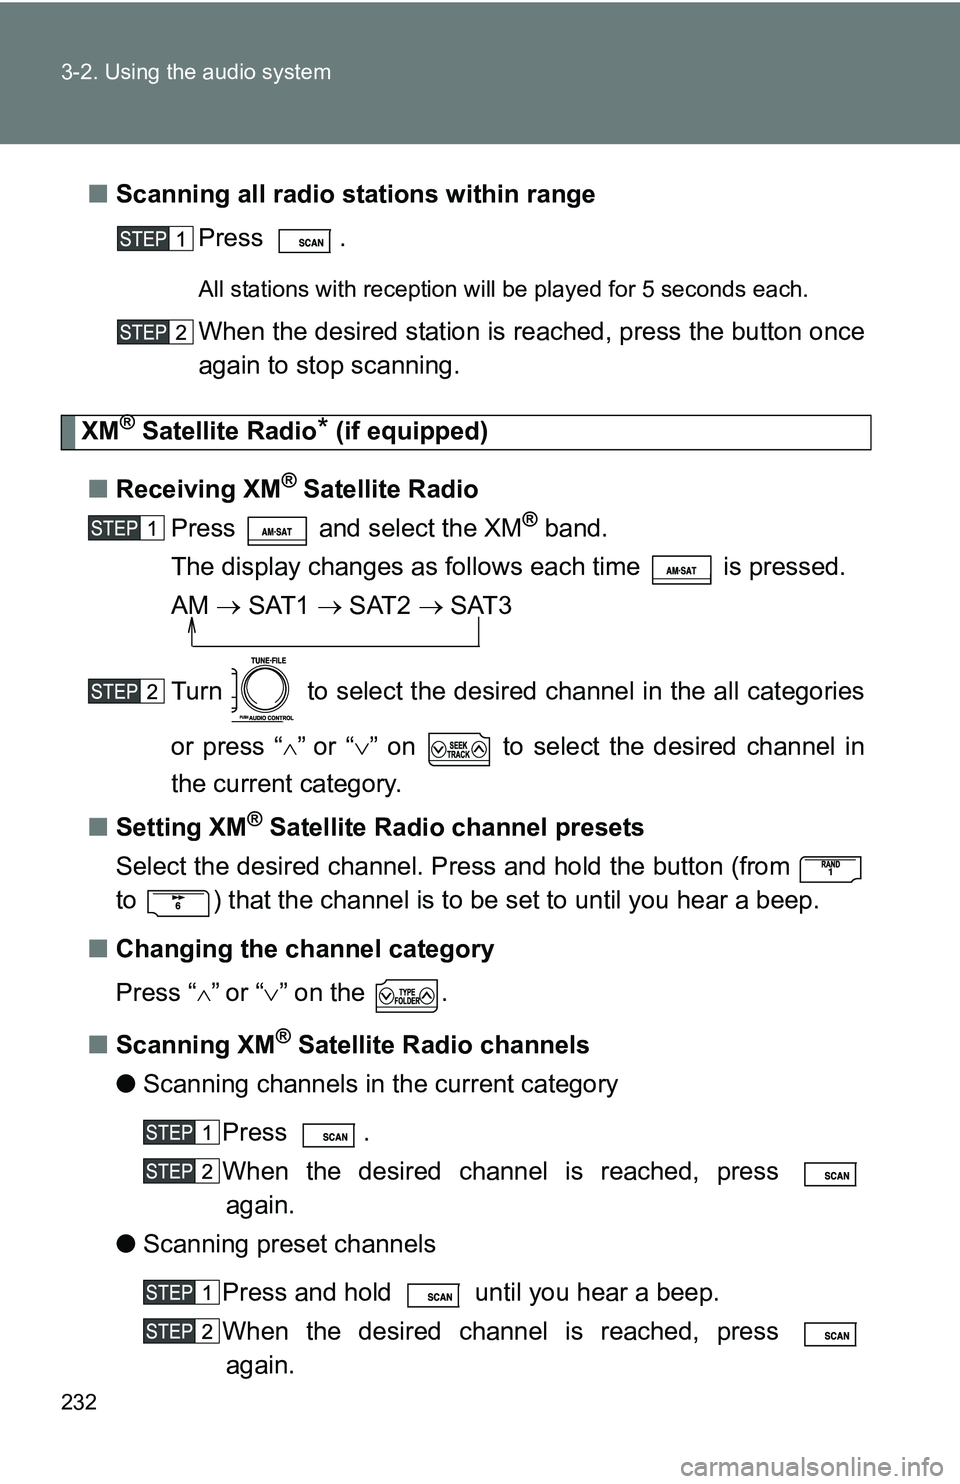
■Scanning all radio stations within range
Press .
All stations with reception will be played for 5 seconds each.
When the desired station is reached, press the button once
again to stop scanning.
XM® Satellite Radio* (if equipped)
■ Receiving XM
® Satellite Radio
Press and select the XM
® band.
The display changes as follows each time is pressed.
AM SAT1 SAT2 SAT3
Turn to select the desired channel in the all categories
or press “
”or “ ” on to select the desired channel in
the current category.
■ Setting XM
® Satellite Radio channel presets
Select the desired channel. Press and hold the button (from
to ) that the channel is to be set to until you hear a beep.
■ Changing the channel category
Press “
”or “ ” on the .
■ Scanning XM
® Satellite Radio channels
● Scanning channels in the current category
Press .
When the desired channel is reached, press again.
● Scanning preset channels
Press and hold until you hear a beep.
When the desired channel is reached, press again.
Page 233 of 520
233
3-2. Using the audio system
3
Interior and exterior features
■
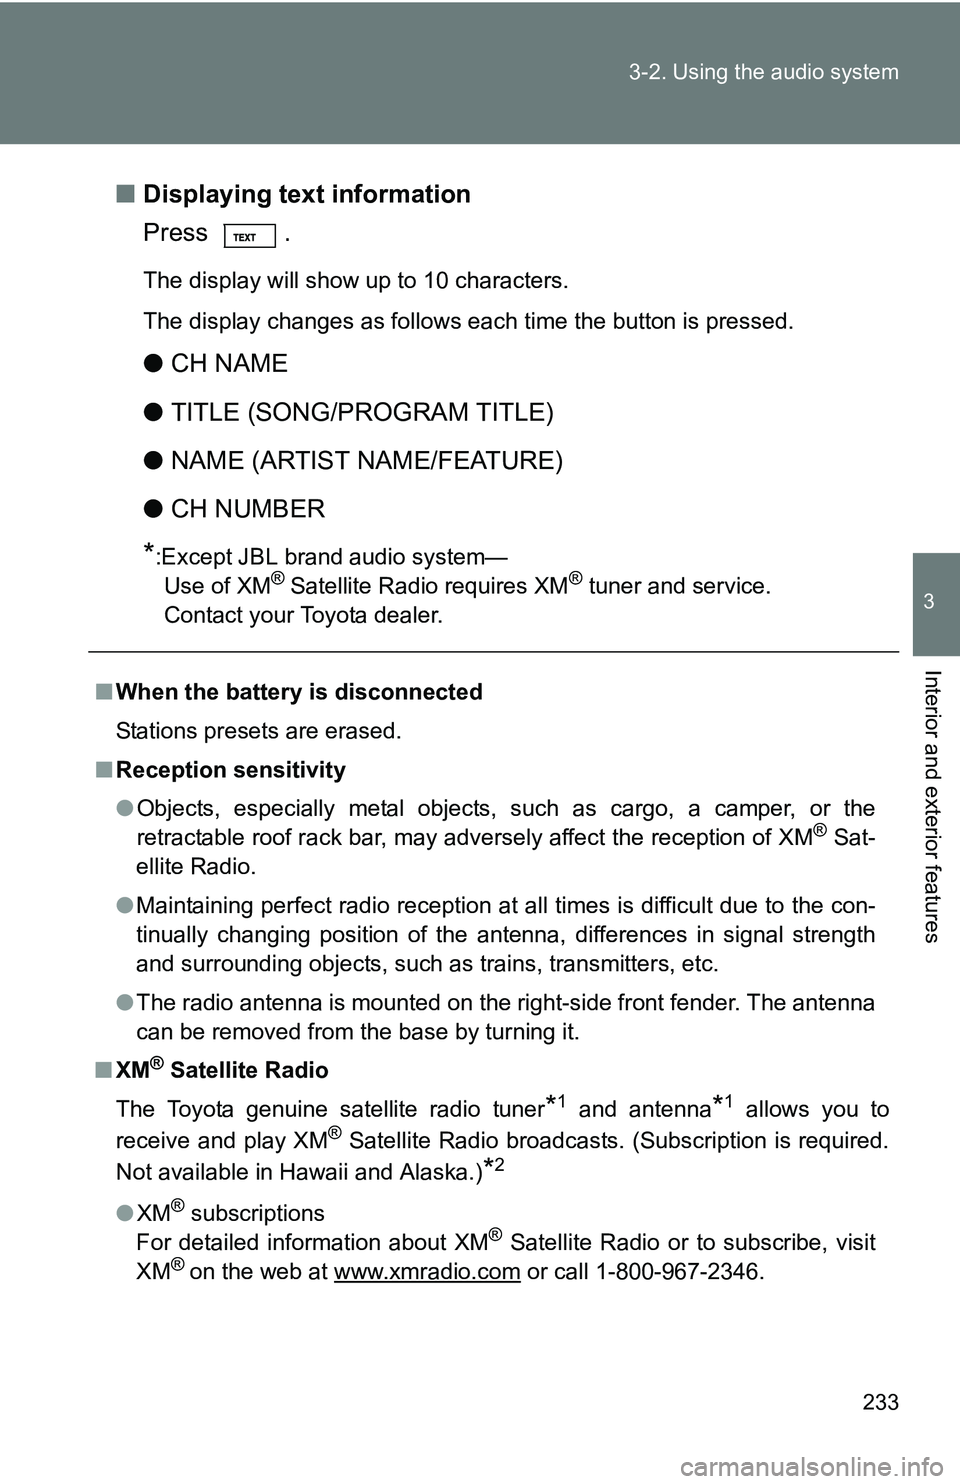
Displaying text information
Press .
The display will show up to 10 characters.
The display changes as follows each time the button is pressed.
●CH NAME
● TITLE (SONG/PROGRAM TITLE)
● NAME (ARTIST NAME/FEATURE)
● CH NUMBER
*:Except JBL brand audio system—
Use of XM® Satellite Radio requires XM® tuner and service.
Contact your Toyota dealer.
■ When the battery is disconnected
Stations presets are erased.
■ Reception sensitivity
●Objects, especially metal objects, such as cargo, a camper, or the
retractable roof rack bar, may adversely affect the reception of XM
® Sat-
ellite Radio.
● Maintaining perfect radio reception at all times is difficult due to the con-
tinually changing position of the antenna, differences in signal strength
and surrounding objects, such as trains, transmitters, etc.
● The radio antenna is mounted on the right-side front fender. The antenna
can be removed from the base by turning it.
■ XM
® Satellite Radio
The Toyota genuine satellite radio tuner
*1 and antenna*1 allows you to
receive and play XM® Satellite Radio broadcasts. (Subscription is required.
Not available in Hawaii and Alaska.)
*2
● XM® subscriptions
For detailed information about XM® Satellite Radio or to subscribe, visit
XM® on the web at www.xmradio.com or call 1-800-967-2346.
Page 235 of 520
235
3-2. Using the audio system
3
Interior and exterior features
Contact the XM® Listener Care Center at 1-800-967-2346 during the follow-
ing hours
*.
Monday - Saturday: 6 a.m. - 2 a.m. Eastern Time
Sunday: 8 a.m. - 8 p.m. Eastern Time
*: Subject to change without notice.
■ Certifications for the radio tuner
This equipment has been tested and found to comply with the limits for a
class B digital device, pursuant to Part 15 of the FCC Rules. These limits are
designed to provide reasonable protection against harmful interference in a
residential installation. This equipment generates, uses and can radiate
radio frequency energy and, if not installed and used in accordance with the
instructions, may cause harmful interference to radio communications. How-
ever, there is no guarantee that interference will not occur in a particular
installation.
If this equipment does cause harmful interference to radio or television
reception, which can be determined by turning the equipment off and on, the
user is encouraged to try to correct the interference by trying one or more of
the following:
●Reorienting or relocate the receiving antenna.
● Increasing the separation between the equipment and receiver.
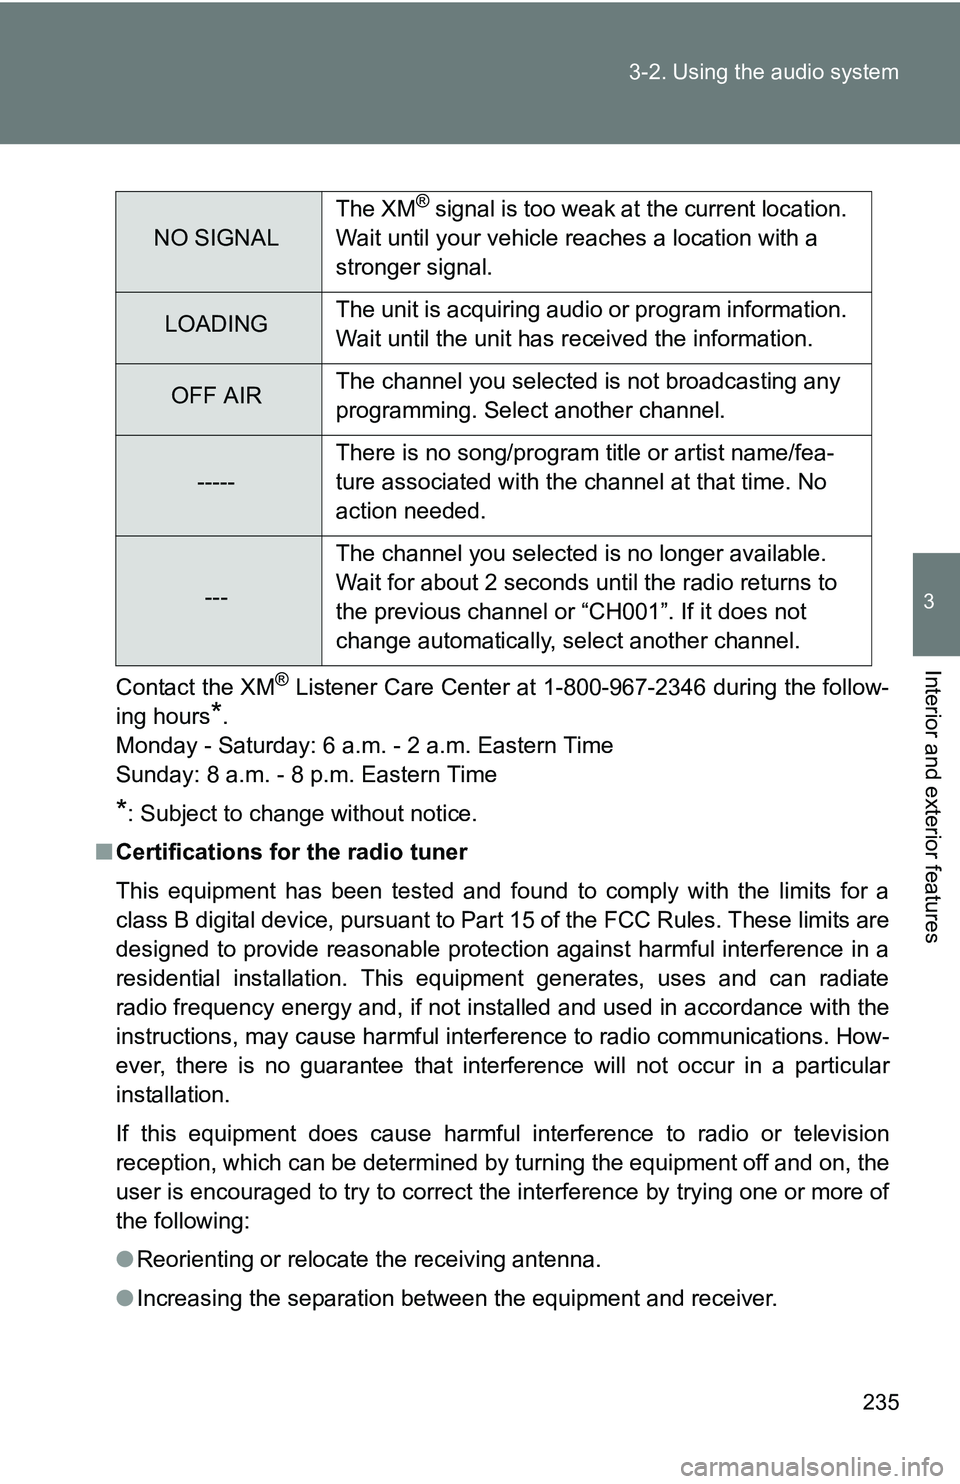
NO SIGNAL The XM
® signal is too weak at the current location.
Wait until your vehicle reaches a location with a
stronger signal.
LOADING The unit is acquiring audio or program information.
Wait until the unit has received the information.
OFF AIRThe channel you selected is not broadcasting any
programming. Select another channel.
-----There is no song/program title or artist name/fea-
ture associated with the channel at that time. No
action needed.
---The channel you selected is no longer available.
Wait for about 2 seconds until the radio returns to
the previous channel or “CH001”. If it does not
change automatically, select another channel.
Page 240 of 520
240 3-2. Using the audio system
Switching the displayPress .
Each time the switch is pressed, the display changes in the order of Track
no./Elapsed time CD titleTrack name.
■Display
Up to 12 characters can be displayed at a time.
If there are 13 characters or more, pressing and holding
for 1 second
or more will display the remaining characters.
A maximum of 24 characters can be displayed.
If is pressed for 1 second or more again or has not been pressed for
6 seconds or more, the display will return to the first 12 characters.
Depending on the contents recorded, the characters may not be displayed
properly or may not be displayed at all.
■ Canceling random playback
Press again.
■ Canceling repeat play
Press again.
■ Error messages
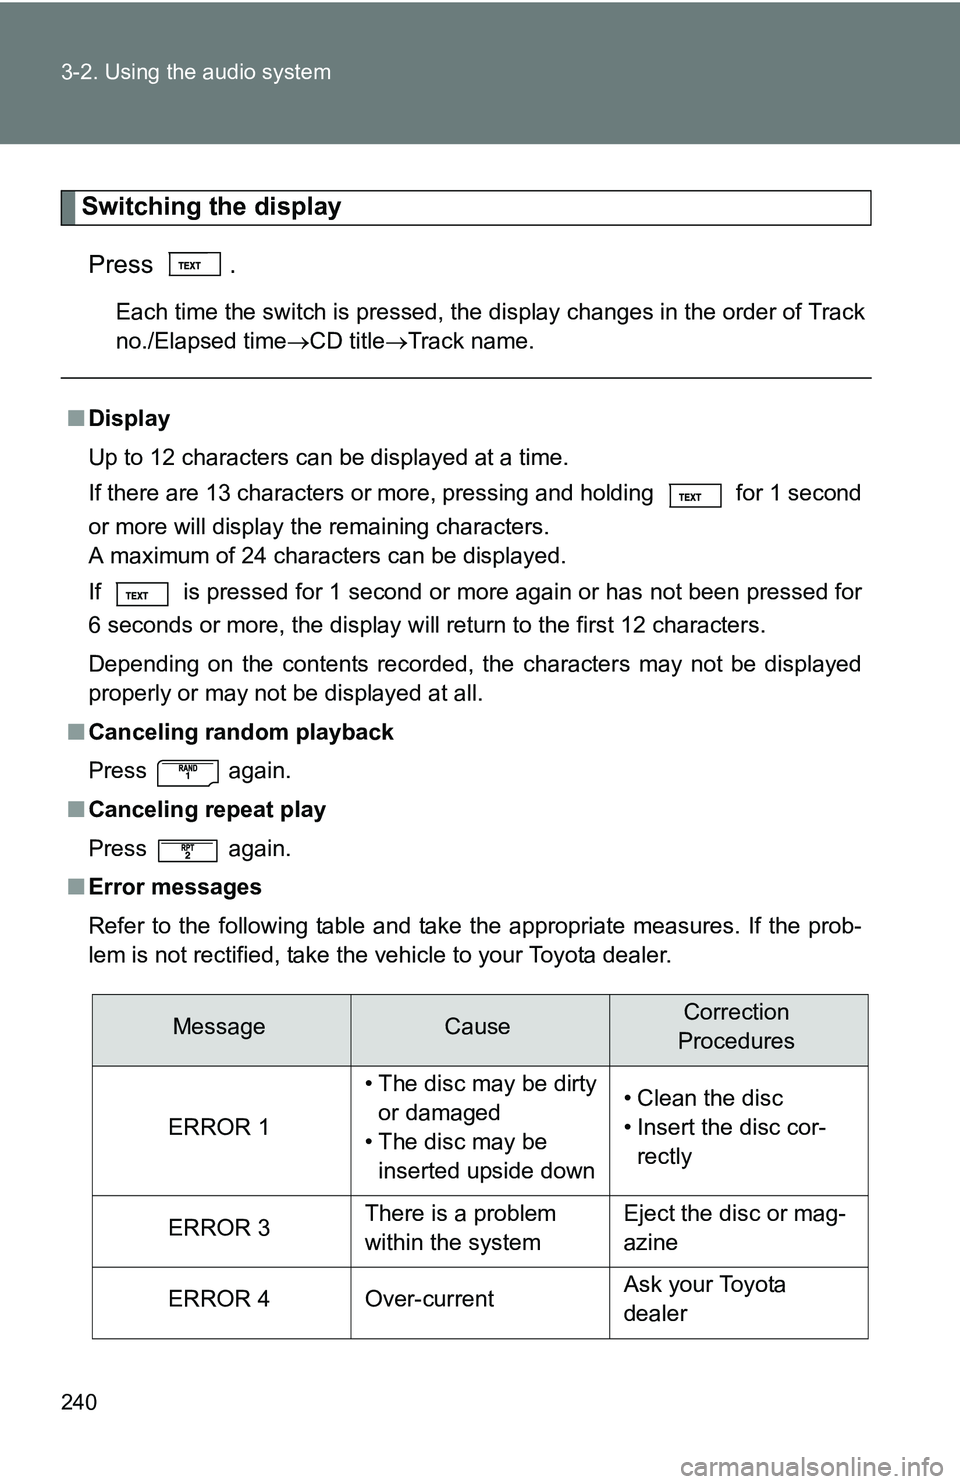
Refer to the following table and take the appropriate measures. If the prob-
lem is not rectified, take the vehicle to your Toyota dealer.
MessageCauseCorrection
Procedures
ERROR 1
• The disc may be dirty or damaged
• The disc may be inserted upside down• Clean the disc
• Insert the disc cor-rectly
ERROR 3There is a problem
within the systemEject the disc or mag-
azine
ERROR 4Over-currentAsk your Toyota
dealer
Page 247 of 520
247
3-2. Using the audio system
3
Interior and exterior features
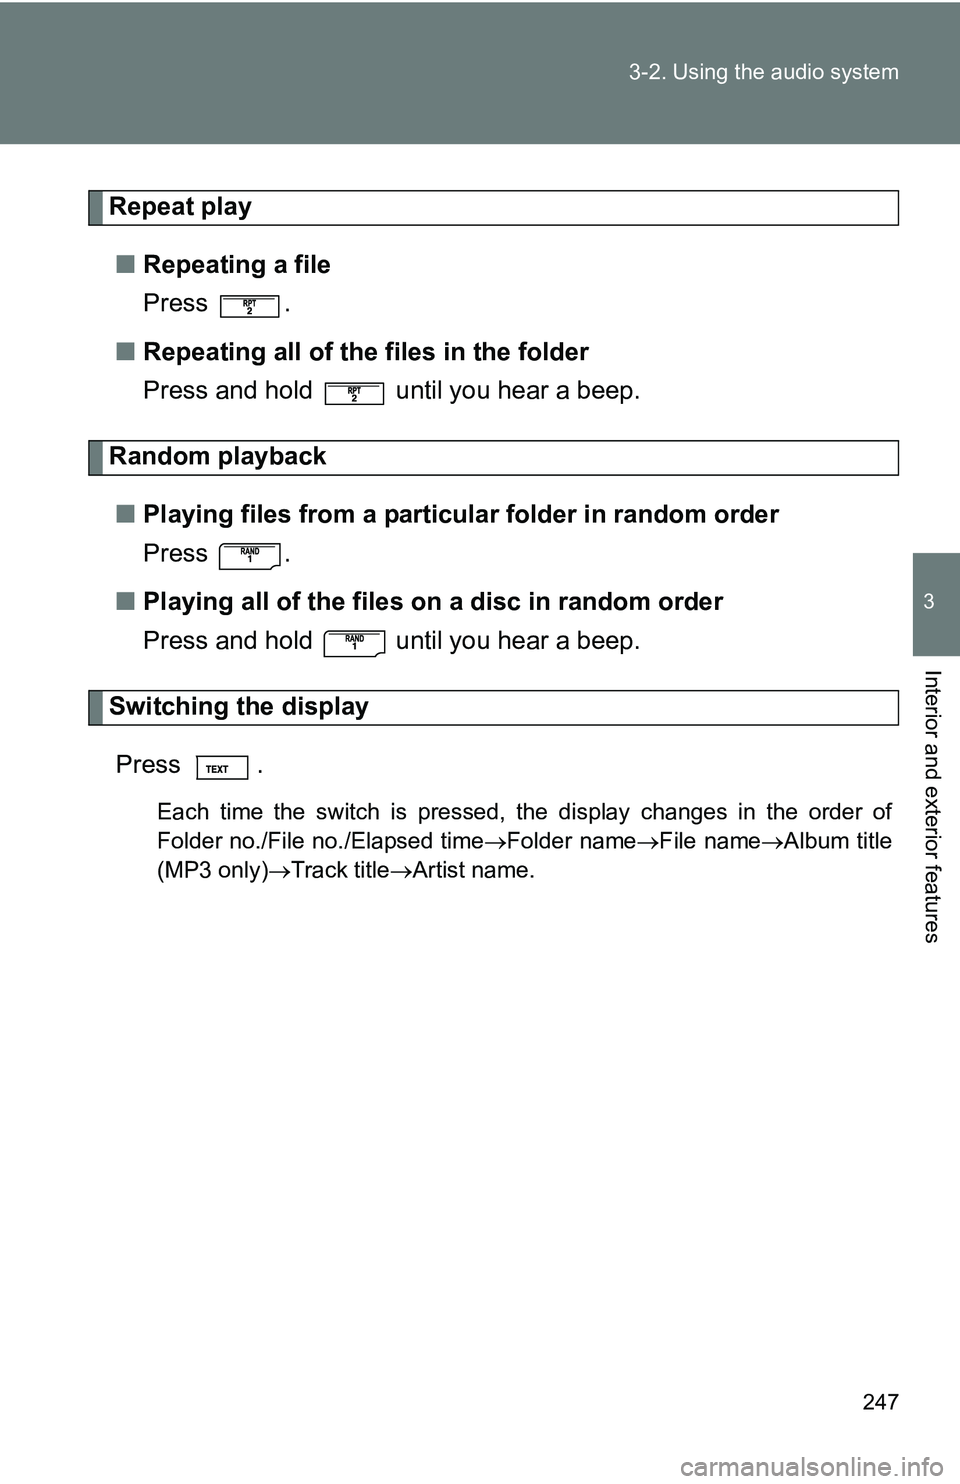
Repeat play
■ Repeating a file
Press .
■ Repeating all of the files in the folder
Press and hold until you hear a beep.
Random playback
■ Playing files from a particular folder in random order
Press .
■ Playing all of the files on a disc in random order
Press and hold until you hear a beep.
Switching the display
Press .
Each time the switch is pressed, the display changes in the order of
Folder no./File no./Elapsed time Folder nameFile nameAlbum title
(MP3 only) Track title Artist name.
Page 259 of 520
259
3-2. Using the audio system
3
Interior and exterior features
Using the steering wheel audio switches (if equipped)
Turning on the powerPress when the audio system is turned off.
The audio system can be turned off by holding the switch down until the
system turns off.
Changing the audio sourcePress when the audio system is turned on. The audio source
changes as follows each time is pressed.
Type A:
FM1FM2CDCD changer*1AUXAMSAT1*2SAT2*2SAT3*2
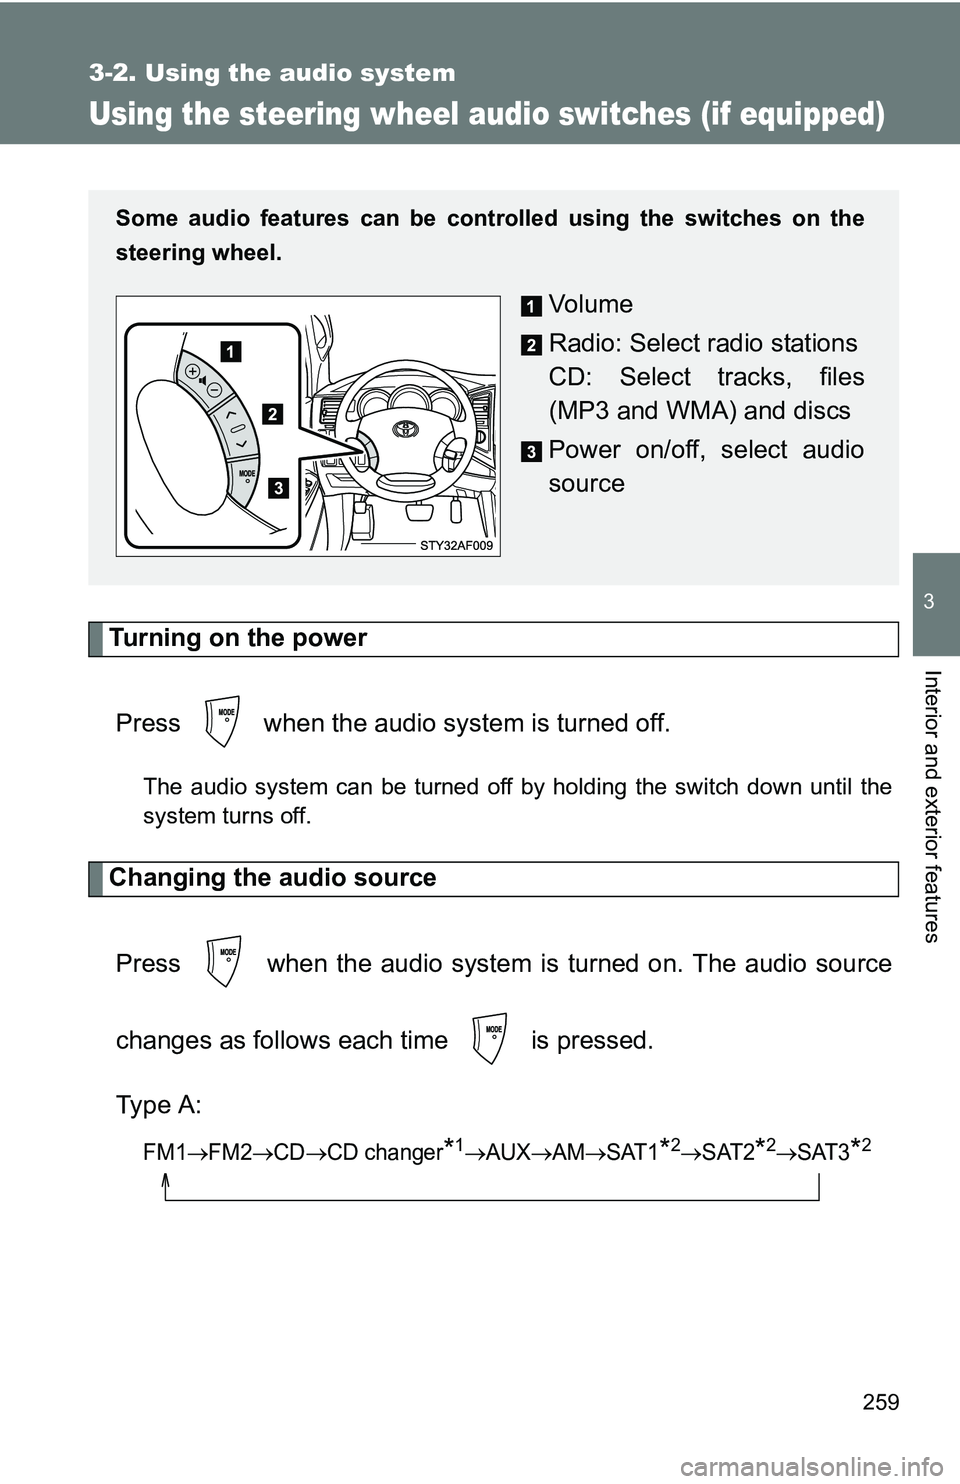
Some audio features can be cont rolled using the switches on the
steering wheel.
Vo l u m e
Radio: Select radio stations
CD: Select tracks, files
(MP3 and WMA) and discs
Power on/off, select audio
source