display TOYOTA VENZA 2010 Accessories, Audio & Navigation (in English)
[x] Cancel search | Manufacturer: TOYOTA, Model Year: 2010, Model line: VENZA, Model: TOYOTA VENZA 2010Pages: 48, PDF Size: 3.27 MB
Page 23 of 48
128-8673b
23 of 48
- 13 -
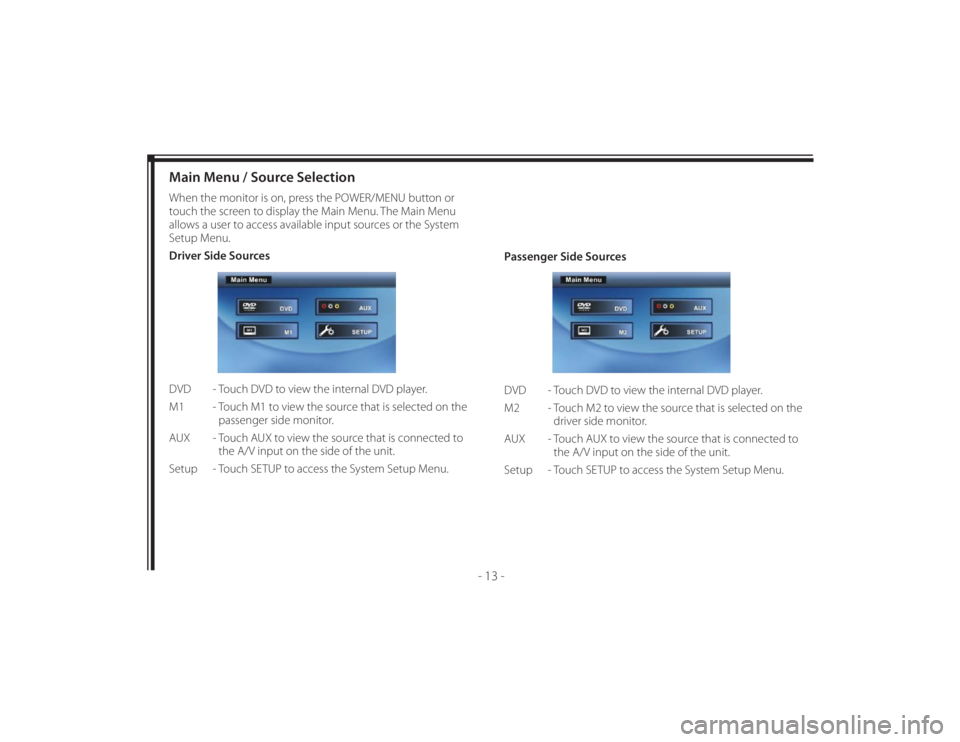
Main Menu / Source SelectionWhen the monitor is on, press the POWER/MENU button or
touch the screen to display the Main Menu. The Main Menu
allows a user to access available input sources or the System
Setup Menu.
Driver Side Sources
DVD - Touch DVD to view the internal DVD player.
M1 - Touch M1 to view the source that is selected on the
passenger side monitor.
AUX - Touch AUX to view the source that is connected to
the A/V input on the side of the unit.
Setup - Touch SETUP to access the System Setup Menu.Passenger Side Sources
DVD - Touch DVD to view the internal DVD player.
M2 - Touch M2 to view the source that is selected on the
driver side monitor.
AUX - Touch AUX to view the source that is connected to
the A/V input on the side of the unit.
Setup - Touch SETUP to access the System Setup Menu.
Page 24 of 48
128-8673b
24 of 48
- 14 -
DVD BasicsTo get the optimum use out of your Seat Top DVD System,
please read this section completely.
Region Coding
Both the DVD player and DVDs are coded by region. These
region codes must match in order for the disc to play. If the
codes don’t match, the disc won’t play. This system is set to
Region 1 (USA) and will not play discs that have a region code
diff erent from Region 1. The system will display “Wrong Region”.
Types of Discs Your System Will Play
• DVD disc* - DVD discs which contain video.
• Audio discs - Audio CDs contain musical or sound content
only.
• MP3 discs - A disc that contains audio fi les (for example, a
CD-R with downloaded MP3 fi les).
* This system is capable of playing most recordable DVD
formats. However, due to the variety of disc manufacturers and
software, playback cannot be guaranteed for every disc.Disc Compatibility
Before a disc is loaded, make sure that it is compatible with the
player. Insert the disc with the label facing the viewer.
Note: The following discs cannot be played with this player:
• MiniDisc
• Laserdisc
• CD-I, CD-ROM, DVD-ROM, Super Audio CD (SACD),
DVD Audio
• Blue-Ray Disc™
Page 25 of 48
128-8673b
25 of 48
- 15 -
LOADING AND PLAYING DVD DISCSTo Load and Play a Disc1. Apply power to the Seat Top DVD Rear Seat Entertainment
System by placing the vehicle in the ACC or ON mode using
the power (ignition) switch.
2. Press the Power button to turn the unit ON, select DVD
mode and insert the disc (label towards viewer) into the disc
insertion slot.
3. When the disc displays the DVD menu, touch “Play” or “Play
Movie” on the touch screen or press PLAY on the Remote
Control.
4. If touching “Play” on the touch screen does not start the
movie playing, touch a corner on the touch screen to bring
up the DVD Navigation Menu screen.
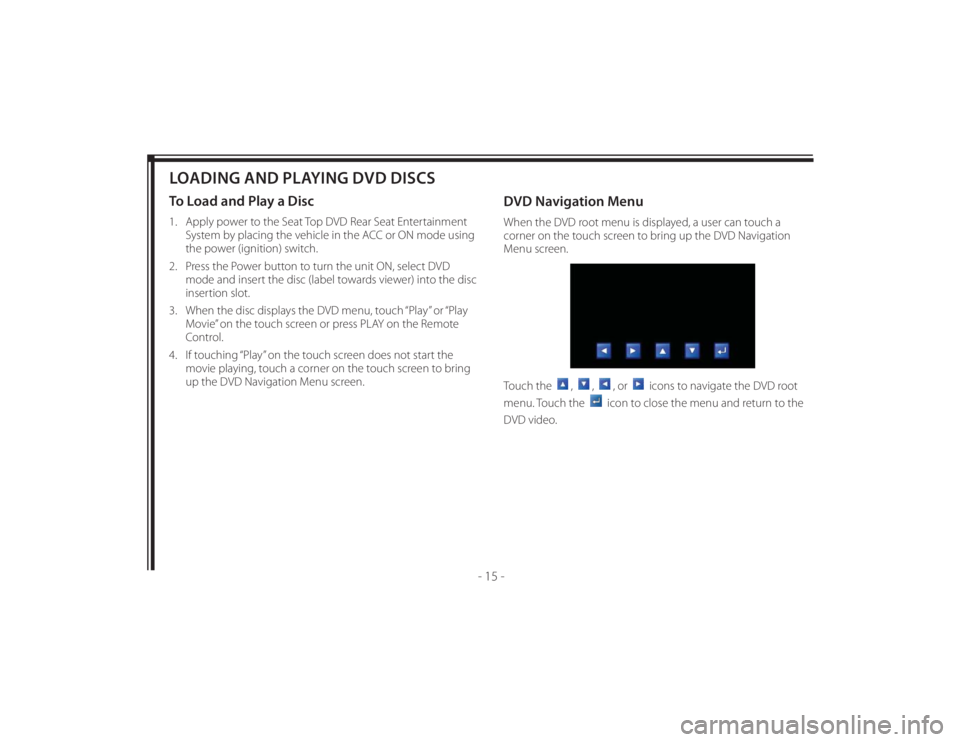
DVD Navigation MenuWhen the DVD root menu is displayed, a user can touch a
corner on the touch screen to bring up the DVD Navigation
Menu screen.
Touch the
,
,
, or
icons to navigate the DVD root
menu. Touch the
icon to close the menu and return to the
DVD video.
Page 28 of 48
128-8673b
28 of 48
- 18 -
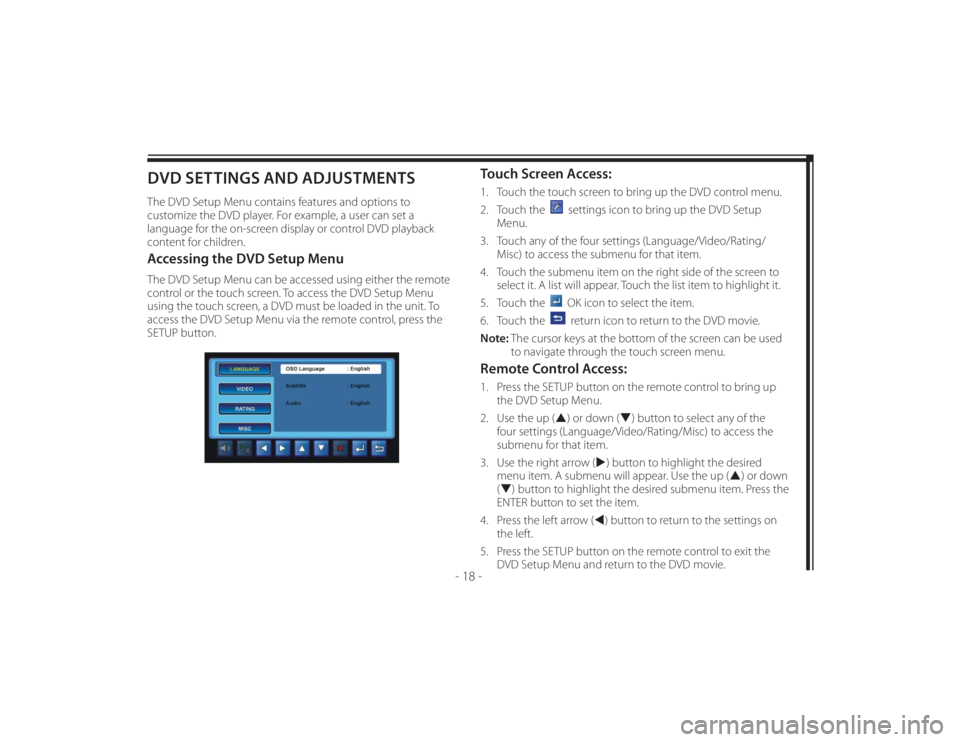
DVD SETTINGS AND ADJUSTMENTSThe DVD Setup Menu contains features and options to
customize the DVD player. For example, a user can set a
language for the on-screen display or control DVD playback
content for children.Accessing the DVD Setup MenuThe DVD Setup Menu can be accessed using either the remote
control or the touch screen. To access the DVD Setup Menu
using the touch screen, a DVD must be loaded in the unit. To
access the DVD Setup Menu via the remote control, press the
SETUP button.
Touch Screen Access:1. Touch the touch screen to bring up the DVD control menu.
2. Touch the
settings icon to bring up the DVD Setup
Menu.
3. Touch any of the four settings (Language/Video/Rating/
Misc) to access the submenu for that item.
4. Touch the submenu item on the right side of the screen to
select it. A list will appear. Touch the list item to highlight it.
5. Touch the OK icon to select the item.
6. Touch the return icon to return to the DVD movie.
Note: The cursor keys at the bottom of the screen can be used
to navigate through the touch screen menu.
Remote Control Access:1. Press the SETUP button on the remote control to bring up
the DVD Setup Menu.
2. Use the up () or down () button to select any of the
four settings (Language/Video/Rating/Misc) to access the
submenu for that item.
3. Use the right arrow () button to highlight the desired
menu item. A submenu will appear. Use the up () or down
() button to highlight the desired submenu item. Press the
ENTER button to set the item.
4. Press the left arrow () button to return to the settings on
the left.
5. Press the SETUP button on the remote control to exit the
DVD Setup Menu and return to the DVD movie.
Page 29 of 48
128-8673b
29 of 48
- 19 -
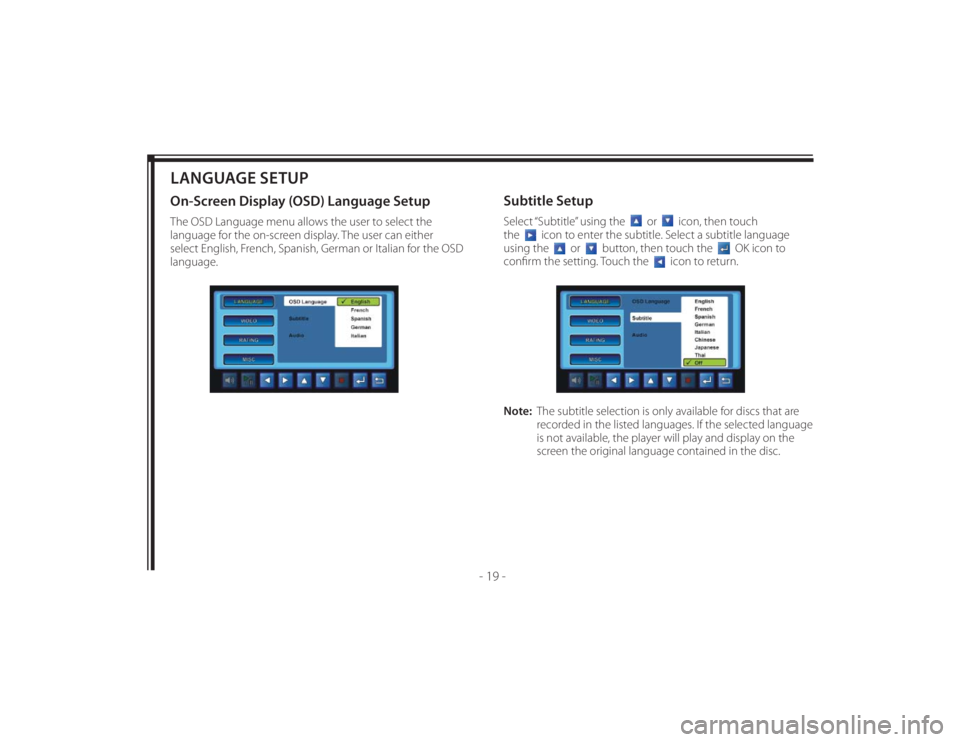
LANGUAGE SETUPOn-Screen Display (OSD) Language SetupThe OSD Language menu allows the user to select the
language for the on-screen display. The user can either
select English, French, Spanish, German or Italian for the OSD
language.
Subtitle SetupSelect “Subtitle” using the
or
icon, then touch
the
icon to enter the subtitle. Select a subtitle language
using the
or
button, then touch the
OK icon to
confi rm the setting. Touch the
icon to return.
Note: The subtitle selection is only available for discs that are
recorded in the listed languages. If the selected language
is not available, the player will play and display on the
screen the original language contained in the disc.
Page 30 of 48
128-8673b
30 of 48
- 20 -
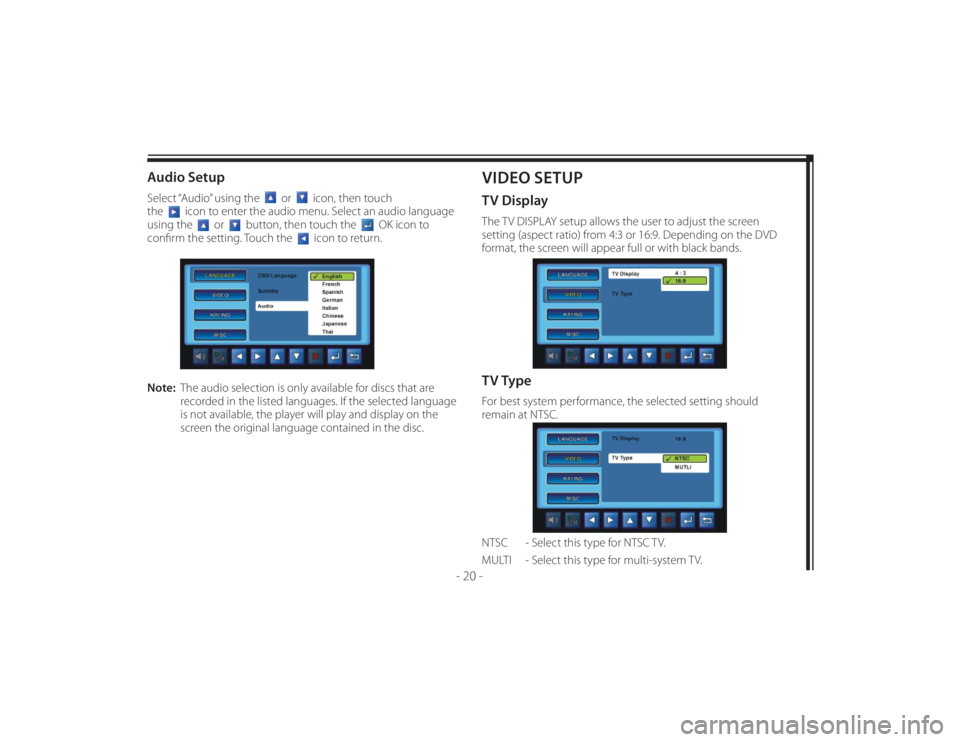
Audio SetupSelect “Audio” using the
or
icon, then touch
the
icon to enter the audio menu. Select an audio language
using the
or
button, then touch the
OK icon to
confi rm the setting. Touch the
icon to return.
Note: The audio selection is only available for discs that are
recorded in the listed languages. If the selected language
is not available, the player will play and display on the
screen the original language contained in the disc.
VIDEO SETUPTV DisplayThe TV DISPLAY setup allows the user to adjust the screen
setting (aspect ratio) from 4:3 or 16:9. Depending on the DVD
format, the screen will appear full or with black bands.TV TypeFor best system performance, the selected setting should
remain at NTSC.
NTSC - Select this type for NTSC TV.
MULTI - Select this type for multi-system TV.
Page 32 of 48
128-8673b
32 of 48
- 22 -
MISC SETUPSelect “Misc” using the
or
icon, then touch the
icon
to enter the Misc menu. Select an option using the
or
button, then touch the
OK icon.
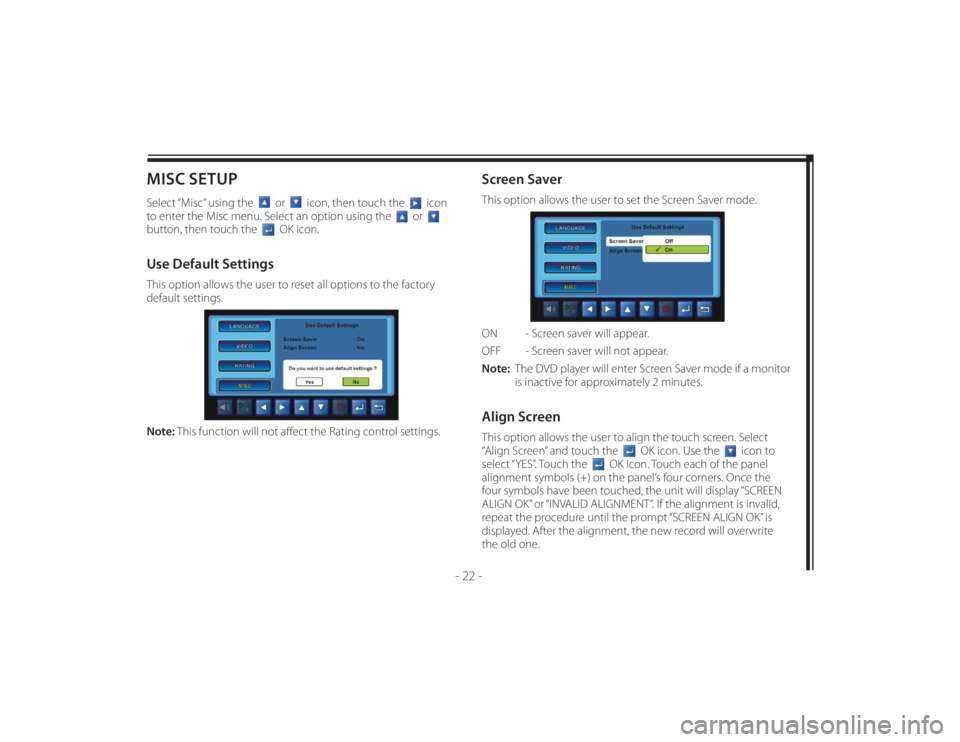
Use Default SettingsThis option allows the user to reset all options to the factory
default settings.
Note: This function will not aff ect the Rating control settings.
Screen SaverThis option allows the user to set the Screen Saver mode.
ON - Screen saver will appear.
OFF - Screen saver will not appear.
Note: The DVD player will enter Screen Saver mode if a monitor
is inactive for approximately 2 minutes.Align ScreenThis option allows the user to align the touch screen. Select
“Align Screen” and touch the
OK icon. Use the
icon to
select “YES”. Touch the
OK icon. Touch each of the panel
alignment symbols (+) on the panel’s four corners. Once the
four symbols have been touched, the unit will display “SCREEN
ALIGN OK” or “INVALID ALIGNMENT”. If the alignment is invalid,
repeat the procedure until the prompt “SCREEN ALIGN OK” is
displayed. After the alignment, the new record will overwrite
the old one.
Page 33 of 48
128-8673b
33 of 48
- 23 -
PLAYING MP3 DISCSMP3 is a format for storing digital audio. An audio CD-quality
song can be compressed into the MP3 format with very little
loss of quality, while taking up much less space. CD-R discs that
have been encoded in MP3 format can be played on the Seat
Top DVD system. The Seat Top DVD system plays the songs
in the order they were burned on to the disc. When playback
is started the elapsed time of the track that is playing will be
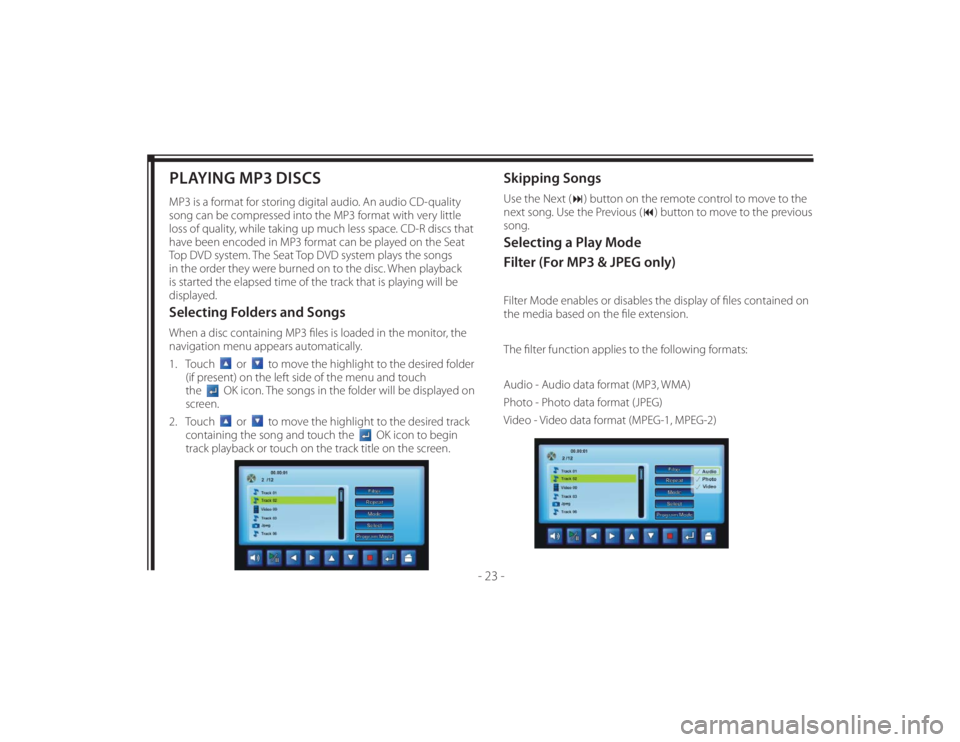
displayed.Selecting Folders and SongsWhen a disc containing MP3 fi les is loaded in the monitor, the
navigation menu appears automatically.
1. Touch
or
to move the highlight to the desired folder
(if present) on the left side of the menu and touch
the
OK icon. The songs in the folder will be displayed on
screen.
2. Touch
or
to move the highlight to the desired track
containing the song and touch the
OK icon to begin
track playback or touch on the track title on the screen.
Skipping SongsUse the Next () button on the remote control to move to the
next song. Use the Previous () button to move to the previous
song.Selecting a Play Mode
Filter (For MP3 & JPEG only)Filter Mode enables or disables the display of fi les contained on
the media based on the fi le extension.
The fi lter function applies to the following formats:
Audio - Audio data format (MP3, WMA)
Photo - Photo data format (JPEG)
Video - Video data format (MPEG-1, MPEG-2)
Page 34 of 48
128-8673b
34 of 48
- 24 -
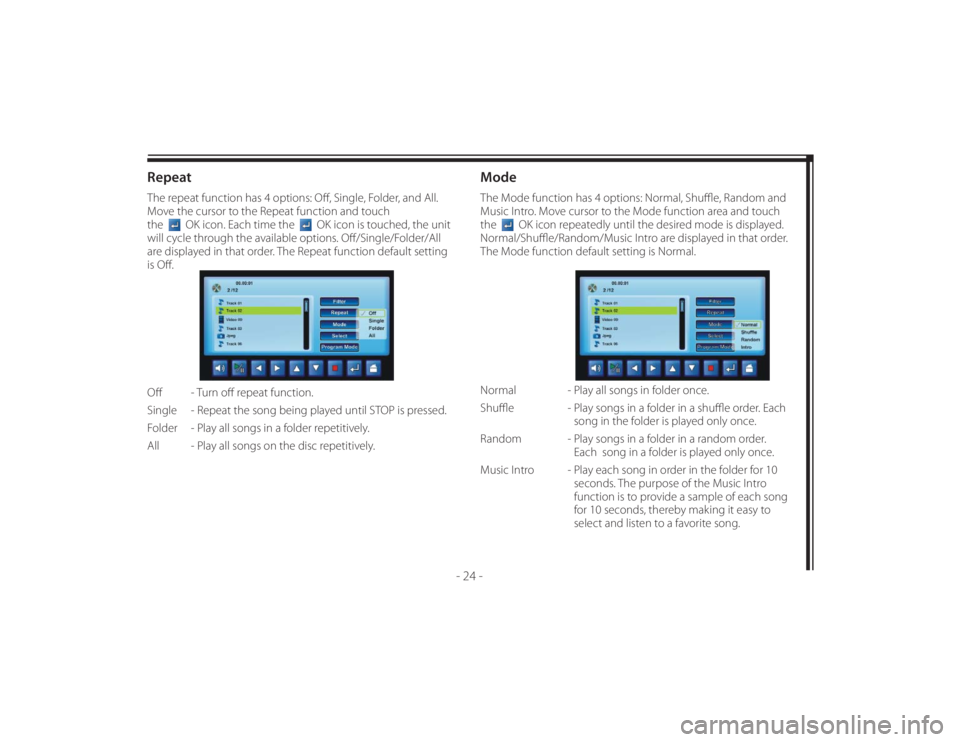
RepeatThe repeat function has 4 options: Off , Single, Folder, and All.
Move the cursor to the Repeat function and touch
the
OK icon. Each time the
OK icon is touched, the unit
will cycle through the available options. Off /Single/Folder/All
are displayed in that order. The Repeat function default setting
is Off .
Off - Turn off repeat function.
Single - Repeat the song being played until STOP is pressed.
Folder - Play all songs in a folder repetitively.
All - Play all songs on the disc repetitively.
ModeThe Mode function has 4 options: Normal, Shuffl e, Random and
Music Intro. Move cursor to the Mode function area and touch
the
OK icon repeatedly until the desired mode is displayed.
Normal/Shuffl e/Random/Music Intro are displayed in that order.
The Mode function default setting is Normal.
Normal - Play all songs in folder once.
Shuffl e - Play songs in a folder in a shuffl e order. Each
song in the folder is played only once.
Random - Play songs in a folder in a random order.
Each song in a folder is played only once.
Music Intro - Play each song in order in the folder for 10
seconds. The purpose of the Music Intro
function is to provide a sample of each song
for 10 seconds, thereby making it easy to
select and listen to a favorite song.
Page 35 of 48
128-8673b
35 of 48
- 25 -
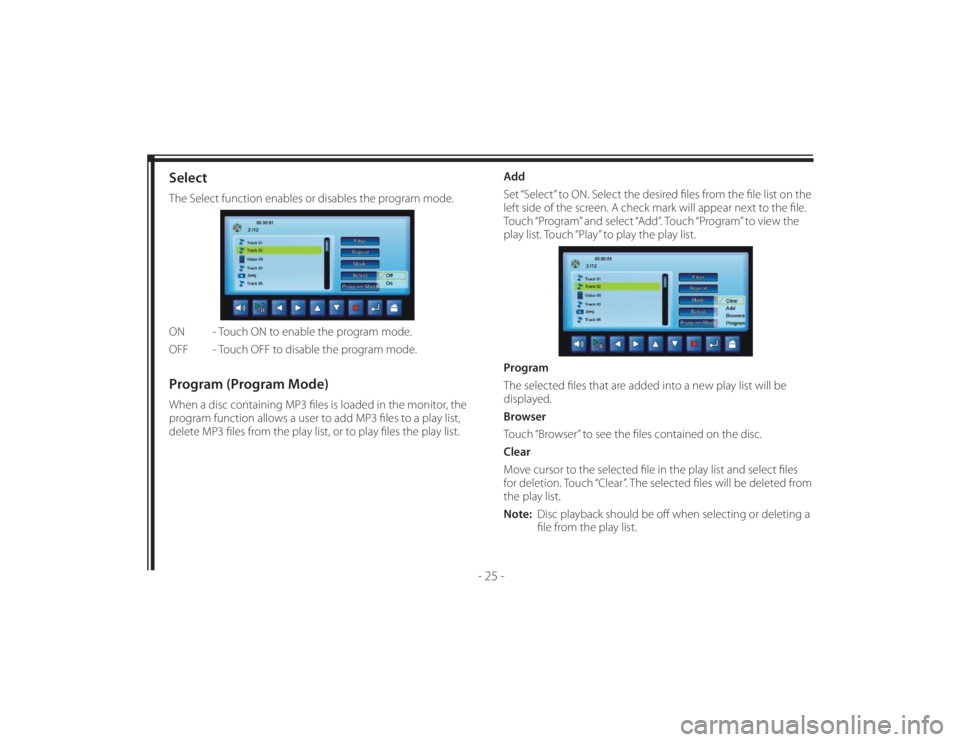
SelectThe Select function enables or disables the program mode.
ON - Touch ON to enable the program mode.
OFF - Touch OFF to disable the program mode.Program (Program Mode)When a disc containing MP3 fi les is loaded in the monitor, the
program function allows a user to add MP3 fi les to a play list,
delete MP3 fi les from the play list, or to play fi les the play list.Add
Set “Select” to ON. Select the desired fi les from the fi le list on the
left side of the screen. A check mark will appear next to the fi le.
Touch “Program” and select “Add”. Touch “Program” to view the
play list. Touch “Play” to play the play list.
Program
The selected fi les that are added into a new play list will be
displayed.
Browser
Touch “Browser” to see the fi les contained on the disc.
Clear
Move cursor to the selected fi le in the play list and select fi les
for deletion. Touch “Clear”. The selected fi les will be deleted from
the play list.
Note: Disc playback should be off when selecting or deleting a
fi le from the play list.