ESP TOYOTA VENZA 2014 Accessories, Audio & Navigation (in English)
[x] Cancel search | Manufacturer: TOYOTA, Model Year: 2014, Model line: VENZA, Model: TOYOTA VENZA 2014Pages: 48, PDF Size: 3.27 MB
Page 4 of 48
128-8673b
4 of 48
- II -
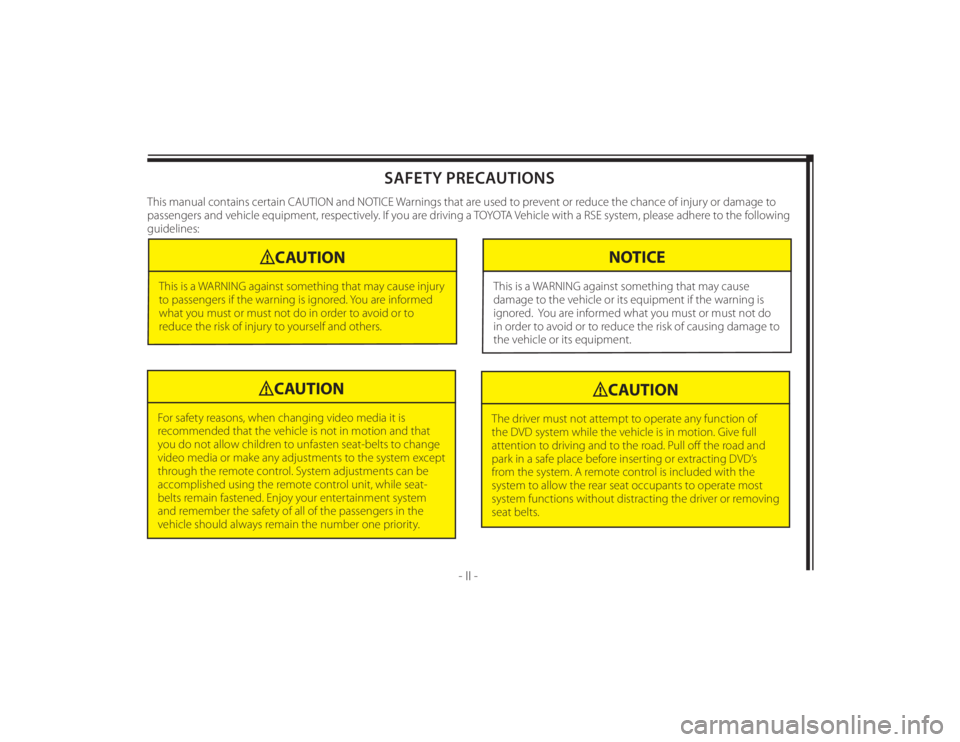
SAFETY PRECAUTIONS
This manual contains certain CAUTION and NOTICE Warnings that are used to prevent or reduce the chance of injury or damage to
passengers and vehicle equipment, respectively. If you are driving a TOYOTA Vehicle with a RSE system, please adhere to the following
guidelines:
CAUTION
This is a WARNING against something that may cause injury
to passengers if the warning is ignored. You are informed
what you must or must not do in order to avoid or to
reduce the risk of injury to yourself and others.
NOTICE
This is a WARNING against something that may cause
damage to the vehicle or its equipment if the warning is
ignored. You are informed what you must or must not do
in order to avoid or to reduce the risk of causing damage to
the vehicle or its equipment.
CAUTION
For safety reasons, when changing video media it is
recommended that the vehicle is not in motion and that
you do not allow children to unfasten seat-belts to change
video media or make any adjustments to the system except
through the remote control. System adjustments can be
accomplished using the remote control unit, while seat-
belts remain fastened. Enjoy your entertainment system
and remember the safety of all of the passengers in the
vehicle should always remain the number one priority.
CAUTION
The driver must not attempt to operate any function of
the DVD system while the vehicle is in motion. Give full
attention to driving and to the road. Pull off the road and
park in a safe place before inserting or extracting DVD’s
from the system. A remote control is included with the
system to allow the rear seat occupants to operate most
system functions without distracting the driver or removing
seat belts.
Page 6 of 48
128-8673b
6 of 48
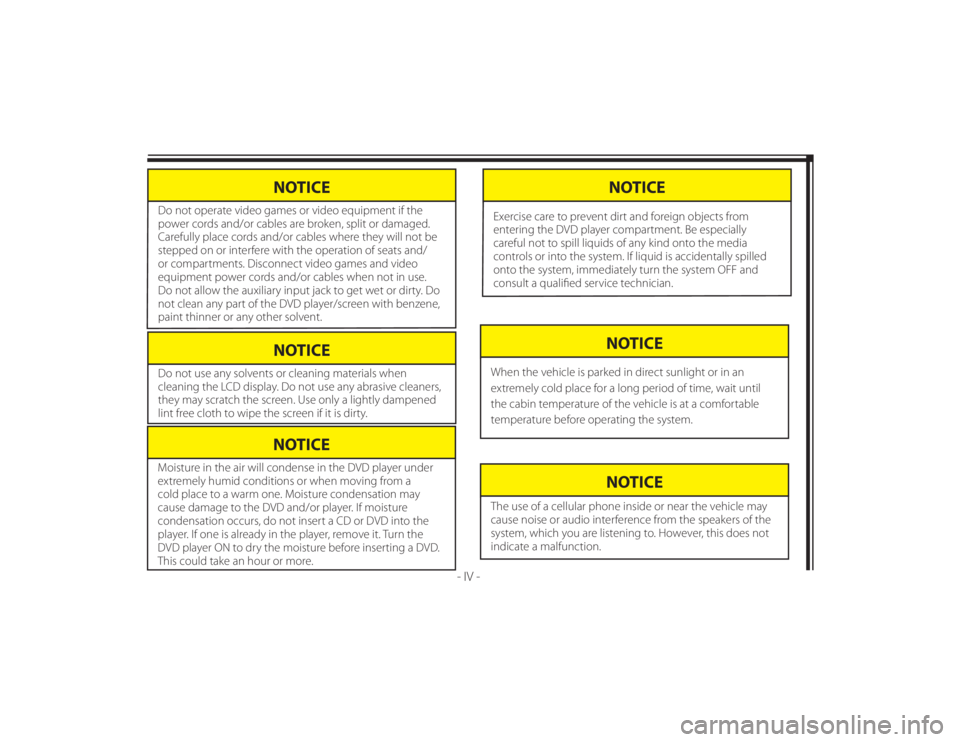
NOTICE
Do not use any solvents or cleaning materials when
cleaning the LCD display. Do not use any abrasive cleaners,
they may scratch the screen. Use only a lightly dampened
lint free cloth to wipe the screen if it is dirty.
- IV -
NOTICE
Moisture in the air will condense in the DVD player under
extremely humid conditions or when moving from a
cold place to a warm one. Moisture condensation may
cause damage to the DVD and/or player. If moisture
condensation occurs, do not insert a CD or DVD into the
player. If one is already in the player, remove it. Turn the
DVD player ON to dry the moisture before inserting a DVD.
This could take an hour or more.
NOTICE
The use of a cellular phone inside or near the vehicle may
cause noise or audio interference from the speakers of the
system, which you are listening to. However, this does not
indicate a malfunction.
NOTICE
When the vehicle is parked in direct sunlight or in an
extremely cold place for a long period of time, wait until
the cabin temperature of the vehicle is at a comfortable
temperature before operating the system.
NOTICE
Do not operate video games or video equipment if the
power cords and/or cables are broken, split or damaged.
Carefully place cords and/or cables where they will not be
stepped on or interfere with the operation of seats and/
or compartments. Disconnect video games and video
equipment power cords and/or cables when not in use.
Do not allow the auxiliary input jack to get wet or dirty. Do
not clean any part of the DVD player/screen with benzene,
paint thinner or any other solvent.
NOTICE
Exercise care to prevent dirt and foreign objects from
entering the DVD player compartment. Be especially
careful not to spill liquids of any kind onto the media
controls or into the system. If liquid is accidentally spilled
onto the system, immediately turn the system OFF and
consult a qualifi ed service technician.
Page 13 of 48
128-8673b
13 of 48
- 3 -
SEAT TOP DVD SYSTEM OVERVIEW1. The Seat Top DVD system is a versatile audio / video system
which includes two monitors, each with a built-in DVD
player and a touch screen interface.
2. The passenger side monitor (M1) is comprised of a 7”
LCD touch screen monitor with a built-in DVD player that
allows the user to select from DVD, M2, or AUX sources.
The passenger side monitor has a built-in infrared audio
transmitter for use with the supplied two-channel wireless
headphones. The passenger side monitor also has the
ability to provide the audio source for output to allow audio
playback through the vehicle radio.
3. The driver side monitor (M2) is comprised of a 7” LCD touch
screen monitor with built-in DVD player that allows the
user to select from DVD, M1, or AUX sources. The driver side
monitor has a built-in infrared audio transmitter for use with
the supplied two channel wireless headphones.
4. The monitors will display all of the system functions with the
comprehensive On Screen Display (OSD).
5. Seat Top DVD System includes two wireless IR headphones.
The headphones have a channel select switch that allows
the users to receive audio from either the passenger side
monitor or the driver side monitor. To receive audio from
the passenger side monitor, move the channel select switch
to the “1” position. To receive audio from the driver side
monitor, move the channel select switch to the “2” position.6. Each monitor uses a separate set of Remote Control IR
codes. The passenger side monitor will only respond to the
Remote Control unit when the Monitor Select (M1) button
is pressed on remote control. The driver side monitor will
only respond to the Remote Control unit when the Monitor
Select (M2) button on remote control is pressed.
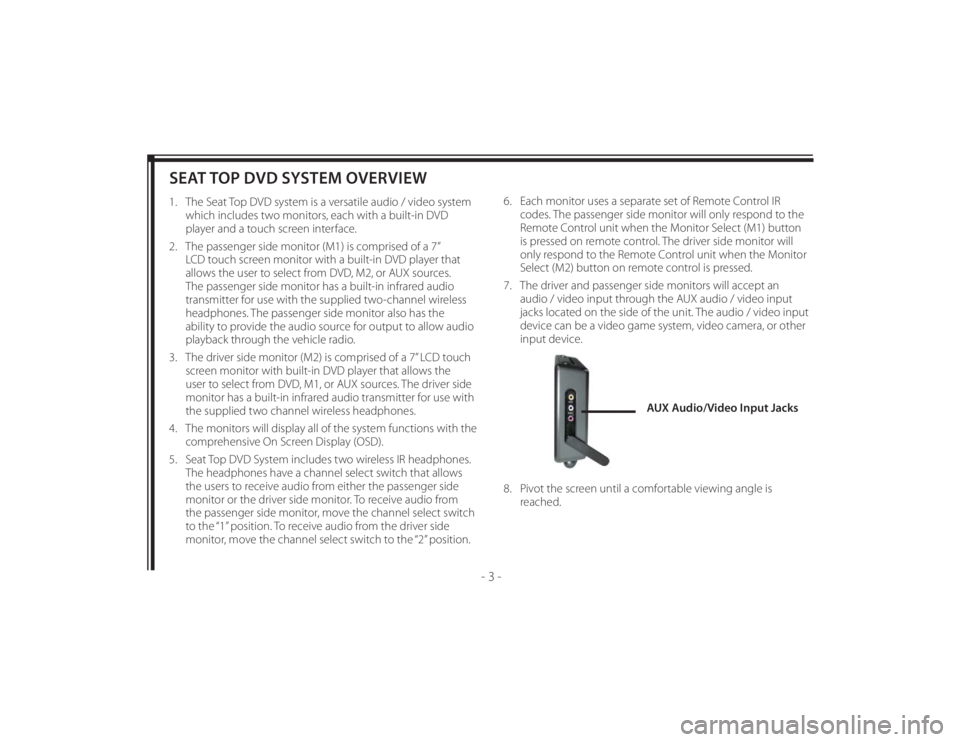
7. The driver and passenger side monitors will accept an
audio / video input through the AUX audio / video input
jacks located on the side of the unit. The audio / video input
device can be a video game system, video camera, or other
input device.
8. Pivot the screen until a comfortable viewing angle is
reached.
AUX Audio/Video Input Jacks
Page 15 of 48
128-8673b
15 of 48
- 5 -
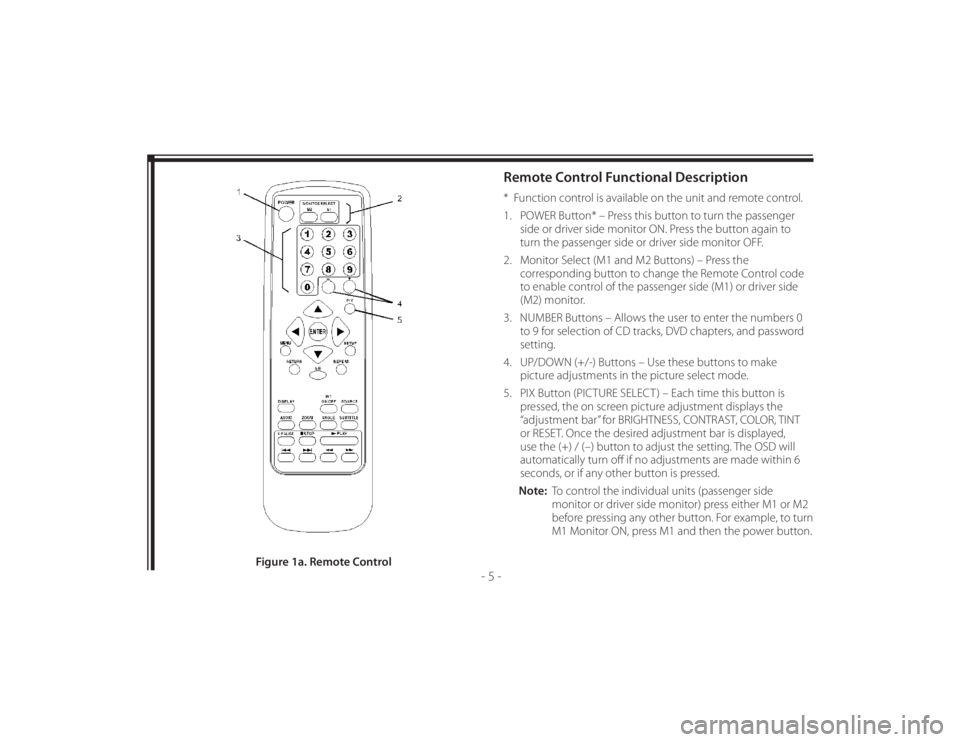
Remote Control Functional Description* Function control is available on the unit and remote control.
1. POWER Button* – Press this button to turn the passenger
side or driver side monitor ON. Press the button again to
turn the passenger side or driver side monitor OFF.
2. Monitor Select (M1 and M2 Buttons) – Press the
corresponding button to change the Remote Control code
to enable control of the passenger side (M1) or driver side
(M2) monitor.
3. NUMBER Buttons – Allows the user to enter the numbers 0
to 9 for selection of CD tracks, DVD chapters, and password
setting.
4. UP/DOWN (+/-) Buttons – Use these buttons to make
picture adjustments in the picture select mode.
5. PIX Button (PICTURE SELECT ) – Each time this button is
pressed, the on screen picture adjustment displays the
“adjustment bar” for BRIGHTNESS, CONTRAST, COLOR, TINT
or RESET. Once the desired adjustment bar is displayed,
use the (+) / (–) button to adjust the setting. The OSD will
automatically turn off if no adjustments are made within 6
seconds, or if any other button is pressed.
Note: To control the individual units (passenger side
monitor or driver side monitor) press either M1 or M2
before pressing any other button. For example, to turn
M1 Monitor ON, press M1 and then the power button.
Figure 1a. Remote Control
Page 16 of 48
128-8673b
16 of 48
- 6 -
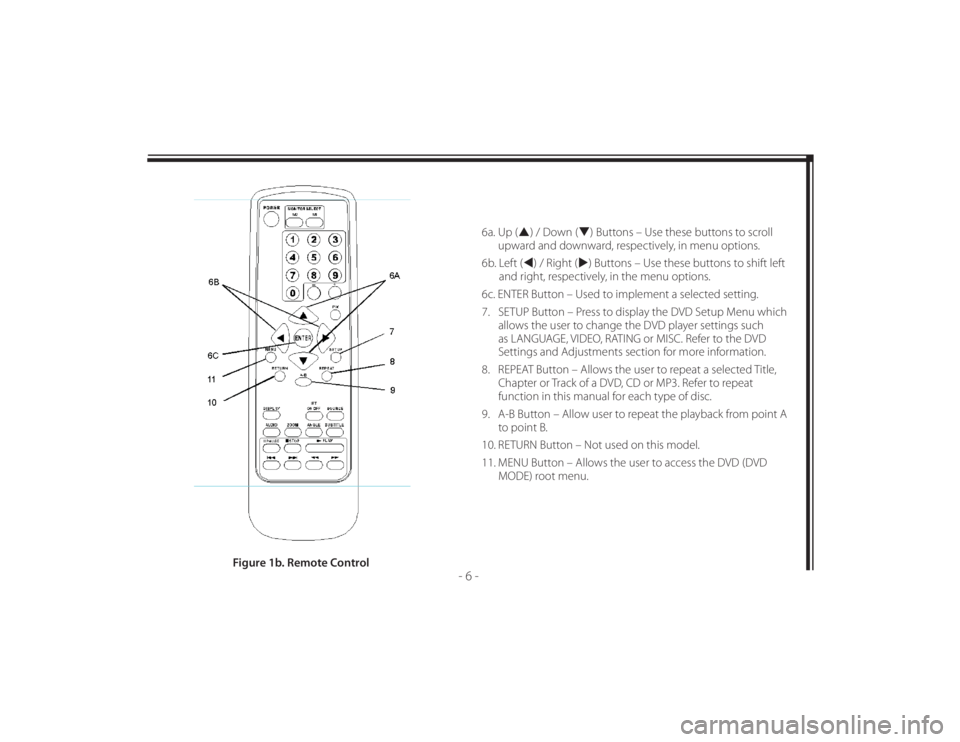
6a. Up () / Down () Buttons – Use these buttons to scroll
upward and downward, respectively, in menu options.
6b. Left () / Right () Buttons – Use these buttons to shift left
and right, respectively, in the menu options.
6c. ENTER Button – Used to implement a selected setting.
7. SETUP Button – Press to display the DVD Setup Menu which
allows the user to change the DVD player settings such
as LANGUAGE, VIDEO, RATING or MISC. Refer to the DVD
Settings and Adjustments section for more information.
8. REPEAT Button – Allows the user to repeat a selected Title,
Chapter or Track of a DVD, CD or MP3. Refer to repeat
function in this manual for each type of disc.
9. A-B Button – Allow user to repeat the playback from point A
to point B.
10. RETURN Button – Not used on this model.
11. MENU Button – Allows the user to access the DVD (DVD
MODE) root menu.
Figure 1b. Remote Control
Page 41 of 48
128-8673b
41 of 48
- 31 -
TROUBLESHOOTINGProblem SolutionPower LED does not light. • Make sure the monitor is fully seated in the seat top dock.
• Make sure power is applied to the unit. Place the vehicle in the ACC or ON mode using the
power (ignition) switch.
• Make sure the in-line fuse is not blown. Refer to the “Fuse Replacement” section on page 33.
Touch screen not responsive. • Align the touch screen. Refer to the “Align Screen” section on page 22.