flat tire TOYOTA VENZA HYBRID 2021 Owners Manual (in English)
[x] Cancel search | Manufacturer: TOYOTA, Model Year: 2021, Model line: VENZA HYBRID, Model: TOYOTA VENZA HYBRID 2021Pages: 548, PDF Size: 18.43 MB
Page 1 of 548

VENZA_OM_OM48K18U_(U)
1
2
3
4
5
6
7
8
9
Pictorial indexSearch by illustration
For safety
and securityMake sure to read through them
(Main topics: Child seat, theft deterrent system)
Vehicle status
information and
indicatorsReading driving-related information
(Main topics: Meters, multi-information display)
Before driving
Opening and closing the doors and windows,
adjustment before driving
(Main topics: Keys, doors, seats)
Driving
Operations and advice which are necessary for
driving
(Main topics: Starting hybrid system, refueling)
Interior featuresUsage of the interior features
(Main topics: Air conditioner, storage features)
Maintenance
and careCaring for your vehicle and maintenance
procedures
(Main topics: Interior and exterior, light bulbs)
When trouble
arisesWhat to do in case of malfunction and emergency
(Main topics: 12-volt battery discharge, flat tire)
Vehicle
specificationsVehicle specifications, customizable features
(Main topics: Fuel, oil, tire inflation pressure)
For ownersReporting safety defects for U.S. owners, and seat
belt, SRS airbag and headlight aim instructions for
Canadian owners
IndexSearch by symptom
Search alphabetically
Page 4 of 548
4TABLE OF CONTENTS
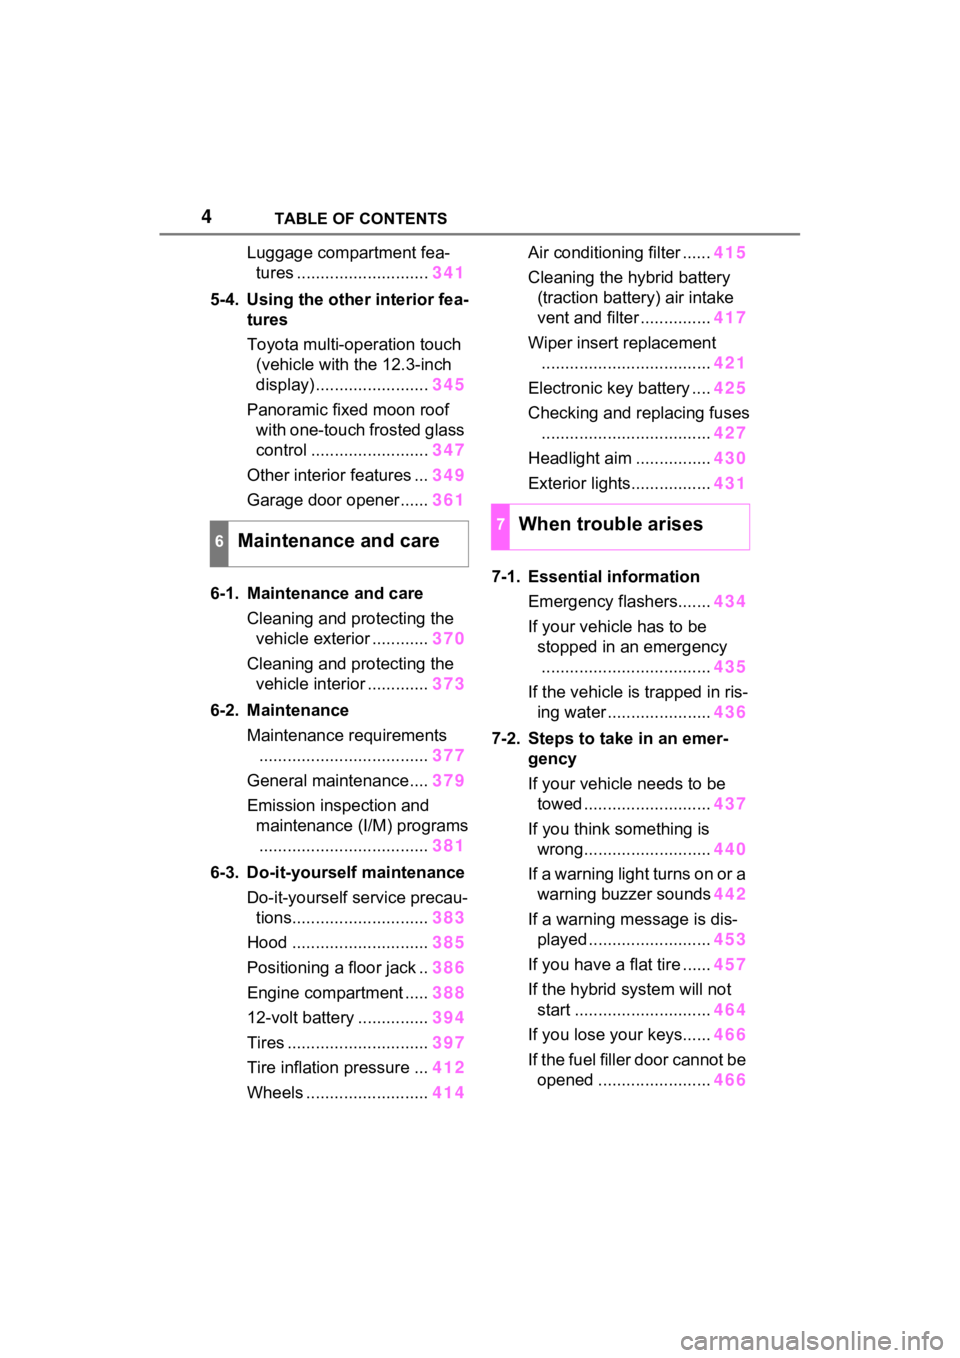
Luggage compartment fea-tures ............................ 341
5-4. Using the other interior fea- tures
Toyota multi-operation touch
(vehicle with the 12.3-inch
display) ........................ 345
Panoramic fixed moon roof with one-touch frosted glass
control ......................... 347
Other interior features ... 349
Garage door opener...... 361
6-1. Maintenance and care Cleaning and protecting the vehicle exterior ............ 370
Cleaning and protecting the vehicle interior ............. 373
6-2. Maintenance Maintenance requirements.................................... 377
General maintenance.... 379
Emission inspection and maintenance (I/M) programs.................................... 381
6-3. Do-it-yourself maintenance Do-it-yourself service precau-tions............................. 383
Hood ............................. 385
Positioning a floor jack .. 386
Engine compartment ..... 388
12-volt battery ............... 394
Tires .............................. 397
Tire inflation pressure ... 412
Wheels ......... .................414 Air conditioning filter ......
415
Cleaning the hybrid battery (traction battery) air intake
vent and filter ............... 417
Wiper insert replacement .................................... 421
Electronic key battery .... 425
Checking and replacing fuses .................................... 427
Headlight aim ................ 430
Exterior lights................. 431
7-1. Essential information Emergency flashers....... 434
If your vehicle has to be stopped in an emergency.................................... 435
If the vehicle is trapped in ris- ing water ...................... 436
7-2. Steps to take in an emer- gency
If your vehicle needs to be towed ........................... 437
If you think something is wrong........................... 440
If a warning light turns on or a warning buzzer sounds 442
If a warning message is dis- played .......................... 453
If you have a flat tire ...... 457
If the hybrid system will not start ............................. 464
If you lose your keys...... 466
If the fuel filler door cannot be open ed
........................ 466
6Maintenance and care
7When trouble arises
Page 15 of 548
15Pictorial index
To prevent freezing (windshield wiper de-icer)*...........P.319, 329
Precautions against car wash
(Rain-sensing windshield wipers)
*.......................................P.371
Replacing the wiper insert .................................... ...............P.421
Fuel filler door ............................................... .....................P.226
Refueling method ............................................... ..................P.226
Fuel type/fuel tan k capacity .................................................P.481
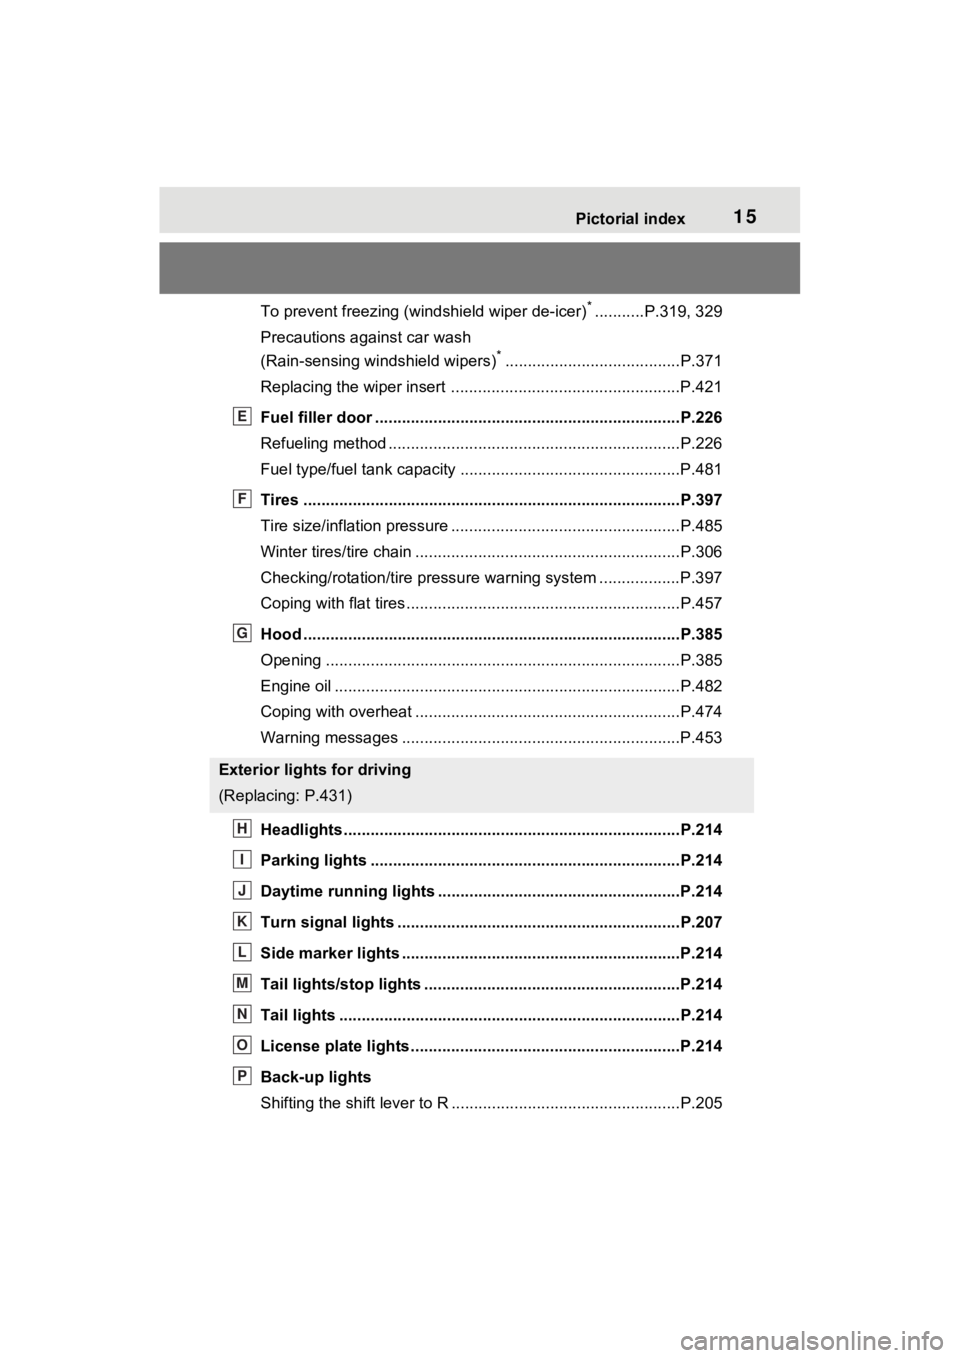
Tires ....................................................................................P.397
Tire size/inflation pressure ................................... ................P.485
Winter tires/tire chain ........................................ ...................P.306
Checking/rotation/tire pressur e warning system ..................P.397
Coping with flat tires......................................... ....................P.457
Hood ....................................................................................P.385
Opening ........................................................ .......................P.385
Engine oil ..................................................... ........................P.482
Coping with overheat ........................................... ................P.474
Warning messages ..............................................................P.453
Headlights..................................................... ......................P.214
Parking lights .....................................................................P.214
Daytime running lights .. ....................................................P.214
Turn signal lights ...............................................................P.207
Side marker lights ............................................. .................P.214
Tail lights/stop lights ........................................ .................P.214
Tail lights .................................................... ........................P.214
License plate lights........................................... .................P.214
Back-up lights
Shifting the shift lever to R ...................................................P.205
Exterior lights for driving
(Replacing: P.431)
E
F
G
H
I
J
K
L
M
N
O
P
Page 68 of 548
671-3. Emergency assistance
1
For safety and security
cle’s location, assess the emer-
gency, and dispatch the
necessary assistance required.
If you accidentally press the “SOS”
button, tell the response-center
agent that you are not experiencing
an emergency.
■Enhanced Roadside Assis-
tance
Enhanced Roadside Assistance
adds GPS data to the already
included warranty-based Toyota
roadside service.
Subscribers can press the
“SOS” button to reach a Safety
Connect response-center agent,
who can help with a wide range
of needs, such as: towing, flat
tire, fuel delivery, etc. For a
description of the Enhanced
Roadside Assistance services
and their limitations, please see
the Safety Connect Terms and
Conditions, which are available
at Toyota.com in the United
States, Toyotapr.com in Puerto
Rico and Toyota.ca in Canada.
Important! Read this informa-
tion before using Safety Con-
nect.
■Exposure to radio fre-
quency signals
The Safety Connect system
installed in your vehicle is a low-
power radio transmitter and receiver. It receives and also
sends out radio frequency (RF)
signals.
In August 1996, the Federal
Communications Commission
(FCC) adopted RF exposure
guidelines with safety levels for
mobile wireless phones. Those
guidelines are consistent with
the safety standards previously
set by the following U.S. and
international standards bodies.
ANSI (American National
Standards Institute) C95.1
[1992]
NCRP (National Council on
Radiation Protection and
Measurement) Report 86
[1986]
ICNIRP (International Com-
mission on Non-Ionizing Radi-
ation Protection) [1996]
Those standards were based on
comprehensive and periodic
evaluations of the relevant sci-
entific literature. Over 120 scien-
tists, engineers, and physicians
from universities, and govern-
ment health agencies and
industries reviewed the avail-
able body of research to
develop the ANSI Standard
(C95.1).
The design of Safety Connect
complies with the FCC guide-
lines in addition to those stan-
dards.
Safety information for
Safety Connect
Page 104 of 548

1032-1. Instrument cluster
2
Vehicle status information and indicators
the multi-information display.
“Units”
Select to change t he units of mea-
sure displayed.
(EV indicator) ( P.69)
Select to enable/disable the EV
indicator.
(Driving information dis-
play settings)
Select to set up the following items.
• “Hybrid System”
Select to enable/disable the ECO
Accelerator Guidance ( P.96).
• “Fuel Economy”
Select to change the display on
Fuel Economy ( P.96).
(Audio settings)
Select to enable/disable
screen.
(Vehicle information dis-
play settings)
• “Display Contents”
Select to set up the following items.
“Energy monitor”:
Select to enable/disable the Energy
monitor ( P.120)
“AWD”:
Select to enable/disable the AWD
system display ( P.99).
• “Drive Info Type”
Select to change the drive informa-
tion type display between trip and
total. ( P.99).
• “Drive Info Items”
Select to set the items on the upper and lower side of
the drive informa-
tion screen. from th ree items, aver-
age speed, distance and total time.
“Trip Summary”
Select to set the items displayed
when the power switch is turned off.
“Pop-Up Display”
Select to enable/d isable the follow-
ing pop-up displays, which may
appear in some situations.
• Incoming call display of the hands-free phone system
• Audio operation
• Volume operation
• Brightness
“MID OFF”
A blank screen is displayed.
“Default Settings”
Select to reset the meter display
settings.
■Tire pressure
• It may take a few minutes to dis-
play the tire inflation pressure
after the power switch is turned to
ON. It may also take a few min-
utes to display the tire inflation
pressure after infl ation pressure
has been adjusted.
• “---” may be displayed if the tire position information cannot be
determined due to unfavorable
radio wave conditions.
• Tire inflation pressure changes with temperature. The displayed
values may also be different from
the values measured using a tire
pressure gauge.
■Suspension of the settings dis-
play
●In the following situations, opera-
tion of the settings display will be
Page 115 of 548

1142-1. Instrument cluster
Select to reset the scheduled main-
tenance information (message indi-
cating maintenance is required and
distance until the next mainte-
nance) after all maintenance is per-
formed.
Oil Maintenance
Select to reset the Oil maintenance.
( P.390)
■ Settings
“Language”
Select to change the language on
the multi-inform ation display.
“Units”
Select to change t he units of mea-
sure displayed.
(EV indicator) ( P.69)
Select to enable/disable the EV
indicator.
Digital Speed ( P.109)
Select to enable/dis able the Digital
Speed.
Gadget Content
Select to change the Gadget set-
ting.
Fuel Economy Type
( P.106)
Select to change the drive informa-
tion type display between trip, total
and tank.
“Pop-Up Display”
Select to enable/d isable the follow-
ing pop-up displays, which may
appear in some situations.
• Intersection guidance display of the navigation system-linked sys-
tem (if equipped) • Incoming call display of the
hands-free phone system
• Audio operation
• Volume operation
• Voice control (if equipped)
• Brightness
“MID OFF”
A blank screen is displayed.
“Default Settings”
Select to reset the meter display
settings.
■Tire pressure
• It may take a few minutes to dis-
play the tire inflation pressure
after the power switch is turned to
ON. It may also take a few min-
utes to display the tire inflation
pressure after infl ation pressure
has been adjusted.
• “---” may be displayed if the tire position information cannot be
determined due to unfavorable
radio wave conditions.
• Tire inflation pressure changes with temperature. The displayed
values may also be different from
the values measured using a tire
pressure gauge.
■Suspension of the settings dis-
play
●In the following situations, opera-
tion of the settings display will be
temporarily suspended.
• When a warning message
appears on the multi-information
display
• When the vehicle begins to move
●Settings for functions not
equipped to the vehicle are not
displayed.
●When a function is turned off, the
related settings for that function
are not selectable.
Page 191 of 548
1904-1. Before driving
NOTICE
■Avoiding damage to vehicle
parts
●Do not turn the steering wheel
fully in either direction and hold
it there for an extended period
of time.
Doing so may damage the
power steering motor.
●When driving over bumps in the
road, drive as slowly as possible
to avoid damaging the wheels,
underside of the vehicle, etc.
■If you get a flat tire while driv-
ing
A flat or damaged tire may cause
the following situations. Hold the
steering wheel firmly and gradu-
ally depress the brake pedal to
slow down the vehicle.
●It may be difficult to control your
vehicle.
●The vehicle will make abnormal
sounds or vibrations.
●The vehicle will lean abnor-
mally.
Information on what to do in case
of a flat tire ( P.457)
■When encountering flooded
roads
Do not drive on a road that has
flooded after heavy rain, etc.
Doing so may cause the following
serious damage to the vehicle:
●Engine stalling
●Short in electrical components
●Engine damage caused by
water immersion
In the event that you drive on a
flooded road and the vehicle is
flooded, be sure to have your
Toyota dealer c heck the following:
●Brake function
●Changes in quantity and quality
of oil and fluid used for the
engine, hybrid transaxle (front
and rear), etc.
●Lubricant condition for the bear-
ings and suspension joints
(where possible), and the func-
tion of all joints, bearings, etc.
■When parking the vehicle
Always set the parking brake, and
shift the shift lever to P. Failure to
do so may cause the vehicle to
move or the vehicle may acceler-
ate suddenly if t he accelerator
pedal is accidentally depressed.
Page 219 of 548

2184-3. Operating the lights and wipers
by another vehicle
• When vehicles ahead are hidden from sight due to repeated curves,
road dividers or roadside trees
• When vehicles ahead appear from the faraway lane on a wide road
• When vehicles ahead have no lights
●The high beams may be turned off
if a vehicle ahead that is using fog
lights without using the headlights
is detected.
●House lights, street lights, traffic
signals, and illumi nated billboards
or signs may cause the high
beams to switch to the low beams,
or the low beams to remain on.
●The following factors may affect
the amount of time taken to turn
the high beams on or off:
• The brightness of headlights, fog
lights, and tail lig hts of vehicles
ahead
• The movement and direction of
vehicles ahead
• When a vehicle ahead only has operational lights on one side
• When a vehicle ahead is a two- wheeled vehicle
• The condition of the road (gradi-
ent, curve, condi tion of the road
surface etc.)
• The number of passengers and
amount of luggage
●The high beams may be turned on
or off when the driver does not
expect it.
●Bicycles or similar objects may not
be detected.
●In the situations shown below, the
system may not be able to accu-
rately detect surrounding bright-
ness levels. This may cause the
low beams to remain on or the
high beams to cause problems for
pedestrians, vehicles ahead or
other parties. In these cases,
manually switch between the high
and low beams.
• In bad weather (rain, snow, fog, sandstorms, etc.)
• The windshield is obscured by fog, mist, i
ce, dirt, etc.
• The windshield is cracked or dam- aged
• The front camera is deformed or dirty
• When the temperature of the front
camera is extremely high
• Surrounding brightness levels are equal to those of headlights, tail
lights or fog lights
• When headlights or tail lights of vehicles ahead are turned off,
dirty, changing color, or not aimed
properly
• When the vehicle is hit by water,
snow, dust, etc. from a preceding
vehicle
• When driving through an area of
intermittently changing brightness
and darkness
• When frequently and repeatedly
driving ascending/descending
roads, or roads with rough, bumpy
or uneven surfaces (such as
stone-paved roads, gravel roads,
etc.)
• When frequently and repeatedly
taking curves or driving on a wind-
ing road
• There is a highly reflective object
ahead of the vehicle, such as a
sign or mirror
• The back of a vehicle ahead is
highly reflective, such as a con-
tainer on a truck
• The vehicle’s headlights are dam-
aged or dirty, or are not aimed
properly
• The vehicle is listing or titling due
to a flat tire, a trailer being towed,
etc.
• The high beams and low beams
are repeatedly being switched
between in an abnormal manner
• The driver believes that the high
beams may be causing problems
or distress to other drivers or
pedestrians nearby
■If “Headlight System Malfunc-
tion Visit Your Dealer” is dis-
played on the multi-information
display
The system may be malfunctioning.
Page 238 of 548
2374-5. Using the driving support systems
4
Driving
■Enabling/disabling the pre-
collision system
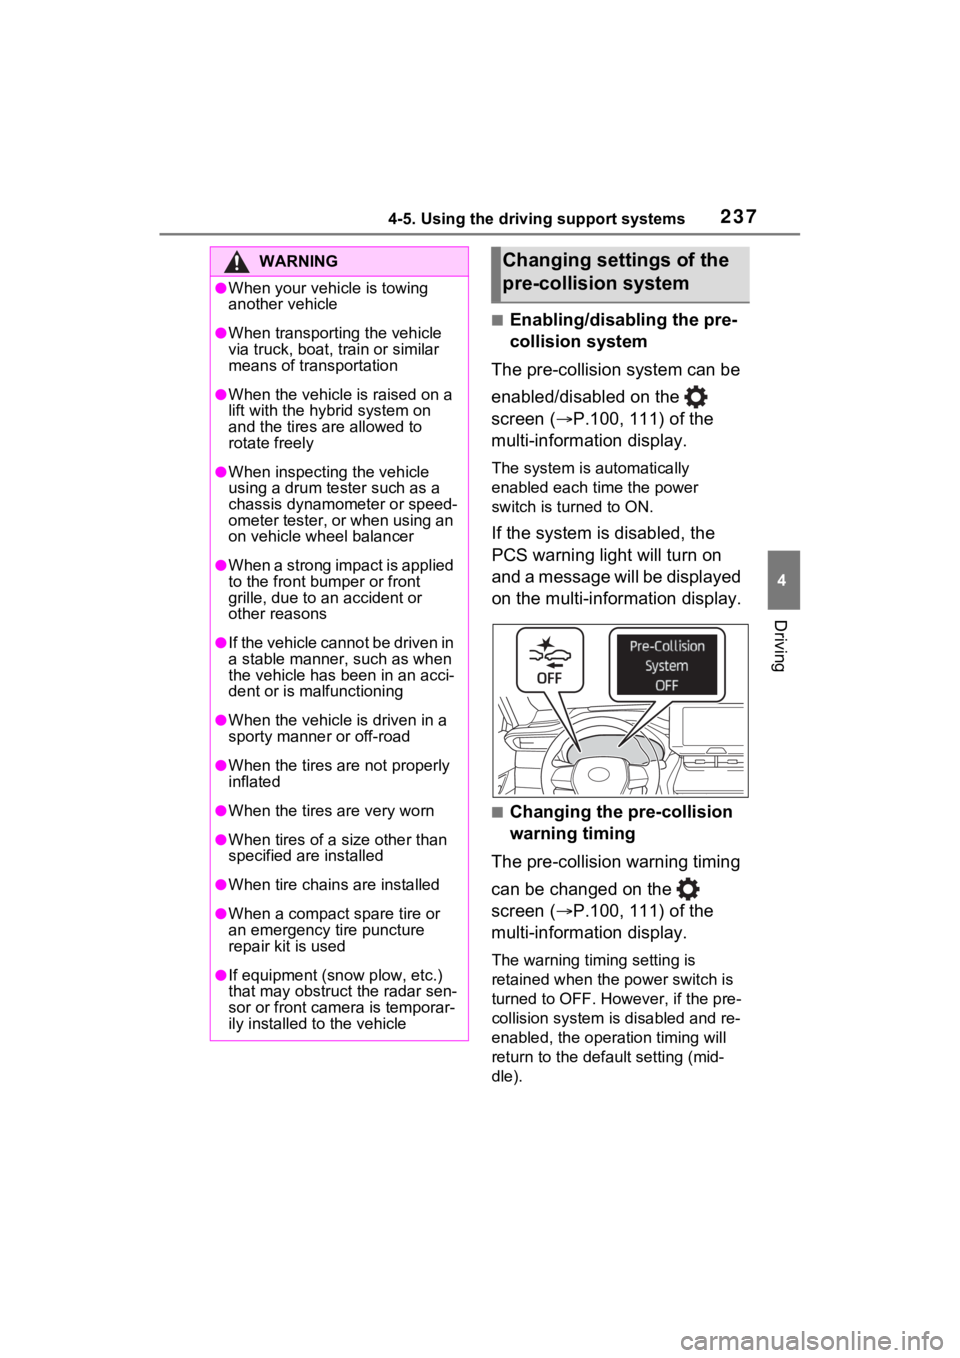
The pre-collision system can be
enabled/disabled on the
screen ( P.100, 111) of the
multi-information display.
The system is automatically
enabled each time the power
switch is turned to ON.
If the system is disabled, the
PCS warning light will turn on
and a message will be displayed
on the multi-information display.
■Changing the pre-collision
warning timing
The pre-collision warning timing
can be changed on the
screen ( P.100, 111) of the
multi-information display.
The warning timing setting is
retained when the power switch is
turned to OFF. However, if the pre-
collision system is disabled and re-
enabled, the operation timing will
return to the default setting (mid-
dle).
WARNING
●When your vehicle is towing
another vehicle
●When transporting the vehicle
via truck, boat, train or similar
means of transportation
●When the vehicle is raised on a
lift with the hybrid system on
and the tires are allowed to
rotate freely
●When inspecting the vehicle
using a drum tester such as a
chassis dynamometer or speed-
ometer tester, or when using an
on vehicle wheel balancer
●When a strong impact is applied
to the front bumper or front
grille, due to a n accident or
other reasons
●If the vehicle cannot be driven in
a stable manner, such as when
the vehicle has been in an acci-
dent or is malfunctioning
●When the vehicle is driven in a
sporty manner or off-road
●When the tires are not properly
inflated
●When the tires are very worn
●When tires of a size other than
specified are installed
●When tire chains are installed
●When a compact spare tire or
an emergency tire puncture
repair kit is used
●If equipment (snow plow, etc.)
that may obstruct the radar sen-
sor or front camera is temporar-
ily installed to the vehicle
Changing settings of the
pre-collision system
Page 243 of 548
2424-5. Using the driving support systems
such as heavy rain, fog, snow or a
sandstorm
• When driving through steam or
smoke
• When the surrounding area is dim, such as at dawn or dusk, or while
at night or in a t unnel, making a
detectable object appear to be
nearly the same color as its sur-
roundings
• When driving in a place where the surrounding brightness changes
suddenly, such as at the entrance
or exit of a tunnel
• After the hybrid system has
started the vehicle has not been
driven for a certain amount of time
• While making a left/right turn and
for a few seconds after making a
left/right turn
• While driving on a curve and for a
few seconds after driving on a
curve
• If your vehicle is skidding
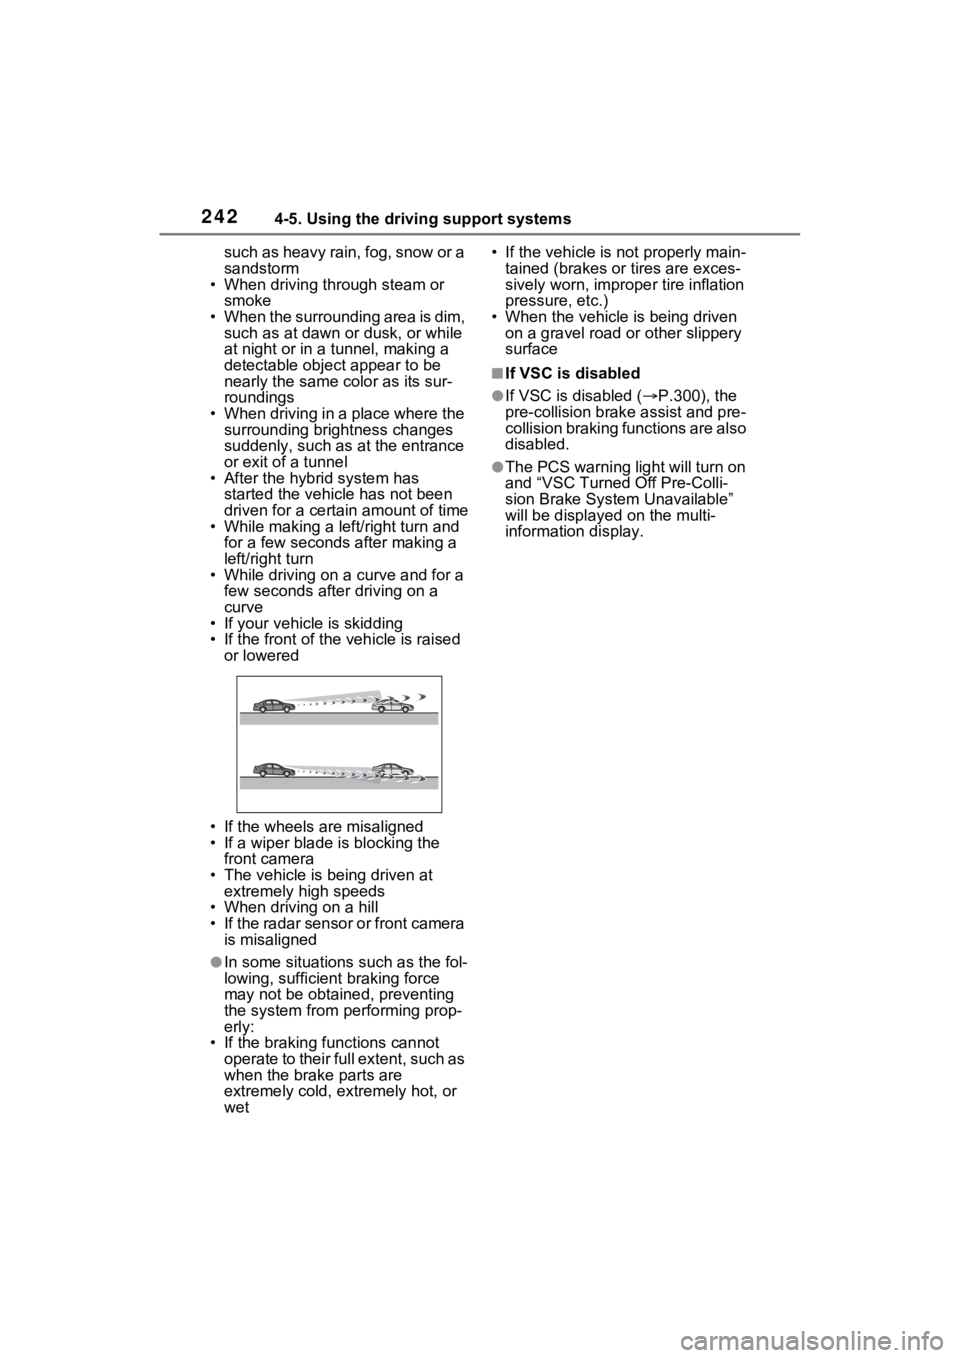
• If the front of the vehicle is raised
or lowered
• If the wheels are misaligned
• If a wiper blade is blocking the front camera
• The vehicle is being driven at extremely high speeds
• When driving on a hill
• If the radar sensor or front camera
is misaligned
●In some situations such as the fol-
lowing, sufficien t braking force
may not be obtained, preventing
the system from performing prop-
erly:
• If the braking functions cannot operate to their full extent, such as
when the brake parts are
extremely cold, extremely hot, or
wet • If the vehicle is not properly main-
tained (brakes or tires are exces-
sively worn, imprope r tire inflation
pressure, etc.)
• When the vehicle is being driven on a gravel road or other slippery
surface
■If VSC is disabled
●If VSC is disabled ( P.300), the
pre-collision brak e assist and pre-
collision braking functions are also
disabled.
●The PCS warning light will turn on
and “VSC Turned Off Pre-Colli-
sion Brake System Unavailable”
will be displayed on the multi-
information display.