battery TOYOTA xB 2008 Accessories, Audio & Navigation (in English)
[x] Cancel search | Manufacturer: TOYOTA, Model Year: 2008, Model line: xB, Model: TOYOTA xB 2008Pages: 32, PDF Size: 0.33 MB
Page 6 of 32

128-7907A
6 of 32
-V-
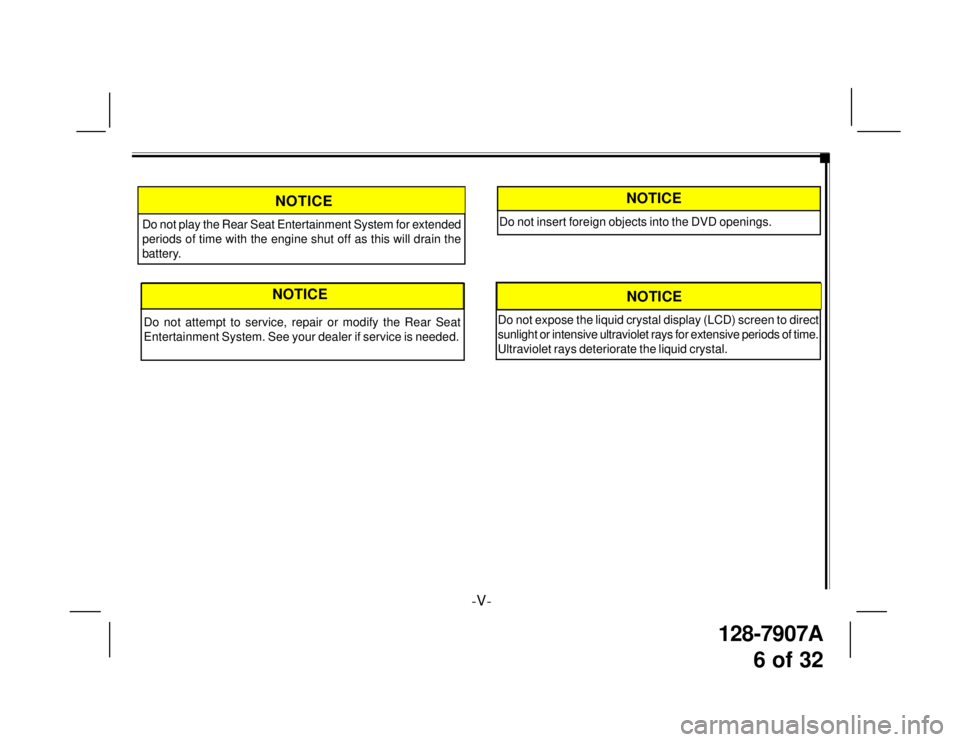
Do not play the Rear Seat Entertainment System for extended
periods of time with the engine shut off as this will drain the
battery.
NOTICE
NOTICE
Do not attempt to service, repair or modify the Rear Seat
Entertainment System. See your dealer if service is needed.
Do not insert foreign objects into the DVD openings.
NOTICE
Do not expose the liquid crystal display (LCD) screen to direct
sunlight or intensive ultraviolet rays for extensive periods of time.
Ultraviolet rays deteriorate the liquid crystal.
NOTICE
Page 7 of 32

128-7907A
7 of 32
-VI-
TABLE OF CONTENTS
INTRODUCTION................................................................. I
Federal Communication Commission (FCC) Compliance I
SAFETY PRECAUTIONS................................................ II-V
QUICK START GUIDE........................................................ 1
Operating the DVD System ............................................ 1
CONTROLS AND INDICATOR DIAGRAM.......................... 2
Control Function Descriptions for M1 and M2 Monitor..... 2
M1 / M2 Panel Control ................................................... 2
DVD HEADREST SYSTEM OVERVIEW............................. 3
REMOTE CONTROL OPERATION...................................... 4
Battery Installation......................................................... 4
Remote Control Functional Description....................... 5-9
WIRELESS HEADPHONES OPERATION.......................... 10
Wireless Headphones Special Features........................ 10
Wireless Headphone Battery Installation....................... 10
OPERATION INSTRUCTIONS........................................... 11
Control Button Functions (M1 / M2 Unit) ....................... 11
DVD Basics.................................................................. 12
Region Coding............................................................... 12
Types of Discs Your System Will Play .......................... 12
Disc Compatibility......................................................... 12
Loading and Playing Discs ........................................12
To Load and Play a Disc ........................................... 12
Source Selection...................................................... 12Settings and Adjustments...........................................13
Using the Setup Menu ............................................... 13
Exiting the Setup Menu ............................................. 13
Language Setup..........................................................13
Language for On-Screen Display............................... 13
Subtitle Setup............................................................ 14
Audio Setup.............................................................. 14
Video Setup.................................................................15
TV Display................................................................. 15
TV Type ..................................................................... 15
Rating Setup................................................................16
Rating........................................................................ 16
Misc Setup..................................................................... 16
Factory Defaults...........................................................16
Screen Saver.................................................................. 17
Playing Audio CDs .......................................................17
Playing MP3 Discs.......................................................18
Selecting a Play Mode .............................................. 18
Skipping Songs......................................................... 18
Selecting Folders and Songs ..................................... 18
Program Play............................................................ 19
Deleting the Play List ................................................ 19
TROUBLESHOOTING........................................................ 20
FUSE REPLACEMENT....................................................... 21
SPECIFICATIONS.............................................................. 22
OWNER’S NOTES..........................................................23-24
Page 11 of 32

128-7907A
11 of 32
-4-
REMOTE CONTROL OPERATION
Battery Cover
Lift for battery
installation
Battery Installation:
Before attempting to operate your remote control, install the
batteries as described below.
1. Turn the remote control face down. Using a fingernail, lift
the battery cover off.
2. Install two “AAA” batteries. Make sure that proper polarity
(+/-) is observed.
3. Align the cover tabs with the remote control and press
down until the cover clicks.
Page 17 of 32

128-7907A
17 of 32
-10-
WIRELESS HEADPHONES OPERATION
The system includes built-in infrared transmitters for use with
Wireless Headphones. The master monitor (M1) IR transmitter
uses CH A of the wireless headphones. An A-B switch allows
the user to select the audio from either the M1 Master (CH A) or
the M2 Satellite (CH B).
Wireless Headphones Special Features
• Dual Channel
• Automatic level control prevents input signal overloading.
• Uses high frequency infrared light to assure a clean signal
for clear reception.
• Fold-flat ear pieces rotate 90° to facilitate storing in
seat back pocket or door pocket.
When sitting in front of the M1 screen, use the CH A switch
setting. When sitting in front of the M2 screen, use the CH B
switch setting.
To operate the Headphones:
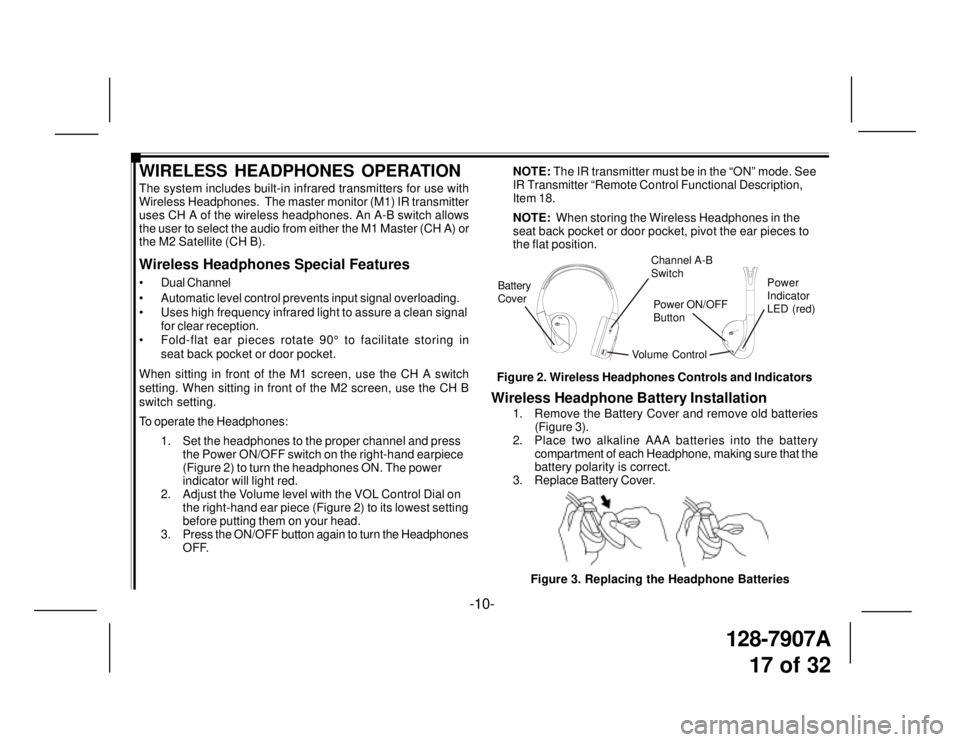
1. Set the headphones to the proper channel and press
the Power ON/OFF switch on the right-hand earpiece
(Figure 2) to turn the headphones ON. The power
indicator will light red.
2. Adjust the Volume level with the VOL Control Dial on
the right-hand ear piece (Figure 2) to its lowest setting
before putting them on your head.
3. Press the ON/OFF button again to turn the Headphones
OFF.
Wireless Headphone Battery Installation
1. Remove the Battery Cover and remove old batteries
(Figure 3).
2. Place two alkaline AAA batteries into the battery
compartment of each Headphone, making sure that the
battery polarity is correct.
3. Replace Battery Cover.
Figure 3. Replacing the Headphone Batteries NOTE: The IR transmitter must be in the “ON” mode. See
IR Transmitter “Remote Control Functional Description,
Item 18.
NOTE: When storing the Wireless Headphones in the
seat back pocket or door pocket, pivot the ear pieces to
the flat position.
Figure 2. Wireless Headphones Controls and Indicators
Volume ControlPower
Indicator
LED (red) Channel A-B
Switch
Battery
Cover
CH.BCH.ATOYOTATOYOTA
VOLPower
Power ON/OFF
Button