buttons TOYOTA xB 2011 Accessories, Audio & Navigation (in English)
[x] Cancel search | Manufacturer: TOYOTA, Model Year: 2011, Model line: xB, Model: TOYOTA xB 2011Pages: 284, PDF Size: 32.36 MB
Page 4 of 284
3
V573_E
For safety reasons, this manual indicates
items requiring particular attention with
the following marks.
CAUTION
This is a warning against anything
which may cause injury to people if
the warning is ignored. You are
informed about what you must or
must not do in order to reduce the
risk of injury to yourself and others.
NOTICE
This is a warning against anything
which may cause damage to the ve-
hicle or its equipment if the warning
is ignored. You are informed about
what you must or must not do in
order to avoid or reduce the risk of
damage to your vehicle and its
equipment.
INFORMATION
This provides additional information.
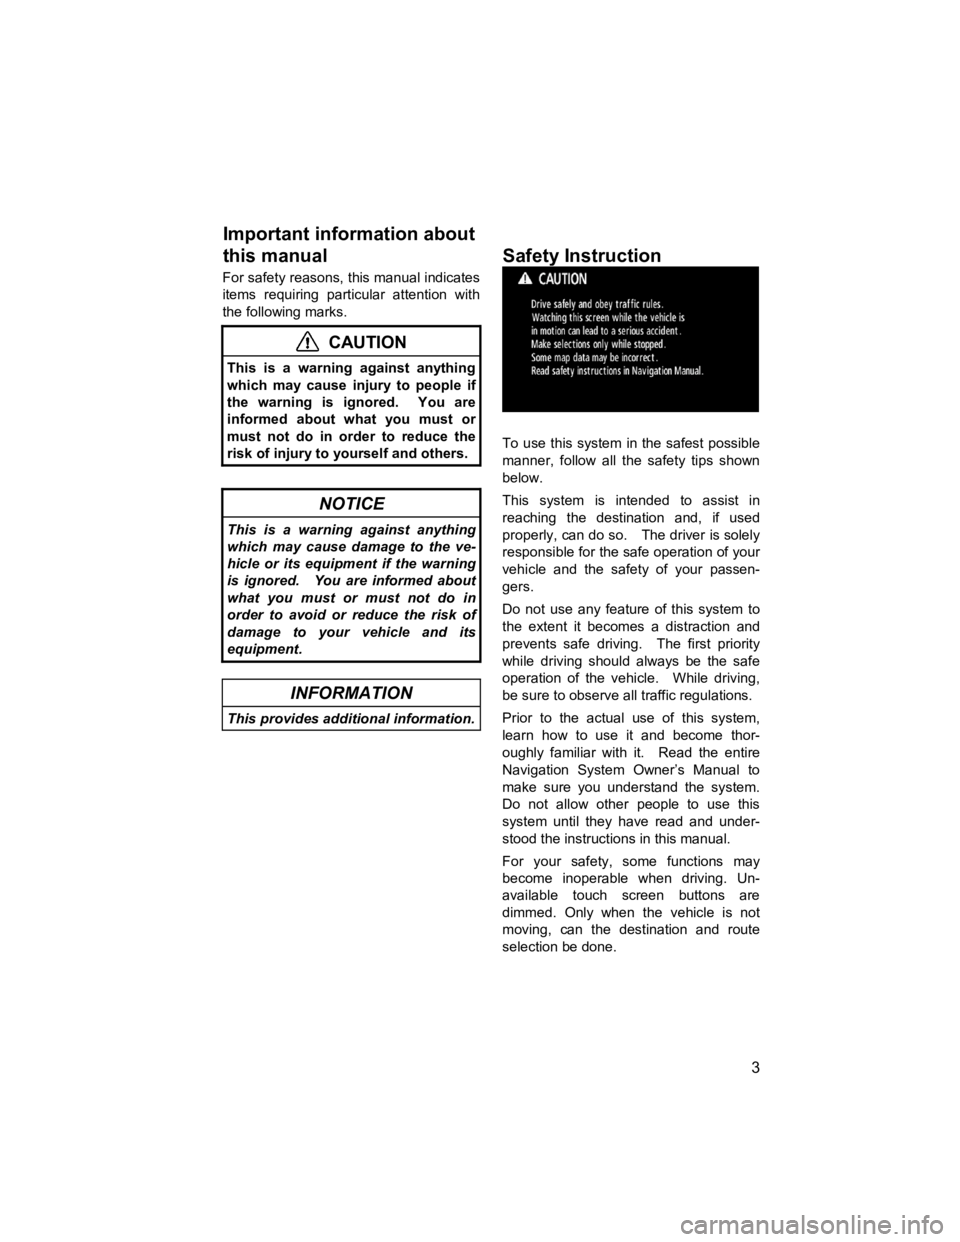
To use this system in the safest possible
manner, follow all the safety tips shown
below.
This system is intended to assist in
reaching the destination and, if used
properly, can do so. The driver is solely
responsible for the safe operation of your
vehicle and the safety of your passen-
gers.
Do not use any feature of this system to
the extent it becomes a distraction and
prevents safe driving. The first priority
while driving should always be the safe
operation of the vehicle. While driving,
be sure to observe all traffic regulations.
Prior to the actual use of this system,
learn how to use it and become thor-
oughly familiar with it. Read the entire
Navigation System Owner’s Manual to
make sure you understand the system.
Do not allow other people to use this
system until they have read and under-
stood the instructions in this manual.
For your safety, some functions may
become inoperable when driving. Un-
available touch screen buttons are
dimmed. Only when the vehicle is not
moving, can the destination and route
selection be done.
Important information about
this manual
Safet
y Instruction
Page 11 of 284
10
V573_E
Page 14 of 284
13
V573_E
“Mark”
Touch this touch screen button to regis-
ter the current position or the cursor po-
sition as a memory point. .................... 29
“Route”
Touch this touch screen button to
change the route. .......................... 72, 75
“Map View”
Touch this touch screen button to obtain
information regarding the route to the
destination and information about the
POI (Points of Interest) on the map
screen. ...............................78, 81, 82, 83
“OFF”
Touch this touch screen button to obtain
a broader view. Some of the buttons on
the screen are not displayed. They
reappear by touching the “ON
”.
.......................................................... 112
Zoom in touch screen button
Touch this touch screen button to mag-
nify the map scale. .............................. 35
Screen configuration touch
screen button
Touch this touch screen button to
change the scr een mode..................... 32
Distance and time to destination
Displays the distance, the estimated
travel time to the destination, and the
estimated arrival time at the destination. ............................................................ 71
XM® NavTraffic indicator
This indicator is displayed when XM®
NavTraffic info. is received. ................. 90
Page 24 of 284

BASIC FUNCTION
23
V573_E
This system is operated mainly by the
touch screen buttons on the screen.
To prevent damage to the screen,
lightly touch the touch screen buttons
with the finger. When a touch screen
button is touched, a beep sounds.
Do not use objects other than your
finger to touch the screen.
INFORMATION
�z If the system does not respond to
a touch on a touch screen button,
move the finger away from the
screen and then touch it again.
�z Dimmed touch screen buttons
cannot be operated.
�z Wipe off fingerprints using a
glass cleaning cloth. Do not use
chemical cleaners to clean the
touch screen.
�z The displayed image may become
darker and moving images may
be slightly distorted when the
display is cold.
�z Under extremely cold conditions,
the map may not be displayed and
the data input by a user may be
deleted. Also, the touch screen
buttons may be harder than usual
to depress.
�z When you look at the screen
through polarized material such
as polarized sunglasses, the
screen may be dark and hard to
see. If so, change the angle of the
screen, look at the screen from
different angles, adjust the screen
settings on the “Display” screen,
or take off your sunglasses.
When searching for an address or a
name, or entering a memo, letters and
numbers can be input via the touch
screen.
INFORMATION
Keyboard layout can be changed.
(See page 111).
Touch screen o
peration Inputting letters and
numbers/List screen
operation
Page 33 of 284
BASIC FUNCTION
32
V573_E
DESTINATION INFORMATION
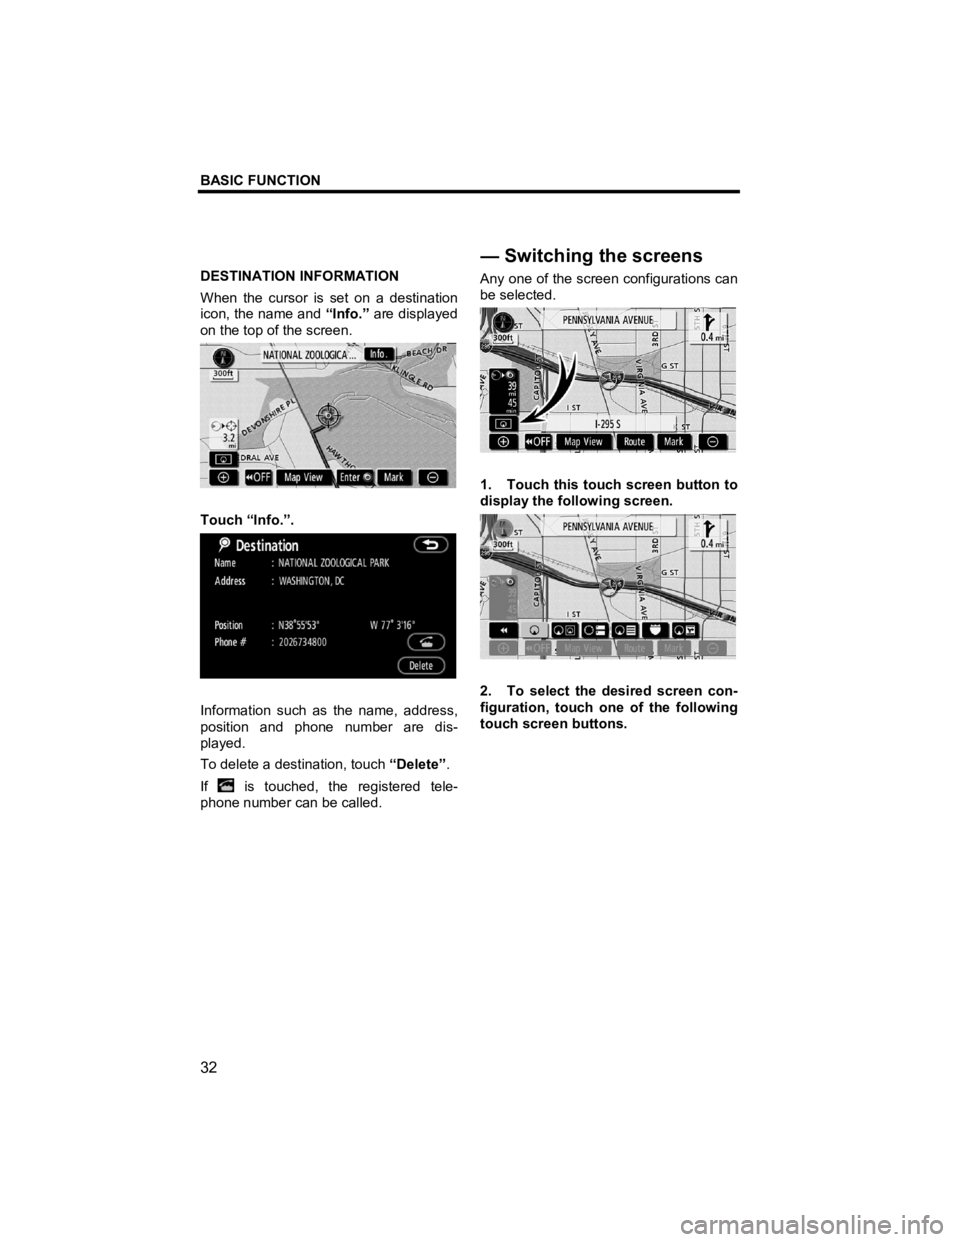
When the cursor is set on a destination
icon, the name and “Info.” are displayed
on the top of the screen.
Touch “Info.”.
Information such as the name, address,
position and phone number are dis-
played.
To delete a destination, touch “Delete”.
If
is touched, the registered tele-
phone number can be called. Any one of the screen configurations can
be selected.
1. Touch this touch screen button to
display the following screen.
2. To select the desired screen con-
figuration, touch one of the following
touch screen buttons.
—Switching the screens
Page 34 of 284
BASIC FUNCTION
33
V573_E
Depending on the conditions, certain
screen configuration buttons cannot be
selected.
: To display the single map screen. (See page 33.)
: To display the dual map screen.
(See page 34.)
: To display the compass mode screen. (See page 34.)
: To display the turn list screen. (See page 68.)
: To display the arrow screen. (See page 68.)
: To display the freeway informa-
tion screen. (See page 66.)
: To display the intersection guid- ance screen or the guidance
screen on the freeway. (See page
67.) �z
Screen configurations
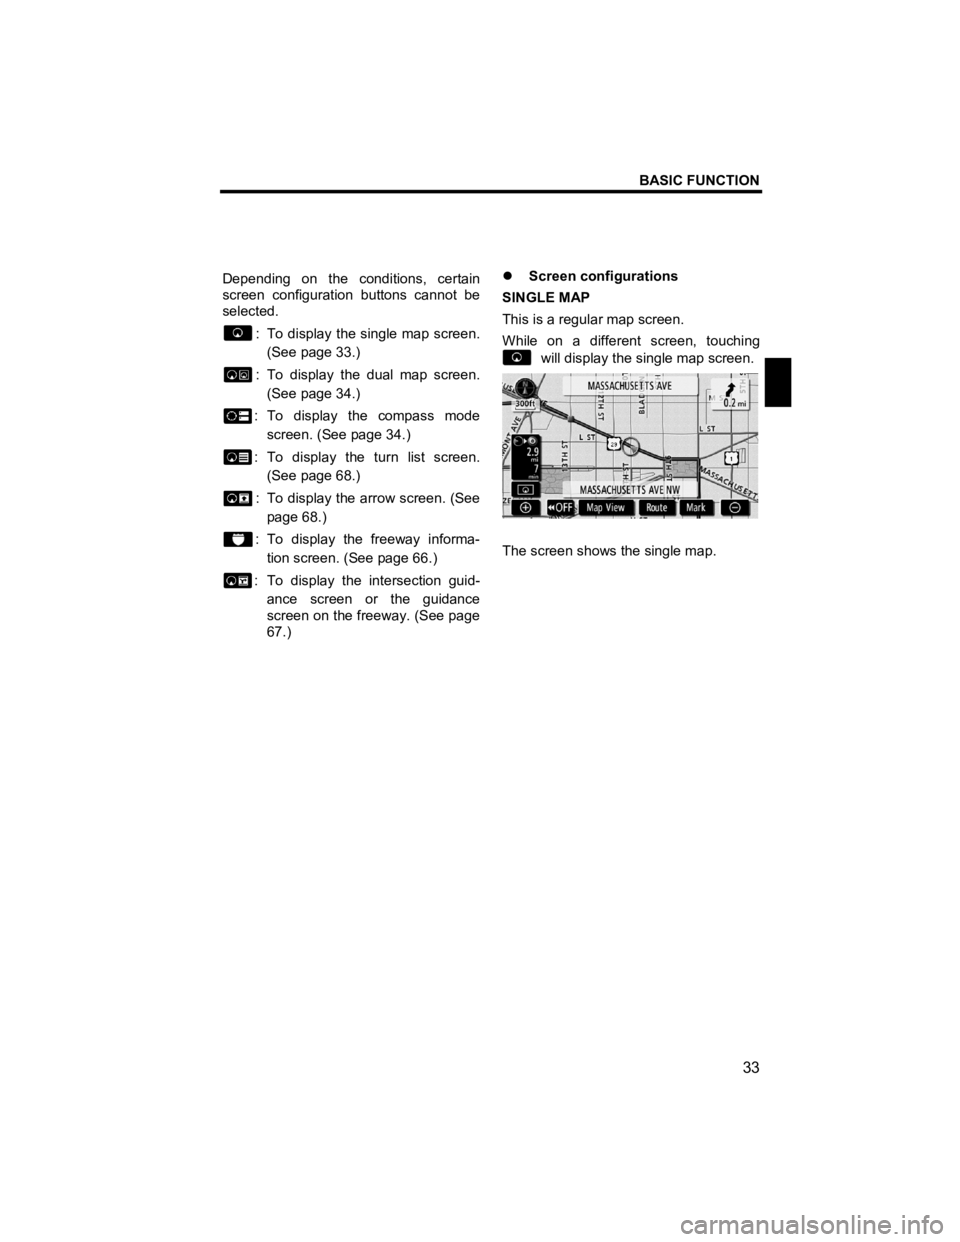
SINGLE MAP
This is a regular map screen.
While on a different screen, touching
will display the single map screen.
The screen shows the single map.
Page 46 of 284
DESTINATION SEARCH
45
V573_E
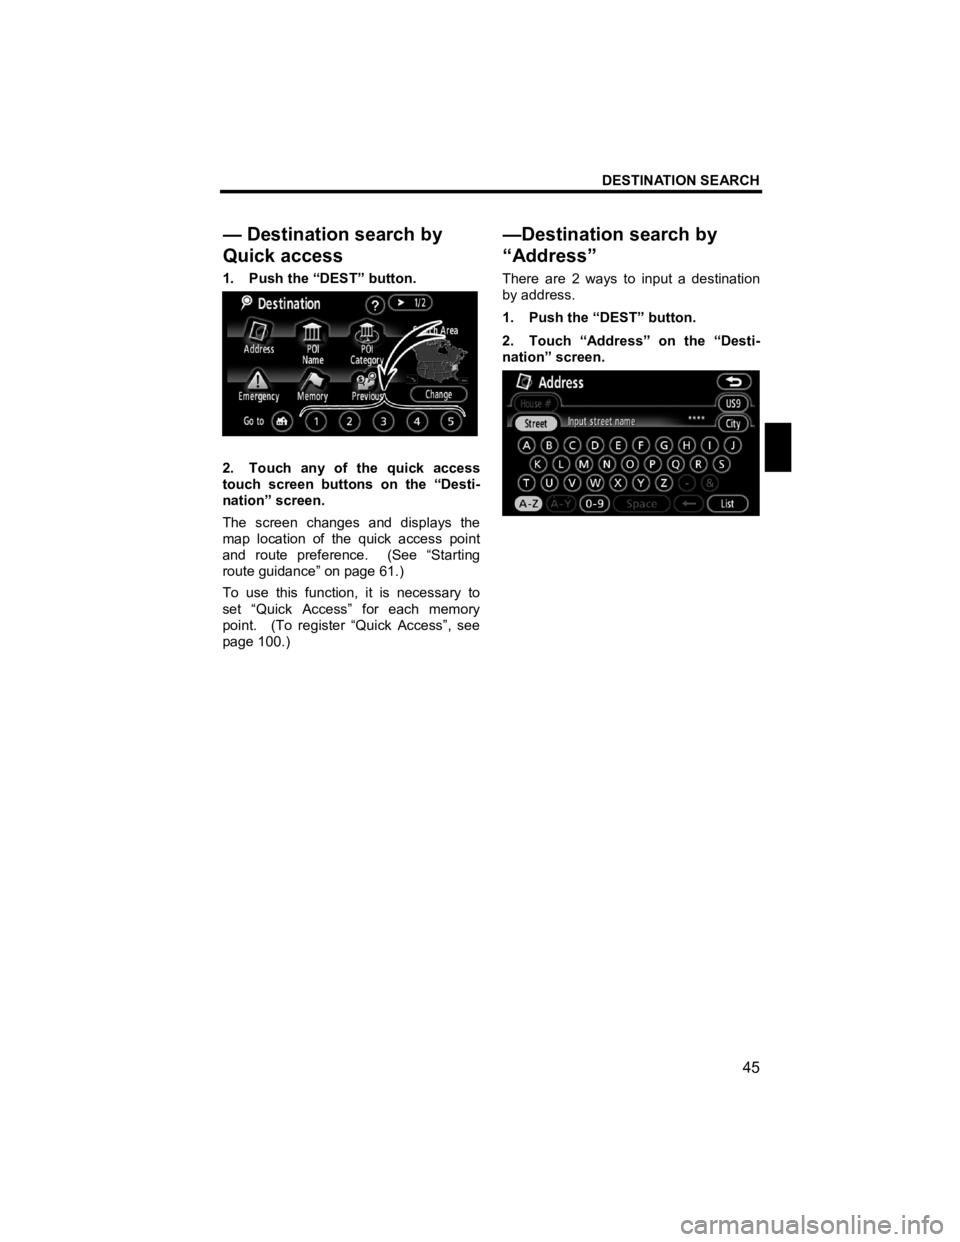
1. Push the “DEST” button.
2. Touch any of the quick access
touch screen buttons on the “Desti-
nation” screen.
The screen changes and displays the
map location of the quick access point
and route preference. (See “Starting
route guidance” on page 61.)
To use this function, it is necessary to
set “Quick Access” for each memory
point. (To register “Quick Access”, see
page 100.) There are 2 ways to input a destination
by address.
1. Push the “DEST” button.
2. Touch “Address” on the “Desti-
nation” screen.
— Destination search by
Quick access
—Destination search by
“Address”
Page 55 of 284
DESTINATION SEARCH
54
V573_E
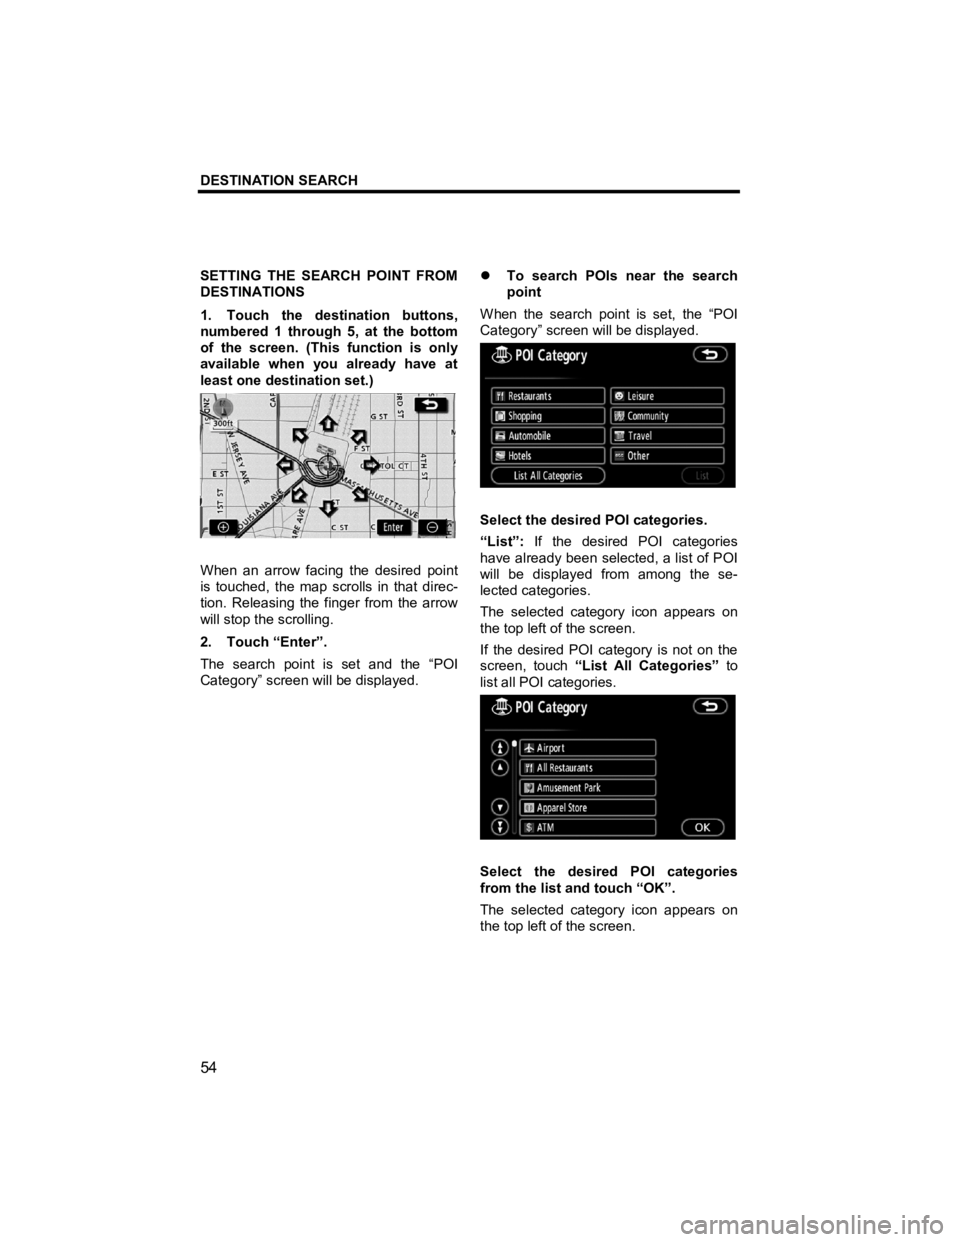
SETTING THE SEARCH POINT FROM
DESTINATIONS
1. Touch the destination buttons,
numbered 1 through 5, at the bottom
of the screen. (This function is only
available when you already have at
least one destination set.)
When an arrow facing the desired point
is touched, the map scrolls in that direc-
tion. Releasing the finger from the arrow
will stop the scrolling.
2. Touch “Enter”.
The search point is set and the “POI
Category” screen will be displayed. �z
To search POIs near the search
point
When the search point is set, the “POI
Category” screen will be displayed.
Select the desired POI categories.
“List”: If the desired POI categories
have already been selected, a list of POI
will be displayed from among the se-
lected categories.
The selected category icon appears on
the top left of the screen.
If the desired POI category is not on the
screen, touch “List All Categories” to
list all POI categories.
Select the desired POI categories
from the list and touch “OK”.
The selected category icon appears on
the top left of the screen.
Page 77 of 284
ROUTE GUIDANCE
76
V573_E
While the route guidance is operating,
you can change the route to detour
around a section of the route where a
delay is caused by road repairs, or an
accident, etc.
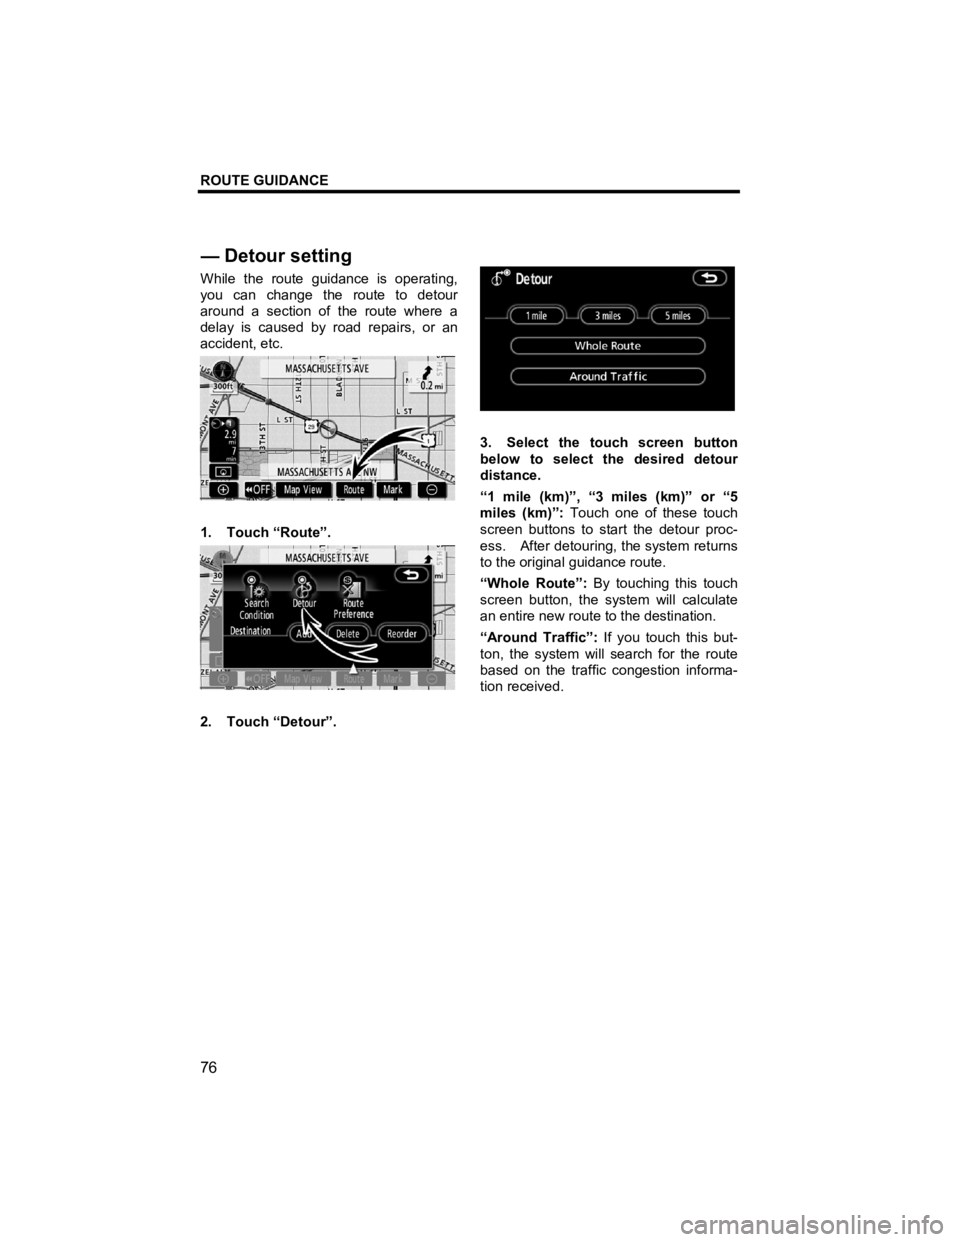
1. Touch “Route”.
2. Touch “Detour”.
3. Select the touch screen button
below to select the desired detour
distance.
“1 mile (km)”, “3 miles (km)” or “5
miles (km)”: Touch one of these touch
screen buttons to start the detour proc-
ess. After detouring, the system returns
to the original guidance route.
“Whole Route”: By touching this touch
screen button, the system will calculate
an entire new route to the destination.
“Around Traffic”: If you touch this but-
ton, the system will search for the route
based on the traffic congestion informa-
tion received.
— Detour settin
g
Page 176 of 284
OTHER FUNCTIONS
175
V573_E
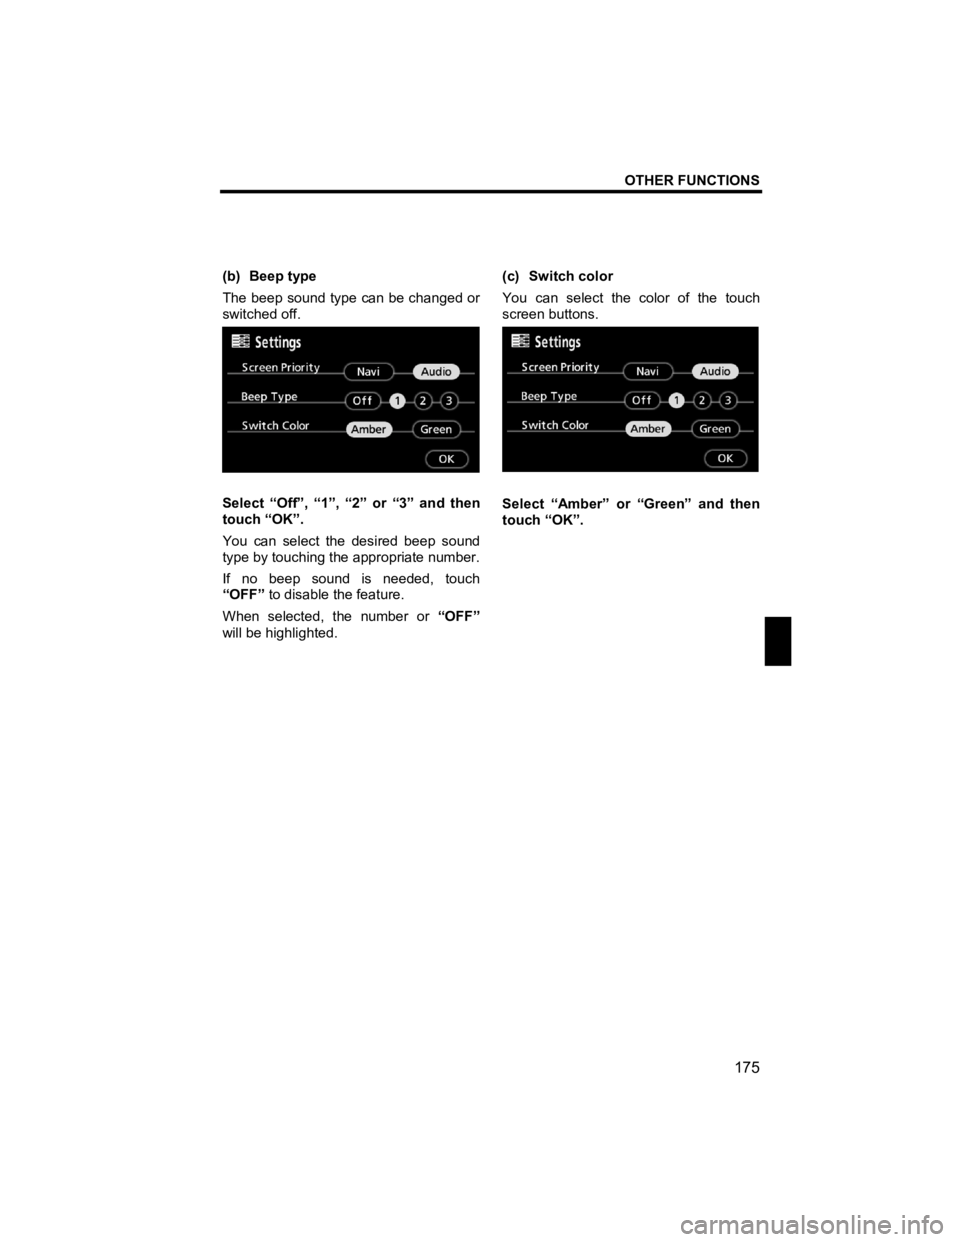
(b) Beep type
The beep sound type can be changed or
switched off.
Select “Off”, “1”, “2” or “3” and then
touch “OK”.
You can select the desired beep sound
type by touching the appropriate number.
If no beep sound is needed, touch
“OFF” to disable the feature.
When selected, the number or “OFF”
will be highlighted.
(c) Switch color
You can select the color of the touch
screen buttons.
Select “Amber” or “Green” and then
touch “OK”.