infotainment VAUXHALL ANTARA 2014 User Guide
[x] Cancel search | Manufacturer: VAUXHALL, Model Year: 2014, Model line: ANTARA, Model: VAUXHALL ANTARA 2014Pages: 217, PDF Size: 5.94 MB
Page 99 of 217

Instruments and controls97
Language selection
The display language for some
functions can be selected. Select
menu item Language from the
Settings menu. The available
languages are displayed.
Select the desired language.
Selections are indicated by a 6 in
front of the menu item.
In systems with voice output, when
the language setting of the display is
changed, the system will ask whether the announcement language should
also be changed – see Infotainment
system instruction manual.
Setting units of measure
Select menu item Units from the
Settings menu. The available units
are displayed. Select the desired unit.
Selections are indicated by a o in
front of the menu item.
Page 100 of 217
98Instruments and controls
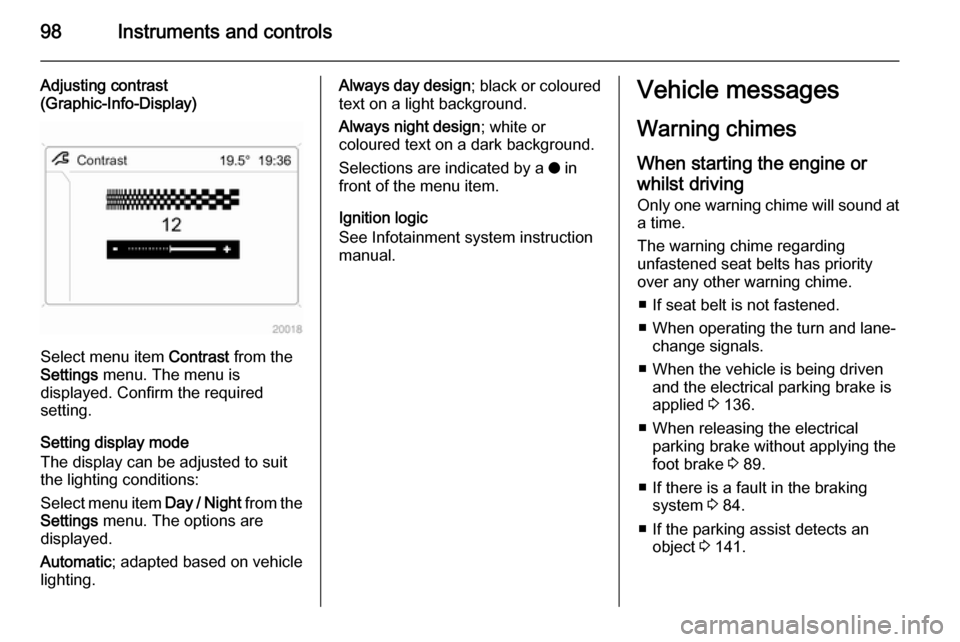
Adjusting contrast
(Graphic-Info-Display)
Select menu item Contrast from the
Settings menu. The menu is
displayed. Confirm the required
setting.
Setting display mode
The display can be adjusted to suit
the lighting conditions:
Select menu item Day / Night from the
Settings menu. The options are
displayed.
Automatic ; adapted based on vehicle
lighting.
Always day design ; black or coloured
text on a light background.
Always night design ; white or
coloured text on a dark background.
Selections are indicated by a o in
front of the menu item.
Ignition logic
See Infotainment system instruction
manual.Vehicle messages
Warning chimes
When starting the engine or whilst driving
Only one warning chime will sound at a time.
The warning chime regarding
unfastened seat belts has priority
over any other warning chime.
■ If seat belt is not fastened.
■ When operating the turn and lane- change signals.
■ When the vehicle is being driven and the electrical parking brake is
applied 3 136.
■ When releasing the electrical parking brake without applying the
foot brake 3 89.
■ If there is a fault in the braking system 3 84.
■ If the parking assist detects an object 3 141.
Page 102 of 217
100Instruments and controlsTrip computerTrip computer in Board-
Info-Display
The trip computer provides
information on driving data, which is
continually recorded and evaluated electronically. Access trip computer
vehicle data by pressing the BC
button on the Infotainment system or
the left adjuster wheel on the steering wheel.
Some of the functions appear on the
display in an abbreviated form. Once
a function has been selected, the
subsequent rows of the trip computer
function are displayed.
The functions are displayed in the
following order:
■ Instantaneous consumption
■ Average consumption
■ Effective consumption
■ Average speed
■ Distance travelled■ Range
■ Stop watch
Board-Info-Display 3 91.
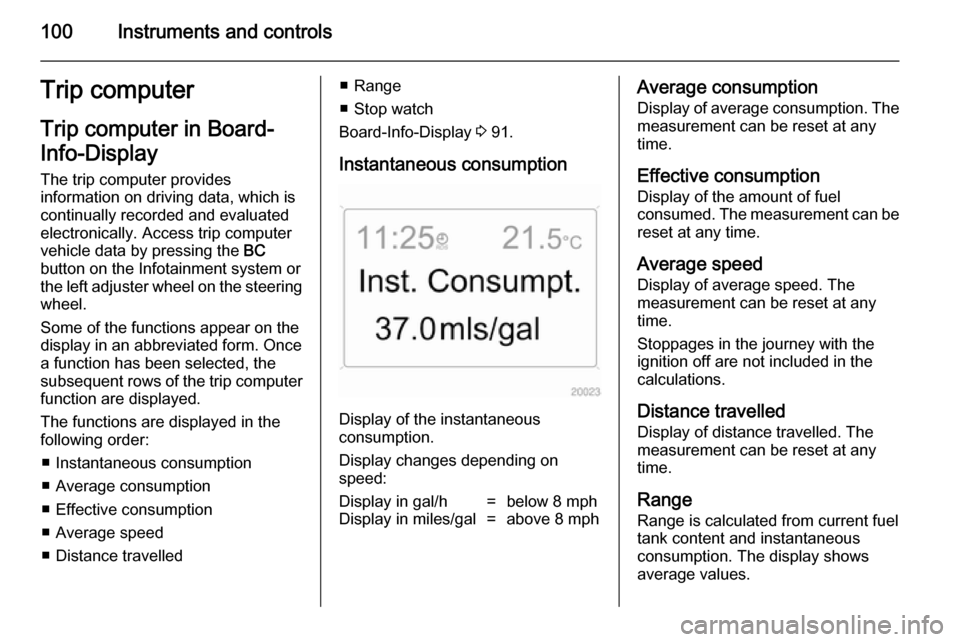
Instantaneous consumption
Display of the instantaneous
consumption.
Display changes depending on
speed:
Display in gal/h=below 8 mphDisplay in miles/gal=above 8 mphAverage consumption
Display of average consumption. The measurement can be reset at any
time.
Effective consumption
Display of the amount of fuel
consumed. The measurement can be reset at any time.
Average speed Display of average speed. The
measurement can be reset at any
time.
Stoppages in the journey with the
ignition off are not included in the
calculations.
Distance travelled
Display of distance travelled. The
measurement can be reset at any
time.
Range
Range is calculated from current fuel
tank content and instantaneous
consumption. The display shows
average values.
Page 103 of 217
Instruments and controls101
After refuelling, the range is updated
automatically after a brief delay.
If the fuel in the tank allows less than
30 miles of travel, the warning
Range appears on the display.
If the fuel in the tank allows less than
20 miles of travel, the warning
Refuel! appears on the display.
Acknowledge the menu item 3 91.
Resetting trip computer
information Select the desired trip computer
information and reset by pressing the left adjuster wheel on the steering
wheel or the OK button on the
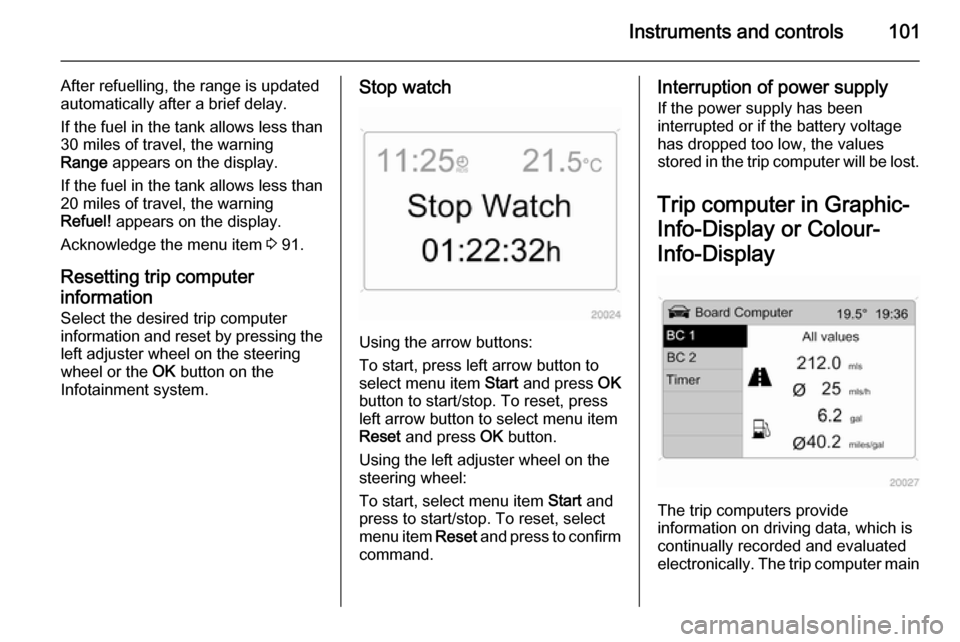
Infotainment system.Stop watch
Using the arrow buttons:
To start, press left arrow button to
select menu item Start and press OK
button to start/stop. To reset, press left arrow button to select menu item
Reset and press OK button.
Using the left adjuster wheel on the
steering wheel:
To start, select menu item Start and
press to start/stop. To reset, select
menu item Reset and press to confirm
command.
Interruption of power supply
If the power supply has been
interrupted or if the battery voltage
has dropped too low, the values
stored in the trip computer will be lost.
Trip computer in Graphic-
Info-Display or Colour-
Info-Display
The trip computers provide
information on driving data, which is
continually recorded and evaluated electronically. The trip computer main
Page 104 of 217
102Instruments and controls
page provides information on range,
average consumption and
instantaneous consumption.
To display other trip computer data,
press the BC button on the
Infotainment system and select the
trip computer menu in the display.
The information of the two trip
computers can be reset separately,
making it possible to display different
trip distances.
Graphic-Info-Display,
Colour-Info-Display 3 93.
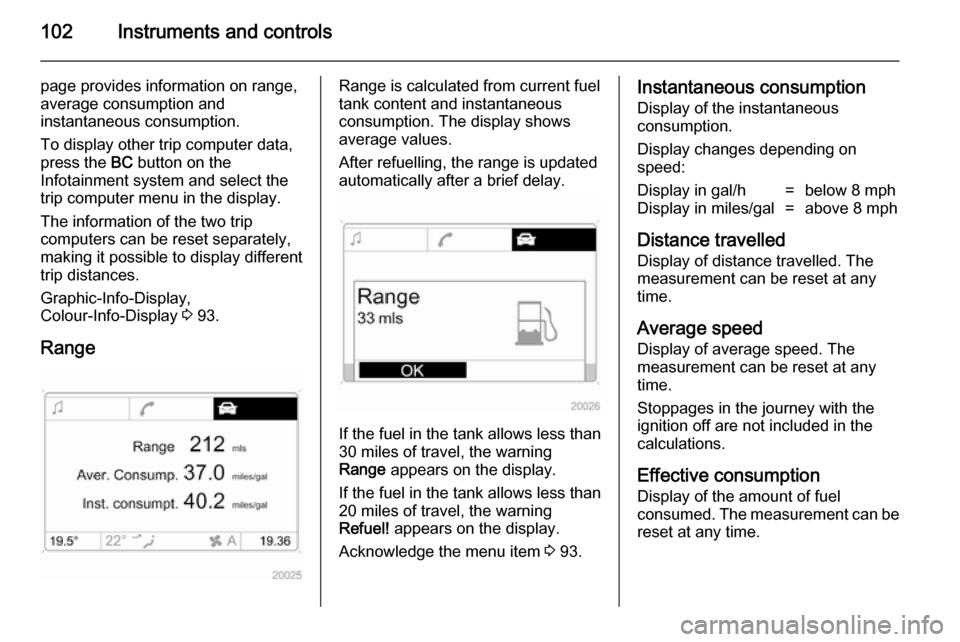
RangeRange is calculated from current fuel
tank content and instantaneous
consumption. The display shows average values.
After refuelling, the range is updated
automatically after a brief delay.
If the fuel in the tank allows less than
30 miles of travel, the warning
Range appears on the display.
If the fuel in the tank allows less than
20 miles of travel, the warning
Refuel! appears on the display.
Acknowledge the menu item 3 93.
Instantaneous consumption
Display of the instantaneous
consumption.
Display changes depending on
speed:Display in gal/h=below 8 mphDisplay in miles/gal=above 8 mph
Distance travelled
Display of distance travelled. The
measurement can be reset at any
time.
Average speed
Display of average speed. The
measurement can be reset at any
time.
Stoppages in the journey with the
ignition off are not included in the
calculations.
Effective consumption
Display of the amount of fuel
consumed. The measurement can be reset at any time.
Page 105 of 217
Instruments and controls103
Average consumptionDisplay of average consumption. The
measurement can be reset at any
time.
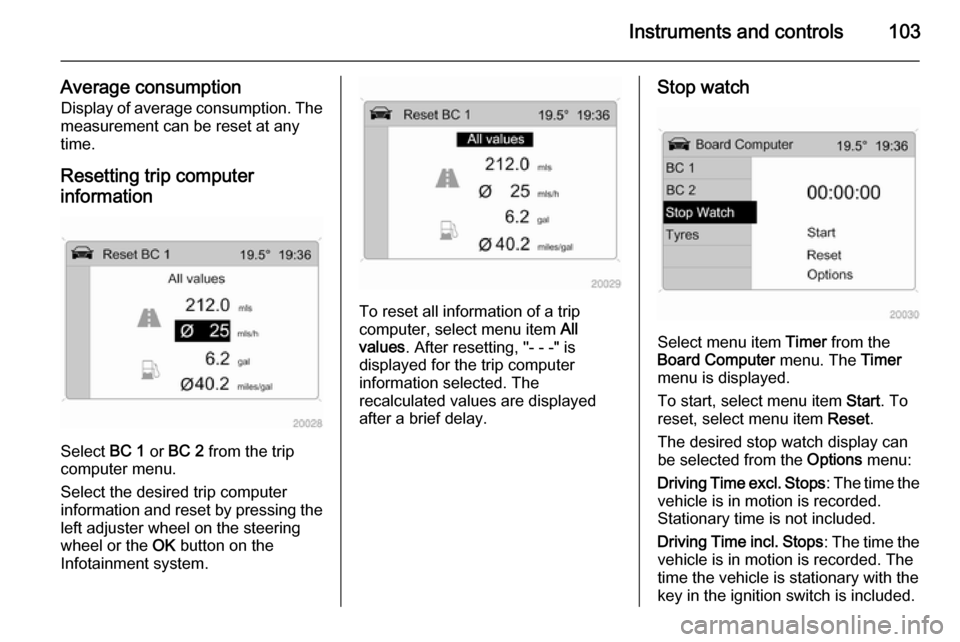
Resetting trip computer
information
Select BC 1 or BC 2 from the trip
computer menu.
Select the desired trip computer
information and reset by pressing the
left adjuster wheel on the steering
wheel or the OK button on the
Infotainment system.
To reset all information of a trip
computer, select menu item All
values . After resetting, "- - -" is
displayed for the trip computer
information selected. The
recalculated values are displayed
after a brief delay.
Stop watch
Select menu item Timer from the
Board Computer menu. The Timer
menu is displayed.
To start, select menu item Start. To
reset, select menu item Reset.
The desired stop watch display can
be selected from the Options menu:
Driving Time excl. Stops : The time the
vehicle is in motion is recorded.
Stationary time is not included.
Driving Time incl. Stops : The time the
vehicle is in motion is recorded. The
time the vehicle is stationary with the
key in the ignition switch is included.
Page 179 of 217

Vehicle care177
The current tyre pressures can be
shown in the menu item Tyres in the
Board Computer menu. Press the
BC button on the Infotainment system
and select the menu item.
The tyre pressure monitoring system
automatically detects the vehicle
load. A message appears on the
information display if inconsistent tyre
pressures are detected. In some
versions, the message is displayed in
abbreviated form.
For example, the following messages can be displayed:A graphic indicating the left rear tyre
is shown together with the current tyre
pressure; slight pressure deviation.
Reduce speed. Check tyre pressure at next opportunity with an
appropriate gauge and correct if
necessary.
On the Colour-Info-Display, this
message will appear in yellow.A graphic indicating the front left tyre is shown together with the current tyre
pressure; significant pressure
deviation or direct pressure loss.
Steer out of the flow of traffic as
quickly as possible without
endangering other vehicles. Stop and check the tyres. Mount the spare
wheel if necessary 3 182.
On the Colour-Info-Display, this
message will appear in red.
Acknowledgement of warnings 3 91,
3 93.
Vehicle messages 3 99.
Page 189 of 217
Vehicle care187Jump starting
Do not start with quick charger.
A vehicle with a discharged battery
can be started using jump leads and the battery of another vehicle.9 Warning
Be extremely careful when starting
with jump leads. Any deviation
from the following instructions can
lead to injuries or damage caused
by battery explosion or damage to the electrical systems of both
vehicles.
9 Warning
Avoid contact of the battery with
eyes, skin, fabrics and painted
surfaces. The fluid contains
sulphuric acid which can cause
injuries and damage in the event
of direct contact.
■ Never expose the battery to naked flames or sparks.
■ A discharged battery can alreadyfreeze at a temperature of 0 °C.
Defrost the frozen battery before
connecting jump leads.
■ Wear eye protection and protective
clothing when handling a battery.
■ Use a booster battery with the same voltage (12 Volts). Its
capacity (Ah) must not be much less than that of the discharged
battery.
■ Use jump leads with insulated terminals and a cross section of at
least 16 mm 2
(25 mm 2
for diesel
engines).
■ Do not disconnect the discharged battery from the vehicle.
■ Switch off all unnecessary electrical
consumers. The Infotainment
system may be damaged if
switched on while jump starting.
■ Do not lean over the battery during jump starting.
■ Do not allow the terminals of one lead to touch those of the other
lead.■ The vehicles must not come into contact with each other during the
jump starting process.
■ Apply the electrical parking brake 3 136, transmission in neutral,
automatic transmission in P.
■ Open the positive terminal protection caps of both batteries.
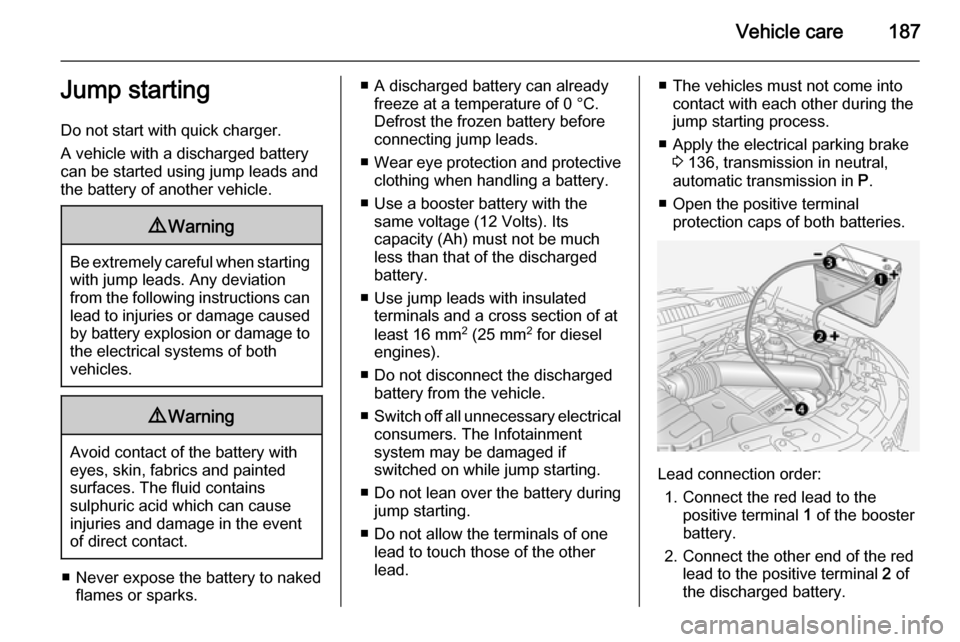
Lead connection order:
1. Connect the red lead to the positive terminal 1 of the booster
battery.
2. Connect the other end of the red lead to the positive terminal 2 of
the discharged battery.