battery VAUXHALL ANTARA 2014 Owner's Manual
[x] Cancel search | Manufacturer: VAUXHALL, Model Year: 2014, Model line: ANTARA, Model: VAUXHALL ANTARA 2014Pages: 217, PDF Size: 5.94 MB
Page 21 of 217

Keys, doors and windows19Radio remote control
Used to operate:■ Central locking system
■ Anti-theft locking system
■ Anti-theft alarm system
The radio remote control has a range of approx. 6 metres. This range can
be affected by external influences.
The hazard warning flashers confirm
operation.
Handle with care, protect from
moisture and high temperatures and
avoid unnecessary operation.
Fault
If the central locking system cannot
be operated with the radio remote
control, it may be due to the following:
■ Range exceeded.
■ Battery voltage too low.
■ Frequent, repeated operation of the
radio remote control while not in
range, which will require
reprogramming. Seek the
assistance of a workshop.
■ Overload of the central locking system by operating at frequent
intervals, the power supply is
interrupted for a short time.
■ Interference from higher-power radio waves from other sources.
Unlocking 3 20.
Radio remote control battery replacement
Replace the battery as soon as the
range reduces.
Batteries do not belong in household
waste. They must be disposed of at
an appropriate recycling collection
point.
Key with foldaway key section
Extend the key and open the unit.
Replace the battery (battery type CR2032), paying attention to the
installation position. Close the unit.
Page 22 of 217

20Keys, doors and windows
Key with fixed key sectionOpen the unit with a small screwdriver in the notch on the cover. Replace the
battery (battery type CR2032), paying
attention to the installation position.
Close the unit.
Central locking system
Unlocks and locks doors, load
compartment and fuel filler flap.
A pull on an interior door handle
unlocks the respective door. Pulling the handle once more opens the door.
Notice
In the event of an accident in which
airbags or belt pretensioners are
deployed, the vehicle is
automatically unlocked.Unlocking
Press button q.
Notice
If no door is opened within
5 minutes after the vehicle has been unlocked, the vehicle is relocked
automatically (and the anti-theft
alarm is reactivated).
When button q is pressed, the
instrument panel illuminates for
approx. 30 seconds or until ignition
switch is turned to position ACC.
Locking
Close doors, load compartment, fuel
filler flap, bonnet, windows and
sunroof.
Press button p.
The central locking system can be
activated with the windows open.
Page 28 of 217
26Keys, doors and windows
If the alarm has been triggered, the
hazard warning lights will not flash
upon deactivation.
AlarmWhen triggered, the alarm sounds via
a separate battery-backed power
sounder, and the hazard warning
lights flash simultaneously. The
number and duration of alarm signals are stipulated by legislation.
The alarm can be silenced by
pressing any button of the radio
remote control or manually unlocking
the driver's door with the ignition key.
The anti-theft alarm system is
deactivated at the same time.
If the vehicle's battery is to be
disconnected (e.g. for maintenance work), the alarm siren must be
deactivated as follows: switch the
ignition on then off, then disconnect
the vehicle's battery within
15 seconds.Immobiliser
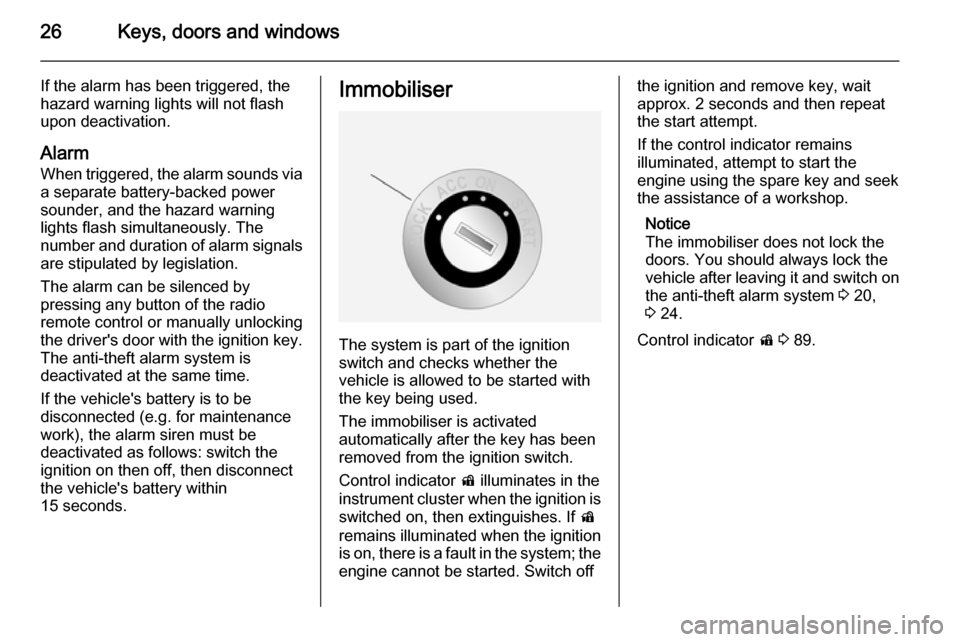
The system is part of the ignition
switch and checks whether the
vehicle is allowed to be started with the key being used.
The immobiliser is activated
automatically after the key has been
removed from the ignition switch.
Control indicator d illuminates in the
instrument cluster when the ignition is switched on, then extinguishes. If d
remains illuminated when the ignition
is on, there is a fault in the system; the
engine cannot be started. Switch off
the ignition and remove key, wait
approx. 2 seconds and then repeat
the start attempt.
If the control indicator remains
illuminated, attempt to start the
engine using the spare key and seek
the assistance of a workshop.
Notice
The immobiliser does not lock the
doors. You should always lock the
vehicle after leaving it and switch on the anti-theft alarm system 3 20,
3 24.
Control indicator d 3 89.
Page 30 of 217
28Keys, doors and windowsHeated mirrors
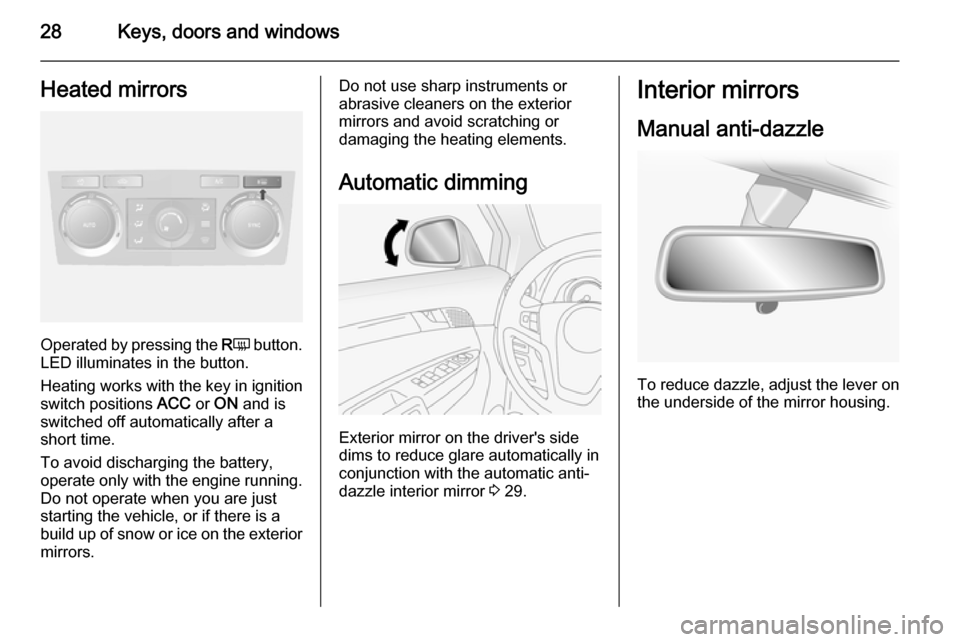
Operated by pressing the RÜ button.
LED illuminates in the button.
Heating works with the key in ignition
switch positions ACC or ON and is
switched off automatically after a
short time.
To avoid discharging the battery, operate only with the engine running. Do not operate when you are juststarting the vehicle, or if there is a
build up of snow or ice on the exterior
mirrors.
Do not use sharp instruments or
abrasive cleaners on the exterior
mirrors and avoid scratching or
damaging the heating elements.
Automatic dimming
Exterior mirror on the driver's side
dims to reduce glare automatically in
conjunction with the automatic anti-
dazzle interior mirror 3 29.
Interior mirrors
Manual anti-dazzle
To reduce dazzle, adjust the lever on the underside of the mirror housing.
Page 33 of 217
Keys, doors and windows31Heated rear window
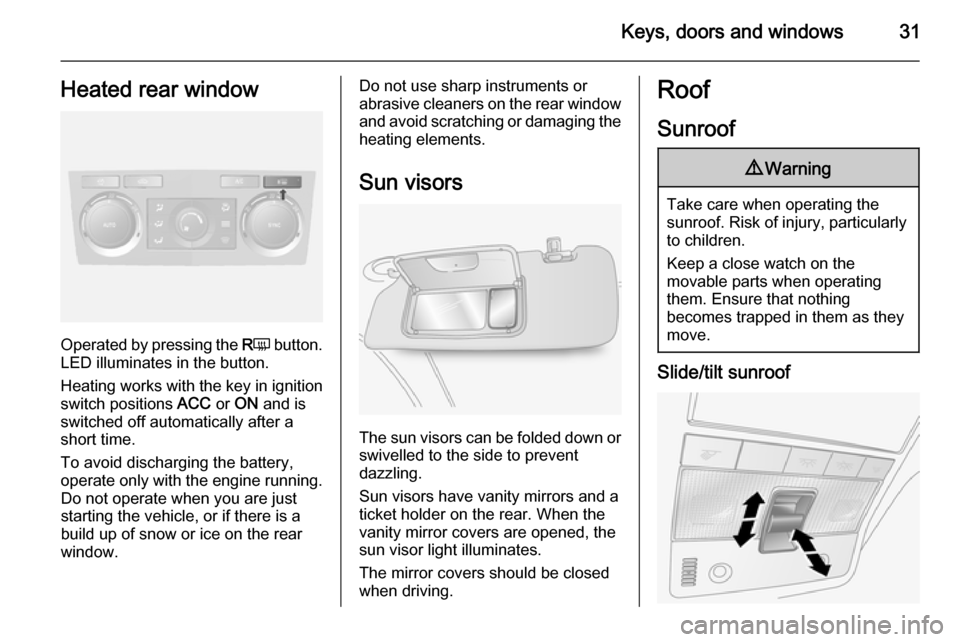
Operated by pressing the RÜ button.
LED illuminates in the button.
Heating works with the key in ignition
switch positions ACC or ON and is
switched off automatically after a
short time.
To avoid discharging the battery, operate only with the engine running. Do not operate when you are juststarting the vehicle, or if there is a
build up of snow or ice on the rear
window.
Do not use sharp instruments or abrasive cleaners on the rear window
and avoid scratching or damaging the
heating elements.
Sun visors
The sun visors can be folded down or swivelled to the side to prevent
dazzling.
Sun visors have vanity mirrors and a
ticket holder on the rear. When the
vanity mirror covers are opened, the
sun visor light illuminates.
The mirror covers should be closed
when driving.
Roof
Sunroof9 Warning
Take care when operating the
sunroof. Risk of injury, particularly to children.
Keep a close watch on the
movable parts when operating
them. Ensure that nothing
becomes trapped in them as they
move.
Slide/tilt sunroof
Page 80 of 217
78Instruments and controls
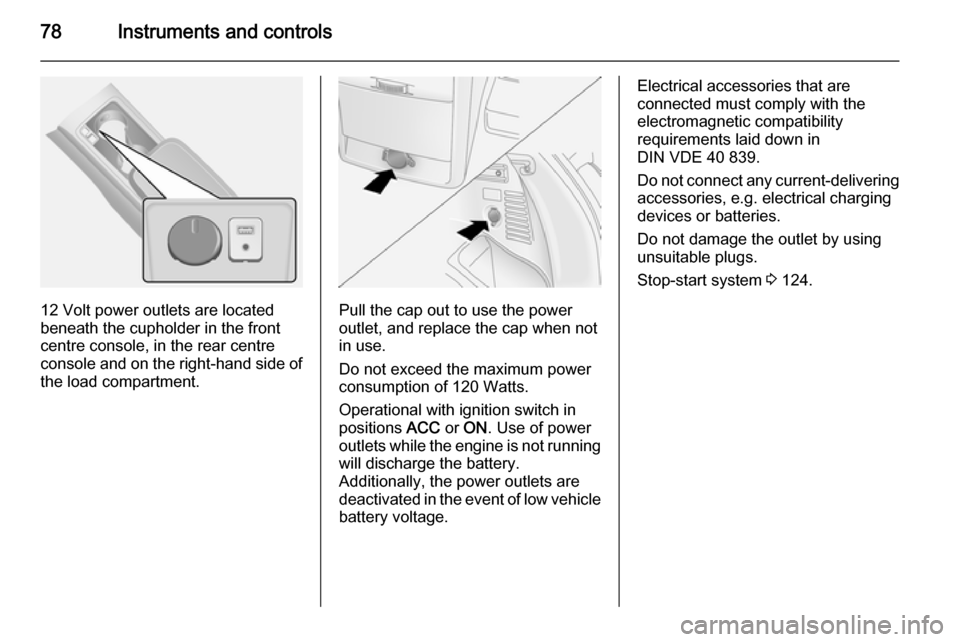
12 Volt power outlets are located
beneath the cupholder in the front
centre console, in the rear centre
console and on the right-hand side of
the load compartment.Pull the cap out to use the power
outlet, and replace the cap when not in use.
Do not exceed the maximum power
consumption of 120 Watts.
Operational with ignition switch in
positions ACC or ON . Use of power
outlets while the engine is not running will discharge the battery.
Additionally, the power outlets are
deactivated in the event of low vehicle
battery voltage.
Electrical accessories that are
connected must comply with the
electromagnetic compatibility
requirements laid down in
DIN VDE 40 839.
Do not connect any current-delivering accessories, e.g. electrical charging
devices or batteries.
Do not damage the outlet by using
unsuitable plugs.
Stop-start system 3 124.
Page 85 of 217

Instruments and controls83Turn signalO illuminates or flashes green.
The relevant control indicator flashes
when the turn signal is switched on
3 108.
Rapid flashing: failure of a turn signal
bulb or the associated fuse or failure
of a turn signal light on trailer.
Both control indicators flash when the
hazard warning flashers are active
3 107.
Bulb replacement 3 159, Fuses
3 165.
Turn signals 3 108.
Seat belt reminder Seat belt reminder for frontseats X for driver's seat illuminates or
flashes red.
k for front passenger's seat
illuminates or flashes red, when the
seat is occupied.When the engine is running, if seat
belt is not engaged, the control
indicator will flash for 100 seconds
then illuminate until seat belt is
fastened.
If vehicle speed exceeds 14 mph, the
control indicator will flash for
100 seconds along with a warning
chime and remains illuminated until seat belt is fastened.
Fastening the seat belt 3 40.
Front passenger seat belt reminder k
3 41.
Airbag and belt tensioners
v illuminates red.
When the ignition is switched on, v
flashes briefly. If it does not flash, stays lit or flashes during driving,
there is a fault in the airbag system.
Seek the assistance of a workshop.
The airbags and belt pretensioners
may fail to trigger in the event of an
accident.
Deployment of the belt pretensioners or airbags is indicated by continuous
illumination of v.9
Warning
Have the cause of the fault
remedied immediately by a
workshop.
Belt pretensioners, airbag system
3 40, 3 43.
Charging system
p illuminates red.
Illuminates when the ignition is
switched on and extinguishes shortly
after the engine starts. If it does not
illuminate, seek the assistance of a
workshop.
Illuminates when the engine is running
Stop vehicle and switch off engine.
Battery is not charging. Engine
cooling may be interrupted. The
brake servo unit may cease to be
effective.
Page 103 of 217
Instruments and controls101
After refuelling, the range is updated
automatically after a brief delay.
If the fuel in the tank allows less than
30 miles of travel, the warning
Range appears on the display.
If the fuel in the tank allows less than
20 miles of travel, the warning
Refuel! appears on the display.
Acknowledge the menu item 3 91.
Resetting trip computer
information Select the desired trip computer
information and reset by pressing the left adjuster wheel on the steering
wheel or the OK button on the
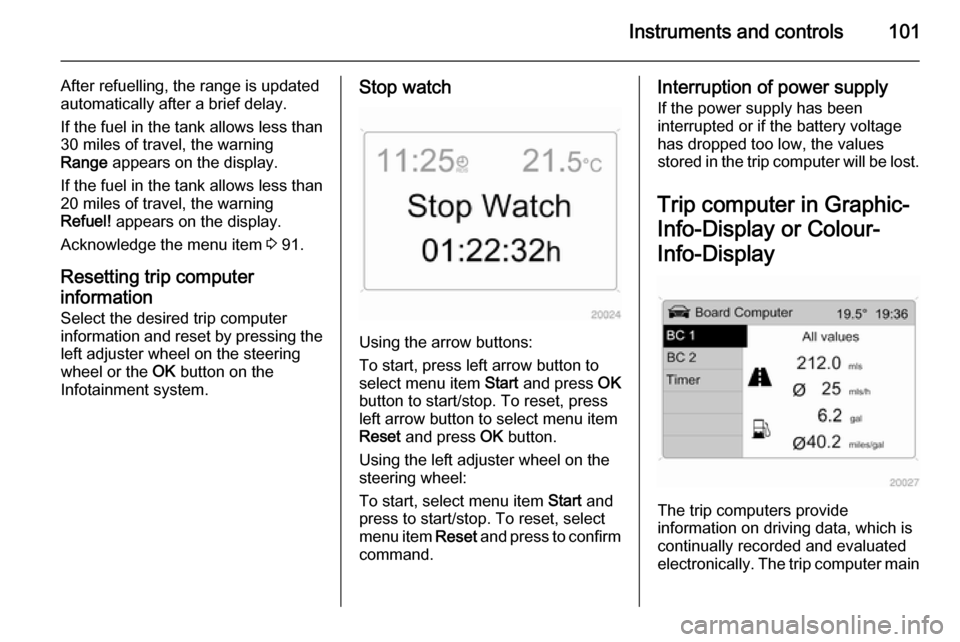
Infotainment system.Stop watch
Using the arrow buttons:
To start, press left arrow button to
select menu item Start and press OK
button to start/stop. To reset, press left arrow button to select menu item
Reset and press OK button.
Using the left adjuster wheel on the
steering wheel:
To start, select menu item Start and
press to start/stop. To reset, select
menu item Reset and press to confirm
command.
Interruption of power supply
If the power supply has been
interrupted or if the battery voltage
has dropped too low, the values
stored in the trip computer will be lost.
Trip computer in Graphic-
Info-Display or Colour-
Info-Display
The trip computers provide
information on driving data, which is
continually recorded and evaluated electronically. The trip computer main
Page 106 of 217

104Instruments and controls
Travel Time: Measurement of the
time from manual activation via Start
to manual deactivation via Reset.
Interruption of power supply If the power supply has been
interrupted or if the battery voltage has dropped too low, the values
stored in the trip computer will be lost.
Page 115 of 217

Lighting113Battery discharge
protection
To prevent the battery from becoming discharged, the exterior lights turn off automatically 10 minutes after the
ignition is switched off.
Battery discharge protection will not
work if the lights are turned on
10 minutes after the ignition has been
switched off; the key cannot be
removed from the ignition switch until the battery is recharged.