warning VAUXHALL ANTARA 2015 Owner's Guide
[x] Cancel search | Manufacturer: VAUXHALL, Model Year: 2015, Model line: ANTARA, Model: VAUXHALL ANTARA 2015Pages: 223, PDF Size: 6.07 MB
Page 45 of 223
Seats, restraints43
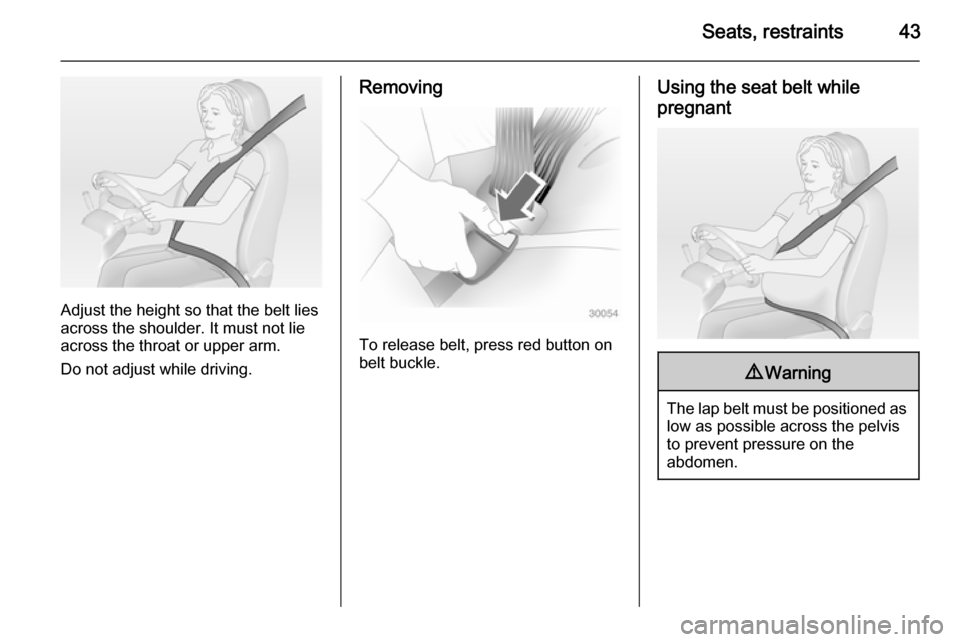
Adjust the height so that the belt lies
across the shoulder. It must not lie across the throat or upper arm.
Do not adjust while driving.
Removing
To release belt, press red button on
belt buckle.
Using the seat belt while
pregnant9 Warning
The lap belt must be positioned as
low as possible across the pelvis
to prevent pressure on the
abdomen.
Page 46 of 223
44Seats, restraints
Front passenger seat beltreminder
When the engine is running, control
indicator k flashes then illuminates if
the passenger seat is occupied and
the seat belt is not engaged.
If vehicle speed exceeds 14 mph, k
will flash for 100 seconds along with
a warning chime, then illuminate until the seat belt is fastened.
Illuminates briefly when ignition is
switched on.
Control indicator X for driver's seat
belt reminder 3 84.
Airbag system
The airbag system consists of a
number of individual systems
depending on the scope of
equipment.
When triggered, the airbags inflate
within milliseconds. They also deflate
so quickly that it is often unnoticeable
during the collision.9 Warning
If handled improperly the airbag
systems can be triggered in an
explosive manner.
Notice
The airbag systems and belt
pretensioner control electronics are
located in the centre console area.
Do not put any magnetic objects in
this area.
Do not stick anything on the airbag
covers and do not cover them with
other materials.
Each airbag is triggered only once.
Have deployed airbags replaced by
a workshop. Furthermore, it might be necessary to have the steering
wheel, the instrument panel, parts of
the panelling, the door seals,
handles and the seats replaced.
Do not make any modifications to
the airbag system as this will
invalidate the vehicle type approval.
When the airbags inflate, escaping
hot gases may cause burns.
Control indicator v for airbag systems
3 84.
Child restraint systems on front passenger seat with airbag
systems Warning according to ECE R94.02:
Page 49 of 223
Seats, restraints47
acest lucru poate duce la DECESUL
sau VĂTĂMAREA GRAVĂ a
COPILULUI.
CS: NIKDY nepoužívejte dětský
zádržný systém instalovaný proti
směru jízdy na sedadle, které je
chráněno před sedadlem AKTIVNÍM
AIRBAGEM. Mohlo by dojít k
VÁŽNÉMU PORANĚNÍ nebo ÚMRTÍ
DÍTĚTE.
SK: NIKDY nepoužívajte detskú
sedačku otočenú vzad na sedadle
chránenom AKTÍVNYM AIRBAGOM,
pretože môže dôjsť k SMRTI alebo
VÁŽNYM ZRANENIAM DIEŤAŤA.
LT: JOKIU BŪDU nemontuokite atgal
atgręžtos vaiko tvirtinimo sistemos
sėdynėje, prieš kurią įrengta AKTYVI
ORO PAGALVĖ, nes VAIKAS GALI
ŽŪTI arba RIMTAI SUSIŽALOTI.
LV: NEKĀDĀ GADĪJUMĀ
neizmantojiet uz aizmuguri vērstu bērnu sēdeklīti sēdvietā, kas tiek
aizsargāta ar tās priekšā uzstādītu
AKTĪVU DROŠĪBAS SPILVENU, jo pretējā gadījumā BĒRNS var gūt
SMAGAS TRAUMAS vai IET BOJĀ.ET: ÄRGE kasutage tahapoole
suunatud lapseturvaistet istmel, mille
ees on AKTIIVSE TURVAPADJAGA
kaitstud iste, sest see võib
põhjustada LAPSE SURMA või
TÕSISE VIGASTUSE.
MT: QATT tuża trażżin għat-tfal li
jħares lejn in-naħa ta’ wara fuq sit
protett b’AIRBAG ATTIV quddiemu; dan jista’ jikkawża l-MEWT jew
ĠRIEĦI SERJI lit-TFAL.
Beyond the warning required by
ECE R94.02, for safety reasons a
forward-facing child restraint system
must only be used subject to the
instructions and restrictions in the
table 3 52.
The airbag label may be located on
both sides of the front passenger sun
visor.9 Danger
Do not use a child restraint system
on the passenger seat with active
front airbag.
Airbag deactivation 3 49.
Front airbag system
The front airbag system consists of
one airbag in the steering wheel and
one in the instrument panel on the
front passenger side. These can be
identified by the word AIRBAG.
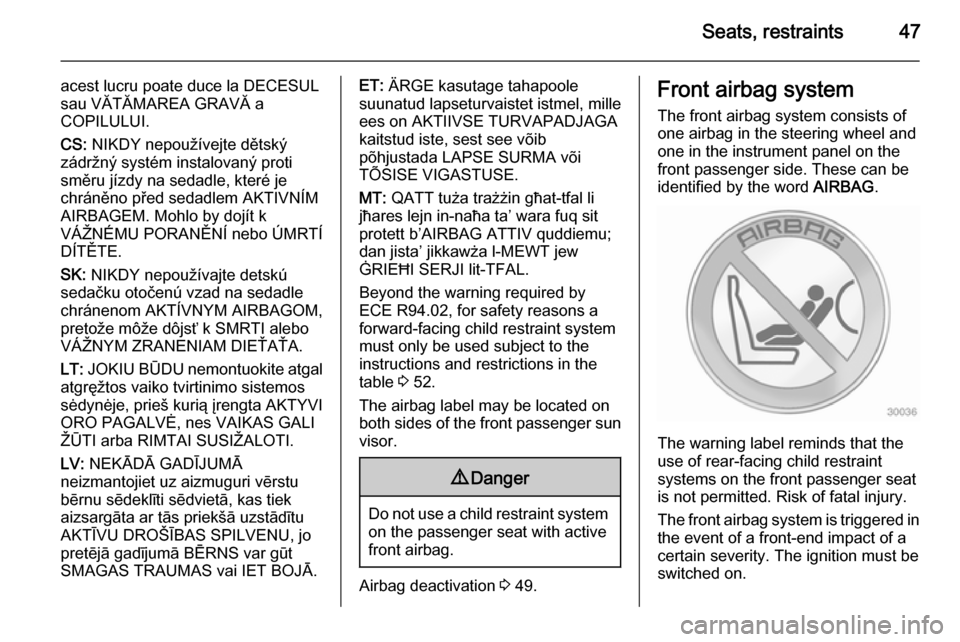
The warning label reminds that the
use of rear-facing child restraint
systems on the front passenger seat
is not permitted. Risk of fatal injury.
The front airbag system is triggered in
the event of a front-end impact of a
certain severity. The ignition must be
switched on.
Page 50 of 223
48Seats, restraints
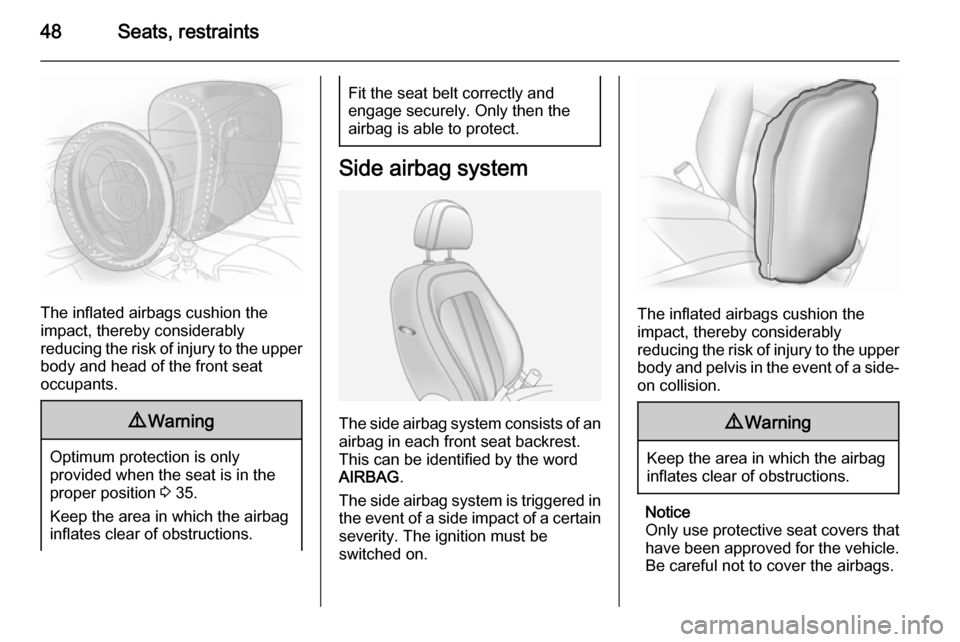
The inflated airbags cushion the
impact, thereby considerably
reducing the risk of injury to the upper body and head of the front seat
occupants.
9 Warning
Optimum protection is only
provided when the seat is in the
proper position 3 35.
Keep the area in which the airbag
inflates clear of obstructions.
Fit the seat belt correctly and
engage securely. Only then the
airbag is able to protect.
Side airbag system
The side airbag system consists of an
airbag in each front seat backrest.
This can be identified by the word
AIRBAG .
The side airbag system is triggered in the event of a side impact of a certain
severity. The ignition must be
switched on.
The inflated airbags cushion the
impact, thereby considerably
reducing the risk of injury to the upper body and pelvis in the event of a side-on collision.
9 Warning
Keep the area in which the airbag
inflates clear of obstructions.
Notice
Only use protective seat covers that
have been approved for the vehicle.Be careful not to cover the airbags.
Page 51 of 223
Seats, restraints49Curtain airbag system
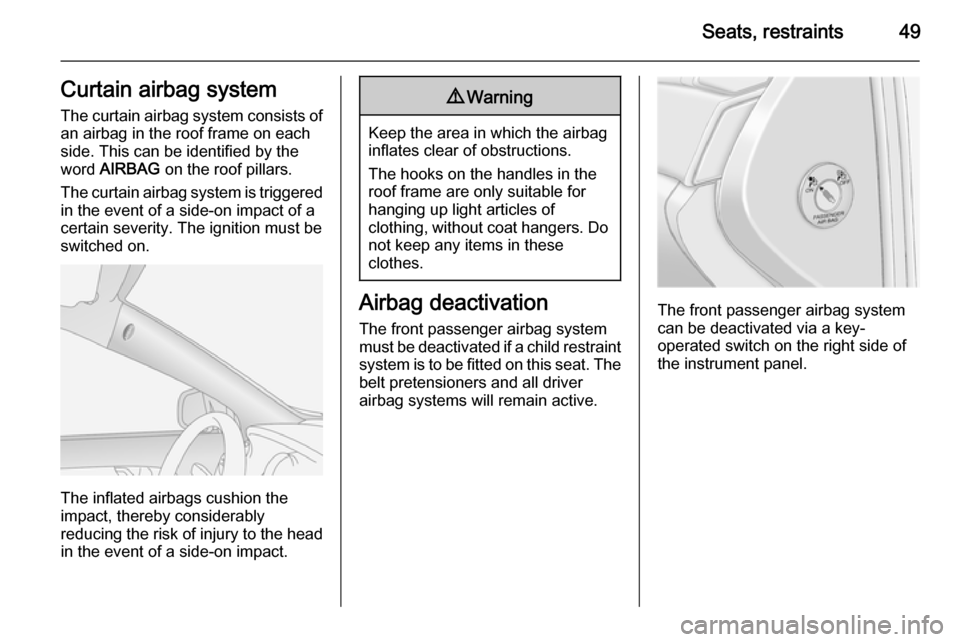
The curtain airbag system consists of an airbag in the roof frame on each
side. This can be identified by the
word AIRBAG on the roof pillars.
The curtain airbag system is triggered in the event of a side-on impact of a
certain severity. The ignition must be
switched on.
The inflated airbags cushion the
impact, thereby considerably
reducing the risk of injury to the head in the event of a side-on impact.
9 Warning
Keep the area in which the airbag
inflates clear of obstructions.
The hooks on the handles in the
roof frame are only suitable for
hanging up light articles of
clothing, without coat hangers. Do not keep any items in these
clothes.
Airbag deactivation
The front passenger airbag system
must be deactivated if a child restraint system is to be fitted on this seat. The
belt pretensioners and all driver
airbag systems will remain active.The front passenger airbag system
can be deactivated via a key-
operated switch on the right side of the instrument panel.
Page 53 of 223

Seats, restraints51Child restraintsChild restraint systems
We recommend the Vauxhall child restraint system which is tailored
specifically to the vehicle.
When a child restraint system is being used, pay attention to the following
usage and installation instructions and also those supplied with the child
restraint system.
Always comply with local or national
regulations. In some countries, the
use of child restraint systems is
forbidden on certain seats.9 Warning
When using a child restraint
system on the front passenger
seat, the airbag systems for the
front passenger seat must be
deactivated; if not, the triggering of the airbags poses a risk of fatal
injury to the child.
This is especially the case if rear-
facing child restraint systems are
used on the front passenger seat.
Airbag deactivation 3 49.
Airbag label 3 44.
Selecting the right system The rear seats are the most
convenient location to fasten a child
restraint system.
Children should travel facing
rearwards in the vehicle as long as
possible. This makes sure that the child's backbone, which is still very
weak, is under less strain in the event
of an accident.
Suitable are restraint systems that
comply with valid UN ECE
regulations. Check local laws and
regulations for mandatory use of child restraint systems.
Ensure that the child restraint system to be installed is compatible with the
vehicle type.
Ensure that the mounting location of
the child restraint system within the
vehicle is correct, see following
tables.
Allow children to enter and exit the
vehicle only on the side facing away
from the traffic.
When the child restraint system is not
in use, secure the seat with a seat belt or remove it from the vehicle.
Notice
Do not stick anything on the child
restraint systems and do not cover
them with any other materials.
A child restraint system which has
been subjected to stress in an
accident must be replaced.
Page 58 of 223
56StorageStorageStorage compartments................56
Load compartment .......................68
Roof rack system .........................71
Loading information .....................71Storage compartments9Warning
Do not store heavy or sharp
objects in the storage
compartments. Otherwise vehicle
occupants could be injured by
objects being thrown around in the
event of hard braking, a sudden
change in direction or an accident.
Instrument panel storage
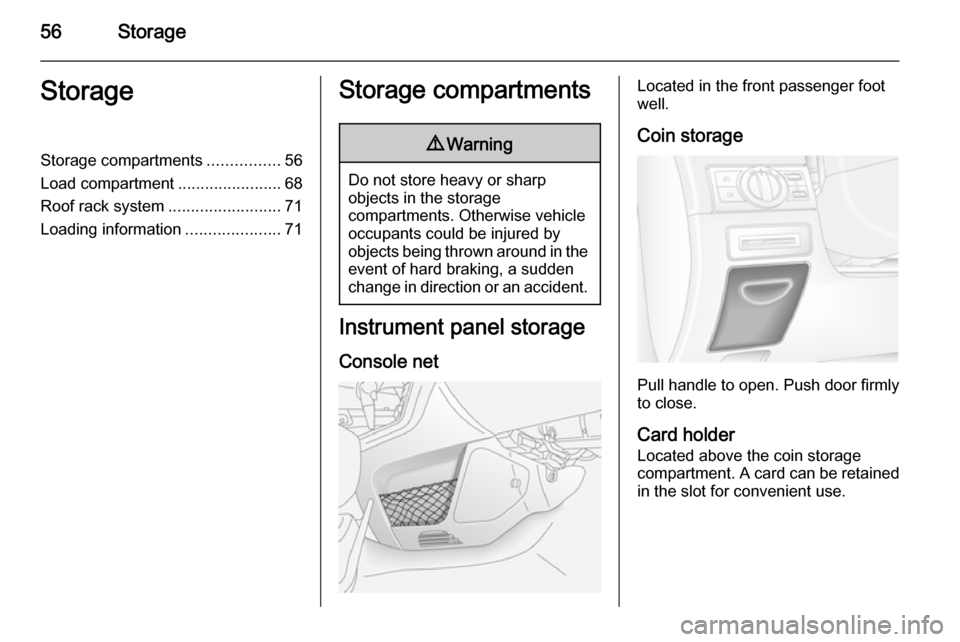
Console net
Located in the front passenger foot
well.
Coin storage
Pull handle to open. Push door firmly
to close.
Card holder
Located above the coin storage
compartment. A card can be retained in the slot for convenient use.
Page 61 of 223

Storage599Warning
No-one should be in the extension
zone of the rear carrier system,
risk of injury.
Raise release lever. The system
disengages and travels quickly out of
the bumper.
Completely pull out the rear carrier system until you hear it engage.
Ensure that it is not possible to push
in the rear carrier system without
pulling the release lever again.
9 Warning
It is only permissible to fit objects
to the rear carrier system if the
system has been correctly
engaged. If the rear carrier system will not engage correctly, do not fit
objects to the system and slide the system back. Seek the assistance
of a workshop.
Pull up license plate holder and fully
insert the holder supports into the
retainers.
Page 67 of 223

Storage65
Secure both bicycle wheels to the
wheel recesses using strap retainers.
Check the bicycle to make sure it is
secure.Caution
Ensure gap between bicycle and
vehicle is at least 5 cm. If
necessary, loosen handlebar and swivel sideways.
The settings for the wheel recesses
and on the rotary lever on the pedal
crank recess should be noted and saved for each bicycle. Correct
presetting will facilitate refitting of the
bicycle.Notice
It is recommended to attach a
warning sign at the rearmost bicycle to increase visibility.
Removing a bicycle from the
rear carrier system
Undo strap retainers on both bicycle
tyres.
Hold on to the bicycle, loosen the attachment screw for the pedal
bearing mount, then lift the pedal
bearing mount to remove it.
Page 68 of 223

66Storage
Retracting the rear carrier
system
Push the pedal crank mounts into the
pedal crank recess as shown in the
illustration.
Insert the strap retainer and pull
tightly downwards as far as possible.
Press release lever and slide in wheel recesses all the way as far as they will
go.
Disengage the locking lever on the
diagonal support and fold both pedal crank recesses down.
9 Warning
Risk of pinching.