ESP VAUXHALL ASTRA J 2016.25 User Guide
[x] Cancel search | Manufacturer: VAUXHALL, Model Year: 2016.25, Model line: ASTRA J, Model: VAUXHALL ASTRA J 2016.25Pages: 267, PDF Size: 7.72 MB
Page 82 of 267
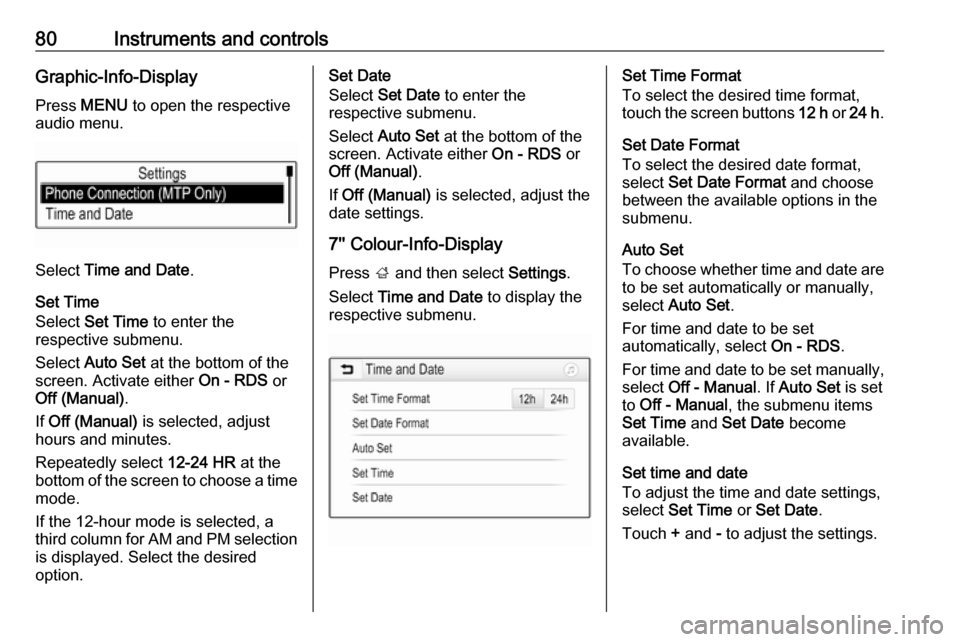
80Instruments and controlsGraphic-Info-DisplayPress MENU to open the respective
audio menu.
Select Time and Date .
Set Time
Select Set Time to enter the
respective submenu.
Select Auto Set at the bottom of the
screen. Activate either On - RDS or
Off (Manual) .
If Off (Manual) is selected, adjust
hours and minutes.
Repeatedly select 12-24 HR at the
bottom of the screen to choose a time mode.
If the 12-hour mode is selected, a
third column for AM and PM selection
is displayed. Select the desired
option.
Set Date
Select Set Date to enter the
respective submenu.
Select Auto Set at the bottom of the
screen. Activate either On - RDS or
Off (Manual) .
If Off (Manual) is selected, adjust the
date settings.
7'' Colour-Info-Display
Press ; and then select Settings.
Select Time and Date to display the
respective submenu.Set Time Format
To select the desired time format,
touch the screen buttons 12 h or 24 h .
Set Date Format
To select the desired date format,
select Set Date Format and choose
between the available options in the
submenu.
Auto Set
To choose whether time and date are
to be set automatically or manually,
select Auto Set .
For time and date to be set
automatically, select On - RDS.
For time and date to be set manually, select Off - Manual . If Auto Set is set
to Off - Manual , the submenu items
Set Time and Set Date become
available.
Set time and date
To adjust the time and date settings, select Set Time or Set Date .
Touch + and - to adjust the settings.
Page 83 of 267
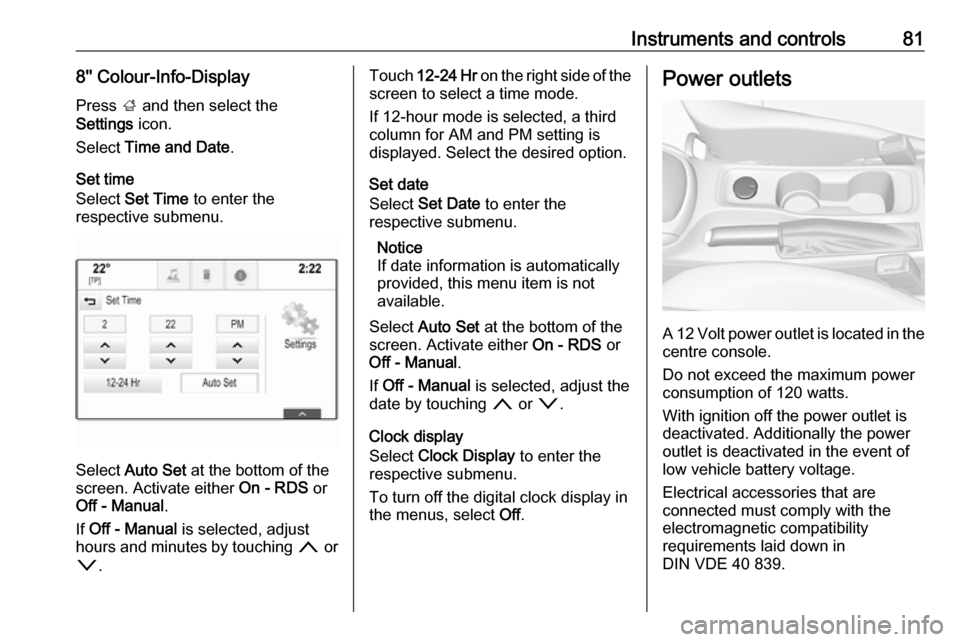
Instruments and controls818'' Colour-Info-Display
Press ; and then select the
Settings icon.
Select Time and Date .
Set time
Select Set Time to enter the
respective submenu.
Select Auto Set at the bottom of the
screen. Activate either On - RDS or
Off - Manual .
If Off - Manual is selected, adjust
hours and minutes by touching n or
o .
Touch 12-24 Hr on the right side of the
screen to select a time mode.
If 12-hour mode is selected, a third
column for AM and PM setting is
displayed. Select the desired option.
Set date
Select Set Date to enter the
respective submenu.
Notice
If date information is automatically
provided, this menu item is not
available.
Select Auto Set at the bottom of the
screen. Activate either On - RDS or
Off - Manual .
If Off - Manual is selected, adjust the
date by touching n or o.
Clock display
Select Clock Display to enter the
respective submenu.
To turn off the digital clock display in
the menus, select Off.Power outlets
A 12 Volt power outlet is located in the
centre console.
Do not exceed the maximum power
consumption of 120 watts.
With ignition off the power outlet is
deactivated. Additionally the power
outlet is deactivated in the event of
low vehicle battery voltage.
Electrical accessories that are
connected must comply with the
electromagnetic compatibility
requirements laid down in
DIN VDE 40 839.
Page 90 of 267
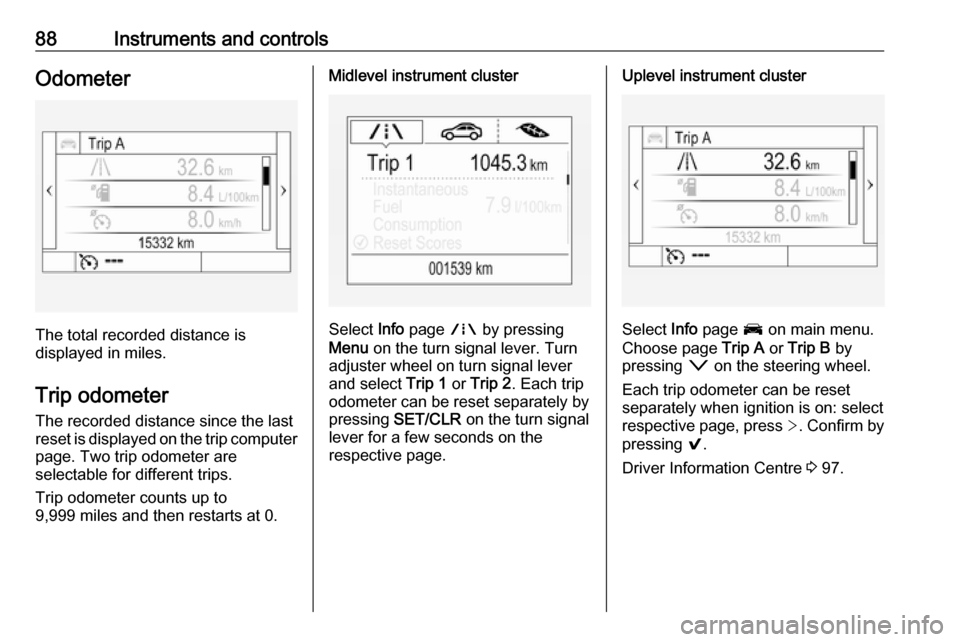
88Instruments and controlsOdometer
The total recorded distance is
displayed in miles.
Trip odometer The recorded distance since the last
reset is displayed on the trip computer
page. Two trip odometer are
selectable for different trips.
Trip odometer counts up to
9,999 miles and then restarts at 0.
Midlevel instrument cluster
Select Info page ; by pressing
Menu on the turn signal lever. Turn
adjuster wheel on turn signal lever and select Trip 1 or Trip 2 . Each trip
odometer can be reset separately by pressing SET/CLR on the turn signal
lever for a few seconds on the
respective page.
Uplevel instrument cluster
Select Info page J on main menu.
Choose page Trip A or Trip B by
pressing o on the steering wheel.
Each trip odometer can be reset separately when ignition is on: select
respective page, press >. Confirm by
pressing 9.
Driver Information Centre 3 97.
Page 101 of 267

Instruments and controls99Confirm a main menu page with 9.
Once a main menu page is selected, press Q or P to select subpages.
Press q to open a next folder of the
selected subpage.
Press Q or P to select functions or
to set a numeric value, if required.
Press 9 to select and confirm a
function.
Once a main menu page is selected,
this selection remains stored until
another main menu page is selected.
Subpages are changed by pressing
P or Q.
Vehicle and service messages are
popped-up in the Driver Information
Centre if required. Confirm messages
by pressing 9. Vehicle messages
3 104.
Info Menu The following list contains all possible
Info Menu pages. Some may not be
available for your particular vehicle.
Depending on the display some
functions are symbolised.Turn the adjuster wheel or press Q
or P to select a page:
● trip odometer 1 or A average fuel consumption
average speed
● trip odometer 2 or B average fuel consumption
average vehicle speed
● digital speed
● fuel range
● instantaneous fuel consumption
● remaining oil life
● tyre pressure
● timer
● traffic sign assistant
● following distance
● top consumers
● economy trend
● Eco index
● blank page
On Midlevel display, the pages
Remaining Oil Life , Tyre Pressure ,
Traffic Sign Assistant and FollowingDistance are displayed in the Options
Menu ? . Select by pressing
MENU .
On Midlevel display, the pages Top
Consumers , Economy Trend and Eco
index are displayed in the ECO
Information Menu @. Select by
pressing MENU.
Trip odometer 1/A and 2/B
Trip odometer displays the current
distance since a certain reset.
Trip odometer counts up to a distance
of 9,999 miles then restarts at 0.
To reset on Midlevel display, press SET/CLR for a few seconds, on
Uplevel display, press > and confirm
with 9.
The information of trip odometer page
1/A and 2/B can be reset separately
for odometer, average consumption
and average speed while the
respective display is active.
Average Fuel Consumption
Display of average consumption. The measurement can be reset at any
time and starts with a default value.
Page 105 of 267
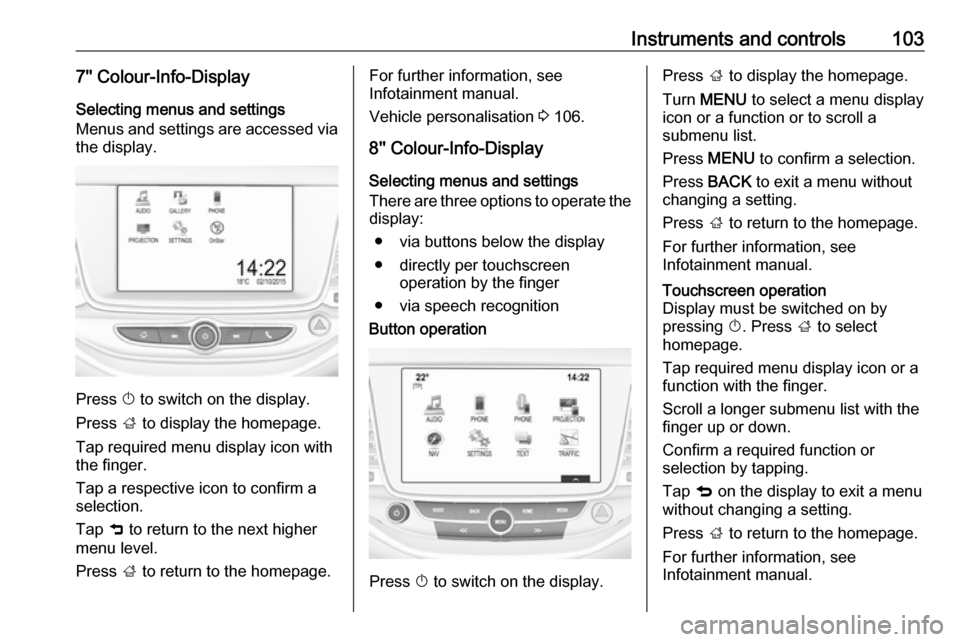
Instruments and controls1037'' Colour-Info-Display
Selecting menus and settings
Menus and settings are accessed via the display.
Press X to switch on the display.
Press ; to display the homepage.
Tap required menu display icon with
the finger.
Tap a respective icon to confirm a
selection.
Tap 9 to return to the next higher
menu level.
Press ; to return to the homepage.
For further information, see
Infotainment manual.
Vehicle personalisation 3 106.
8'' Colour-Info-Display
Selecting menus and settings
There are three options to operate the
display:
● via buttons below the display
● directly per touchscreen operation by the finger
● via speech recognitionButton operation
Press X to switch on the display.
Press ; to display the homepage.
Turn MENU to select a menu display
icon or a function or to scroll a
submenu list.
Press MENU to confirm a selection.
Press BACK to exit a menu without
changing a setting.
Press ; to return to the homepage.
For further information, see
Infotainment manual.Touchscreen operation
Display must be switched on by
pressing X. Press ; to select
homepage.
Tap required menu display icon or a function with the finger.
Scroll a longer submenu list with the
finger up or down.
Confirm a required function or
selection by tapping.
Tap q on the display to exit a menu
without changing a setting.
Press ; to return to the homepage.
For further information, see
Infotainment manual.
Page 108 of 267
106Instruments and controlsBattery voltageWhen the vehicle battery voltage is
running low, a warning message will
appear in the Driver Information
Centre.
1. Switch off any electrical consumers which are not requiredfor a safe drive, e.g. seat heating,
heated rear window or other main consumers.
2. Charge the vehicle battery by driving continuously for a while or
by using a charging device.
The warning message will disappear
after the engine has been started
twice without a voltage drop.
If the vehicle battery cannot be
recharged, have the cause of the fault
remedied by a workshop.Vehicle personalisation
The vehicle's behaviour can be
personalised by changing the settings in the Info-Display.
Some of the personal settings for
different drivers can be memorised
individually for each vehicle key.
Memorised settings 3 23.
Depending on vehicle equipment and
country-specific regulations some of
the functions described below may
not be available.
Some functions are only displayed or
active when the engine is running.
Personal settings Graphic-Info-Display
Press MENU to open the respective
menu.
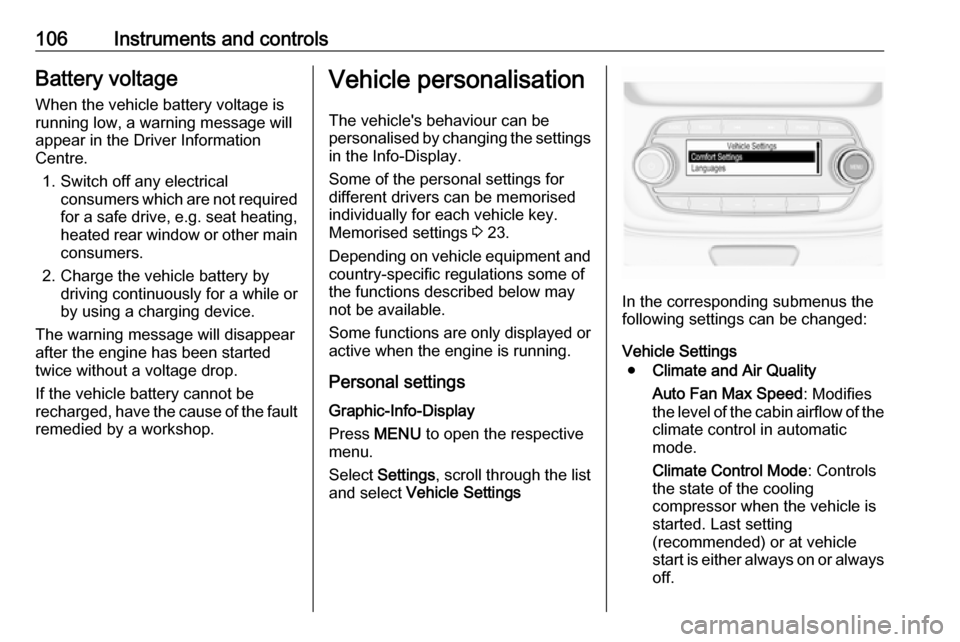
Select Settings , scroll through the list
and select Vehicle Settings
In the corresponding submenus the
following settings can be changed:
Vehicle Settings ● Climate and Air Quality
Auto Fan Max Speed : Modifies
the level of the cabin airflow of the climate control in automatic
mode.
Climate Control Mode : Controls
the state of the cooling
compressor when the vehicle is
started. Last setting
(recommended) or at vehicle
start is either always on or always
off.
Page 110 of 267
108Instruments and controlsAdaptive Forward Lighting:
Changes the settings of the
functions of the LED headlights.
Daytime Tail Lamps : Activates or
deactivates the tail lights in
combination with daytime
running lights.
● Power Door Locks
Stop door lock if door open :
Activates or deactivates the door locking function while a door isopen.
Auto Door Lock : Activates or
deactivates the automatic door
locking function after switching on ignition.
Auto Door Unlock : Changes the
configuration to unlock only the
driver's door or the whole vehicle after switching off ignition.
Delayed Door Lock : Activates or
deactivates the delayed door
locking function. This feature
delays the actual locking of the
doors until all doors are closed.
● Remote Lock, Unlock, and Start
Remote Unlock Feedback :
Activates or deactivates thehazard warning flasher feedback
whilst unlocking.
Remote Lock Feedback :
Changes what kind of feedback
is given when locking the vehicle.
Remote Door Unlock : Changes
the configuration to unlock only
the driver's door or the whole
vehicle whilst unlocking.
Auto Relock Doors : Activates or
deactivates the automatic relock
function after unlocking without
opening the vehicle.
Remote Window Operation :
Activates or deactivates the
operation of power windows with
remote control.
Passive Door Lock : Activates or
deactivates the passive locking
function. This feature locks the
vehicle automatically after
several seconds if all doors have
been closed and an electronic
key has been removed from the
vehicle.
Remote Left in Vehicle Alarm :
Activates or deactivates the
warning chime when theelectronic key remains in the
vehicle.
● Restore Factory Settings :
Resets all settings to the default settings.
● Valet Mode :
See Infotainment manual.
Personal settings 7" Colour-Info-Display
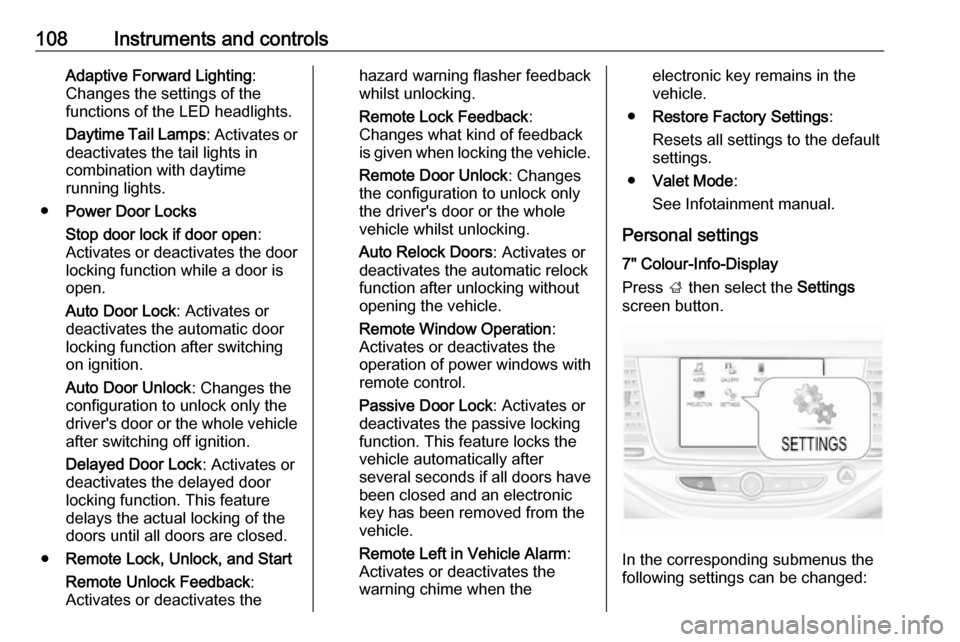
Press ; then select the Settings
screen button.
In the corresponding submenus the
following settings can be changed:
Page 113 of 267
Instruments and controls111
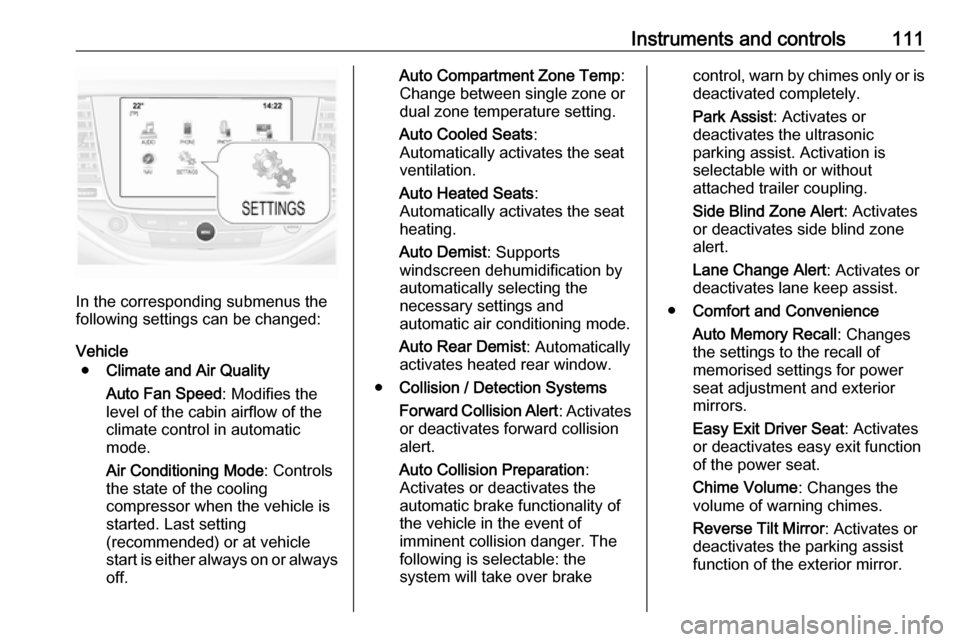
In the corresponding submenus the
following settings can be changed:
Vehicle ● Climate and Air Quality
Auto Fan Speed : Modifies the
level of the cabin airflow of the
climate control in automatic
mode.
Air Conditioning Mode : Controls
the state of the cooling
compressor when the vehicle is
started. Last setting
(recommended) or at vehicle
start is either always on or always
off.
Auto Compartment Zone Temp :
Change between single zone or
dual zone temperature setting.
Auto Cooled Seats :
Automatically activates the seat
ventilation.
Auto Heated Seats :
Automatically activates the seat
heating.
Auto Demist : Supports
windscreen dehumidification by
automatically selecting the
necessary settings and
automatic air conditioning mode.
Auto Rear Demist : Automatically
activates heated rear window.
● Collision / Detection Systems
Forward Collision Alert : Activates
or deactivates forward collision
alert.
Auto Collision Preparation :
Activates or deactivates the
automatic brake functionality of
the vehicle in the event of
imminent collision danger. The
following is selectable: the
system will take over brakecontrol, warn by chimes only or is
deactivated completely.
Park Assist : Activates or
deactivates the ultrasonic
parking assist. Activation is
selectable with or without
attached trailer coupling.
Side Blind Zone Alert : Activates
or deactivates side blind zone alert.
Lane Change Alert : Activates or
deactivates lane keep assist.
● Comfort and Convenience
Auto Memory Recall : Changes
the settings to the recall of
memorised settings for power
seat adjustment and exterior
mirrors.
Easy Exit Driver Seat : Activates
or deactivates easy exit function of the power seat.
Chime Volume : Changes the
volume of warning chimes.
Reverse Tilt Mirror : Activates or
deactivates the parking assist function of the exterior mirror.
Page 117 of 267

Instruments and controls115The following functions are available:● Lock or unlock doors.
● Honk horn or flash lights.
● Check fuel level, engine oil life and tyre pressure (only with tyre
pressure monitoring system).
● Send navigation destination to the vehicle, if equipped with a
built-in navigation system.
● Locate vehicle on a map.
● Manage Wi-Fi settings.
To operate these functions, download the app from the respective app store.
Remote service
If desired, use any phone to call an
OnStar advisor, who can remotely
operate specific vehicle functions.
Find the respective OnStar phone
number on our country-specific
website.
The following functions are available: ● Lock or unlock doors.
● Provide information on the vehicle location.
● Honk horn or flash lights.Stolen vehicle assistance
If a vehicle is stolen, the OnStar
stolen vehicle assistance service can
provide support in locating and
recovering the vehicle.Theft alert
When the anti-theft alarm system is triggered, a notification is sent to
OnStar. You are then informed about
this event by text message or email.
If required, report the theft to the
authorities and request OnStar stolen vehicle assistance. Use any phone tocall an OnStar advisor. Find the
respective OnStar phone number on
our country-specific website.Remote ignition block
By sending remote signals, OnStar
can block the ignition cycle
preventing the vehicle from restarting
once it has been turned off.
On-demand diagnostics
At any time e.g. if the vehicle displays a service message, press Z to
contact an OnStar advisor and ask to complete a real-time diagnostic check
to directly determine the issue.
Depending on the results, the advisor
will provide further support.
Monthly vehicle diagnostics
The vehicle automatically transmits
diagnostic data to OnStar which
sends a monthly email report to you
and your preferred workshop.
Notice
The workshop notification function
can be disabled in your account.
The report contains the status of key
operating systems of the vehicle like
engine, transmission, airbags,
antilock brakes, and other major
systems. It also provides information
on possible maintenance items and
tyre pressure (only with tyre pressure
monitoring system).
To look at the information in greater
detail, select the link within the email
and log into your account.
Destination download
A desired destination can be directly
downloaded to the navigation system.
Page 126 of 267
124LightingRear fog light
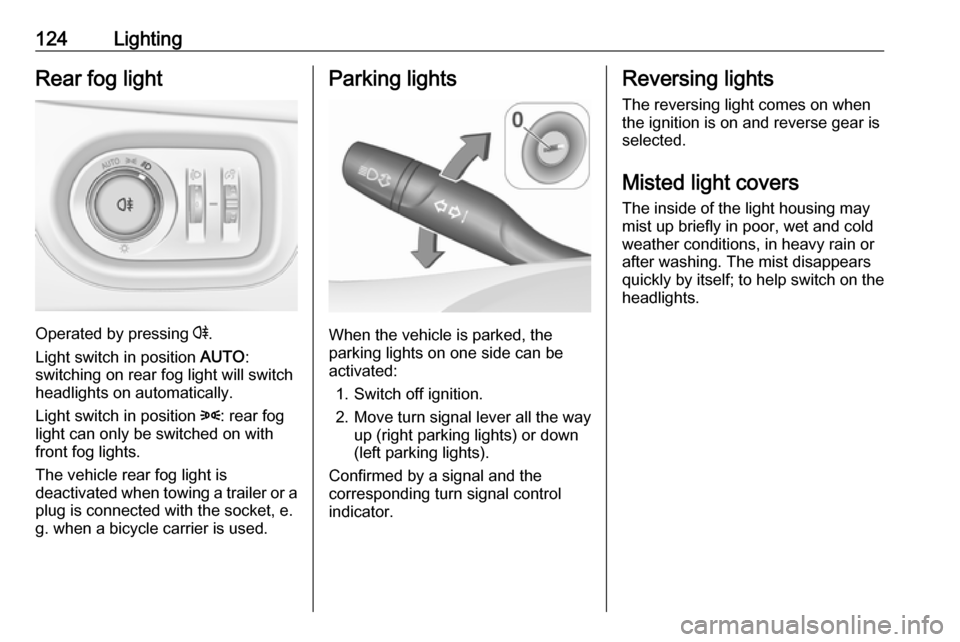
Operated by pressing r.
Light switch in position AUTO:
switching on rear fog light will switch
headlights on automatically.
Light switch in position 8: rear fog
light can only be switched on with
front fog lights.
The vehicle rear fog light is
deactivated when towing a trailer or a
plug is connected with the socket, e.
g. when a bicycle carrier is used.
Parking lights
When the vehicle is parked, the
parking lights on one side can be
activated:
1. Switch off ignition.
2. Move turn signal lever all the way up (right parking lights) or down
(left parking lights).
Confirmed by a signal and the
corresponding turn signal control
indicator.
Reversing lights
The reversing light comes on when
the ignition is on and reverse gear is
selected.
Misted light covers
The inside of the light housing may
mist up briefly in poor, wet and cold weather conditions, in heavy rain or
after washing. The mist disappears
quickly by itself; to help switch on the
headlights.