ESP VAUXHALL ASTRA J 2016 User Guide
[x] Cancel search | Manufacturer: VAUXHALL, Model Year: 2016, Model line: ASTRA J, Model: VAUXHALL ASTRA J 2016Pages: 341, PDF Size: 10.35 MB
Page 105 of 341
Instruments and controls103A drop in temperature is indicated
immediately and a rise in temperature
after a time delay.
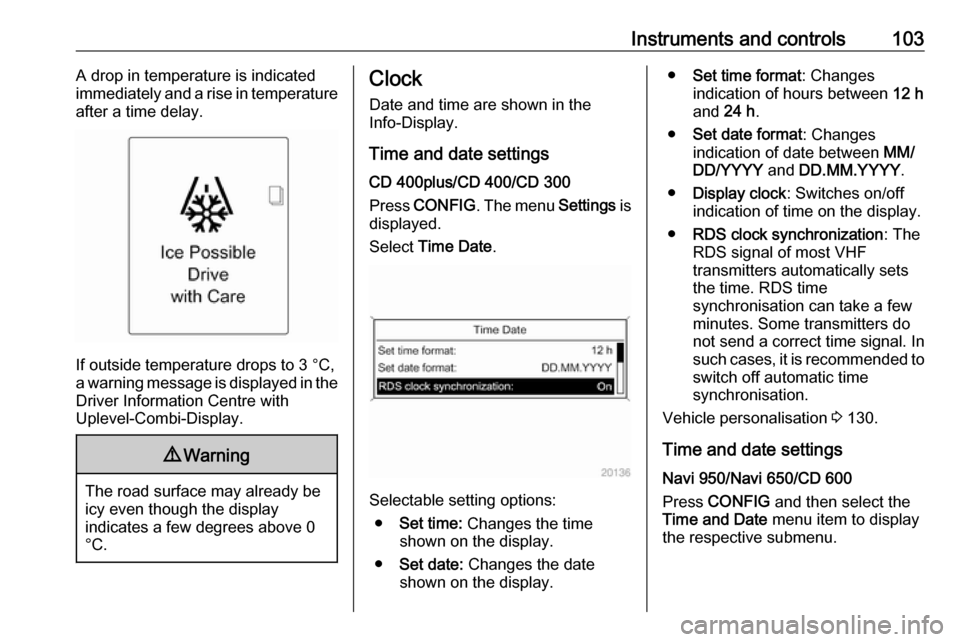
If outside temperature drops to 3 °C,
a warning message is displayed in the Driver Information Centre with
Uplevel-Combi-Display.
9 Warning
The road surface may already be
icy even though the display
indicates a few degrees above 0
°C.
Clock
Date and time are shown in the
Info-Display.
Time and date settings
CD 400plus/CD 400/CD 300
Press CONFIG . The menu Settings is
displayed.
Select Time Date .
Selectable setting options:
● Set time: Changes the time
shown on the display.
● Set date: Changes the date
shown on the display.
● Set time format : Changes
indication of hours between 12 h
and 24 h.
● Set date format : Changes
indication of date between MM/
DD/YYYY and DD.MM.YYYY .
● Display clock : Switches on/off
indication of time on the display.
● RDS clock synchronization : The
RDS signal of most VHF
transmitters automatically sets
the time. RDS time
synchronisation can take a few
minutes. Some transmitters do
not send a correct time signal. In
such cases, it is recommended to
switch off automatic time
synchronisation.
Vehicle personalisation 3 130.
Time and date settings
Navi 950/Navi 650/CD 600
Press CONFIG and then select the
Time and Date menu item to display
the respective submenu.
Page 133 of 341
Instruments and controls131
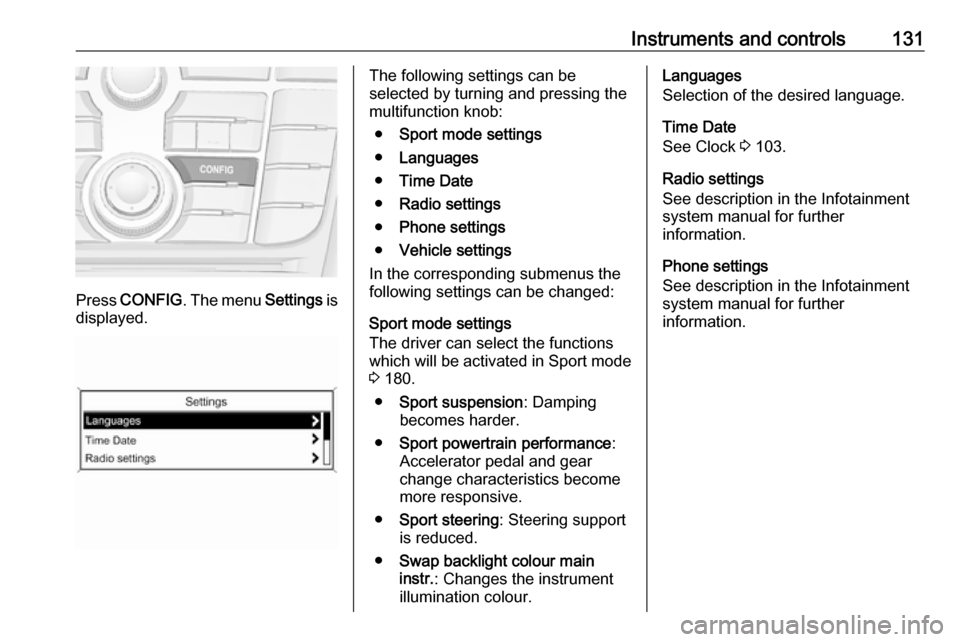
Press CONFIG . The menu Settings is
displayed.
The following settings can be
selected by turning and pressing the
multifunction knob:
● Sport mode settings
● Languages
● Time Date
● Radio settings
● Phone settings
● Vehicle settings
In the corresponding submenus the
following settings can be changed:
Sport mode settings
The driver can select the functions
which will be activated in Sport mode
3 180.
● Sport suspension : Damping
becomes harder.
● Sport powertrain performance :
Accelerator pedal and gear
change characteristics become
more responsive.
● Sport steering : Steering support
is reduced.
● Swap backlight colour main
instr. : Changes the instrument
illumination colour.Languages
Selection of the desired language.
Time Date
See Clock 3 103.
Radio settings
See description in the Infotainment system manual for further
information.
Phone settings
See description in the Infotainment
system manual for further
information.
Page 135 of 341
Instruments and controls133deactivates the automatic door
locking function after driving-off.
Stop door lock if door open :
Activates or deactivates the
automatic door locking function
while a door is open.
Delayed door lock : Activates or
deactivates the delayed door locking function.
● Remote locking, unlocking,
starting
Remote unlock feedback :
Activates or deactivates the
hazard warning flasher feedback
whilst unlocking.
Remote door unlock : Changes
the configuration to unlock only
the driver's door or the whole
vehicle whilst unlocking.
Auto relock doors : Activates or
deactivates the automatic relock
function after unlocking without opening the vehicle.
● Restore factory settings
Restore factory settings : Resets
all settings to the default settings.Settings in the Colour-Info-
Display
Navi 950/Navi 650/CD 600
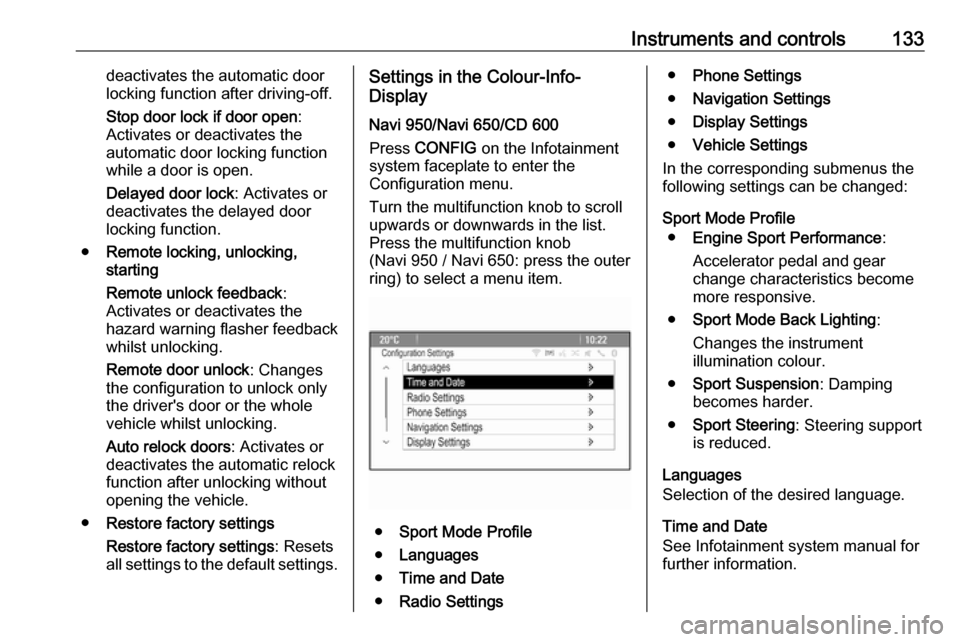
Press CONFIG on the Infotainment
system faceplate to enter the
Configuration menu.
Turn the multifunction knob to scroll
upwards or downwards in the list.
Press the multifunction knob
(Navi 950 / Navi 650: press the outer
ring) to select a menu item.
● Sport Mode Profile
● Languages
● Time and Date
● Radio Settings
●Phone Settings
● Navigation Settings
● Display Settings
● Vehicle Settings
In the corresponding submenus the
following settings can be changed:
Sport Mode Profile ● Engine Sport Performance :
Accelerator pedal and gear
change characteristics become
more responsive.
● Sport Mode Back Lighting :
Changes the instrument
illumination colour.
● Sport Suspension : Damping
becomes harder.
● Sport Steering : Steering support
is reduced.
Languages
Selection of the desired language.
Time and Date
See Infotainment system manual for
further information.
Page 139 of 341

Instruments and controls137Notice
The Wi-Fi hotspot functionality is not
available for all markets.
Up to seven devices may be
connected.
To connect a mobile device with the
OnStar Wi-Fi hotspot:
1. Press j and then select Wi-Fi
settings on the Info-Display. The
settings displayed include the Wi- Fi hotspot name (SSID),
password and connection type.
2. Start a Wi-Fi network search on your mobile device.
3. Select your vehicle hotspot (SSID) when listed.
4. When prompted, enter the password on your mobile device.
Notice
To change the SSID or password, select Z and talk to an OnStar
advisor or logon to your account.
To switch off the Wi-Fi hotspot
functionality, press Z to call an
OnStar advisor.Smartphone app
With the My Vauxhall smartphone
app, some vehicle functions can be
operated via a smartphone.
The following functions are available: ● Lock or unlock doors.
● Honk horn or flash lights.
● Check fuel level, engine oil life and tyre pressure (only with tyre
pressure monitoring system).
● Send navigation destination to the vehicle, if equipped with a
built-in navigation system.
● Locate vehicle on a map.
● Manage Wi-Fi settings.
To operate these functions, download
the app from the respective app store.
Remote service
If desired, use any phone to call an
OnStar advisor, who can remotely
operate specific vehicle functions.
Find the respective OnStar phone
number on our country-specific
website.The following functions are available:
● Lock or unlock doors.
● Provide information on the vehicle location.
● Honk horn or flash lights.
Stolen vehicle assistance
If a vehicle is stolen, the OnStar
stolen vehicle assistance service can
provide support in locating and
recovering the vehicle.Theft alert
When the anti-theft alarm system is triggered, a notification is sent to
OnStar. You are then informed about
this event by text message or email.
If required, report the theft to the
authorities and request OnStar stolen
vehicle assistance. Use any phone to call an OnStar advisor. Find the
respective OnStar phone number on
our country-specific website.Remote ignition block
By sending remote signals, OnStar
can block the ignition cycle
preventing the vehicle from restarting once it has been turned off.
Page 150 of 341
148LightingFor three flashes, e.g. when changing
lanes, press the lever until resistance is felt and then release.
When a trailer is connected, turn
signal flashes six times when
pressing the lever until resistance is
felt and then releasing.
Move the lever to the resistance point
and hold for longer indication.
Switch the turn signal off manually by moving the lever to its original
position.
Front fog lights
Operated by pressing >.
Light switch in position AUTO:
switching on front fog lights will switch headlights on automatically.
Rear fog lights
Operated by pressing r
.
Light switch in position AUTO:
switching on rear fog light will switch
headlights on automatically.
Light switch in position 8: rear fog
light can only be switched on with
front fog lights.
The vehicle rear fog light is
deactivated when towing.
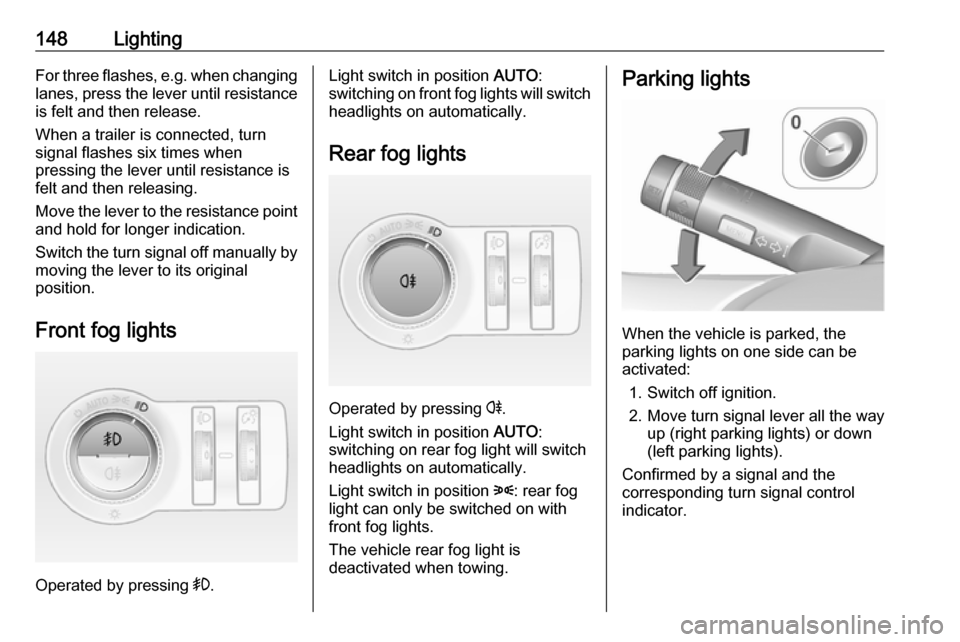
Parking lights
When the vehicle is parked, the
parking lights on one side can be
activated:
1. Switch off ignition.
2. Move turn signal lever all the way up (right parking lights) or down
(left parking lights).
Confirmed by a signal and the
corresponding turn signal control
indicator.
Page 164 of 341

162Climate controlAir conditioning regularoperation
In order to ensure continuously
efficient performance, cooling must
be operated for a few minutes once a
month, irrespective of the weather
and time of year. Operation with
cooling is not possible when the
outside temperature is too low.
Service For optimal cooling performance, it is recommended to annually check the
climate control system, starting
three years after initial vehicle
registration, including:
● functionality and pressure test
● heating functionality
● leakage check
● check of drive belts
● cleaning of condenser and evaporator drainage
● performance check
Page 168 of 341
166Driving and operatingAutomatic Starter Control
This function controls the engine
starting procedure. The driver does
not need to hold the key in position 3.
Once applied, the system will go on
starting automatically until the engine
is running. Because of the checking
procedure, the engine starts running
after a short delay.
Possible reasons for a non-starting
engine:
● Clutch pedal not operated (manual transmission).
● Brake pedal not operated or selector lever not in P or N
(automatic transmission).
● Timeout occurred.
Turbo engine warm-up
Upon start-up, engine available
torque may be limited for a short time, especially when the engine
temperature is cold. The limitation is
to allow the lubrication system to fully
protect the engine.Overrun cut-off
The fuel supply is automatically cut-
off during overrun, i.e. when the
vehicle is driven with a gear engaged
but accelerator is released.
Stop-start system
The stop-start system helps to save
fuel and to reduce the exhaust
emissions. When conditions allow, it
switches off the engine as soon as the
vehicle is at a low speed or at a
standstill, e.g. at a traffic light or in a
traffic jam. It starts the engine
automatically as soon as the clutch is depressed. A battery sensor ensures
that an Autostop is only performed if the vehicle battery is sufficiently
charged for a restart.
Activation
The stop-start system is available as
soon as the engine is started, the
vehicle starts-off and the conditions
as stated below in this section are
fulfilled.Deactivation
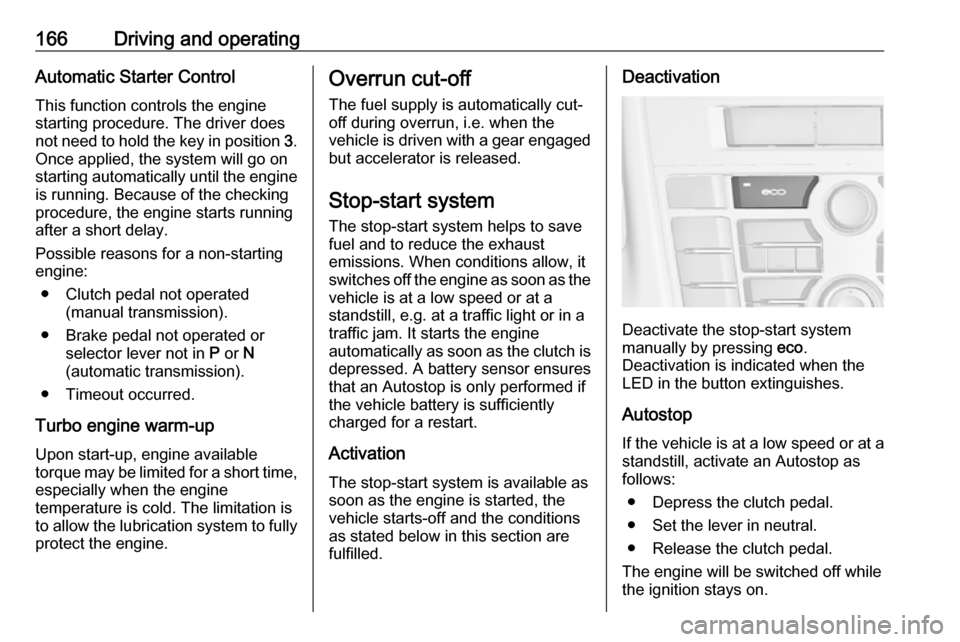
Deactivate the stop-start system
manually by pressing eco.
Deactivation is indicated when the
LED in the button extinguishes.
Autostop If the vehicle is at a low speed or at a
standstill, activate an Autostop as
follows:
● Depress the clutch pedal.
● Set the lever in neutral.
● Release the clutch pedal.
The engine will be switched off while
the ignition stays on.
Page 177 of 341
Driving and operating175Manual transmission
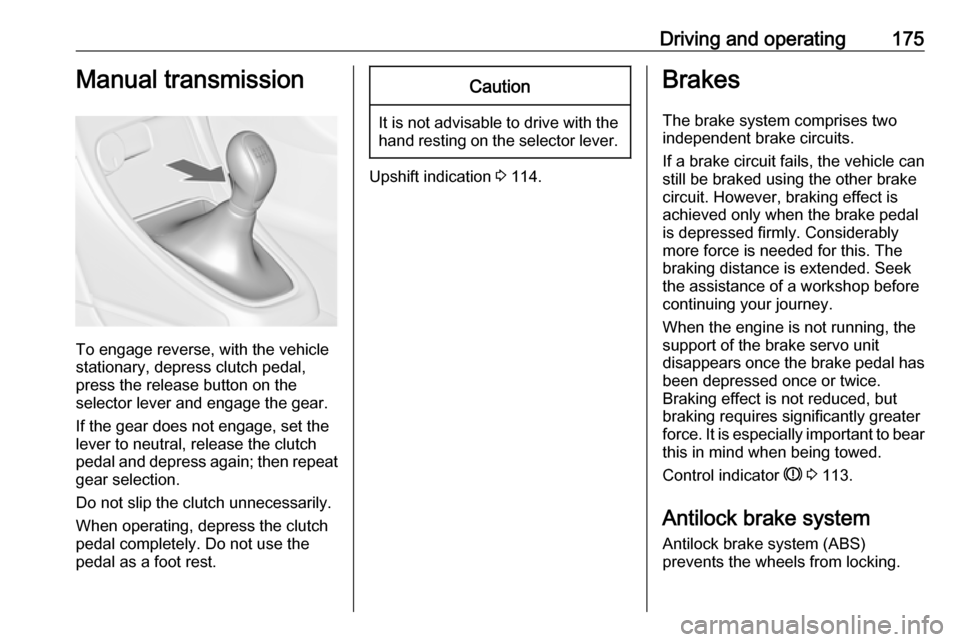
To engage reverse, with the vehicle
stationary, depress clutch pedal,
press the release button on the
selector lever and engage the gear.
If the gear does not engage, set the
lever to neutral, release the clutch
pedal and depress again; then repeat
gear selection.
Do not slip the clutch unnecessarily.
When operating, depress the clutch
pedal completely. Do not use the
pedal as a foot rest.
Caution
It is not advisable to drive with the hand resting on the selector lever.
Upshift indication 3 114.
Brakes
The brake system comprises two
independent brake circuits.
If a brake circuit fails, the vehicle can
still be braked using the other brake
circuit. However, braking effect is
achieved only when the brake pedal
is depressed firmly. Considerably
more force is needed for this. The
braking distance is extended. Seek
the assistance of a workshop before
continuing your journey.
When the engine is not running, the
support of the brake servo unit
disappears once the brake pedal has
been depressed once or twice.
Braking effect is not reduced, but
braking requires significantly greater
force. It is especially important to bear this in mind when being towed.
Control indicator R 3 113.
Antilock brake system
Antilock brake system (ABS)
prevents the wheels from locking.
Page 178 of 341
176Driving and operatingABS starts to regulate brake pressureas soon as a wheel shows a tendency to lock. The vehicle remains
steerable, even during hard braking.
ABS control is made apparent
through a pulse in the brake pedal
and the noise of the regulation
process.
For optimum braking, keep the brake
pedal fully depressed throughout the
braking process, despite the fact that
the pedal is pulsating. Do not reduce
the pressure on the pedal.
After starting off the system performs
a self-test which may be audible.
Control indicator u 3 114.
Adaptive brake light
During full braking, all three brake
lights flash for the duration of ABS
control.Fault9 Warning
If there is a fault in the ABS, the
wheels may be liable to lock due
to braking that is heavier than
normal. The advantages of ABS are no longer available. During
hard braking, the vehicle can no longer be steered and may
swerve.
Have the cause of the fault remedied
by a workshop.
Parking brake
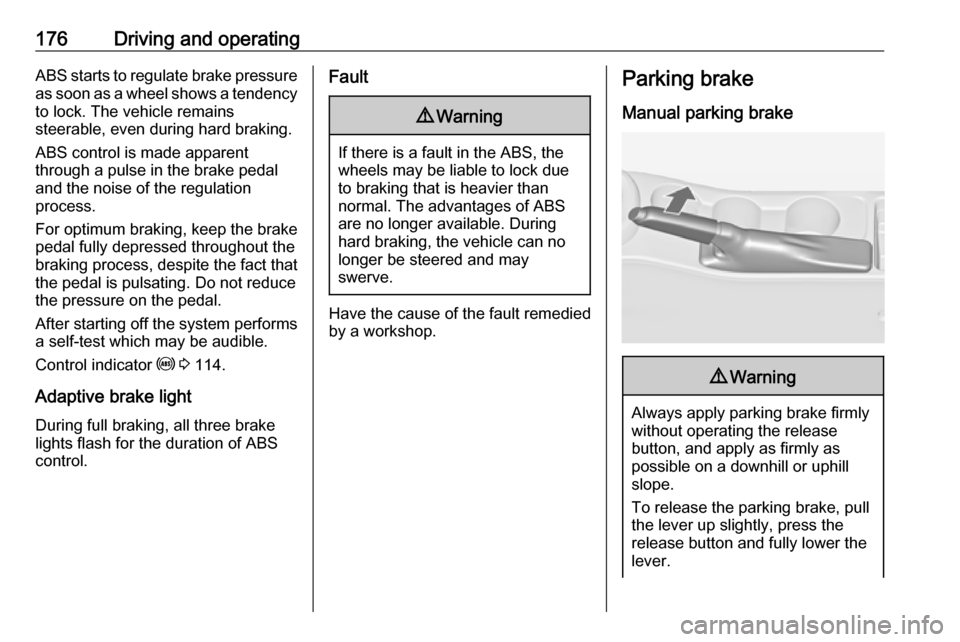
Manual parking brake9 Warning
Always apply parking brake firmly
without operating the release
button, and apply as firmly as
possible on a downhill or uphill
slope.
To release the parking brake, pull
the lever up slightly, press the
release button and fully lower the
lever.
Page 182 of 341
180Driving and operatingFor a more sporty behaviour ESC and
TC can be deactivated separately:
● Press b briefly: only Traction
control system is inactive, ESC
remains active, k illuminates.
● Hold b pressed for min.
5 seconds: TC and ESC are
deactivated, k and n illuminate.
Additionally the selected mode is
displayed as status message in the
Driver Information Centre (DIC).
If the vehicle comes into threshold
with deactivated ESP, the system will reactivate ESP for the time duration
of the threshold, when the brake
pedal is depressed once.
ESC is reactivated by pressing b
again. If the TC system was
previously disabled, both TC and
ESC are reactivated.
ESC is also reactivated the next time
the ignition is switched on.Deactivation, VXR version
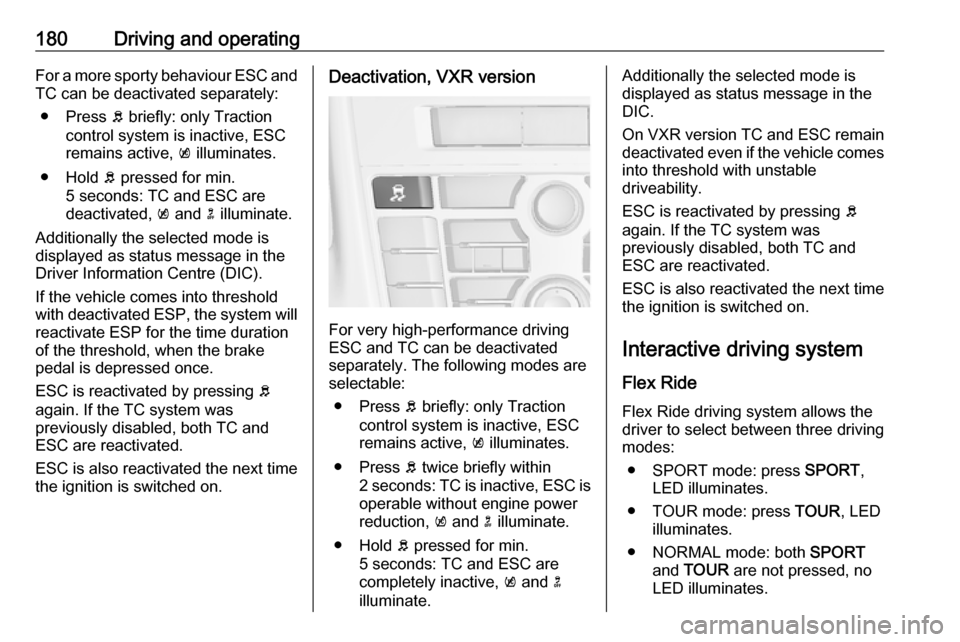
For very high-performance driving
ESC and TC can be deactivated
separately. The following modes are
selectable:
● Press b briefly: only Traction
control system is inactive, ESC
remains active, k illuminates.
● Press b twice briefly within
2 seconds: TC is inactive, ESC is
operable without engine power
reduction, k and n illuminate.
● Hold b pressed for min.
5 seconds: TC and ESC are
completely inactive, k and n
illuminate.
Additionally the selected mode is
displayed as status message in the
DIC.
On VXR version TC and ESC remain
deactivated even if the vehicle comes into threshold with unstable
driveability.
ESC is reactivated by pressing b
again. If the TC system was
previously disabled, both TC and
ESC are reactivated.
ESC is also reactivated the next time
the ignition is switched on.
Interactive driving system Flex Ride Flex Ride driving system allows the
driver to select between three driving
modes:
● SPORT mode: press SPORT,
LED illuminates.
● TOUR mode: press TOUR, LED
illuminates.
● NORMAL mode: both SPORT
and TOUR are not pressed, no
LED illuminates.