ESP VAUXHALL ASTRA J 2017.5 Infotainment system
[x] Cancel search | Manufacturer: VAUXHALL, Model Year: 2017.5, Model line: ASTRA J, Model: VAUXHALL ASTRA J 2017.5Pages: 167, PDF Size: 3.08 MB
Page 81 of 167

Frequently asked questions81Frequently asked
questionsFrequently asked questions .........81Frequently asked
questions
Phone? How can I pair my phone with the
Infotainment system?
! In order to pair a phone, press
HOME , select the PHONE icon
and then select Pair Device.
Follow the instructions on your
device and make sure Bluetooth is enabled.
Detailed description 3 71.? How can I access my phone book
contacts and recent calls?
! In order to access the contacts or
calls list, press HOME, select the
PHONE icon and then select
CONTACTS or RECENT . Make
sure access to the phone book and recent calls list is allowed on the
phone. Depending on the phone,
loading the phone book and recent
calls list might take a few minutes.
Detailed description 3 73.Favourites? What can be stored as a favourite?
! Up to 60 favourites of almost all
elements can be stored, e.g.
destinations, phone contacts,
playlists, radio stations, etc.
Detailed description 3 19.? How can I store a new favourite?
! Activate the respective application
and touch and hold a favourite
screen button to store a new
favourite in this location. A short
beep sound confirms storing. In
some cases, it is required to select a specific item.
Detailed description 3 19.? How can I rename, delete or move
my favourites?
! Press
HOME , select the
SETTINGS icon on the home
screen, Radio in the settings list
and then Manage Favourites in
order to rename, delete or move
the favourites.
Detailed description 3 19.
Page 82 of 167

82Frequently asked questions?Where are the favourites stored
and how can I recall them?
! The favourites are stored in the
favourites list. To recall a favourite, select the respective screen button
on the favourites row displayed.
On certain screens, the favourites list is hidden to extend the main
content view. On these screens,
select n on the lower right of the
screen or drag the interaction
selector bar upwards with the
finger.
Detailed description 3 19.
Navigation? After entering a destination
address, an error message is
shown. What am I doing wrong?
! For full address entry, the
navigation system expects a
certain input order. Depending on
the country in which the entered
address is located, a different input
order might be required. Add the
country name at the end of the
entry, if a destination in another
country has been entered.Detailed description 3 53.? How can I cancel active route
guidance?
! To cancel route guidance, select
MENU in the interaction selector
bar and then select Cancel Route.
Detailed description 3 59.
Audio
? How can I change the audio
source?
! By pressing
RADIO repeatedly,
you can toggle through all
available radio sources (AM/FM/
DAB). By pressing MEDIA
repeatedly, you can toggle through all available media sources.
Detailed description for radio 3 32,
CD 3 37, external devices 3 40.? How can I browse radio stations or
media music?
! To browse radio stations or media
music, such as playlists or albums, select BROWSE on the audio
screen.
Detailed description for radio 3 32,
CD 3 38, external devices 3 41.Other? How can I improve the
performance of the voice
recognition?
! The voice recognition is designed
to understand naturally
pronounced voice commands.
Wait for the beep tone and speak
afterwards. Try to speak naturally,
not too fast or too loud.
Detailed description 3 65.? How can I improve the touch
screen's performance?
! The touch screen is pressure-
sensitive. Especially when doing
drag gestures, try to apply more
pressure with the finger.
Detailed description 3 15.
Page 96 of 167
96Introduction
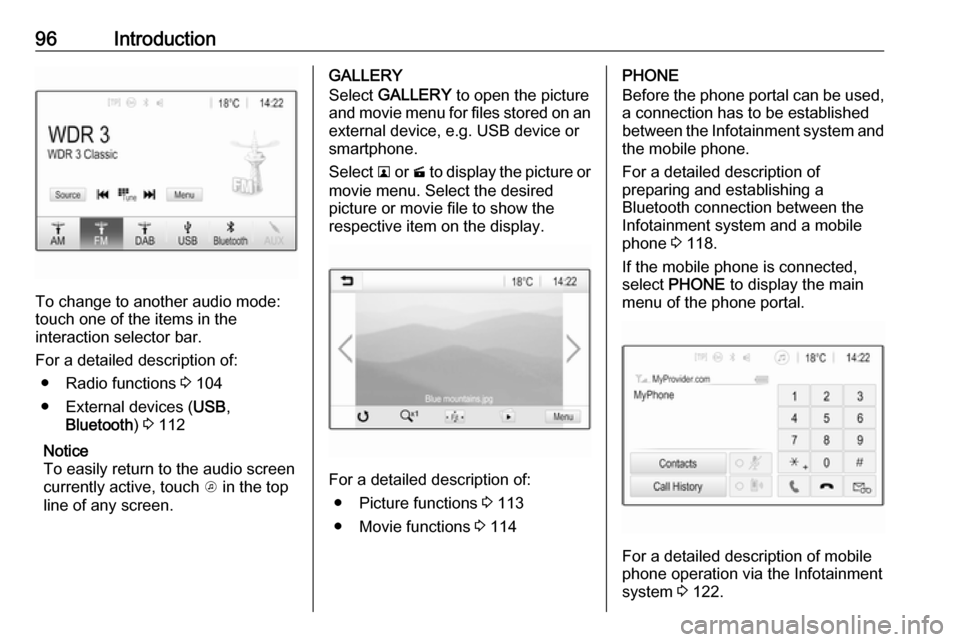
To change to another audio mode:
touch one of the items in the
interaction selector bar.
For a detailed description of: ● Radio functions 3 104
● External devices ( USB,
Bluetooth ) 3 112
Notice
To easily return to the audio screen
currently active, touch A in the top
line of any screen.
GALLERY
Select GALLERY to open the picture
and movie menu for files stored on an external device, e.g. USB device or
smartphone.
Select l or m to display the picture or
movie menu. Select the desired
picture or movie file to show the
respective item on the display.
For a detailed description of:
● Picture functions 3 113
● Movie functions 3 114
PHONE
Before the phone portal can be used, a connection has to be established
between the Infotainment system and
the mobile phone.
For a detailed description of
preparing and establishing a
Bluetooth connection between the Infotainment system and a mobile
phone 3 118.
If the mobile phone is connected,
select PHONE to display the main
menu of the phone portal.
For a detailed description of mobile
phone operation via the Infotainment
system 3 122.
Page 98 of 167
98Basic operationBasic operationBasic operation............................ 98
Tone settings ............................. 100
Volume settings .........................101
System settings ......................... 102Basic operation
The display of the Infotainment
system has a touch-sensitive surface
that allows direct interaction with the
displayed menu controls.Caution
Do not use pointed or hard items
like ballpoint pens, pencils or
similar for touch screen operation.
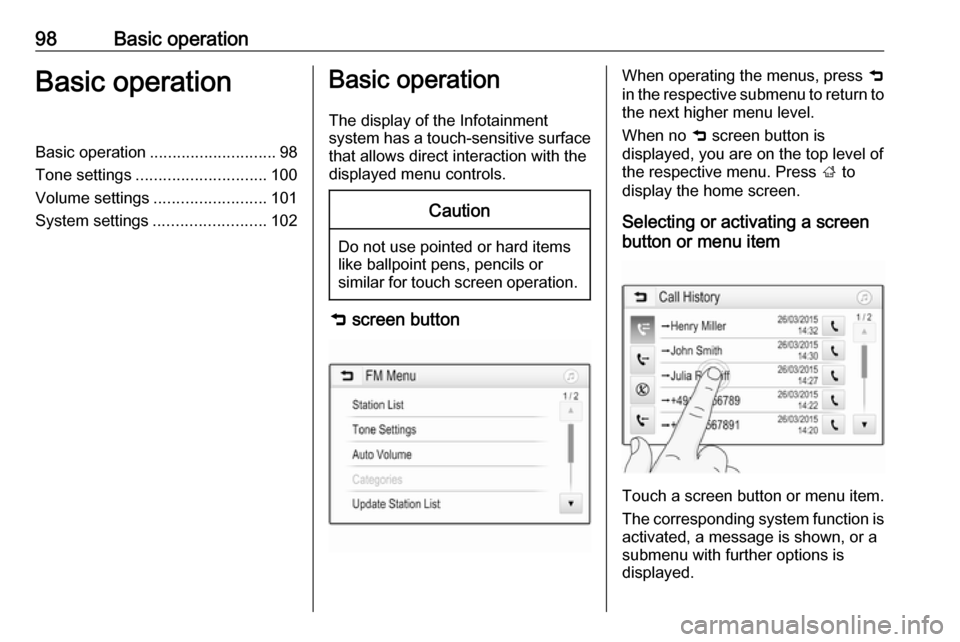
9 screen button
When operating the menus, press 9
in the respective submenu to return to
the next higher menu level.
When no 9 screen button is
displayed, you are on the top level of
the respective menu. Press ; to
display the home screen.
Selecting or activating a screen
button or menu item
Touch a screen button or menu item.
The corresponding system function is activated, a message is shown, or a
submenu with further options is
displayed.
Page 100 of 167
100Basic operationScrolling pages
Notice
Pages are only scrollable if there is
more than one page available.
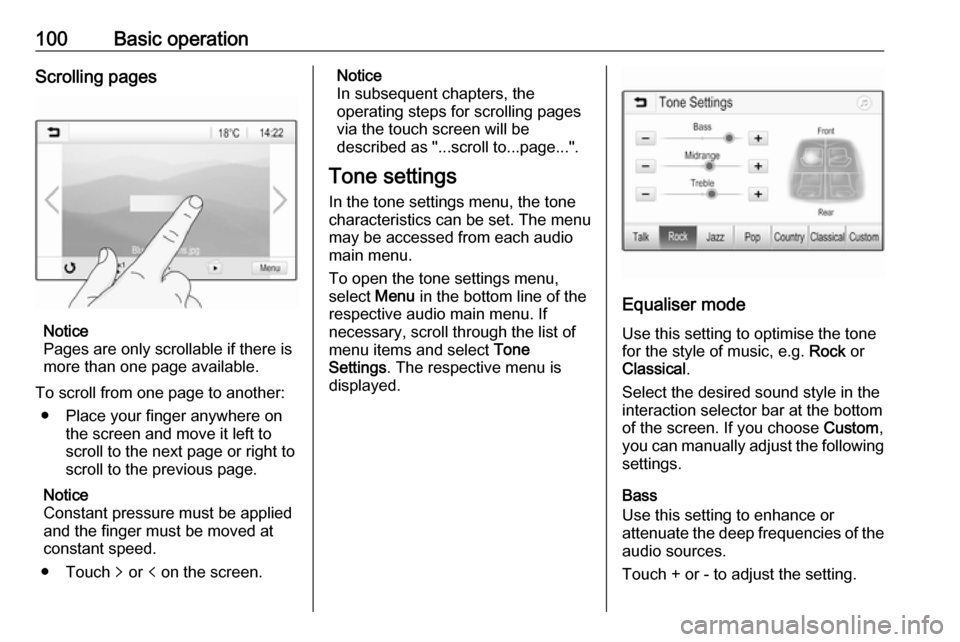
To scroll from one page to another: ● Place your finger anywhere on the screen and move it left to
scroll to the next page or right to
scroll to the previous page.
Notice
Constant pressure must be applied
and the finger must be moved at
constant speed.
● Touch q or p on the screen.
Notice
In subsequent chapters, the
operating steps for scrolling pages
via the touch screen will be
described as "...scroll to...page...".
Tone settings In the tone settings menu, the tonecharacteristics can be set. The menu
may be accessed from each audio
main menu.
To open the tone settings menu,
select Menu in the bottom line of the
respective audio main menu. If
necessary, scroll through the list of
menu items and select Tone
Settings . The respective menu is
displayed.
Equaliser mode
Use this setting to optimise the tone
for the style of music, e.g. Rock or
Classical .
Select the desired sound style in the
interaction selector bar at the bottom of the screen. If you choose Custom,
you can manually adjust the following
settings.
Bass
Use this setting to enhance or
attenuate the deep frequencies of the audio sources.
Touch + or - to adjust the setting.
Page 101 of 167

Basic operation101Midrange
Use this setting to enhance or
attenuate the midrange frequencies
of the audio source.
Touch + or - to adjust the setting.
Treble
Use this setting to enhance or
attenuate the high frequencies of the
audio sources.
Touch + or - to adjust the setting.
Setting balance and fader
Use the illustration at the right side of
the menu to adjust balance and fader.
To define the point in the passenger
compartment where the sound is at its
highest level, touch the
corresponding point in the illustration. Alternatively, you can move the red
marker to the desired point.
Notice
The balance and fader settings are
valid for all audio sources. They
cannot be adjusted individually for
each audio source.Volume settings
Adjusting the maximum startup
volume
Press ; and then select Settings.
Select Radio, scroll through the list
and then select Max Startup Volume .
Touch + or - to adjust the setting.
Adjusting the speed
compensated volume
Press ; and then select Settings.
Select Radio, scroll through the list
and then select Auto Volume.
To adjust the degree of volume
adaptation, select one of the options
in the list.
Off : no enhancement of volume with
increasing vehicle speed.
High : maximum enhancement of
volume with increasing vehicle
speed.Activating or deactivating the
audible touch feedback function
If the audible touch feedback function
is activated, each touch of a screen
button or menu item is indicated by a
beeping sound.
Press ; and then select Settings.
Select Radio and then scroll through
the list to Audible Touch Feedback .
Touch the screen button next to
Audible Touch Feedback to activate
or deactivate the function.
Page 102 of 167
102Basic operationVolume of traffic announcementsTo adjust the volume of traffic
announcements, set the desired
volume while a traffic announcement is given out by the system. The
respective setting is then stored by
the system.
System settings
The following settings concern the
whole system. All other settings are
described by theme in the respective chapters of this manual.
Time and date settings
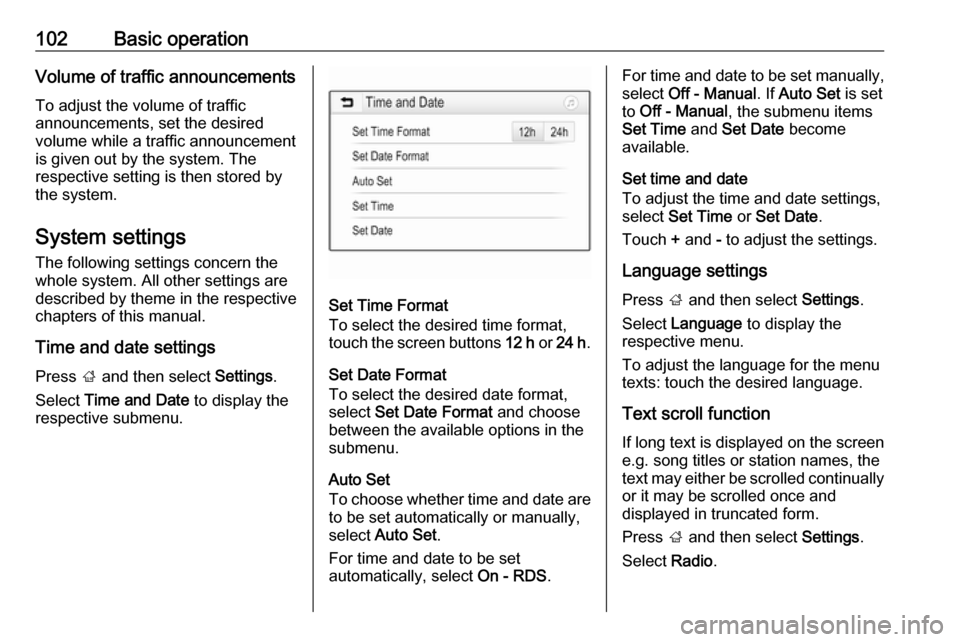
Press ; and then select Settings.
Select Time and Date to display the
respective submenu.
Set Time Format
To select the desired time format,
touch the screen buttons 12 h or 24 h .
Set Date Format To select the desired date format,
select Set Date Format and choose
between the available options in the
submenu.
Auto Set
To choose whether time and date are
to be set automatically or manually,
select Auto Set .
For time and date to be set
automatically, select On - RDS.
For time and date to be set manually,
select Off - Manual . If Auto Set is set
to Off - Manual , the submenu items
Set Time and Set Date become
available.
Set time and date
To adjust the time and date settings,
select Set Time or Set Date .
Touch + and - to adjust the settings.
Language settings
Press ; and then select Settings.
Select Language to display the
respective menu.
To adjust the language for the menu
texts: touch the desired language.
Text scroll function If long text is displayed on the screen
e.g. song titles or station names, the
text may either be scrolled continually or it may be scrolled once and
displayed in truncated form.
Press ; and then select Settings.
Select Radio.
Page 105 of 167
Radio105Notice
FM waveband: when the RDS
function is activated, only RDS
stations 3 107 are searched for, and
when the radio traffic service (TP) is activated, only traffic service
stations 3 107 are searched for.
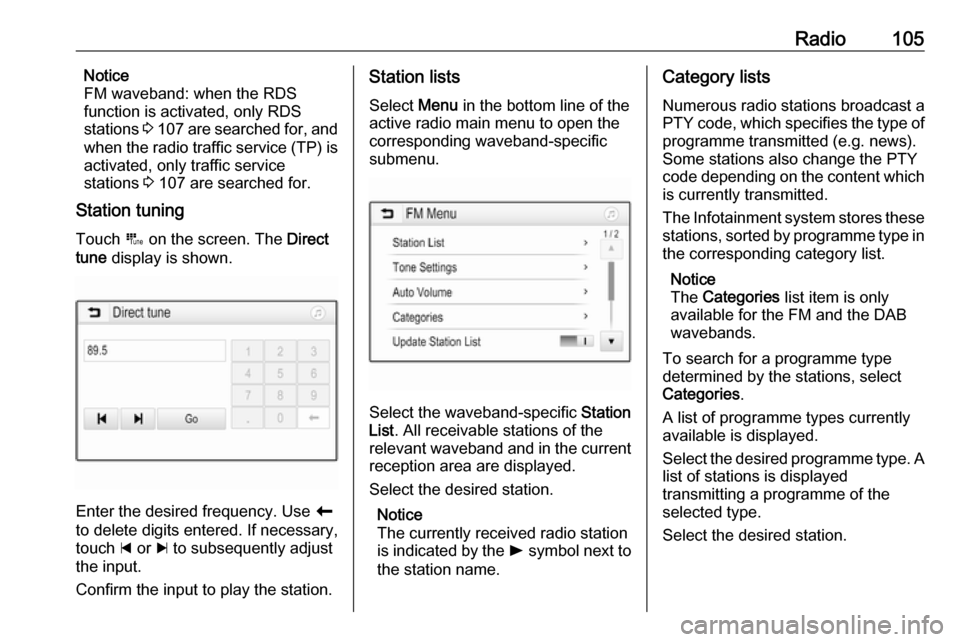
Station tuning
Touch B on the screen. The Direct
tune display is shown.
Enter the desired frequency. Use r
to delete digits entered. If necessary, touch d or c to subsequently adjust
the input.
Confirm the input to play the station.
Station lists
Select Menu in the bottom line of the
active radio main menu to open the
corresponding waveband-specific
submenu.
Select the waveband-specific Station
List . All receivable stations of the
relevant waveband and in the current
reception area are displayed.
Select the desired station.
Notice
The currently received radio station
is indicated by the l symbol next to
the station name.
Category lists
Numerous radio stations broadcast a
PTY code, which specifies the type of programme transmitted (e.g. news).
Some stations also change the PTY
code depending on the content which is currently transmitted.
The Infotainment system stores these
stations, sorted by programme type in
the corresponding category list.
Notice
The Categories list item is only
available for the FM and the DAB wavebands.
To search for a programme type
determined by the stations, select
Categories .
A list of programme types currently
available is displayed.
Select the desired programme type. A
list of stations is displayed
transmitting a programme of the
selected type.
Select the desired station.
Page 106 of 167
106RadioNotice
The currently received radio station
is indicated by the l symbol next to
the station name.
Update station lists
If the stations stored in the waveband-
specific station list can no longer be
received, the AM and the DAB station lists must be updated.
Notice
The FM station list is updated
automatically.
Select Menu in the bottom line of the
active radio main menu and then
select Update Station List .
Notice
If a waveband-specific station list is
updated, the corresponding
category list is also updated.
A station search is started and a
corresponding message is displayed. Once the search is finished, the
respective station list is displayed.
Notice
The currently received radio station
is indicated by the l symbol next to
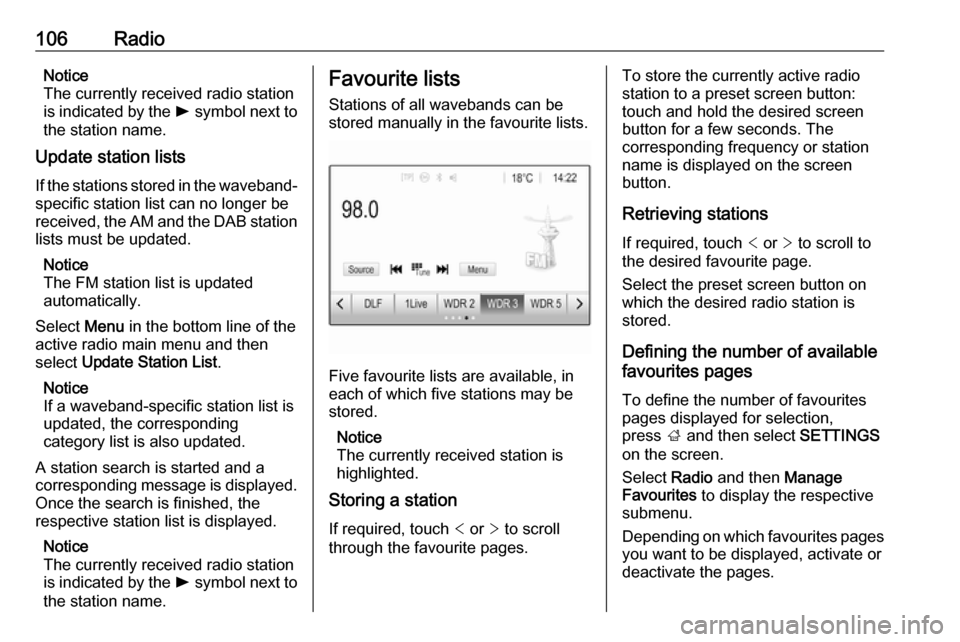
the station name.Favourite lists
Stations of all wavebands can be
stored manually in the favourite lists.
Five favourite lists are available, in
each of which five stations may be
stored.
Notice
The currently received station is highlighted.
Storing a station
If required, touch < or > to scroll
through the favourite pages.
To store the currently active radio
station to a preset screen button:
touch and hold the desired screen button for a few seconds. The
corresponding frequency or station
name is displayed on the screen
button.
Retrieving stations If required, touch < or > to scroll to
the desired favourite page.
Select the preset screen button on
which the desired radio station is
stored.
Defining the number of available
favourites pages
To define the number of favouritespages displayed for selection,
press ; and then select SETTINGS
on the screen.
Select Radio and then Manage
Favourites to display the respective
submenu.
Depending on which favourites pages you want to be displayed, activate or
deactivate the pages.
Page 107 of 167

Radio107Radio data system (RDS)
RDS is a service of FM stations that considerably facilitates the finding of
the desired station and its fault-free
reception.
Advantages of RDS ● On the display, the programme name of the station appears
instead of its frequency.
● During a station search, the Infotainment system tunes in to
RDS stations only.
● The Infotainment system always tunes into the best receivable
broadcasting frequency of the set station by means of AF
(alternative frequency).
● Depending on the station that is received, the Infotainment
system displays radio text that
can contain e.g. information on
the current programme.RDS configuration
Touch Menu in the bottom line of the
FM radio main menu to open the corresponding waveband-specific
submenu.
Scroll to RDS.
Activate or deactivate RDS.
Traffic Programme Radio traffic service stations are RDS
stations that broadcast traffic news. If
the traffic service is switched on, the
current audio source is interrupted for
the duration of the traffic
announcement.
Activating the traffic programme
function
Select Menu in the bottom line of the
FM radio main menu to open the
corresponding waveband-specific
submenu.
Touch the screen button next to
Traffic Programme to activate or
deactivate the function.Notice
In the station list, TP is displayed
next to the stations providing a traffic programme.
If the radio traffic service is activated,
[TP] is shown in the top line of all main
menus. If the current station is not a
radio traffic service station, TP is
greyed-out and a search is started
automatically for the next radio traffic
service station. As soon as a radio
traffic service station is found, TP is
highlighted. If no radio traffic service station is found, TP remains greyed-
out.
If a traffic announcement is
broadcasted on the respective
station, a message is displayed.
To interrupt the announcement and
return to the function previously
activated, touch the screen or press
m .
Regionalisation Sometimes RDS stations broadcast
regionally different programmes on
different frequencies.