display VAUXHALL CASCADA 2015 Infotainment system
[x] Cancel search | Manufacturer: VAUXHALL, Model Year: 2015, Model line: CASCADA, Model: VAUXHALL CASCADA 2015Pages: 133, PDF Size: 2.29 MB
Page 104 of 133

104Radio
Set the option Traffic announcement
(TA) to On or Off.
Switching regionalization on and off
(RDS must be activated for
regionalization)
At certain times some RDS stations
broadcast regionally different
programmes on different frequencies.
Set the option Regional (REG) to On
or Off .
If regionalization is switched on, only
alternative frequencies (AF) with the
same regional programmes are
selected.
If regionalization is switched off,
alternative frequencies of the stations are selected without regard to
regional programmes.
RDS-scrolling text
Some RDS stations hide the programme name in the display line
in order to display additional
information.
To prevent additional information
being displayed:
Set RDS- Text scroll freeze to On.Radio text:
If RDS and reception of an RDS
station are activated, information
about the programme that is currently
receivable and about the music track
currently playing are displayed below
the programme name.
To show or hide the information:
Set the option Radio text: to On or Off .
Radio traffic service
(TP = Traffic Programme)
Radio traffic service stations are RDS stations that broadcast traffic news.
Switching the radio traffic service on
and off
To switch the traffic announcement
standby facility of the Infotainment
system on and off:
Press the TP button.
■ If the radio traffic service is switched on, [ ] is displayed in the
radio main menu.
■ Only radio traffic service stations are received.■ If the current station is not a radiotraffic service station, a search is
started automatically for the next
radio traffic service station.
■ If a radio traffic service station has been found, [TP] is displayed in the
radio main menu.
■ Traffic announcements are played at the preset TA volume 3 97.
■ If the radio traffic service is switched on, CD/MP3 playback is
interrupted for the duration of the
traffic announcement.
Listening to traffic announcements only
Switch on the radio traffic service and
completely turn down the volume of
the Infotainment system.
Blocking out traffic announcements
To block out a traffic announcement,
e.g. during CD/MP3 playback:
Press TP button or the multifunction
knob to confirm the cancel message
on the display.
Page 105 of 133
Radio105
The traffic announcement is aborted,
but the radio traffic service remains
switched on.
EON (Enhanced Other Networks)
With EON you can listen to radio
traffic announcements even if the
station you have set does not
broadcast its own radio traffic service.
If such a station is set, it is displayed
in black as for radio traffic service stations TP.
Digital audio broadcasting Digital audio broadcasting (DAB) is
an innovative and universal
broadcast system.
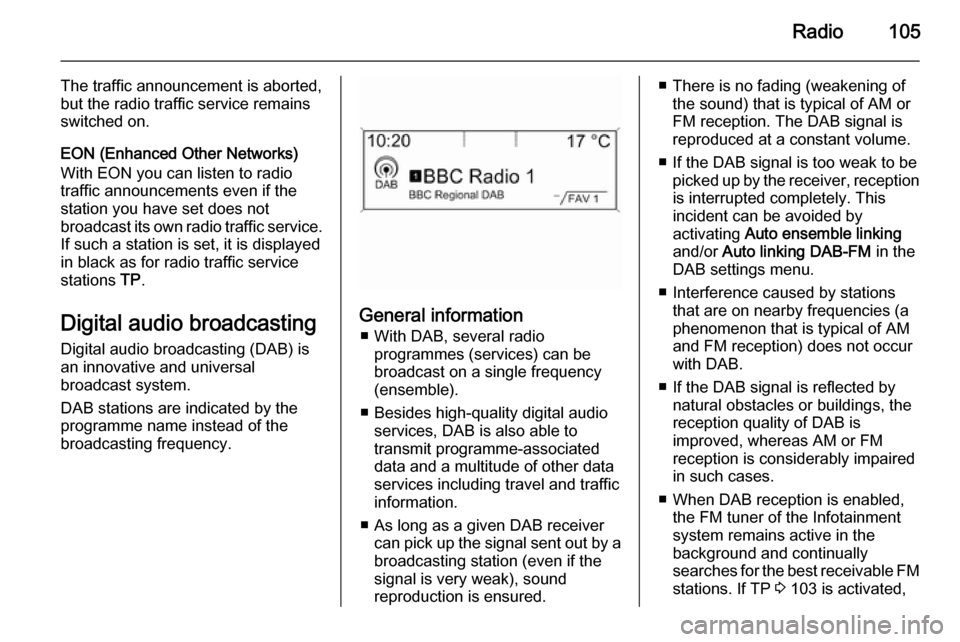
DAB stations are indicated by the
programme name instead of the
broadcasting frequency.
General information
■ With DAB, several radio programmes (services) can be
broadcast on a single frequency
(ensemble).
■ Besides high-quality digital audio services, DAB is also able to
transmit programme-associated
data and a multitude of other data
services including travel and traffic
information.
■ As long as a given DAB receiver can pick up the signal sent out by a
broadcasting station (even if the signal is very weak), sound
reproduction is ensured.
■ There is no fading (weakening of the sound) that is typical of AM or
FM reception. The DAB signal is
reproduced at a constant volume.
■ If the DAB signal is too weak to be picked up by the receiver, receptionis interrupted completely. This
incident can be avoided by
activating Auto ensemble linking
and/or Auto linking DAB-FM in the
DAB settings menu.
■ Interference caused by stations that are on nearby frequencies (a
phenomenon that is typical of AM
and FM reception) does not occur
with DAB.
■ If the DAB signal is reflected by natural obstacles or buildings, the
reception quality of DAB is
improved, whereas AM or FM
reception is considerably impaired
in such cases.
■ When DAB reception is enabled, the FM tuner of the Infotainmentsystem remains active in the
background and continually
searches for the best receivable FM stations. If TP 3 103 is activated,
Page 107 of 133

CD Player107CD PlayerGeneral information...................107
Usage ........................................ 108General information
The Infotainment system's CD player
can play audio CDs and MP3/WMA
CDs.
Important information about
audio CDs and MP3/WMA CDsCaution
Under no circumstances place
DVDs, single-CDs with a diameter
of 8 cm or shaped CDs in the audio
player.
You must not put any stickers on
CDs. These discs can get jammed in the CD drive and ruin the player. Replacement of the device will
then be necessary.
■ The following CD formats can be used:
CD-ROM Mode 1 and Mode 2.
CD-ROM XA Mode 2, Form 1 and
Form 2.
■ The following file formats can be used:
ISO9660 Level 1, Level 2, (Romeo,Joliet).
MP3 and WMA files written in any
format other than listed above may
not play correctly, and their file names and folder names may not
be displayed correctly.
Notice
ISO 13346 is not supported. It may
be required to manually select
ISO 9660 when burning an audio
CD, e.g. with Windows 7.
■ Audio CDs with copy protection, which are not in compliance with
the audio CD standard, may not
play correctly or not at all.
■ Self-recorded CD-Rs and CD-RWs
are more vulnerable to mishandling than prerecorded CDs. Correct
handling, especially in the case of
self-recorded CD-Rs and CD-RWs,
must be ensured. See below.
■ Self-recorded CD-Rs and CD-RWs
may not play correctly or not at all.
In such cases it is not the
equipment that is at fault.
Page 108 of 133
108CD Player
■ On mixed mode CDs (audio tracksand compressed files, e.g. MP3,
are stored), the audio tracks part and the compressed files part can
be played separately.
■ Avoid leaving fingerprints when you
change CDs.
■ Put CDs back in their sleeves immediately after removing them
from the CD player in order to
protect them from damage and dirt.
■ Dirt and liquids on CDs can smear the lens of the CD player inside thedevice and cause faults.
■ Protect CDs from heat and direct sunlight.
■ The following restrictions apply for the data stored on an MP3/WMA
CD:
Number of tracks: max. 999.
Number of folders: max. 255.
Folder structure depth: max.
64 levels (recommended: max.
8 levels).
Number of playlists: max. 15.Number of songs per playlist: max.
255.
Applicable playlist
extensions: .m3u, .pls, .asx, .wpl.
■ This chapter deals only with playing
MP3 files since the operation for
MP3 and WMA files is identical.
When a CD with WMA files is
loaded MP3 related menus are
displayed.
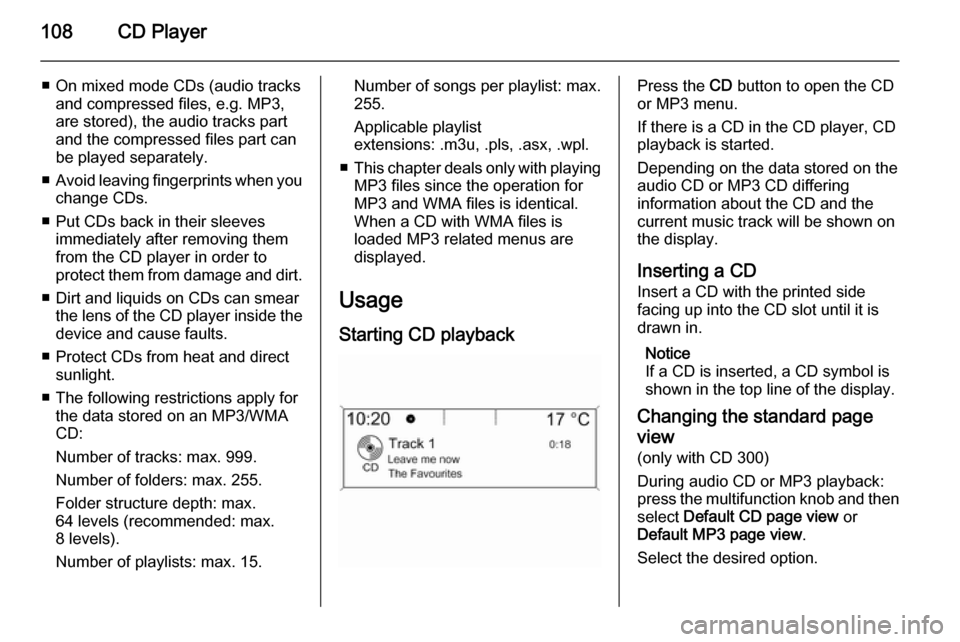
Usage Starting CD playbackPress the CD button to open the CD
or MP3 menu.
If there is a CD in the CD player, CD playback is started.
Depending on the data stored on the
audio CD or MP3 CD differing
information about the CD and the
current music track will be shown on
the display.
Inserting a CD
Insert a CD with the printed side
facing up into the CD slot until it is
drawn in.
Notice
If a CD is inserted, a CD symbol is
shown in the top line of the display.
Changing the standard page
view (only with CD 300)
During audio CD or MP3 playback: press the multifunction knob and then
select Default CD page view or
Default MP3 page view .
Select the desired option.
Page 113 of 133
USB port113
Press the AUX button once or several
times to activate the USB mode.
Playback of the audio data stored on
the USB device is started.
The operation of data sources
connected via USB is generally the
same as for an audio MP3 CD 3 108.
On the following pages only the
aspects of operation that are
different/additional are described.
Operation and the screen displays
are described for USB drives only. Operation of other devices, e.g. iPod
or Zune is generally the same.Selecting tracks using the USB
menu
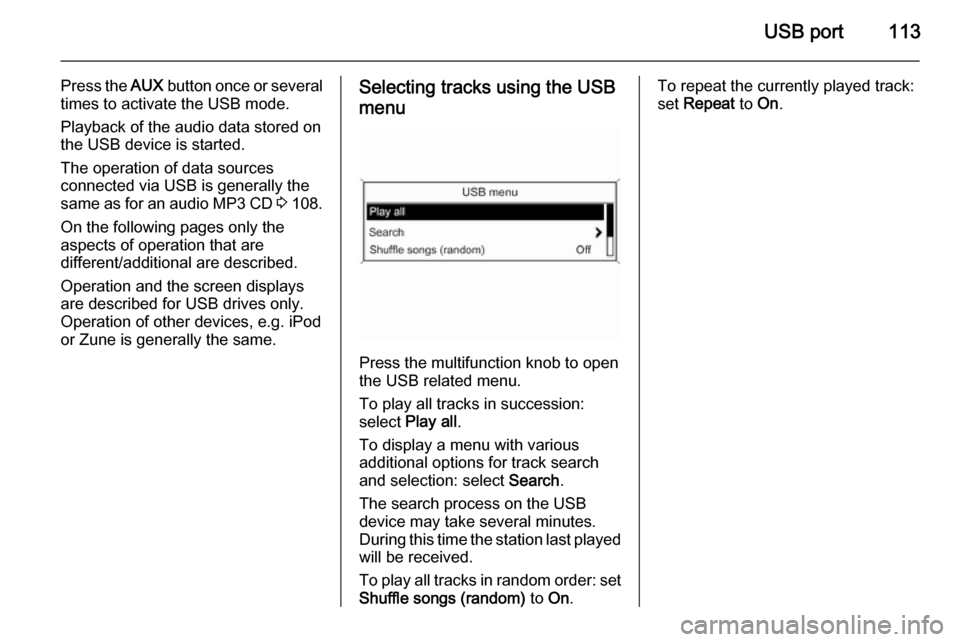
Press the multifunction knob to open
the USB related menu.
To play all tracks in succession:
select Play all .
To display a menu with various
additional options for track search and selection: select Search.
The search process on the USB
device may take several minutes.
During this time the station last played will be received.
To play all tracks in random order: set
Shuffle songs (random) to On.
To repeat the currently played track:
set Repeat to On.
Page 114 of 133

114Speech recognitionSpeech recognitionGeneral information...................114
Phone control ............................ 115General information
The speech recognition of the
Infotainment system enables you to
operate the phone portal via voice input. It recognises commands and
numeric sequences independently of
the current speaker. The commands
and numeric sequences can be
spoken without a voice pause
between the individual words.
You can save telephone numbers
assigning a name of your choice
(voice tag). Using these names, you
can later set up a telephone
connection.
In the event of incorrect operation or commands, the speech recognition
gives you visual and/or acoustic
feedback and requests you to re-
enter the desired command. Apart
from this, the speech recognition
acknowledges important commands and will enquire if necessary.
To ensure that conversations inside
the vehicle do not lead to
unintentional triggering of systemfunctions, the speech recognition
does not start until it has been
activated.
Important notes on language
support ■ Not all languages available for the display of the Infotainment system
are also available for the speech
recognition.
■ If the currently selected language for the display is not supported by
the speech recognition, you must
enter the voice commands in
English.
To be able to enter voice
commands in English, you must
first activate the phone main menu
by pressing the PHONE button on
the Infotainment system, and then activate the speech recognition of
the phone portal by pressing button
w on the steering wheel.
Page 121 of 133
Phone121
Connecting a mobile phone for
the first time There are two options for connecting
a mobile phone to the Phone portal: by adding it as a handsfree device or
by using the SIM Access Profile
(SAP).
Handsfree mode
When the mobile phone is added as
a handsfree device, the user can
make or receive calls and use other
functions via the Phone portal. The
range of functions available depends
on the mobile phone. While it is
connected with the Phone portal, the
mobile phone can be operated as
usual. Note that the mobile phone
battery may discharge at a higher
speed than usual due to the Bluetooth
connection being active along with normal operation of the mobile
phone.
SAP mode
When using the SAP option, a wider
range of functions is available via the
Phone portal, e.g. various security
and messaging options. The actualrange of functions depends on the network provider. Additionally, in SAP mode the mobile phone is in the
standby mode. Only the Bluetooth
connection and the SIM card are
active, which leads to lower energy
consumption of the connected mobile
phone.
Connecting a mobile phone as a
handsfree device
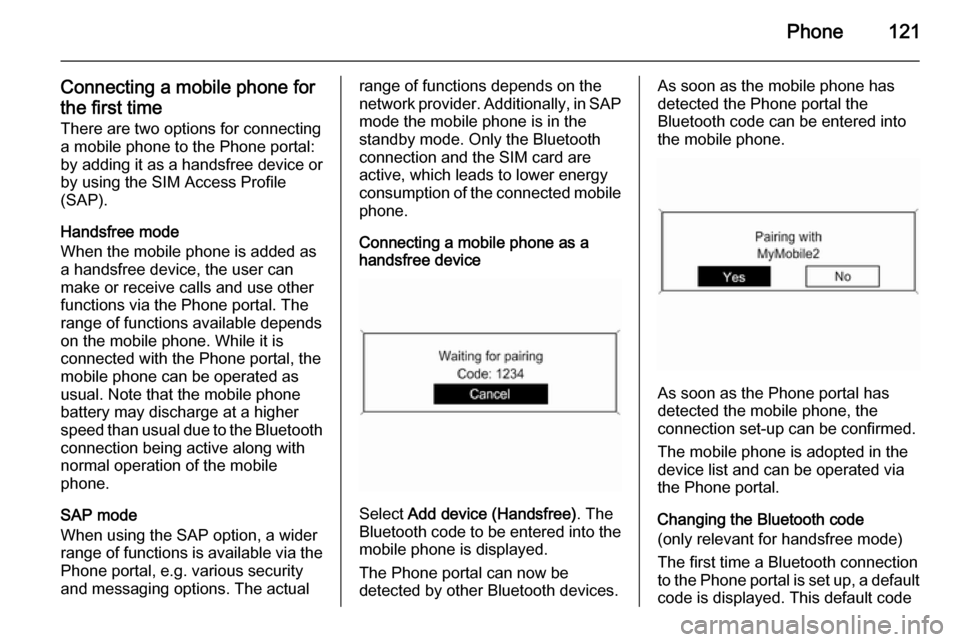
Select Add device (Handsfree) . The
Bluetooth code to be entered into the
mobile phone is displayed.
The Phone portal can now be
detected by other Bluetooth devices.
As soon as the mobile phone has
detected the Phone portal the
Bluetooth code can be entered into
the mobile phone.
As soon as the Phone portal has
detected the mobile phone, the
connection set-up can be confirmed.
The mobile phone is adopted in the
device list and can be operated via
the Phone portal.
Changing the Bluetooth code
(only relevant for handsfree mode)
The first time a Bluetooth connection
to the Phone portal is set up, a default code is displayed. This default code
Page 122 of 133
122Phone
can be changed at any time. For
security reasons a four-digit,
randomly selected code must be
used for pairing devices.
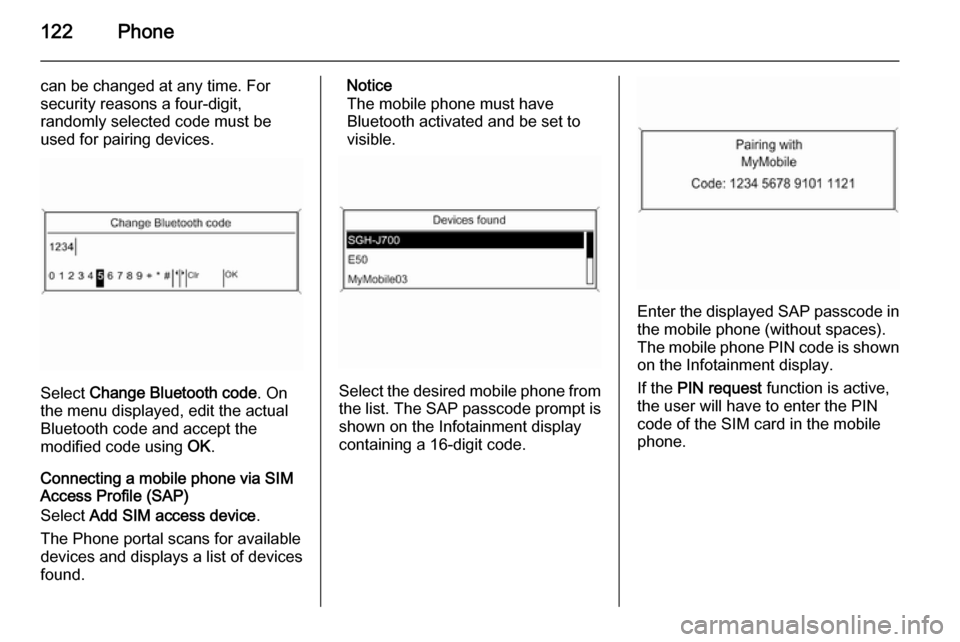
Select Change Bluetooth code . On
the menu displayed, edit the actual
Bluetooth code and accept the
modified code using OK.
Connecting a mobile phone via SIM
Access Profile (SAP)
Select Add SIM access device .
The Phone portal scans for available devices and displays a list of devices
found.
Notice
The mobile phone must have
Bluetooth activated and be set to
visible.
Select the desired mobile phone from
the list. The SAP passcode prompt is shown on the Infotainment display
containing a 16-digit code.
Enter the displayed SAP passcode in
the mobile phone (without spaces).
The mobile phone PIN code is shown
on the Infotainment display.
If the PIN request function is active,
the user will have to enter the PIN code of the SIM card in the mobile
phone.
Page 123 of 133
Phone123
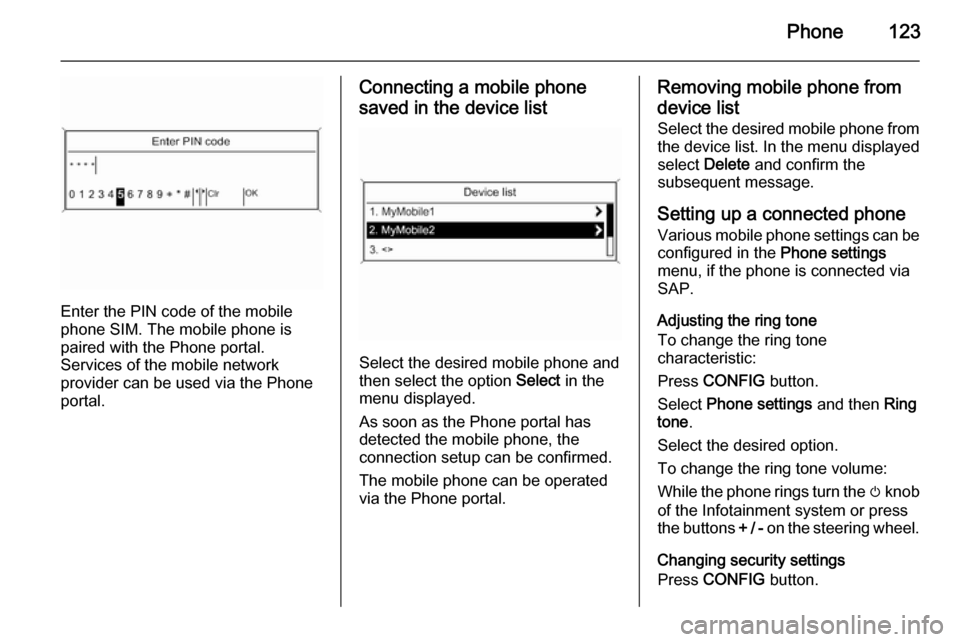
Enter the PIN code of the mobile
phone SIM. The mobile phone is
paired with the Phone portal.
Services of the mobile network
provider can be used via the Phone
portal.
Connecting a mobile phone
saved in the device list
Select the desired mobile phone and
then select the option Select in the
menu displayed.
As soon as the Phone portal has
detected the mobile phone, the
connection setup can be confirmed.
The mobile phone can be operated
via the Phone portal.
Removing mobile phone from
device list Select the desired mobile phone from
the device list. In the menu displayed
select Delete and confirm the
subsequent message.
Setting up a connected phone
Various mobile phone settings can be configured in the Phone settings
menu, if the phone is connected via
SAP.
Adjusting the ring tone
To change the ring tone
characteristic:
Press CONFIG button.
Select Phone settings and then Ring
tone .
Select the desired option.
To change the ring tone volume:
While the phone rings turn the m knob
of the Infotainment system or press
the buttons + / - on the steering wheel.
Changing security settings
Press CONFIG button.
Page 124 of 133

124Phone
Select Phone settings and then
Security .
The security dialogue is displayed.
Activating/Deactivating PIN request
Select PIN request On or Off.
Enter the PIN code of the mobile
phone SIM card and confirm.
Notice
This option depends on the
individual network provider.
Changing the PIN codeSelect Change PIN .
Enter the current PIN code. Enter the
new PIN code. Repeat the new PIN
code and confirm. The PIN has been
changed.Configuring network services
Select Phone settings and then
Network services . The Network
services dialogue is displayed.
Depending on the network provider
and mobile phone there are several
options available.■ Network selection : choose
between automatic or manual
network selection.
■ Call waiting : activate or deactivate
call waiting.
■ Call diverting : select diverting
options depending on the situation.
■ Call barring : configure call barring
options depending on the situation.
For details on network services
configuration, refer to the mobile
phone manual or enquire with the
mobile network provider.
Configuring SMS centre number
The SMS centre number is a phone
number that acts as a gateway for
transferring SMS messages between mobile phones. This number is
usually preset by the network
provider.
To configure the SMS centre number
select Phone settings and then SMS
centre number . If required, modify the
SMS centre number.Resetting the mobile phone to factory
settings
Select Phone settings and then
Restore factory settings .
Emergency call9 Warning
Connection setup cannot be
guaranteed in all situations. For
this reason you should not rely
exclusively on a mobile phone
when a vitally important
communication (e. g. a medical
emergency) is concerned.
In some networks it may be
necessary for a valid SIM card to
be properly inserted in the mobile
phone.
9 Warning
Bear in mind that you can make
and receive calls with the mobile
phone, if it is in a service area with