Indicator VAUXHALL COMBO E 2020 Owner's Guide
[x] Cancel search | Manufacturer: VAUXHALL, Model Year: 2020, Model line: COMBO E, Model: VAUXHALL COMBO E 2020Pages: 279, PDF Size: 28.6 MB
Page 107 of 279
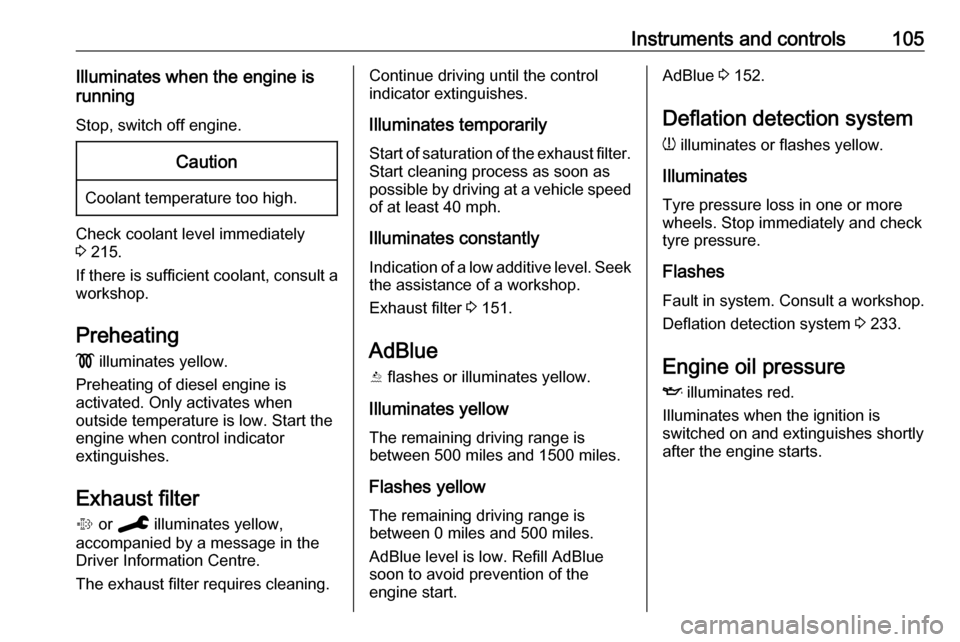
Instruments and controls105Illuminates when the engine is
running
Stop, switch off engine.Caution
Coolant temperature too high.
Check coolant level immediately
3 215.
If there is sufficient coolant, consult a workshop.
Preheating
! illuminates yellow.
Preheating of diesel engine is
activated. Only activates when
outside temperature is low. Start the
engine when control indicator
extinguishes.
Exhaust filter
% or C illuminates yellow,
accompanied by a message in the
Driver Information Centre.
The exhaust filter requires cleaning.
Continue driving until the control
indicator extinguishes.
Illuminates temporarily Start of saturation of the exhaust filter.
Start cleaning process as soon as
possible by driving at a vehicle speed of at least 40 mph.
Illuminates constantly Indication of a low additive level. Seek
the assistance of a workshop.
Exhaust filter 3 151.
AdBlue Y flashes or illuminates yellow.
Illuminates yellow
The remaining driving range is
between 500 miles and 1500 miles.
Flashes yellow The remaining driving range is
between 0 miles and 500 miles.
AdBlue level is low. Refill AdBlue
soon to avoid prevention of the
engine start.AdBlue 3 152.
Deflation detection system w illuminates or flashes yellow.
Illuminates
Tyre pressure loss in one or more
wheels. Stop immediately and check
tyre pressure.
Flashes
Fault in system. Consult a workshop.
Deflation detection system 3 233.
Engine oil pressure I illuminates red.
Illuminates when the ignition is
switched on and extinguishes shortly after the engine starts.
Page 110 of 279
108Instruments and controlsDisplaysDriver Information Centre
The Driver Information Centre is
located in the instrument cluster.
Driver Information Centre indicates: ● overall and trip odometer
● digital speed indication
● trip / fuel information menu
● gear shift indication
● service information
● vehicle and warning messages ● driver assistance messages
● pop-up messages
Selecting menus and functions
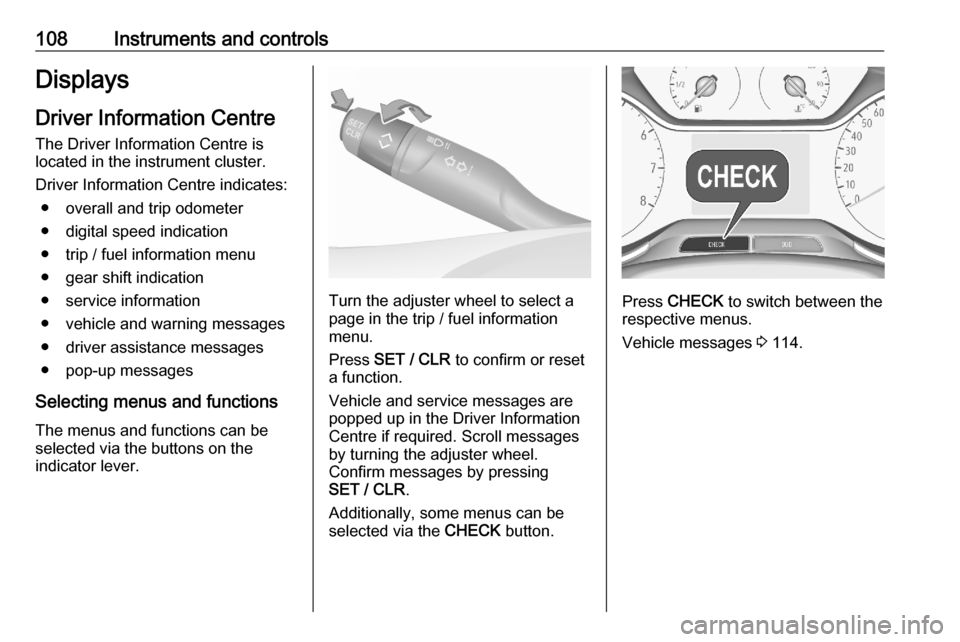
The menus and functions can be selected via the buttons on the
indicator lever.
Turn the adjuster wheel to select a
page in the trip / fuel information
menu.
Press SET / CLR to confirm or reset
a function.
Vehicle and service messages are popped up in the Driver Information
Centre if required. Scroll messages
by turning the adjuster wheel.
Confirm messages by pressing
SET / CLR .
Additionally, some menus can be selected via the CHECK button.Press CHECK to switch between the
respective menus.
Vehicle messages 3 114.
Page 111 of 279
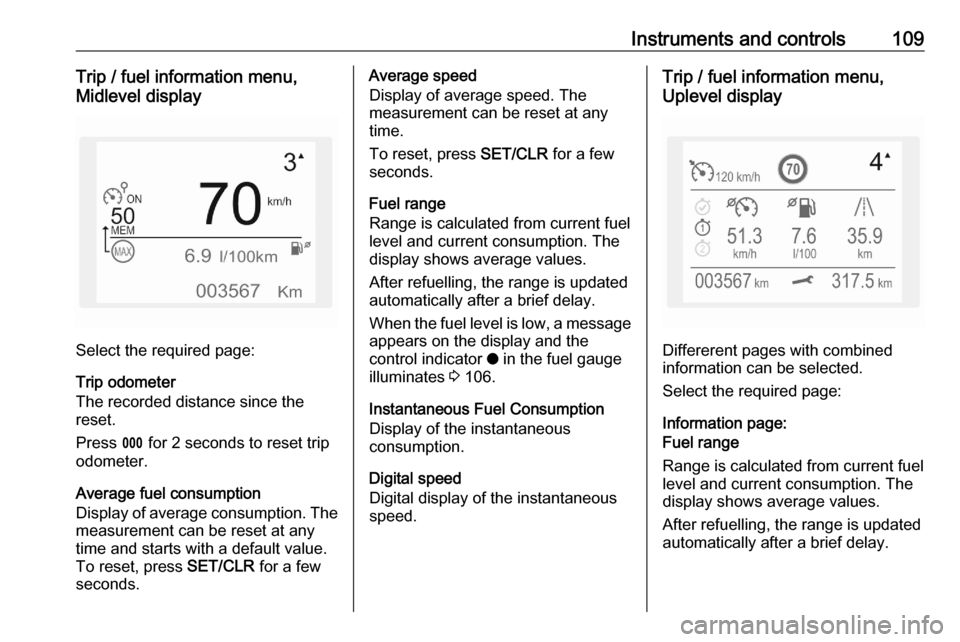
Instruments and controls109Trip / fuel information menu,
Midlevel display
Select the required page:
Trip odometer
The recorded distance since the
reset.
Press L for 2 seconds to reset trip
odometer.
Average fuel consumption
Display of average consumption. The measurement can be reset at any
time and starts with a default value.
To reset, press SET/CLR for a few
seconds.
Average speed
Display of average speed. The
measurement can be reset at any
time.
To reset, press SET/CLR for a few
seconds.
Fuel range
Range is calculated from current fuel
level and current consumption. The
display shows average values.
After refuelling, the range is updated
automatically after a brief delay.
When the fuel level is low, a message
appears on the display and the
control indicator o in the fuel gauge
illuminates 3 106.
Instantaneous Fuel Consumption
Display of the instantaneous
consumption.
Digital speed
Digital display of the instantaneous
speed.Trip / fuel information menu,
Uplevel display
Differerent pages with combined
information can be selected.
Select the required page:
Information page:
Fuel range
Range is calculated from current fuel
level and current consumption. The
display shows average values.
After refuelling, the range is updated
automatically after a brief delay.
Page 112 of 279

110Instruments and controlsWhen the fuel level is low, a message
appears on the display and the
control indicator o in the fuel gauge
illuminates 3 106.
Instantaneous Fuel Consumption
Display of the instantaneous
consumption.
Trip 1 page:
Average speed
Display of average speed. The
measurement can be reset at any
time.
Average fuel consumption
Display of average consumption. The measurement can be reset at any
time and starts with a default value.
Distance travelled
Displays the current distance for trip
1 since the reset.
The values of trip 1 page can be reset
by pressing SET/CLR for a few
seconds.
Trip 2 page:
Average speedDisplay of average speed. The
measurement can be reset at any
time.
Average fuel consumption
Display of average consumption. The measurement can be reset at any
time and starts with a default value.
Distance travelled
Displays the current distance for trip
2 since a certain reset.
The values of trip 2 page can be reset by pressing SET/CLR for a few
seconds.
Digital speed page
Digital display of the instantaneous
speed.
Stop and Start time counter
A time counter calculates the time
spent in STOP mode during a
journey. It resets to zero every time
the ignition is switched on.
Compass page
Displays the geographic direction of
driving.Blank page
No trip/fuel information is displayed.
AdBlue Press CHECK repeatedly until the
AdBlue menu is shown.
AdBlue range
Indicates an estimate of the AdBlue
level. A message indicates whether
the level is sufficient or low.
3 152.
Info Display
The Info Display is located in the instrument panel near the instrument
cluster.
Depending on the vehicle
configuration the vehicle has a
● Graphic Info Display
or
● Colour Info Display with
touchscreen functionality
The Info Displays can indicate: ● time 3 93
● outside temperature 3 92
Page 123 of 279
Lighting121LightingExterior lighting.......................... 121
Light switch .............................. 121
Automatic light control .............122
High beam ............................... 122
High beam assist .....................122
Headlight flash ......................... 123
Headlight range adjustment ....124
Headlights when driving abroad .................................... 124
Daytime running lights .............124
Hazard warning flashers ..........124
Turn lights ................................ 125
Front fog lights ......................... 125
Rear fog light ........................... 125
Parking lights ........................... 126
Reversing lights .......................126
Misted light covers ...................126
Interior lighting ........................... 126
Instrument panel illumination control ..................................... 126
Interior lights ............................ 127
Reading lights .......................... 127
Sunvisor lights ......................... 127
Lighting features ........................128
Centre console lighting ............128Entry lighting ............................ 128
Exit lighting .............................. 128
Vehicle locator lighting ............129
Peripheral lighting ....................129
Battery discharge protection ....129Exterior lighting
Light switch
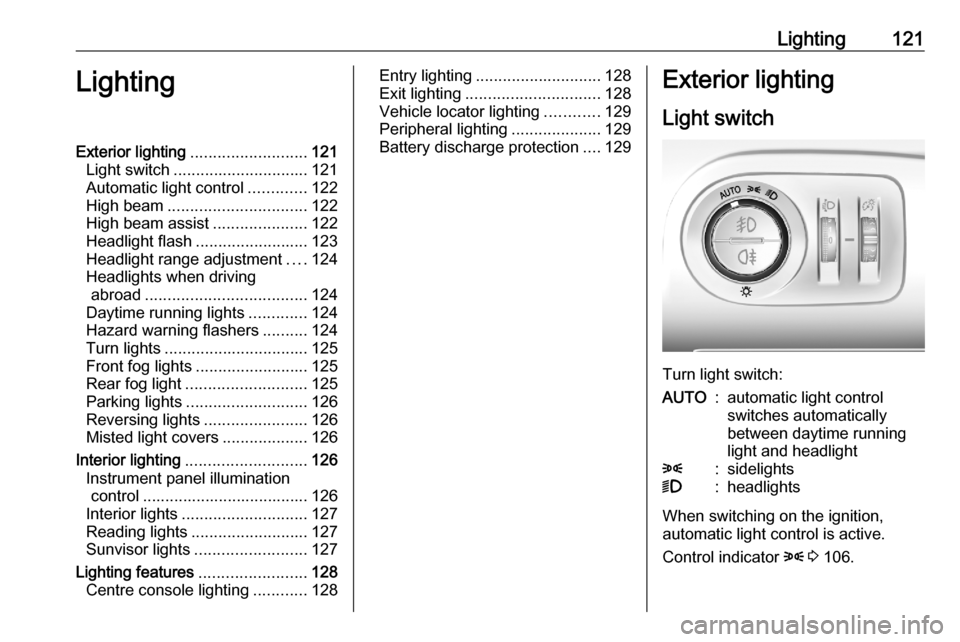
Turn light switch:
AUTO:automatic light control
switches automatically
between daytime running
light and headlight8:sidelights9:headlights
When switching on the ignition,
automatic light control is active.
Control indicator 8 3 106.
Page 125 of 279
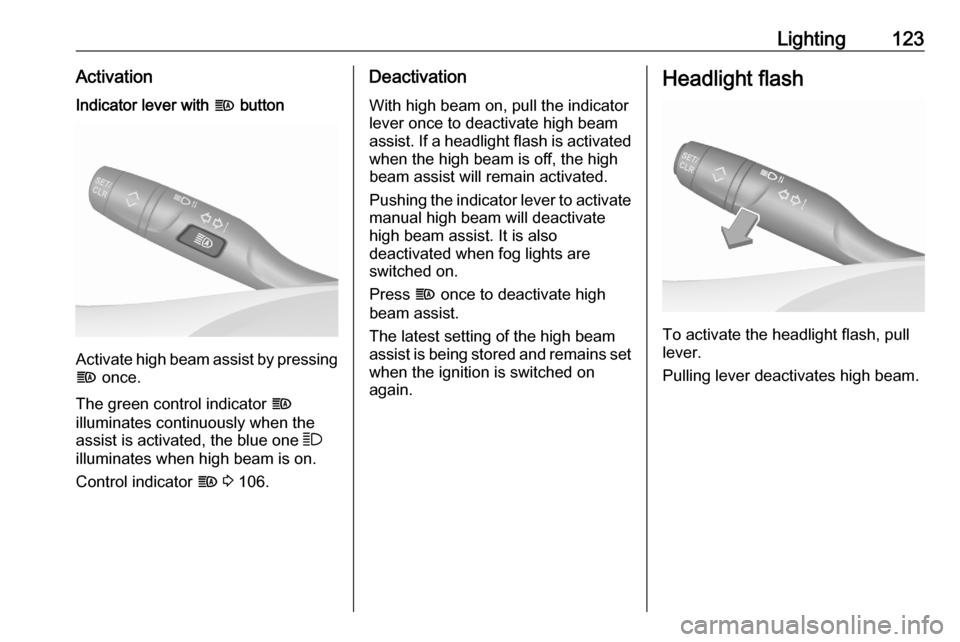
Lighting123ActivationIndicator lever with f button
Activate high beam assist by pressing
f once.
The green control indicator f
illuminates continuously when the
assist is activated, the blue one 7
illuminates when high beam is on.
Control indicator f 3 106.
Deactivation
With high beam on, pull the indicator
lever once to deactivate high beam
assist. If a headlight flash is activated when the high beam is off, the high
beam assist will remain activated.
Pushing the indicator lever to activate
manual high beam will deactivate
high beam assist. It is also
deactivated when fog lights are
switched on.
Press f once to deactivate high
beam assist.
The latest setting of the high beam
assist is being stored and remains set when the ignition is switched on
again.Headlight flash
To activate the headlight flash, pull
lever.
Pulling lever deactivates high beam.
Page 127 of 279
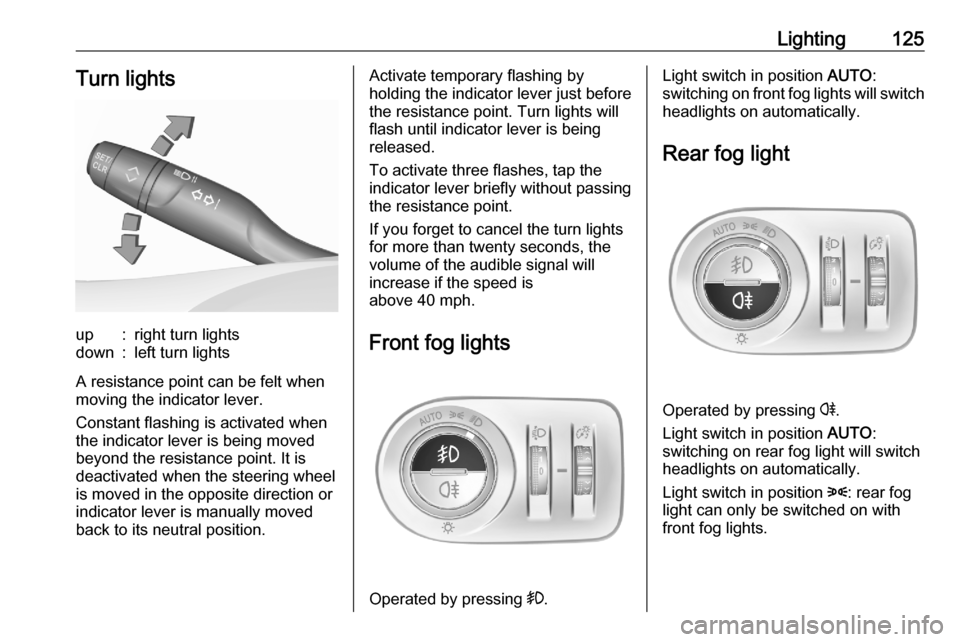
Lighting125Turn lightsup:right turn lightsdown:left turn lights
A resistance point can be felt when
moving the indicator lever.
Constant flashing is activated when
the indicator lever is being moved
beyond the resistance point. It is
deactivated when the steering wheel
is moved in the opposite direction or
indicator lever is manually moved
back to its neutral position.
Activate temporary flashing by
holding the indicator lever just before
the resistance point. Turn lights will
flash until indicator lever is being
released.
To activate three flashes, tap the
indicator lever briefly without passing
the resistance point.
If you forget to cancel the turn lights
for more than twenty seconds, the
volume of the audible signal will
increase if the speed is
above 40 mph.
Front fog lights
Operated by pressing >.
Light switch in position AUTO:
switching on front fog lights will switch headlights on automatically.
Rear fog light
Operated by pressing r.
Light switch in position AUTO:
switching on rear fog light will switch
headlights on automatically.
Light switch in position 8: rear fog
light can only be switched on with
front fog lights.
Page 128 of 279
126LightingThe vehicle rear fog light is
deactivated when towing a trailer or a
plug is connected with the socket,
e.g. when a bicycle carrier is used.
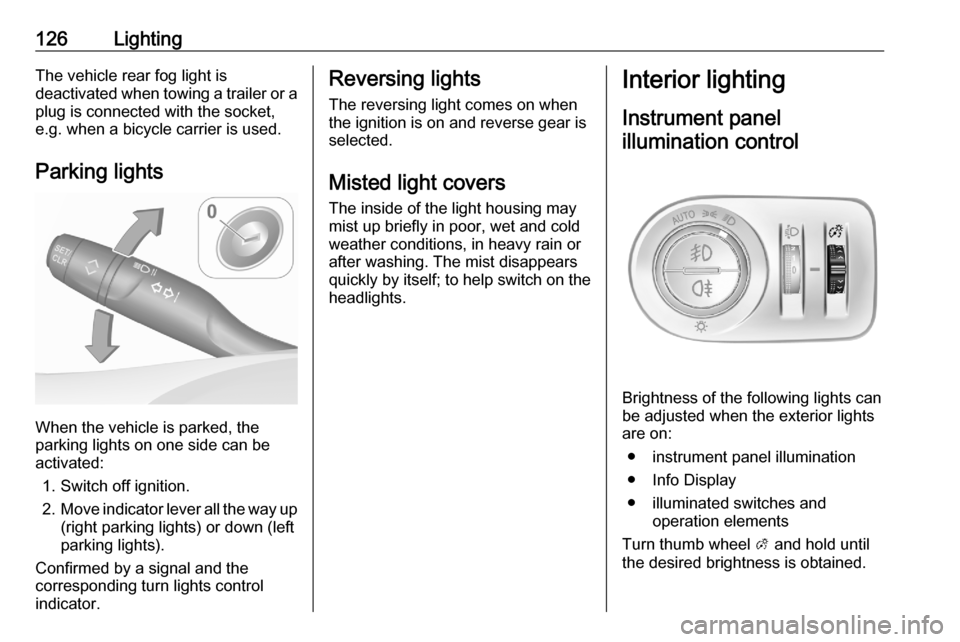
Parking lights
When the vehicle is parked, the
parking lights on one side can be
activated:
1. Switch off ignition.
2. Move indicator lever all the way up
(right parking lights) or down (left
parking lights).
Confirmed by a signal and the
corresponding turn lights control
indicator.
Reversing lights
The reversing light comes on when
the ignition is on and reverse gear is
selected.
Misted light covers
The inside of the light housing may
mist up briefly in poor, wet and cold weather conditions, in heavy rain or
after washing. The mist disappears
quickly by itself; to help switch on the
headlights.Interior lighting
Instrument panel illumination control
Brightness of the following lights can
be adjusted when the exterior lights
are on:
● instrument panel illumination
● Info Display
● illuminated switches and operation elements
Turn thumb wheel A and hold until
the desired brightness is obtained.
Page 130 of 279
128LightingLighting featuresCentre console lighting A spotlight integrated in the overheadconsole illuminates the centre
console when headlights are
switched off.
The intensity can be adjusted in the
vehicle personalisation 3 115.
Entry lighting
Welcome lighting
Some or all of the following lights are
switched on for a short time by
unlocking the vehicle with the radio
remote control:
● headlights
● tail lights
● interior lights
The number of activated lights
depends on the surrounding light
conditions.
The lighting switches off immediately
when the ignition is switched on.
Starting off 3 17.This function can be activated or
deactivated in the vehicle
personalisation 3 115.
The following lights will additionally
switch on when the driver's door is
opened:
● illumination of some switches
● Driver Information Centre
Exit lighting The following lights are switched on if
the key is removed from the ignition
switch:
● interior lights
● instrument panel light
They will switch off automatically after
a delay. This function works only in
the dark.
Path lighting
Headlights, tail lights and number
plate lights illuminate the surrounding
area for an adjustable time after
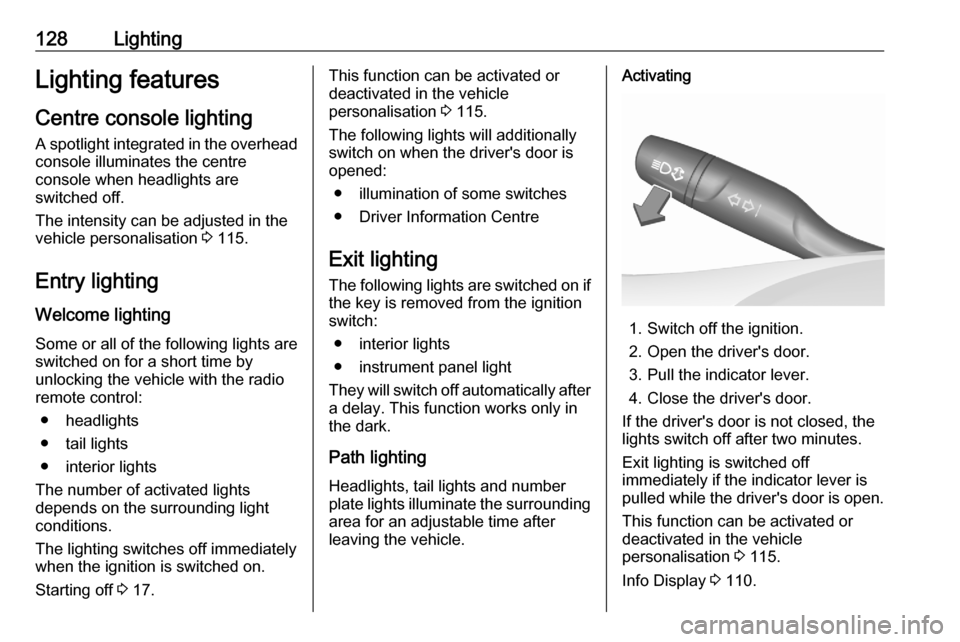
leaving the vehicle.Activating
1. Switch off the ignition.
2. Open the driver's door.
3. Pull the indicator lever.
4. Close the driver's door.
If the driver's door is not closed, the
lights switch off after two minutes.
Exit lighting is switched off
immediately if the indicator lever is
pulled while the driver's door is open.
This function can be activated or
deactivated in the vehicle
personalisation 3 115.
Info Display 3 110.
Page 140 of 279
138Climate controlDeactivation of electronic climatecontrol system
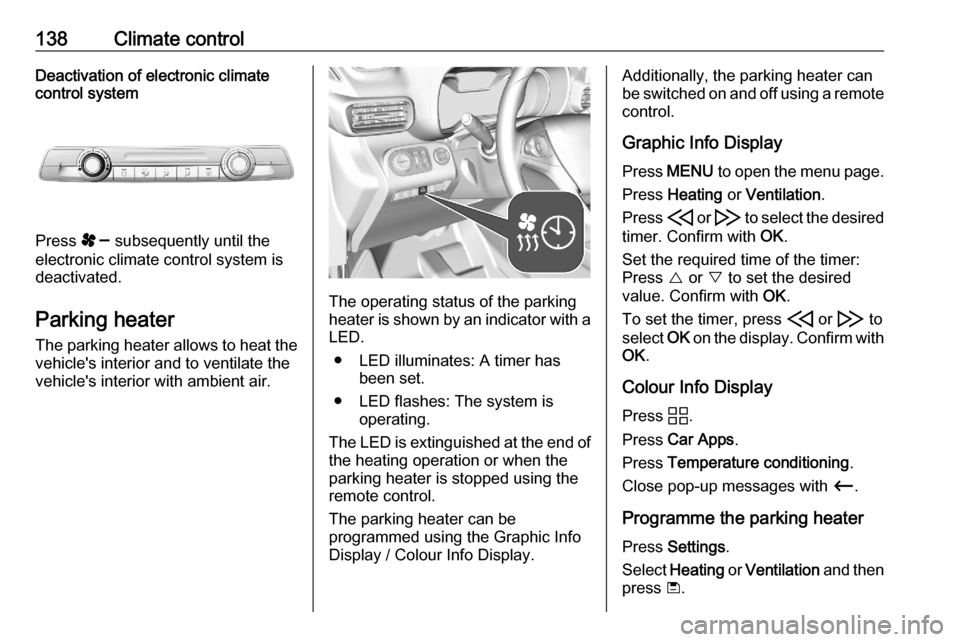
Press s subsequently until the
electronic climate control system is
deactivated.
Parking heater
The parking heater allows to heat the vehicle's interior and to ventilate the
vehicle's interior with ambient air.
The operating status of the parking
heater is shown by an indicator with a LED.
● LED illuminates: A timer has been set.
● LED flashes: The system is operating.
The LED is extinguished at the end of
the heating operation or when the
parking heater is stopped using the
remote control.
The parking heater can be
programmed using the Graphic Info
Display / Colour Info Display.
Additionally, the parking heater can
be switched on and off using a remote control.
Graphic Info Display
Press MENU to open the menu page.
Press Heating or Ventilation .
Press H or I to select the desired
timer. Confirm with OK.
Set the required time of the timer:
Press { or } to set the desired
value. Confirm with OK.
To set the timer, press H or I to
select OK on the display. Confirm with
OK .
Colour Info Display Press d.
Press Car Apps .
Press Temperature conditioning .
Close pop-up messages with Ù.
Programme the parking heater
Press Settings .
Select Heating or Ventilation and then
press ü.