Call VAUXHALL CORSA 2014.5 Owner's Guide
[x] Cancel search | Manufacturer: VAUXHALL, Model Year: 2014.5, Model line: CORSA, Model: VAUXHALL CORSA 2014.5Pages: 231, PDF Size: 6.8 MB
Page 90 of 231

88Instruments and controls
Setting date and time
Select menu item Time, Date from the
Settings menu.
Select the required menu items and
make settings.
Changing the time setting will also
change the time setting of the
navigation system.
Automatic time synchronisation
The RDS signal of most VHF
transmitters automatically sets the time.
Some transmitters do not send a
correct time signal. In such cases, we recommend to switch off automatic
time synchronisation.
The function is activated by
highlighting the field in front of
Synchron. clock automatical. in the
Time, Date menu.
Language selection
The display language for some
functions can be selected.
Select menu item Language from the
Settings menu.
Select the desired language.
Selection is indicated by a 6 in front
of the menu item.
When the language setting of the
display is changed, the system will
ask whether the announcement
language of the Mobile Phone Portal
should also be changed - see
Infotainment system manual.
Page 93 of 231

Instruments and controls91
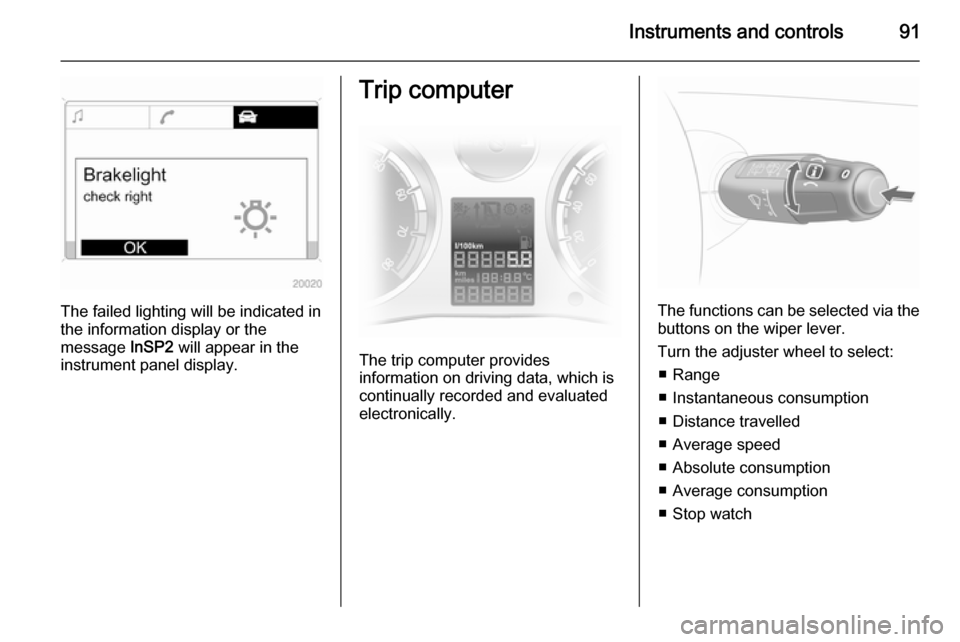
The failed lighting will be indicated in
the information display or the
message InSP2 will appear in the
instrument panel display.
Trip computer
The trip computer provides
information on driving data, which is
continually recorded and evaluated electronically.
The functions can be selected via the
buttons on the wiper lever.
Turn the adjuster wheel to select: ■ Range
■ Instantaneous consumption
■ Distance travelled
■ Average speed
■ Absolute consumption
■ Average consumption
■ Stop watch
Page 94 of 231

92Instruments and controls
Range
Range is calculated from current fuel
tank content and current
consumption. The display shows
average values.
After refuelling, the range is updated
automatically after a brief delay.
When the fuel level in the tank is low,
a message appears on the display.
Confirm the warning message by
pressing 7 on the wiper lever.
Instantaneous consumption Display of the instantaneous
consumption. At low speeds,
consumption per hour is displayed.
Distance travelled Display of distance travelled.
Average speed
Display of average speed. The
measurement can be reset at any
time.
Absolute consumption Display of fuel consumed.Average consumption
Display of average consumption. The
measurement can be reset at any
time.
Stop watch
Measurement of the time from
activation to deactivation.
Press the 7 button to start and stop
the measurement.
Reset trip computer
The measurement or calculation of
the following trip computer
information can be restarted:
■ Distance,
■ Average speed,
■ Absolute consumption,
■ Average consumption.
Select the desired function. To reset
a value to zero, hold down the button
7 for more than three seconds.
To reset all functions, hold down the button 7 for more than 6 seconds.Trip computer in Graphic-
Info-Display or Colour-
Info-Display
The main page of the trip computer
provides information on range,
current consumption and average
consumption of BC 1.
To display other trip computer data, press the BC button on the
Infotainment system, select the trip
computer menu from the display or
press the left adjuster wheel on the
steering wheel.
Select BC 1 or BC 2 from the trip
computer menu.
Page 95 of 231

Instruments and controls93
Range
Range is calculated from current fuel
tank content and current
consumption. The display shows
average values.
After refuelling, the range is updated
automatically after a brief delay.
When the fuel level in the tank is low,
the message Range appears in the
display.
When the fuel tank is nearly empty,
the message Please refuel! appears
in the display.
Instantaneous consumption
Displays the instantaneous
consumption. At low speeds,
consumption per hour is displayed.Distance
Display of distance travelled. The
measurement can be reset at any
time.
Average speed
Display of average speed. The
measurement can be reset at any
time.
Stoppages in the journey with the ignition off are not included in the
calculations.
Page 97 of 231

Instruments and controls95Stop watch
Select menu item Stop Watch from
the Board Computer menu.
To start, select menu item Start. To
stop, select menu item Stop.
To reset, select menu item Reset.
The relevant stop watch display can
be selected in the Options menu:
Driving Time excl. Stops
The time the vehicle is in motion is
recorded. Stationary time is not
included.
Driving Time incl. Stops
The time the vehicle is in motion is
recorded. The time the vehicle is
stationary with the ignition switched
on is included.
Travel Time Measurement of the time from
manual activation via Start to manual
deactivation via Reset.Vehicle personalisation
The vehicle-specific functions P1 to
P7 can be activated and deactivated.
The setting selected is automatically
stored depending on the vehicle key
used.
Different settings are stored for each
vehicle key. Use of a specific vehicle
key will activate the settings
associated with it.
A total of up to five vehicle keys can
be programmed separately.
Programming permits the technical
prerequisite of the relevant function.
To activate and deactivate the
functions and set the functions,
please see the relevant sections.
Programming ■ Turn the ignition off, the key must be in the ignition switch.
Page 100 of 231

98LightingLightingExterior lighting............................ 98
Interior lighting ........................... 103
Lighting features ........................105Exterior lighting
Light switch
Turn light switch:
AUTO=Automatic light control:
Exterior lighting is
switched on and off
automatically depending
on external lighting
conditions.m=Activation or deactivation
of the automatic light
control. Switch turns back
to AUTO8=sidelights9=low beam
When switching on the ignition,
automatic light control is active.
Control indicator 8 3 85.
Tail lights
Tail lights are illuminated together
with low beam and sidelights.
Automatic light control
Page 103 of 231

Lighting101Hazard warning flashers
Operated with the ¨ button.
The hazard warning flashers activate
automatically if the airbags deploy.
Turn and lane-change
signalsLever up=right turn signalLever down=left turn signal
The lever always springs back to its
original position.
If the lever is moved past the
resistance point, the turn signal is
switched on constantly. When the
steering wheel moves back, the turn
signal is automatically deactivated.
For three flashes, e.g. when changing lanes, press the lever until resistance
is felt and then release. This function
can be activated or deactivated
depending on the key used 3 95.
Move the lever to the resistance point
and hold for longer indication.
Switch the turn signal off manually by moving the lever slightly.
Acoustic turn signal The volume of the acoustic turn signal
can be adjusted. This function can be programmed depending on the key
used 3 95.
Page 104 of 231

102LightingFront fog lights
Operated with the > button.
Light switch in position AUTO:
switching on front fog lights will switch the low beam on automatically.
Rear fog lights
Operated with the r button.
Light switch in position AUTO:
switching on front fog lights will switch the low beam on automatically.
The rear fog light can only be
switched on when both the ignition and the low beam or sidelights (with
front fog lights) are on.
The vehicle rear fog light is
deactivated when towing.
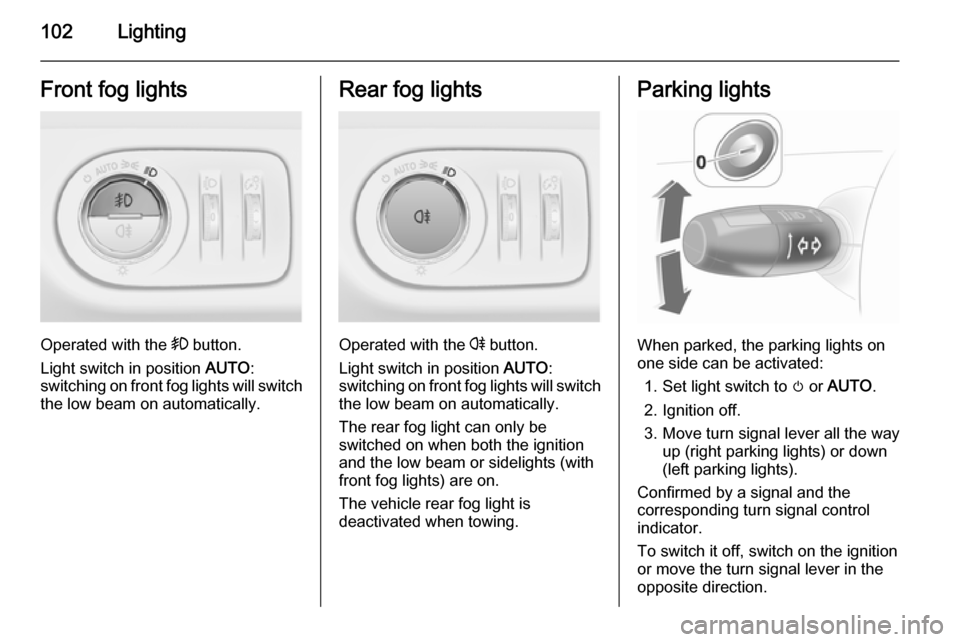
Parking lights
When parked, the parking lights on
one side can be activated:
1. Set light switch to m or AUTO .
2. Ignition off.
3. Move turn signal lever all the way up (right parking lights) or down
(left parking lights).
Confirmed by a signal and the
corresponding turn signal control
indicator.
To switch it off, switch on the ignition
or move the turn signal lever in the
opposite direction.
Page 105 of 231

Lighting103Reversing lightsThe reversing lights come on when
the ignition is on and reverse gear is
selected.
Misted light covers The inside of the light covers may mistup briefly in poor, wet and cold
weather conditions, in heavy rain or
after washing. The mist disappears
quickly by itself; to help, switch on the
exterior lights.Interior lighting
Instrument panel
illumination control
Brightness of the following lights can
be adjusted when the exterior lights
are on:
■ Instrument panel illumination
■ Info-Display
■ Illuminated switches and operation elements
Turn thumb wheel A until the required
brightness is obtained.
Interior lights
During entry and exit of the vehicle,
the front and centre courtesy lights
automatically come on and then
switch off after a delay.
Front courtesy light
Centre switch position: automatic
interior light.
To operate manually when the doors are closed:
On=Switch position IOff=Switch position 0
Page 107 of 231

Lighting105Lighting featuresCentre console lighting
Spotlight in interior mirror housing.
Daylight-dependent, automatically
regulated centre console lighting.
Entry lighting
After unlocking the vehicle, the
instrument panel lighting, the front
and rear foot well lighting and the
information display come on for a few
seconds.
Starting off 3 16.
Peripheral lighting
The exterior lights come on for
approx. 30 seconds.
To activate, press button q on the
radio remote control twice when the
vehicle is locked.
Country-specific application: To
switch on the function, press button
q on the radio remote control once
when the vehicle is locked.Switching on the ignition or pressing button p on the radio remote control
will deactivate the function.
This function can be activated and
deactivated depending on the key
being used. Vehicle personalisation
3 95.
Exit lighting The exterior lights illuminate for
approx. 30 seconds after the system
is activated and the driver's door is
closed.
Activating1. Switch off ignition.
2. Remove ignition key.
3. Open driver's door.
4. Pull turn signal lever.
5. Close driver's door.
If the driver's door is not closed the
lights switch off after two minutes.
The lighting is switched off
immediately if inserting the key into
the ignition switch or pulling the turn
signal lever while the driver's door is
open.
Battery discharge
protection
To prevent the battery from becoming discharged, all the interior lighting is
switched off automatically after
5 minutes, when the ignition is
switched off.