stop start VAUXHALL GRANDLAND X 2018.5 Owner's Manual
[x] Cancel search | Manufacturer: VAUXHALL, Model Year: 2018.5, Model line: GRANDLAND X, Model: VAUXHALL GRANDLAND X 2018.5Pages: 271, PDF Size: 7.61 MB
Page 13 of 271

In brief111Power windows .....................39
2 Exterior mirrors .....................37
3 Side air vents ...................... 131
4 Turn and lane-change
signals, headlight flash,
low/high beam, high beam
assist ................................... 118
Exit lighting ......................... 122
Parking lights ...................... 119
Buttons for Driver
Information Centre ..............100
5 Cruise control .....................157
Speed limiter ....................... 160
Heated steering wheel ..........79
6 Instruments .......................... 89
Driver Information Centre .... 100
7 Buttons for Driver
Information Centre ..............100
8 Windscreen wiper and
washer, rear wiper and
washer ................................. 80
9 Power button ....................... 135
10 Centre air vents .................. 13111Hazard warning flashers ....118
12 Info-Display ........................ 102
13 Anti-theft alarm system
status LED ........................... 34
14 Central locking system ..........23
15 Glovebox .............................. 68
16 Controls for Info-Display
operation ............................. 102
17 Climate control system ........ 124
18 USB charging port ................ 84
19 Power outlet .......................... 84
20 Parking assist/Advanced
parking assist .....................174
Lane departure warning .....188
Eco button for stop-start
system ................................. 139
Electronic Stability Control and Traction Control ...........154
Sport mode ......................... 156
21 Manual transmission ..........150
Automatic transmission ......147
22 Electric parking brake .........151
23 Selective ride control ..........15524Ignition switch .....................134
25 Steering wheel adjustment ..79
26 Horn ..................................... 80
27 Storage ................................. 68
28 Bonnet release lever ..........203
29 Light switch ........................ 113
Headlight range
adjustment ......................... 115
Front/rear fog lights ............119
Instrument illumination .......120
Page 20 of 271
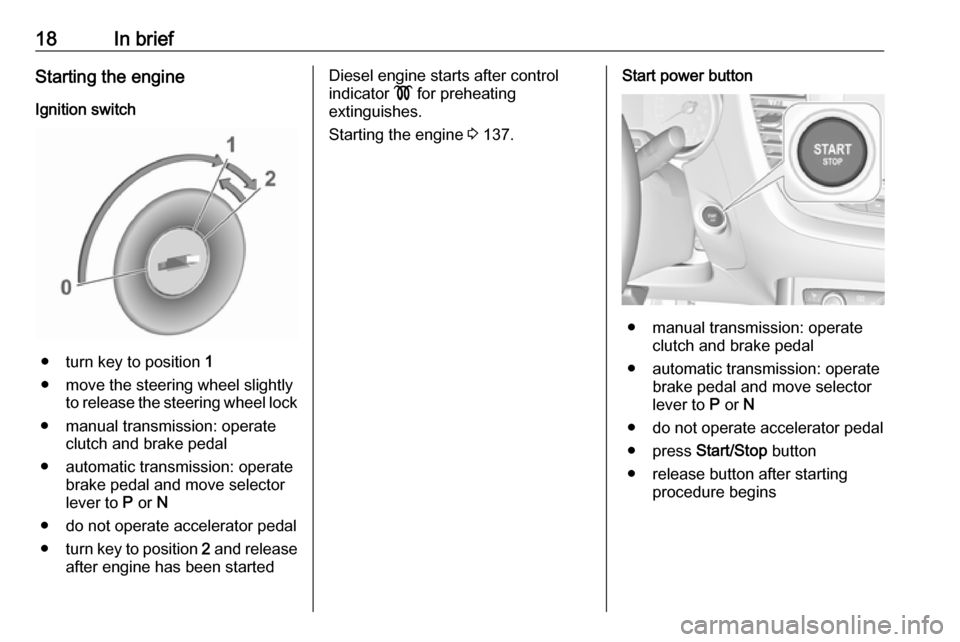
18In briefStarting the engineIgnition switch
● turn key to position 1
● move the steering wheel slightly to release the steering wheel lock
● manual transmission: operate clutch and brake pedal
● automatic transmission: operate brake pedal and move selectorlever to P or N
● do not operate accelerator pedal ● turn key to position 2 and release
after engine has been started
Diesel engine starts after control
indicator ! for preheating
extinguishes.
Starting the engine 3 137.Start power button
● manual transmission: operate
clutch and brake pedal
● automatic transmission: operate brake pedal and move selectorlever to P or N
● do not operate accelerator pedal
● press Start/Stop button
● release button after starting procedure begins
Page 21 of 271
In brief19Stop-start system
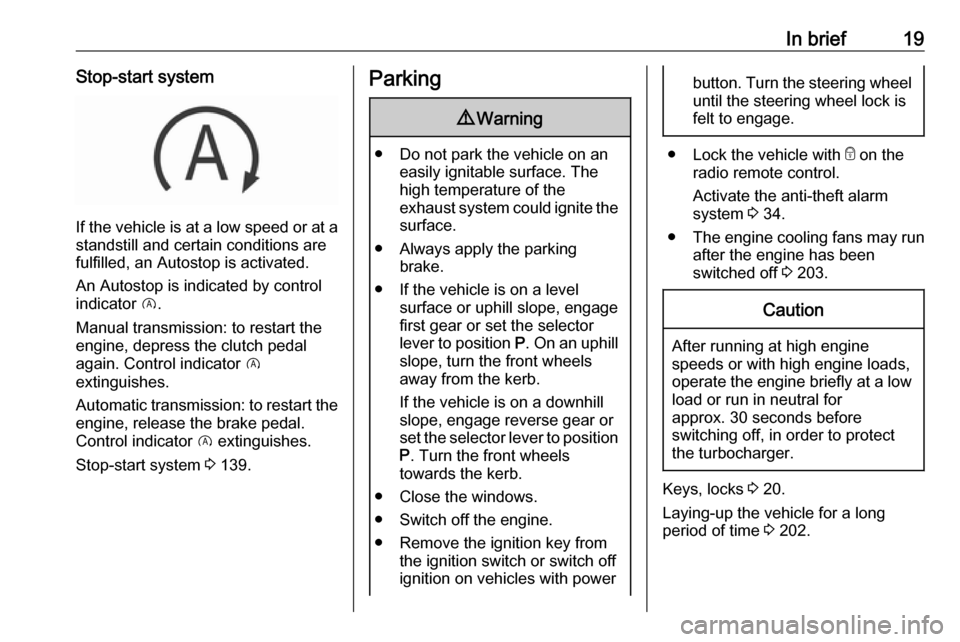
If the vehicle is at a low speed or at astandstill and certain conditions are
fulfilled, an Autostop is activated.
An Autostop is indicated by control
indicator D.
Manual transmission: to restart the
engine, depress the clutch pedal
again. Control indicator D
extinguishes.
Automatic transmission: to restart the
engine, release the brake pedal.
Control indicator D extinguishes.
Stop-start system 3 139.
Parking9 Warning
● Do not park the vehicle on an
easily ignitable surface. The
high temperature of the
exhaust system could ignite the
surface.
● Always apply the parking brake.
● If the vehicle is on a level surface or uphill slope, engage
first gear or set the selector
lever to position P. On an uphill
slope, turn the front wheels
away from the kerb.
If the vehicle is on a downhill
slope, engage reverse gear or
set the selector lever to position
P . Turn the front wheels
towards the kerb.
● Close the windows.
● Switch off the engine.
● Remove the ignition key from the ignition switch or switch off
ignition on vehicles with power
button. Turn the steering wheel until the steering wheel lock is
felt to engage.
● Lock the vehicle with e on the
radio remote control.
Activate the anti-theft alarm
system 3 34.
● The engine cooling fans may run
after the engine has been
switched off 3 203.
Caution
After running at high engine
speeds or with high engine loads,
operate the engine briefly at a low load or run in neutral for
approx. 30 seconds before
switching off, in order to protect
the turbocharger.
Keys, locks 3 20.
Laying-up the vehicle for a long
period of time 3 202.
Page 34 of 271

32Keys, doors and windows
To close, press T in the open
tailgate until the tailgate starts to
move.
Stop or change direction of
movement
Stop movement of the tailgate immediately:
● press P longer on the
electronic key, or
● press the tailgate button, or
● press T on the open tailgate
Pressing one of the switches again
will reverse the direction of
movement.
Adjust reduced opening height
1. Open power tailgate with any operation switch.
2. Stop movement at the desired height by pressing T. If
required, manually move the
stopped tailgate to the desired
position.
3. Press and hold the button T on
the inside of the open tailgate for
three seconds.
Notice
Adjusting opening height should be
programmed at ground level.
A chime sound indicates the new
setting and the turn signal lights will
flash. The reduced height can only set
at an opening angle of above 30°.
To delete reduced height position,
open tailgate in half position and
press T for 3 s.
The tailgate can only be held open if a minimum height is exceeded
(minimum opening angle from 30°).
The opening height cannot be
programmed below that height.
Safety function
If the power tailgate encounters an
obstacle during opening or closing,
the direction of movement will
automatically be reversed slightly.
Multiple obstacles in one power cycle will deactivate the function. In this
case, close or open the tailgate
manually.
The power tailgate has pinch sensors
on the side edges. If the sensors
detect obstacles between tailgate and chassis, the tailgate will open, until it
is activated again or closed manually.
The safety function is indicated by a
warning chime.
Page 52 of 271
50Seats, restraintsobstruction, press and hold the
appropriate memory position button
for two seconds. Try recalling the
memory position again. If the recall
does not operate, consult a
workshop.
Overload
If the seat setting is electrically
overloaded, the power supply is
automatically cut-off for a short time.
Notice
After an accident in which airbags have been deployed, the memory
function for each position button will
be deactivated.Armrest
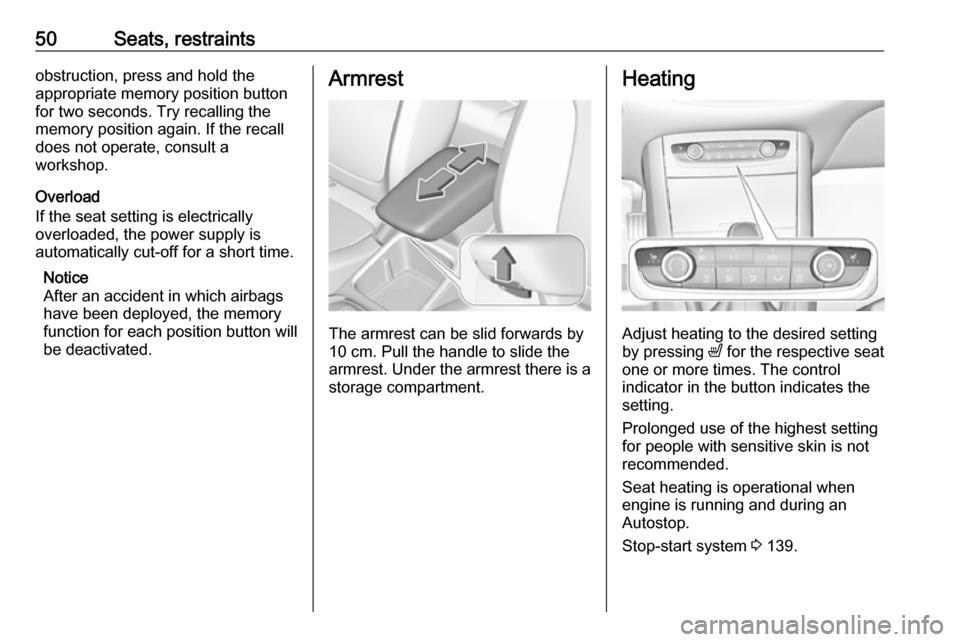
The armrest can be slid forwards by
10 cm. Pull the handle to slide the
armrest. Under the armrest there is a storage compartment.
Heating
Adjust heating to the desired setting
by pressing ß for the respective seat
one or more times. The control
indicator in the button indicates the
setting.
Prolonged use of the highest setting
for people with sensitive skin is not
recommended.
Seat heating is operational when
engine is running and during an
Autostop.
Stop-start system 3 139.
Page 53 of 271
Seats, restraints51Ventilating
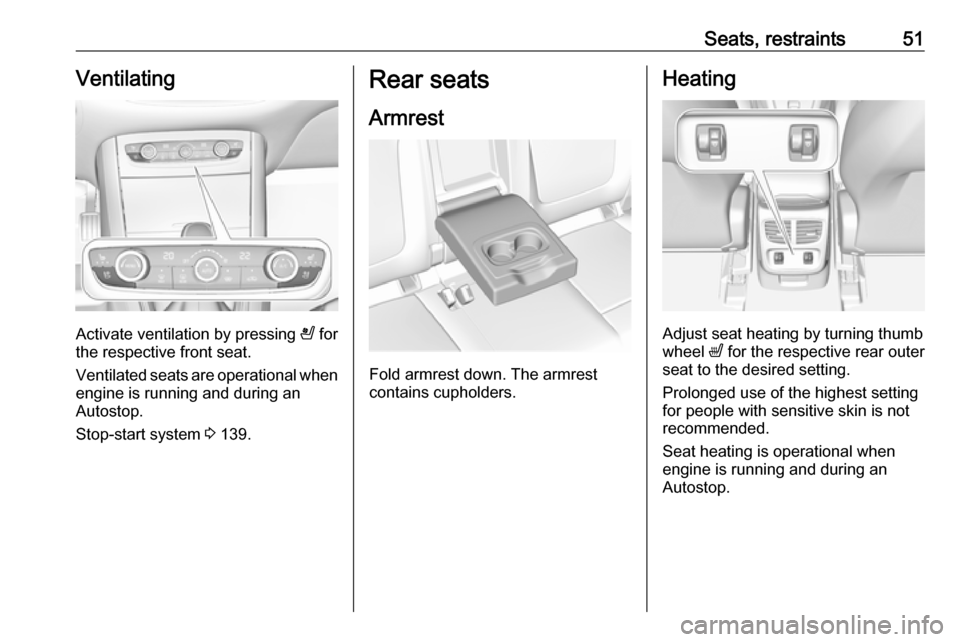
Activate ventilation by pressing A for
the respective front seat.
Ventilated seats are operational when
engine is running and during an
Autostop.
Stop-start system 3 139.
Rear seats
Armrest
Fold armrest down. The armrest
contains cupholders.
Heating
Adjust seat heating by turning thumb
wheel ß for the respective rear outer
seat to the desired setting.
Prolonged use of the highest setting
for people with sensitive skin is not
recommended.
Seat heating is operational when engine is running and during an
Autostop.
Page 82 of 271
80Instruments and controlsThe recommended grip areas of the
steering wheel are heated quicker
and to a higher temperature than the
other areas.
Heating is operational when the
engine is running and during an
Autostop.
Stop-start system 3 139.
Horn
Press j.
Windscreen wiper and
washer
Windscreen wiper with adjustable
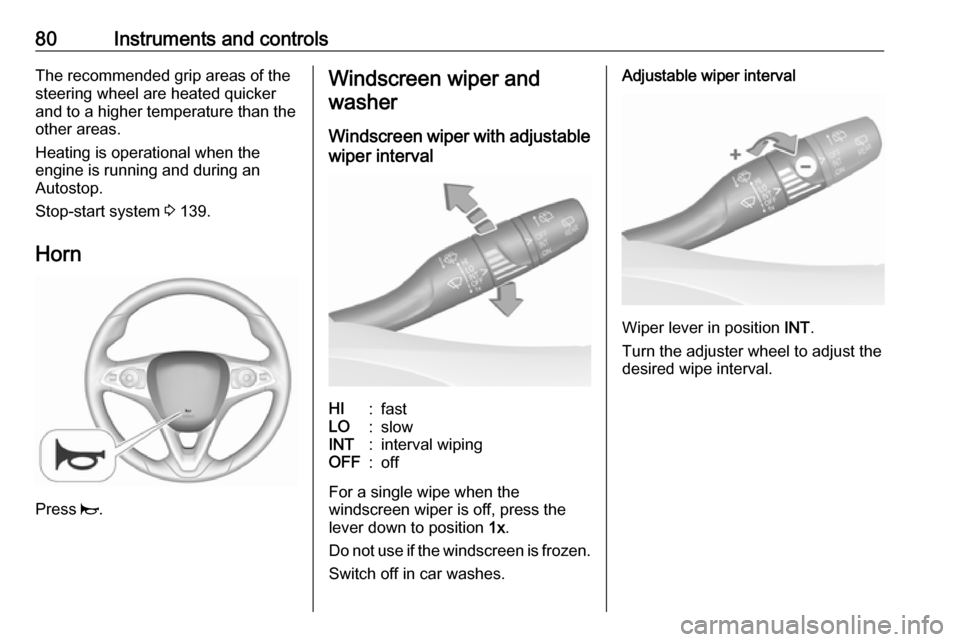
wiper intervalHI:fastLO:slowINT:interval wipingOFF:off
For a single wipe when the
windscreen wiper is off, press the
lever down to position 1x.
Do not use if the windscreen is frozen.
Switch off in car washes.
Adjustable wiper interval
Wiper lever in position INT.
Turn the adjuster wheel to adjust the
desired wipe interval.
Page 87 of 271
Instruments and controls85
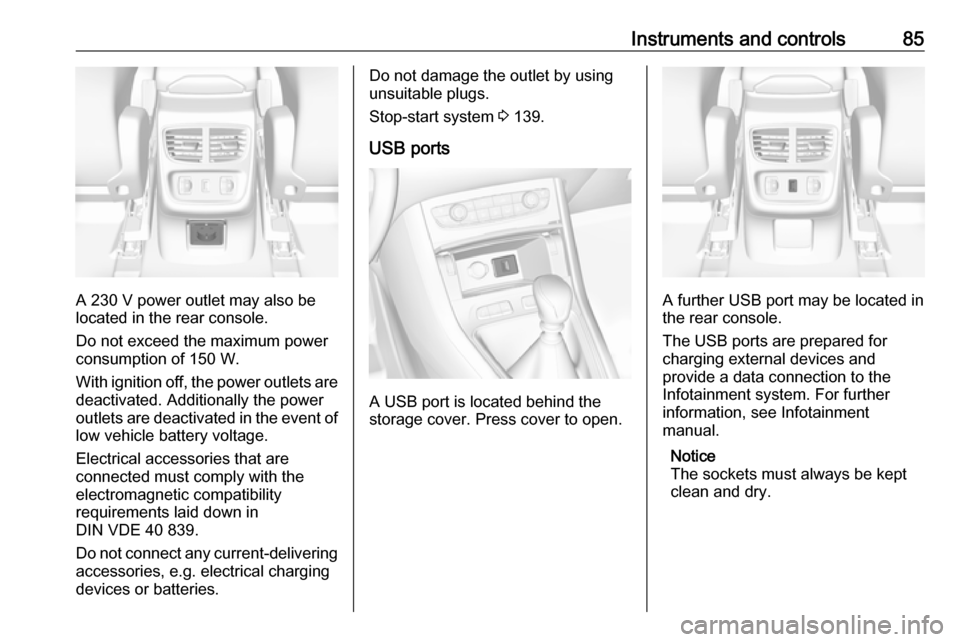
A 230 V power outlet may also be
located in the rear console.
Do not exceed the maximum power
consumption of 150 W.
With ignition off, the power outlets are
deactivated. Additionally the power
outlets are deactivated in the event of
low vehicle battery voltage.
Electrical accessories that are
connected must comply with the
electromagnetic compatibility
requirements laid down in
DIN VDE 40 839.
Do not connect any current-delivering
accessories, e.g. electrical charging
devices or batteries.
Do not damage the outlet by using
unsuitable plugs.
Stop-start system 3 139.
USB ports
A USB port is located behind the
storage cover. Press cover to open.
A further USB port may be located in the rear console.
The USB ports are prepared for
charging external devices and
provide a data connection to the
Infotainment system. For further
information, see Infotainment
manual.
Notice
The sockets must always be kept
clean and dry.
Page 96 of 271
94Instruments and controlsrespective seat has been
fastened or if any passenger has
unfastened the seat belt.
Airbag and belt tensioners
v illuminates red.
When the ignition is switched on, the control indicator illuminates for
approx. four seconds. If it does not illuminate, does not extinguish after
four seconds or illuminates whilst
driving, there is a fault in the airbag
system. Seek the assistance of a
workshop. The airbags and belt
pretensioners may fail to trigger in the event of an accident.
Deployment of the belt pretensioners
or airbags is indicated by continuous
illumination of v.9 Warning
Have the cause of the fault
remedied immediately by a
workshop.
Belt pretensioners 3 52.
Airbag system 3 55.
Airbag deactivation
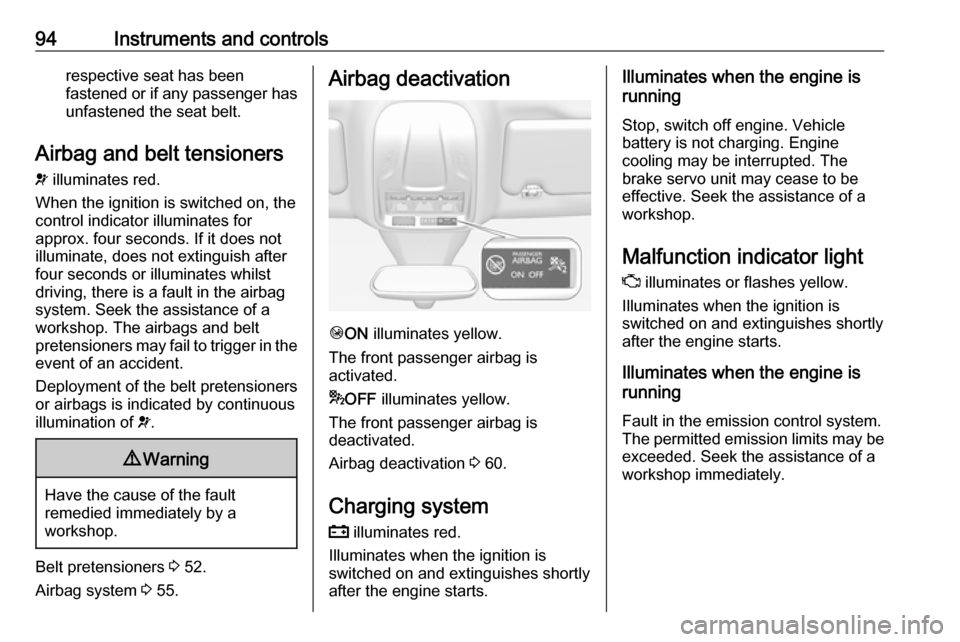
Ó ON illuminates yellow.
The front passenger airbag is
activated.
* OFF illuminates yellow.
The front passenger airbag is
deactivated.
Airbag deactivation 3 60.
Charging system
p illuminates red.
Illuminates when the ignition is
switched on and extinguishes shortly
after the engine starts.
Illuminates when the engine is
running
Stop, switch off engine. Vehicle
battery is not charging. Engine
cooling may be interrupted. The
brake servo unit may cease to be
effective. Seek the assistance of a
workshop.
Malfunction indicator light
Z illuminates or flashes yellow.
Illuminates when the ignition is
switched on and extinguishes shortly
after the engine starts.
Illuminates when the engine is
running
Fault in the emission control system.The permitted emission limits may be
exceeded. Seek the assistance of a
workshop immediately.
Page 99 of 271

Instruments and controls97Illuminates when the engine is
running
Stop, switch off engine.Caution
Coolant temperature too high.
Check coolant level immediately
3 205.
If there is sufficient coolant, consult a workshop.
Preheating
! illuminates yellow.
Preheating of diesel engine is
activated. Only activates when
outside temperature is low. Start the
engine when control indicator
extinguishes.
Diesel particle filter % or H illuminates yellow.
The diesel particle filter requires
cleaning.
Continue driving until the control
indicator extinguishes.
Illuminates temporarily Start of saturation of the particle filter.
Start cleaning process as soon as possible by driving at a vehicle speed
of at least 40 mph.
Illuminates constantlyIndication of a low additive level. Seek
the assistance of a workshop.
Diesel particle filter 3 142.
AdBlue Y flashes or illuminates yellow.
Illuminates yellow
The remaining driving range is
between 370 miles and 1500 miles.
Have the AdBlue® topped-up as soon as possible by a qualified workshop.
You can add up to 10 l of AdBlue to its tank.Flashes yellow
The remaining driving range is
between 0 miles and 370 miles.
Top-up the AdBlue as soon as
possible to avoid a breakdown by a
qualified workshop. You can add up
to 10 l of AdBlue to its tank.
Deflation detection system
w illuminates or flashes yellow.
Illuminates Tyre pressure loss in one or morewheels. Stop immediately and check
tyre pressure.
Flashes
Fault in system. Consult a workshop.
Deflation detection system 3 221.
Engine oil pressure
I illuminates red.
Illuminates when the ignition is
switched on and extinguishes shortly
after the engine starts.