inflation pressure VAUXHALL INSIGNIA 2019.5 Owner's Manual
[x] Cancel search | Manufacturer: VAUXHALL, Model Year: 2019.5, Model line: INSIGNIA, Model: VAUXHALL INSIGNIA 2019.5Pages: 321, PDF Size: 9.37 MB
Page 119 of 321

Instruments and controls117Speed limit can only be set when
speed warning is enabled. Once the
speed is set, this feature can be
turned off by pressing Å while
viewing this page. If the selected
speed limit is exceeded, a pop-up
warning is displayed with a chime.
Tyre Load
The tyre pressure category according
to the actual tyre inflation pressure
can be selected 3 261.
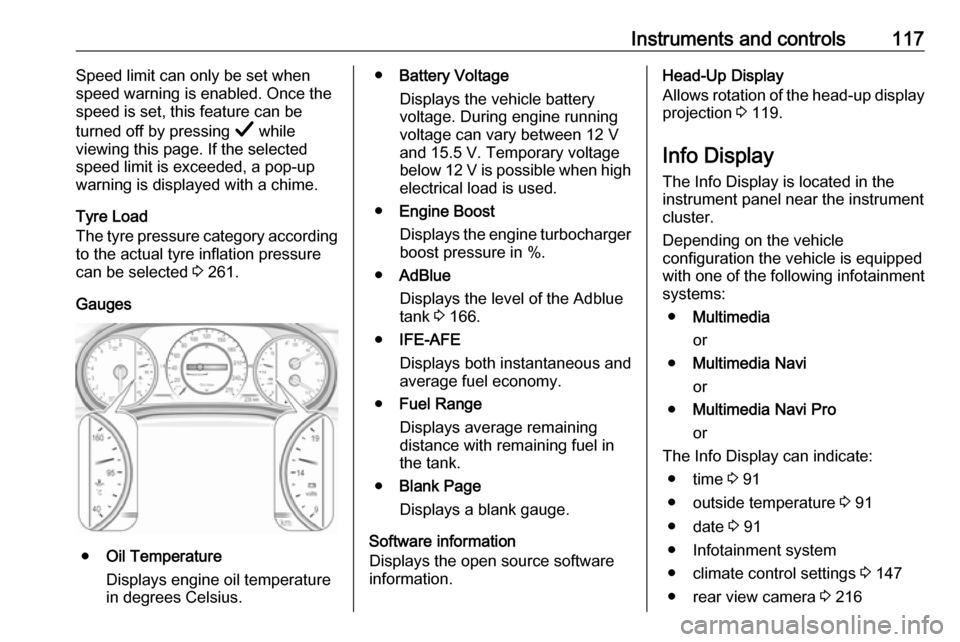
Gauges
● Oil Temperature
Displays engine oil temperature
in degrees Celsius.
● Battery Voltage
Displays the vehicle battery
voltage. During engine running
voltage can vary between 12 V
and 15.5 V. Temporary voltage
below 12 V is possible when high
electrical load is used.
● Engine Boost
Displays the engine turbocharger
boost pressure in %.
● AdBlue
Displays the level of the Adblue
tank 3 166.
● IFE-AFE
Displays both instantaneous and
average fuel economy.
● Fuel Range
Displays average remaining
distance with remaining fuel in
the tank.
● Blank Page
Displays a blank gauge.
Software information
Displays the open source software
information.Head-Up Display
Allows rotation of the head-up display projection 3 119.
Info Display The Info Display is located in theinstrument panel near the instrument
cluster.
Depending on the vehicle
configuration the vehicle is equipped
with one of the following infotainment
systems:
● Multimedia
or
● Multimedia Navi
or
● Multimedia Navi Pro
or
The Info Display can indicate: ● time 3 91
● outside temperature 3 91
● date 3 91
● Infotainment system
● climate control settings 3 147
● rear view camera 3 216
Page 271 of 321

Vehicle care269release valve (turn anticlockwise)
at the air filler hose.
12. Detach the tyre repair kit. Type 1: push catch on bracket to
remove sealant bottle from
bracket. Screw tyre inflation hose
to the free connection of sealant
bottle. This prevents sealant from
escaping.
Type 2: Sealant bottle can not be
removed from the compressor.
Have the sealant bottle replaced
by your workshop.
13. Stow tyre repair kit in the load compartment.
14. Remove any excess sealant using a cloth.
15. Take the label indicating maximum permitted speed from
the sealant bottle and affix in the
driver's field of view.
16. Continue driving immediately so that sealant is evenly distributed
in the tyre. After driving approx.
6 miles (but no more than 10 minutes), stop and check tyre
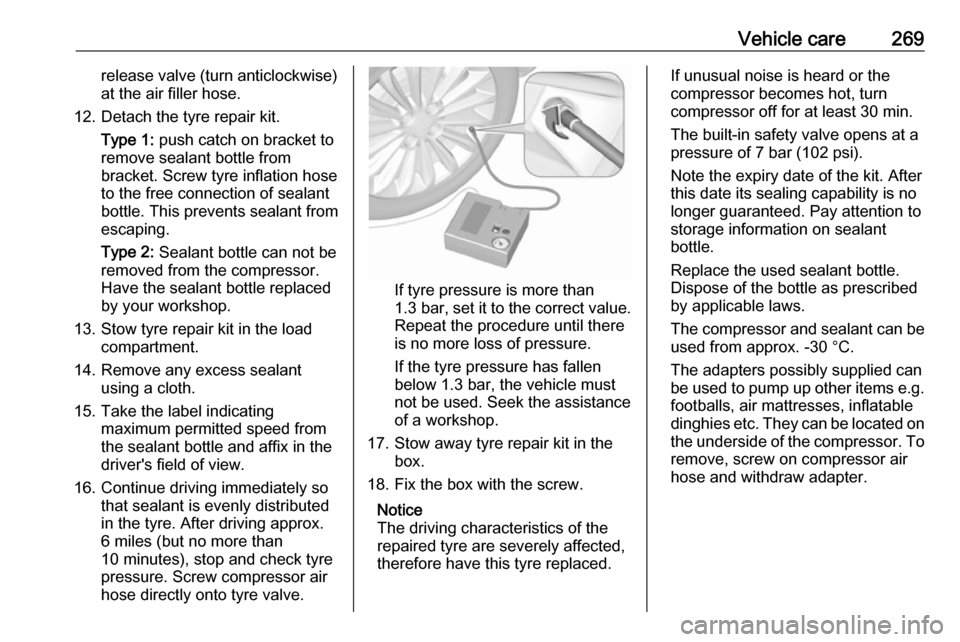
pressure. Screw compressor air
hose directly onto tyre valve.
If tyre pressure is more than
1.3 bar , set it to the correct value.
Repeat the procedure until there
is no more loss of pressure.
If the tyre pressure has fallen
below 1.3 bar, the vehicle must
not be used. Seek the assistance
of a workshop.
17. Stow away tyre repair kit in the box.
18. Fix the box with the screw.
Notice
The driving characteristics of the
repaired tyre are severely affected, therefore have this tyre replaced.
If unusual noise is heard or the
compressor becomes hot, turn
compressor off for at least 30 min.
The built-in safety valve opens at a
pressure of 7 bar (102 psi).
Note the expiry date of the kit. After
this date its sealing capability is no
longer guaranteed. Pay attention to
storage information on sealant
bottle.
Replace the used sealant bottle. Dispose of the bottle as prescribed
by applicable laws.
The compressor and sealant can be
used from approx. -30 °C.
The adapters possibly supplied can
be used to pump up other items e.g. footballs, air mattresses, inflatable
dinghies etc. They can be located on the underside of the compressor. To
remove, screw on compressor air
hose and withdraw adapter.