VAUXHALL MERIVA 2014.5 Owner's Manual
Manufacturer: VAUXHALL, Model Year: 2014.5, Model line: MERIVA, Model: VAUXHALL MERIVA 2014.5Pages: 237, PDF Size: 7.59 MB
Page 111 of 237

Instruments and controls109Vehicle personalisation
The vehicle's behaviour can be
personalised by changing the settings in the Info-Display.
Some of the personal settings for
different drivers can be memorised
individually for each vehicle key.
Memorised settings 3 21.
Depending on vehicle equipment and
country-specific regulations some of
the functions described below might
not be available.
Some functions are only displayed or
active when the engine is running.
Personal settings in the
Graphic-Info-Display
CD 300/CD 400/CD400plus
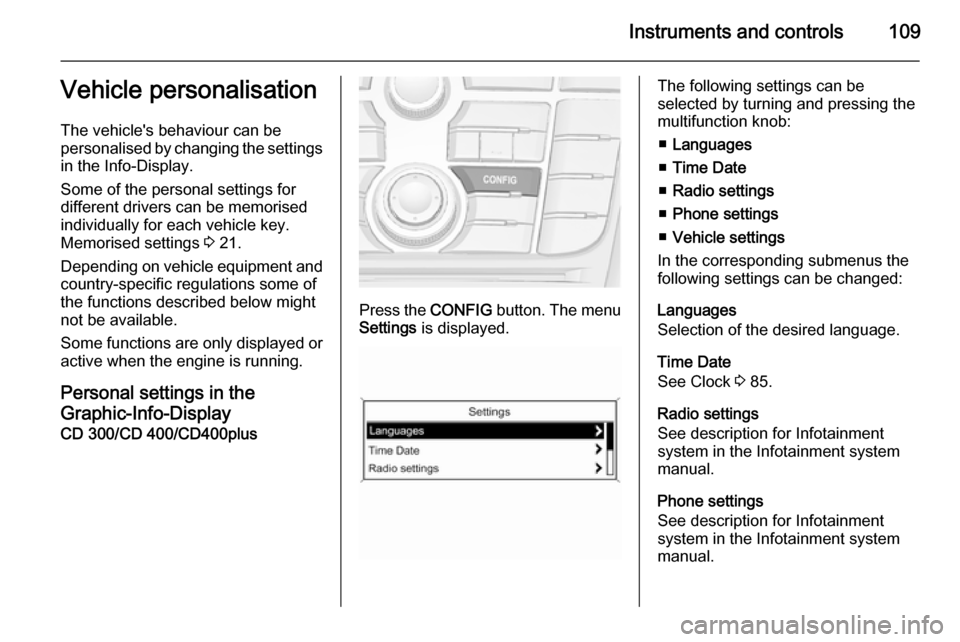
Press the CONFIG button. The menu
Settings is displayed.
The following settings can be
selected by turning and pressing the
multifunction knob:
■ Languages
■ Time Date
■ Radio settings
■ Phone settings
■ Vehicle settings
In the corresponding submenus the
following settings can be changed:
Languages
Selection of the desired language.
Time Date
See Clock 3 85.
Radio settings
See description for Infotainment
system in the Infotainment system
manual.
Phone settings
See description for Infotainment
system in the Infotainment system
manual.
Page 112 of 237

110Instruments and controls
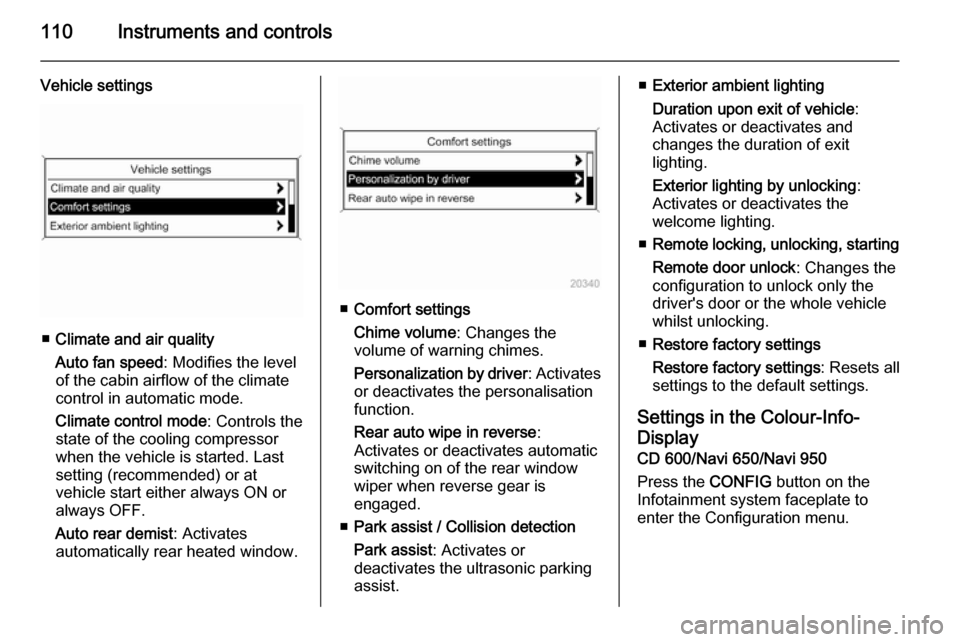
Vehicle settings
■Climate and air quality
Auto fan speed : Modifies the level
of the cabin airflow of the climate
control in automatic mode.
Climate control mode : Controls the
state of the cooling compressor
when the vehicle is started. Last
setting (recommended) or at
vehicle start either always ON or
always OFF.
Auto rear demist : Activates
automatically rear heated window.
■ Comfort settings
Chime volume : Changes the
volume of warning chimes.
Personalization by driver : Activates
or deactivates the personalisation
function.
Rear auto wipe in reverse :
Activates or deactivates automatic
switching on of the rear window
wiper when reverse gear is
engaged.
■ Park assist / Collision detection
Park assist : Activates or
deactivates the ultrasonic parking
assist.
■ Exterior ambient lighting
Duration upon exit of vehicle :
Activates or deactivates and
changes the duration of exit
lighting.
Exterior lighting by unlocking :
Activates or deactivates the
welcome lighting.
■ Remote locking, unlocking, starting
Remote door unlock : Changes the
configuration to unlock only the
driver's door or the whole vehicle
whilst unlocking.
■ Restore factory settings
Restore factory settings : Resets all
settings to the default settings.
Settings in the Colour-Info-
Display CD 600/Navi 650/Navi 950
Press the CONFIG button on the
Infotainment system faceplate to
enter the Configuration menu.
Page 113 of 237

Instruments and controls111
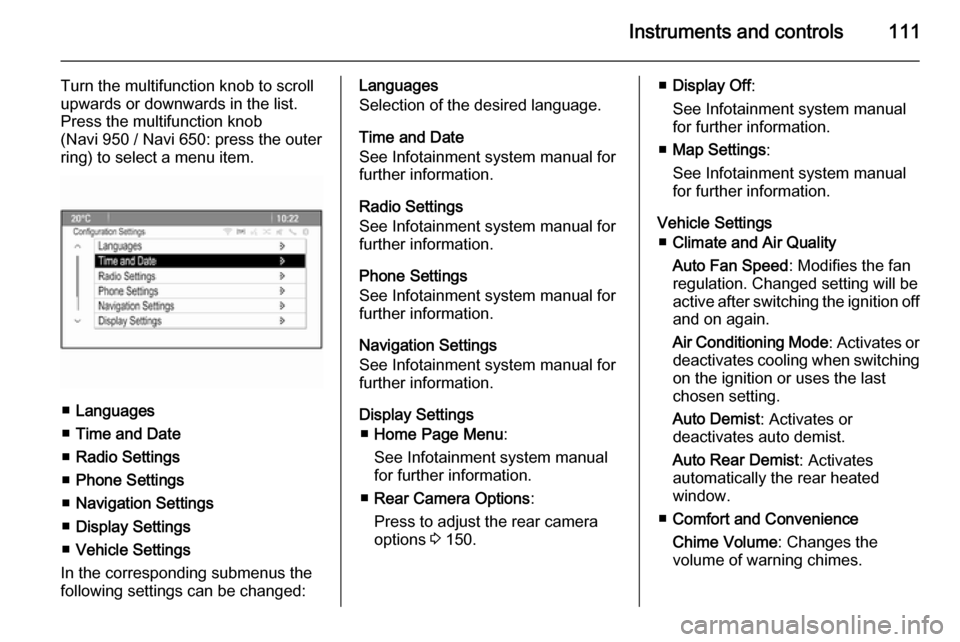
Turn the multifunction knob to scroll
upwards or downwards in the list.
Press the multifunction knob
(Navi 950 / Navi 650: press the outer
ring) to select a menu item.
■ Languages
■ Time and Date
■ Radio Settings
■ Phone Settings
■ Navigation Settings
■ Display Settings
■ Vehicle Settings
In the corresponding submenus the
following settings can be changed:
Languages
Selection of the desired language.
Time and Date
See Infotainment system manual for
further information.
Radio Settings
See Infotainment system manual for
further information.
Phone Settings
See Infotainment system manual for
further information.
Navigation Settings
See Infotainment system manual for
further information.
Display Settings ■ Home Page Menu :
See Infotainment system manual
for further information.
■ Rear Camera Options :
Press to adjust the rear camera
options 3 150.■ Display Off :
See Infotainment system manual for further information.
■ Map Settings :
See Infotainment system manual
for further information.
Vehicle Settings ■ Climate and Air Quality
Auto Fan Speed : Modifies the fan
regulation. Changed setting will be
active after switching the ignition off
and on again.
Air Conditioning Mode : Activates or
deactivates cooling when switching
on the ignition or uses the last
chosen setting.
Auto Demist : Activates or
deactivates auto demist.
Auto Rear Demist : Activates
automatically the rear heated
window.
■ Comfort and Convenience
Chime Volume : Changes the
volume of warning chimes.
Page 114 of 237

112Instruments and controls
Personalisation by Driver:
Activates or deactivates the
personalisation function.
Auto Reverse Gear Wiper :
Activates or deactivates
automatically switching on of the
rear window wiper when reverse gear is engaged.
■ Collision Detection Systems
Park Assist : Activates or
deactivates the ultrasonic sensors.
■ Lighting
Vehicle Locator Lights : Activates or
deactivates the entry lighting.
Exit Lighting : Activates or
deactivates and changes the
duration of exit lighting.
■ Remote Lock/Unlock/Start
Remote Door Unlock : Changes the
configuration to unlock only the
driver's door or the whole vehicle
whilst unlocking.
■ Return to Factory Settings? :
Resets all settings to the default settings.
Page 115 of 237

Lighting113LightingExterior lighting.......................... 113
Interior lighting ........................... 119
Lighting features ........................120Exterior lighting
Light switch
Turn light switch:
7=lights off8=sidelights9=low beam
Control indicator 8 3 98.
Light switch with Automatic light
control
Turn light switch:
AUTO=automatic light control:
Exterior lighting is
switched on and off
automatically depending
on external lighting
conditions.m=activation or deactivation
of the automatic light
control. Switch turns back
to AUTO .8=sidelights9=low beam
Page 116 of 237

114Lighting
In the Driver Information Centre with
Uplevel-Display, the current status of
the automatic light control is
displayed.
When switching on the ignition,
automatic light control is active.
When low beam is on, 8 lights up.
Control indicator 8 3 98.
Tail lights
Tail lights are illuminated together with low beam and sidelights.
Automatic light controlWhen the automatic light control
function is switched on and the
engine is running, the system
switches between daytime running
light and low beam depending on the
lighting conditions.
Daytime running light 3 116.
Automatic low beam activation
During poor lighting conditions the
low beam is switched on.
Tunnel detectionWhen a tunnel is entered the low
beam is switched on.
Adaptive forward lighting 3 116.High beam
To switch from low to high beam,
push lever.
To switch to low beam, push lever
again or pull.
Headlight flash To activate the headlight flash, pull
lever.
Page 117 of 237

Lighting115Headlight range
adjustment
Manual headlight range
adjustment
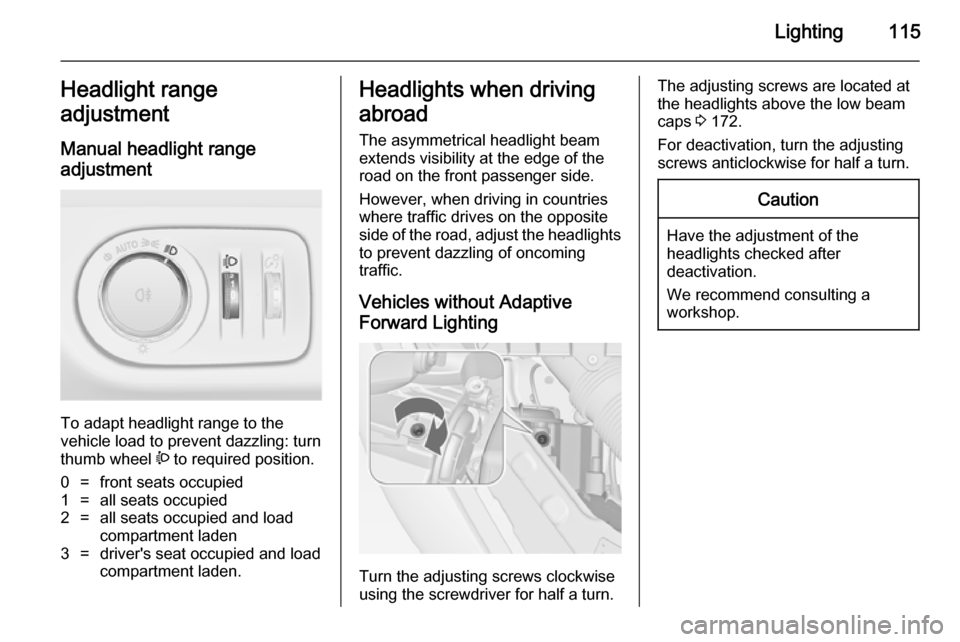
To adapt headlight range to the
vehicle load to prevent dazzling: turn
thumb wheel ? to required position.
0=front seats occupied1=all seats occupied2=all seats occupied and load
compartment laden3=driver's seat occupied and load
compartment laden.Headlights when driving
abroad
The asymmetrical headlight beam
extends visibility at the edge of the
road on the front passenger side.
However, when driving in countries
where traffic drives on the opposite
side of the road, adjust the headlights to prevent dazzling of oncoming
traffic.
Vehicles without Adaptive
Forward Lighting
Turn the adjusting screws clockwise
using the screwdriver for half a turn.
The adjusting screws are located at the headlights above the low beam
caps 3 172.
For deactivation, turn the adjusting
screws anticlockwise for half a turn.Caution
Have the adjustment of the
headlights checked after
deactivation.
We recommend consulting a
workshop.
Page 118 of 237

116Lighting
Vehicles with Adaptive Forward
Lighting
1. Key in ignition switch.
2. Pull turn signal lever and hold (headlight flash).
3. Switch on ignition.
4. After approx. 5 seconds the control indicator f starts flashing
and an acoustic signal sounds.
Control indicator f 3 98.
Every time the ignition is switched on,
control indicator f flashes as a
reminder for approx. 4 seconds.
For deactivation, operate the same
procedure as described above.
Control indicator f will not flash when
function is deactivated.
Daytime running lights
Daytime running light increases
visibility of the vehicle during daylight.
They are switched on automatically
when ignition is on.
Adaptive forward lighting
Adaptive forward lighting ensures
better illumination of bends, crossings
and narrow bends.
Dynamic curve lighting
The light beam pivots based on
steering wheel angle and speed,
improving lighting in curves.
Corner lighting
On tight bends or when turning off,
depending on the steering angle or
the indicator light signal, an additional left or right reflector is switched on
which illuminates the road in the
direction of travel. It is activated up to
a speed of 25 mph.
Reversing function If the low beam is on and reverse gear is engaged, both corner lights are
switched on. They remain illuminated
for 20 seconds after disengaging
reverse gear or until driving faster than 10 mph forward.
Page 119 of 237

Lighting117Hazard warning flashers
Operated with the ¨ button.
In the event of an accident with airbag
deployment the hazard warning
flashers are activated automatically.
Turn and lane-change
signalslever up=right turn signallever down=left turn signal
If the lever is moved past the
resistance point, the turn signal is
switched on constantly. When the
steering wheel moves back, the turn
signal is automatically deactivated.
For three flashes, e.g. when changing lanes, press the lever until resistance
is felt and then release.
With a trailer connected, turn signal
flashes six times when pressing the
lever until resistance is felt and then
releasing.
Move the lever to the resistance point
and hold for longer indication.
Switch the turn signal off manually by moving the lever to its original
position.
Front fog lights
Operated with the > button.
Light switch in position AUTO:
switching on front fog lights will switch the low beam on automatically.
Page 120 of 237

118LightingRear fog lights
Operated with the r button.
Light switch in position AUTO:
switching on rear fog light will switch
the low beam on automatically.
Light switch in position 8: rear fog
light can only be switched on with
front fog lights.
The vehicle rear fog light is
deactivated when towing.
Parking lights
When the vehicle is parked, the
parking lights on one side can be
activated:
1. Switch off ignition.
2. Move turn signal lever all the way up (right parking lights) or down
(left parking lights).
Confirmed by a signal and the
corresponding turn signal control
indicator.
Reversing lights
The reversing light comes on when
the ignition is on and reverse gear is
selected.
Misted light covers The inside of the light housing may
mist up briefly in poor, wet and cold weather conditions, in heavy rain or
after washing. The mist disappears
quickly by itself; to help switch on the
exterior lights.