stop start VAUXHALL MOVANO_B 2014 User Guide
[x] Cancel search | Manufacturer: VAUXHALL, Model Year: 2014, Model line: MOVANO_B, Model: VAUXHALL MOVANO_B 2014Pages: 201, PDF Size: 4.74 MB
Page 110 of 201

108Driving and operatingIdle speed control
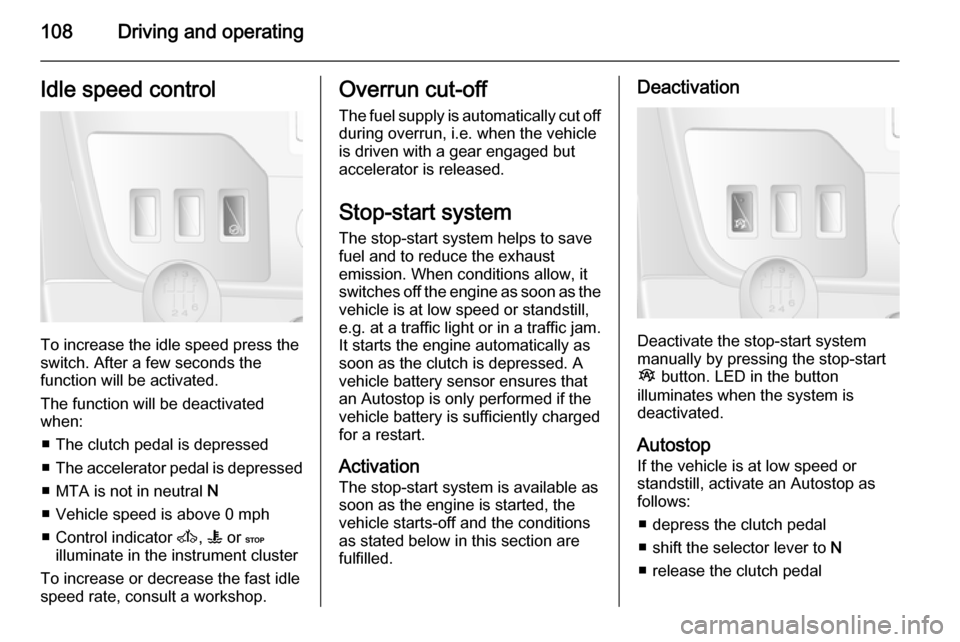
To increase the idle speed press the
switch. After a few seconds the
function will be activated.
The function will be deactivated
when:
■ The clutch pedal is depressed
■ The accelerator pedal is depressed
■ MTA is not in neutral N
■ Vehicle speed is above 0 mph
■ Control indicator A, W or C
illuminate in the instrument cluster
To increase or decrease the fast idle
speed rate, consult a workshop.
Overrun cut-off
The fuel supply is automatically cut off
during overrun, i.e. when the vehicle
is driven with a gear engaged but accelerator is released.
Stop-start system The stop-start system helps to save
fuel and to reduce the exhaust
emission. When conditions allow, it
switches off the engine as soon as the
vehicle is at low speed or standstill,
e.g. at a traffic light or in a traffic jam.
It starts the engine automatically as
soon as the clutch is depressed. A vehicle battery sensor ensures that
an Autostop is only performed if the
vehicle battery is sufficiently charged
for a restart.
Activation The stop-start system is available assoon as the engine is started, the
vehicle starts-off and the conditions
as stated below in this section are
fulfilled.Deactivation
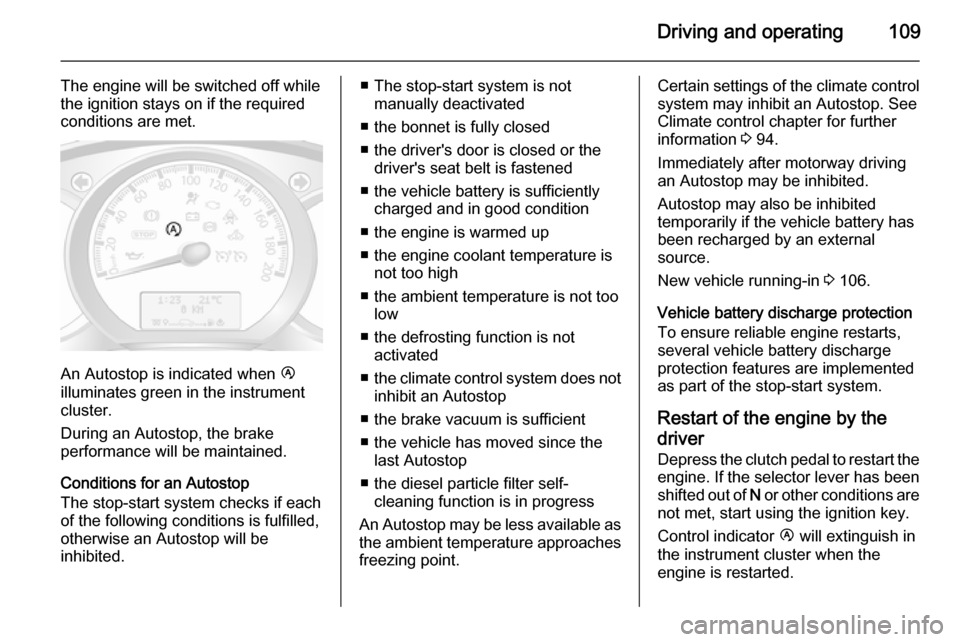
Deactivate the stop-start system
manually by pressing the stop-start
Î button. LED in the button
illuminates when the system is
deactivated.
Autostop
If the vehicle is at low speed or
standstill, activate an Autostop as
follows:
■ depress the clutch pedal
■ shift the selector lever to N
■ release the clutch pedal
Page 111 of 201

Driving and operating109
The engine will be switched off while
the ignition stays on if the required conditions are met.
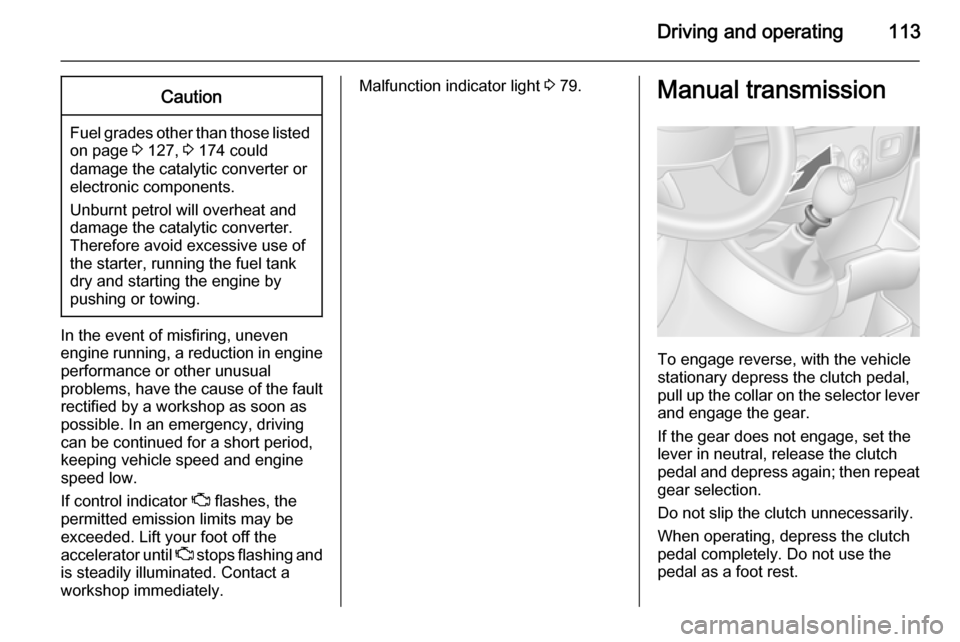
An Autostop is indicated when Ï
illuminates green in the instrument
cluster.
During an Autostop, the brake
performance will be maintained.
Conditions for an Autostop
The stop-start system checks if each
of the following conditions is fulfilled,
otherwise an Autostop will be
inhibited.
■ The stop-start system is not manually deactivated
■ the bonnet is fully closed
■ the driver's door is closed or the driver's seat belt is fastened
■ the vehicle battery is sufficiently charged and in good condition
■ the engine is warmed up
■ the engine coolant temperature is not too high
■ the ambient temperature is not too low
■ the defrosting function is not activated
■ the climate control system does not
inhibit an Autostop
■ the brake vacuum is sufficient
■ the vehicle has moved since the last Autostop
■ the diesel particle filter self- cleaning function is in progress
An Autostop may be less available as
the ambient temperature approaches
freezing point.Certain settings of the climate control system may inhibit an Autostop. See
Climate control chapter for further
information 3 94.
Immediately after motorway driving
an Autostop may be inhibited.
Autostop may also be inhibited
temporarily if the vehicle battery has
been recharged by an external
source.
New vehicle running-in 3 106.
Vehicle battery discharge protection
To ensure reliable engine restarts, several vehicle battery discharge
protection features are implemented
as part of the stop-start system.
Restart of the engine by the
driver
Depress the clutch pedal to restart the
engine. If the selector lever has been
shifted out of N or other conditions are
not met, start using the ignition key.
Control indicator Ï will extinguish in
the instrument cluster when the
engine is restarted.
Page 112 of 201

110Driving and operating
If the selector lever is shifted out of
N before depressing the clutch first, a
restart will not take place.
Restart of the engine by the
stop-start system
The selector lever has to be in N to
enable an automatic restart.
If one of the following conditions
occurs during an Autostop, the
engine will be restarted automatically
by the stop-start system. Control
indicator Ï will flash green in the
instrument cluster during an
automatic engine restart.
■ The stop-start system is manually deactivated
■ the engine temperature is too low ■ the vehicle battery is discharged
■ the brake vacuum is not sufficient
■ the vehicle starts to move
■ the defrosting function is activated
■ the climate control system requests
an engine start
■ the predetermined timing has been
exceededIf an electrical accessory, e.g. a
portable CD player, is connected to
the power outlet, a brief power drop
during restart might be noticeable.
If the Infotainment system is active,
audio sound may briefly be reduced
or broken during restart.
Warning chimes 3 84.
Fault
If control indicator Ï illuminates
yellow, there is a fault in the stop-start system 3 82. Seek the assistance of
a workshop.
Parking ■ Do not park the vehicle on an easily
ignitable surface. The high
temperature of the exhaust system
could ignite the surface.
■ Always apply parking brake without
pressing release button. Apply as
firmly as possible on a downhill or
uphill slopes. Operate the foot
brake at the same time to reduce
operating force.■ Switch off the engine and ignition. Turn the steering wheel until the
steering wheel lock engages.
■ If the vehicle is on a level surface or
uphill slope, engage first gear
before switching off the ignition. On
an uphill slope, turn the front
wheels away from the kerb.
If the vehicle is on a downhill slope, engage reverse gear before
switching off the ignition. Turn the
front wheels towards the kerb.
■ Lock the vehicle and activate the anti-theft locking and anti-theft
alarm systems.
Air suspension
Operates automatically when the
vehicle is driven. The air suspension
system constantly adjusts the ride
height according to the vehicle load.
For further information on the air
suspension system, refer to the
operating instructions supplied.
Page 115 of 201

Driving and operating113Caution
Fuel grades other than those listedon page 3 127, 3 174 could
damage the catalytic converter or
electronic components.
Unburnt petrol will overheat and
damage the catalytic converter.
Therefore avoid excessive use of the starter, running the fuel tank
dry and starting the engine by
pushing or towing.
In the event of misfiring, uneven
engine running, a reduction in engine performance or other unusual
problems, have the cause of the fault
rectified by a workshop as soon as
possible. In an emergency, driving
can be continued for a short period,
keeping vehicle speed and engine
speed low.
If control indicator Z flashes, the
permitted emission limits may be
exceeded. Lift your foot off the
accelerator until Z stops flashing and
is steadily illuminated. Contact a
workshop immediately.
Malfunction indicator light 3 79.Manual transmission
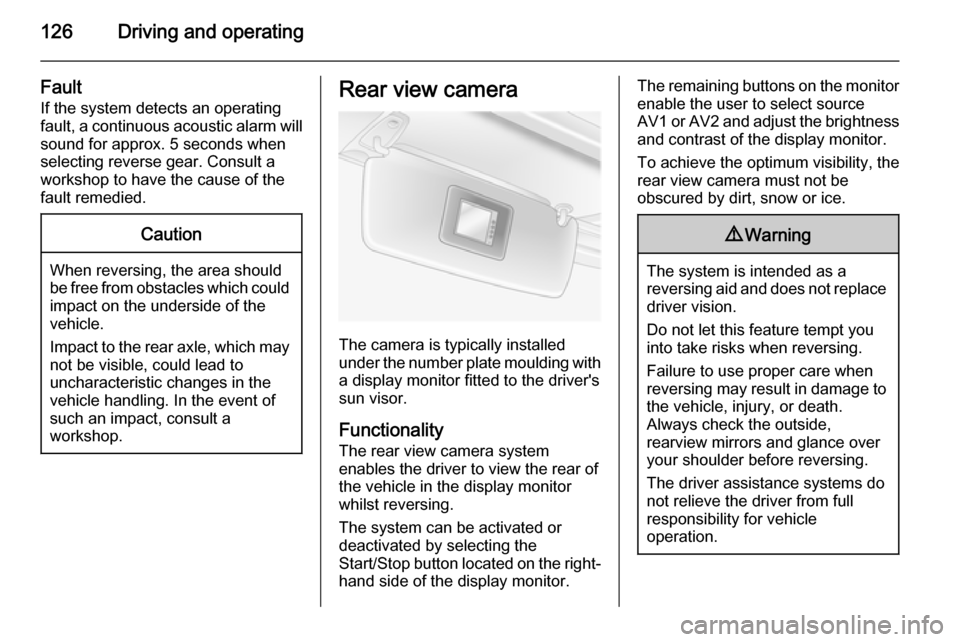
To engage reverse, with the vehicle
stationary depress the clutch pedal, pull up the collar on the selector lever
and engage the gear.
If the gear does not engage, set the
lever in neutral, release the clutch
pedal and depress again; then repeat
gear selection.
Do not slip the clutch unnecessarily.
When operating, depress the clutch pedal completely. Do not use the
pedal as a foot rest.
Page 117 of 201

Driving and operating115
Always move the selector lever in the
appropriate direction as far as it will
go.Upon release, it automatically
returns to the centre position.N=Neutral.A/
M=Switch between automatic
and manual mode.
The transmission display
shows "A" when in automatic mode.R=Reverse gear.
Engage only when vehicle is
stationary.The transmission
display shows "R" when
reverse gear is engaged.+=Shift to a higher gear.-=Shift to a lower gear.
Starting off
When the engine is started, the
transmission is in automatic
mode.Depress the foot brake and
move the selector lever towards + to
engage first gear.
If R is selected, reverse gear is
engaged.The vehicle starts to move
when the foot brake is released.To
start off quickly, release the foot brake and accelerate immediately after
engaging a gear.
In automatic mode the transmission
shifts to other gears automatically,
dependent on driving conditions.
To engage manual mode, move the
selector lever towards A/M. The
current gear will appear in the
transmission display.
To engage first gear, depress foot
brake and move selector lever
towards + or -. Shift to a higher or
lower gear by moving selector lever to
+ or -. Gears can be skipped by
moving the selector lever repeatedly
at short intervals.
Stopping the vehicle
In automatic or manual mode,
first gear is engaged and the clutch is
released when the vehicle is
stopped.In R, reverse gear remains
engaged.
When stopping on gradients, engage parking brake or depress the foot
brake.To prevent overheating of the
clutch, an intermittent audiblewarning may sound as a signal to
depress the foot brake or apply the
parking brake.
Switch off engine if stopping for a
lengthy period, e.g. in traffic jams.
When the vehicle is parked and the
driver's door is opened, a warning
chime will sound if neutral is not
selected or the foot brake has not
been depressed.
Engine braking
Automatic mode
When driving downhill, the manual transmission automated does not
shift into higher gears until a fairly
high engine speed has been
reached.It shifts down in good time
when braking.
Manual mode
To utilise the engine braking effect,
select a lower gear in good time when
driving downhill.
Page 128 of 201

126Driving and operating
FaultIf the system detects an operatingfault, a continuous acoustic alarm will sound for approx. 5 seconds when
selecting reverse gear. Consult a
workshop to have the cause of the
fault remedied.Caution
When reversing, the area should
be free from obstacles which could impact on the underside of the
vehicle.
Impact to the rear axle, which may
not be visible, could lead to
uncharacteristic changes in the
vehicle handling. In the event of
such an impact, consult a
workshop.
Rear view camera
The camera is typically installed
under the number plate moulding with a display monitor fitted to the driver's
sun visor.
Functionality
The rear view camera system
enables the driver to view the rear of
the vehicle in the display monitor
whilst reversing.
The system can be activated or
deactivated by selecting the
Start/Stop button located on the right-
hand side of the display monitor.
The remaining buttons on the monitor enable the user to select source
AV1 or AV2 and adjust the brightness
and contrast of the display monitor.
To achieve the optimum visibility, the
rear view camera must not be
obscured by dirt, snow or ice.9 Warning
The system is intended as a
reversing aid and does not replace
driver vision.
Do not let this feature tempt you
into take risks when reversing.
Failure to use proper care when
reversing may result in damage to
the vehicle, injury, or death.
Always check the outside,
rearview mirrors and glance over
your shoulder before reversing.
The driver assistance systems do not relieve the driver from full
responsibility for vehicle
operation.
Page 131 of 201

Driving and operating129Trailer hitch
General information
Only use towing equipment that has
been approved for your vehicle.
Entrust fitting of towing equipment at
a later date to a workshop. It may be
necessary to make changes that
affect the cooling system, heat
shields or other equipment.
Driving characteristics and
towing tips In the case of trailers with brakes,
attach the breakaway stopping cable.
Before attaching a trailer, lubricate
the coupling ball. However, do not do
so if a stabiliser, which acts on the
coupling ball, is being used to reduce snaking movements. For trailers with
low driving stability the use of a
stabiliser is recommended.
A maximum speed of 50 mph must
not be exceeded, even in countries
where higher speeds are permitted.If the trailer starts snaking, drive more
slowly, do not attempt to correct the
steering and brake sharply if
necessary.
When driving downhill, drive in the
same gear as if driving uphill and
drive at a similar speed.
Adjust tyre pressure to the value
specified for full load 3 189.
Trailer towing Trailer loads
The permissible trailer loads are
vehicle-dependent and engine-
dependent maximum values which
must not be exceeded. The actual trailer load is the difference between
the actual gross weight of the trailer
and the actual coupling socket load
with the trailer coupled.
The permissible trailer loads are
specified in the vehicle documents. In general, they are valid for gradients
up to max. 12 %.
The permitted trailer load applies up to the specified incline and up to an
altitude of 1000 metres above sealevel. Since engine power decreases
as altitude increases due to the air
becoming thinner, therefore reducing
climbing ability, the permissible gross
train weight also decreases by 10 %
for every 1000 metres of additional
altitude. The gross train weight does
not have to be reduced when driving
on roads with slight inclines (less than
8 %, e.g. motorways).
The permissible gross train weight
must not be exceeded. This weight is
specified on the identification plate
3 171.
Vertical coupling load
The vertical coupling load is the load
exerted by the trailer on the coupling
ball. It can be varied by changing the
weight distribution when loading the
trailer.
The maximum permissible vertical
coupling load is specified on the
towing equipment identification plate
and in the vehicle documents. Always aim for the maximum load, especially
in the case of heavy trailers. The
vertical coupling load should never
fall below 25 kg.
Page 199 of 201

197
Pollen filter ................................. 104
Power door locks ..........................22
Power outlets ............................... 71
Power side step ............................ 24
Power sliding door ........................24
Power steering fluid ....................136
Power take-off ........................... 130
Power windows ............................ 32
Preheating ................................... 81
Puncture ............................. 154, 157
R Radio Frequency Identification (RFID) ..................................... 192
Radio remote control ...................18
Reading lights .............................. 91
Rear air conditioning system .......99
Rear doors ................................... 26
Rear fog light ............................... 82
Rear fog lights ............................. 90
Rear heating system .................... 97
Rear seats .................................... 41
Rear view camera ...................... 126
Rear windows .............................. 32
Recommended fluids and lubricants ........................ 168, 173
Refuelling ................................... 127 Remote control ............................. 18
Reversing lights ........................... 90
Ride control systems ..................119Roof.............................................. 34
Roof load ...................................... 66
Roof rack ..................................... 66
S Safety belts ................................... 43
Safety net .................................... 65
Seat adjustment ....................... 7, 37
Seat belt ........................................ 8
Seat belt reminder .......................78
Seat belts ..................................... 43
Seat heating ................................. 40
Seat position ................................ 36
Selector lever ............................. 114
Service ............................... 105, 167
Service display ............................ 75
Service information ....................167
Service vehicle soon .................... 79
Side airbag system ......................49
Sidelights ...................................... 87
Side turn signal lights ................145
Sliding door .................................. 24
Spare wheel ............................... 159
Speedometer ............................... 73
Speed regulator ............................ 73
Starting and operating ................106
Starting off ................................... 16
Starting the engine ............107, 114
Steering column controls ..............69
Steering wheel adjustment ......9, 68Steering wheel controls ...............68
Stop engine .................................. 79
Stop-start system.................. 82, 108
Storage ......................................... 60
Storage compartments .................60
Sunglasses storage .....................61
Sun visors .................................... 34
Suspension seat ........................... 37
Symbols ......................................... 4
T
Tachograph ............................ 82, 86
Tachometer ................................. 73
Tail lights ................................... 144
Technical data ............................ 174
Three-point seat belt .................... 44
Tools .......................................... 150
Top-tether fastening eyes ............59
Tow bar....................................... 129
Towing ........................................ 129
Towing another vehicle .............163
Towing a trailer ........................... 129
Towing equipment .....................130
Towing eye ................................. 162
Towing the vehicle .....................162
Traction Control system ............. 119
Trailer coupling ........................... 129
Trailer towing ............................. 129
Transmission ............................... 15
Transmission display ...........75, 114