display VAUXHALL MOVANO_B 2014 Owner's Manual
[x] Cancel search | Manufacturer: VAUXHALL, Model Year: 2014, Model line: MOVANO_B, Model: VAUXHALL MOVANO_B 2014Pages: 201, PDF Size: 4.74 MB
Page 5 of 201

Introduction3Vehicle specific data
Please enter your vehicle's data on
the previous page to keep it easily
accessible. This information is
available in the sections "Service and maintenance" and "Technical data"
as well as on the identification plate.
Introduction
Your vehicle is a designed
combination of advanced technology, safety, environmental friendliness
and economy.
This Owner's Manual provides you
with all the necessary information to
enable you to drive your vehicle
safely and efficiently.
Make sure your passengers are
aware of the possible risk of accident
and injury which may result from
improper use of the vehicle.
You must always comply with the
specific laws and regulations of the
country that you are in. These laws
may differ from the information in this Owner's Manual.When this Owner's Manual refers to aworkshop visit, we recommend your
Vauxhall Authorised Repairer.
All Vauxhall Authorised Repairers
provide first-class service at
reasonable prices. Experienced
mechanics trained by Vauxhall work
according to specific Vauxhall
instructions.
The customer literature pack should
always be kept ready to hand in the
vehicle.
Using this manual ■ This manual describes all options and features available for this
model. Certain descriptions,
including those for display and
menu functions, may not apply to
your vehicle due to model variant,
country specifications, special
equipment or accessories.
■ The "In brief" section will give you an initial overview.
■ The table of contents at the beginning of this manual and withineach section shows where the
information is located.■ The index will enable you to search
for specific information.
■ This Owner's Manual depicts left- hand drive vehicles. Operation is
similar for right-hand drive vehicles.
■ The Owner's Manual uses the factory engine designations. The
corresponding sales designations
can be found in the section
"Technical data".
■ Directional data, e.g. left or right, or
front or back, always relate to the
direction of travel.
■ The vehicle display screens may not support your specific language.
■ Display messages and interior labelling are written in bold letters.
Danger, Warnings and
Cautions9 Danger
Text marked 9 Danger provides
information on risk of fatal injury.
Disregarding this information may
endanger life.
Page 13 of 201

In brief11
1Fixed air vents .................... 104
2 Headlight range
adjustment ........................... 88
Ultrasonic parking assist .....124
Traction control system ......119
Electronic stability program 120
3 Side air vents .....................103
4 Light switch .......................... 87
Turn and lane-change
signals .................................. 89
High beam and low beam,
headlight flash ......................88
Sidelights .............................. 87
Automatic light control .......... 87
Exit lighting ........................... 92
Front fog lights .....................89
Rear fog light ........................ 90
5 Instruments .......................... 73
Transmission display ............75
Driver Information Centre ...... 836 Horn ..................................... 69
Driver airbag ........................ 49
7 Remote control on
steering wheel .......................68
Cruise control .....................121
8 Windscreen wiper,
windscreen washer system ..69
Trip computer ........................ 85
9 Coin tray ............................... 60
10 Power outlet ......................... 71
11 Centre air vents .................. 103
12 Front passenger airbag .........49
Storage compartment ..........60
13 Glovebox .............................. 61
14 Cupholders ........................... 61
15 Climate control system ......... 94
16 Cigarette lighter .................... 72
Power outlet ......................... 71
17 Gear lever, Manual
transmission ........................ 113
Manual transmission
automated ........................... 11418Cruise control and speed
limiter ................................. 121
Manual transmission
automated,
Winter and Laden modes ....116
Idle speed control ...............108
Stop-start system ................108
19 Ignition switch with
steering wheel lock ............107
20 Steering column controls .....69
21 Steering wheel adjustment ..68
22 Bonnet release lever ..........133
23 Auxiliary heater ...................100
24 Storage compartment ..........60
Fuse box ............................ 149
Page 38 of 201
36Seats, restraints
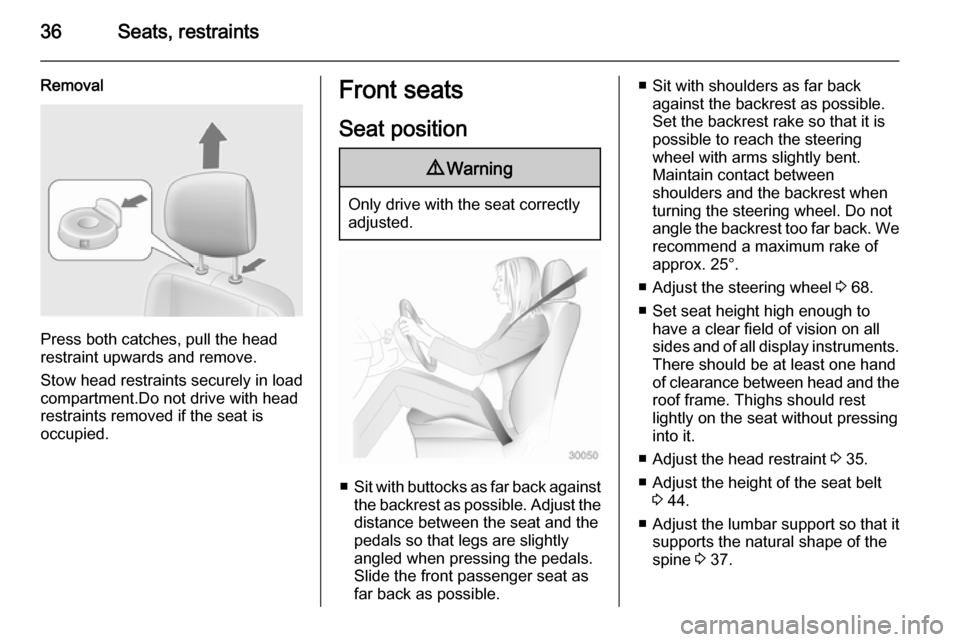
Removal
Press both catches, pull the head
restraint upwards and remove.
Stow head restraints securely in load
compartment.Do not drive with head
restraints removed if the seat is
occupied.
Front seats
Seat position9 Warning
Only drive with the seat correctly
adjusted.
■ Sit with buttocks as far back against
the backrest as possible. Adjust the distance between the seat and the
pedals so that legs are slightly
angled when pressing the pedals.
Slide the front passenger seat as
far back as possible.
■ Sit with shoulders as far back against the backrest as possible.
Set the backrest rake so that it is possible to reach the steering
wheel with arms slightly bent.
Maintain contact between
shoulders and the backrest when
turning the steering wheel. Do not
angle the backrest too far back. We recommend a maximum rake of
approx. 25°.
■ Adjust the steering wheel 3 68.
■ Set seat height high enough to have a clear field of vision on allsides and of all display instruments.
There should be at least one hand
of clearance between head and the
roof frame. Thighs should rest
lightly on the seat without pressing
into it.
■ Adjust the head restraint 3 35.
■ Adjust the height of the seat belt 3 44.
■ Adjust the lumbar support so that it
supports the natural shape of the
spine 3 37.
Page 52 of 201
50Seats, restraints9Warning
Keep the area in which the airbag
inflates clear of obstructions.
Notice
Only use protective seat covers that have been approved for the vehicle.Be careful not to cover the airbags.
Airbag deactivation Front airbag and side airbag systems
for the front passenger seat must be
deactivated if a child restraint system is to be fitted on this seat. The belt
pretensioners and all driver airbag
systems will remain active.
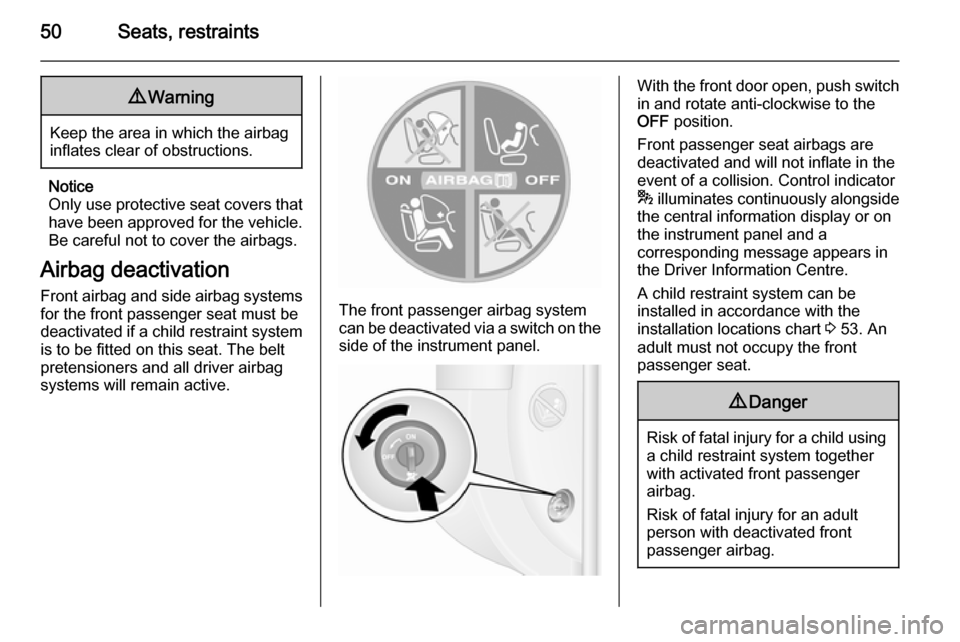
The front passenger airbag system
can be deactivated via a switch on the
side of the instrument panel.
With the front door open, push switch in and rotate anti-clockwise to the
OFF position.
Front passenger seat airbags are
deactivated and will not inflate in the event of a collision. Control indicator
* illuminates continuously alongside
the central information display or on
the instrument panel and a
corresponding message appears in
the Driver Information Centre.
A child restraint system can be
installed in accordance with the
installation locations chart 3 53. An
adult must not occupy the front
passenger seat.9 Danger
Risk of fatal injury for a child using
a child restraint system together
with activated front passenger
airbag.
Risk of fatal injury for an adult
person with deactivated front
passenger airbag.
Page 70 of 201
68Instruments and controlsInstruments and
controlsControls ....................................... 68
Warning lights, gauges and indi‐
cators ........................................... 73
Information displays .....................83
Vehicle messages ........................ 83
Trip computer ............................... 85
Tachograph .................................. 86Controls
Steering wheel adjustment
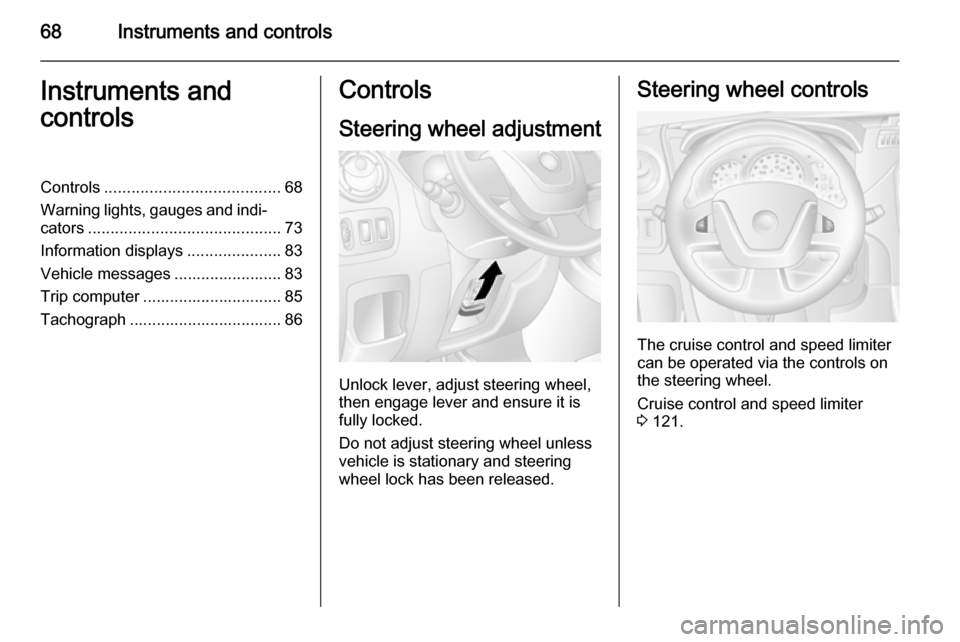
Unlock lever, adjust steering wheel,
then engage lever and ensure it is fully locked.
Do not adjust steering wheel unless
vehicle is stationary and steering
wheel lock has been released.
Steering wheel controls
The cruise control and speed limiter
can be operated via the controls on
the steering wheel.
Cruise control and speed limiter
3 121.
Page 72 of 201
70Instruments and controls
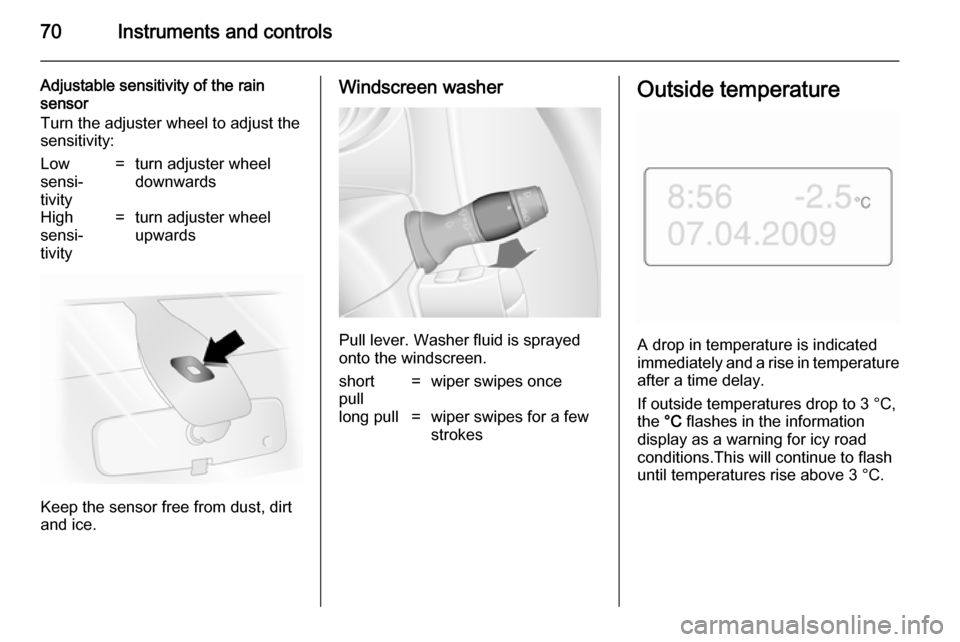
Adjustable sensitivity of the rain
sensor
Turn the adjuster wheel to adjust the
sensitivity:Low
sensi‐
tivity=turn adjuster wheel
downwardsHigh
sensi‐
tivity=turn adjuster wheel
upwards
Keep the sensor free from dust, dirt
and ice.
Windscreen washer
Pull lever. Washer fluid is sprayed
onto the windscreen.
short
pull=wiper swipes oncelong pull=wiper swipes for a few
strokesOutside temperature
A drop in temperature is indicated
immediately and a rise in temperature
after a time delay.
If outside temperatures drop to 3 °C, the °C flashes in the information
display as a warning for icy road
conditions.This will continue to flash
until temperatures rise above 3 °C.
Page 73 of 201
Instruments and controls719Warning
The road surface may already be
icy even though the display
indicates a few degrees above 0
°C.
Clock
Depending on vehicle, the current
time and/or date may appear in the
information display 3 83 or the
Driver Information Centre 3 83.
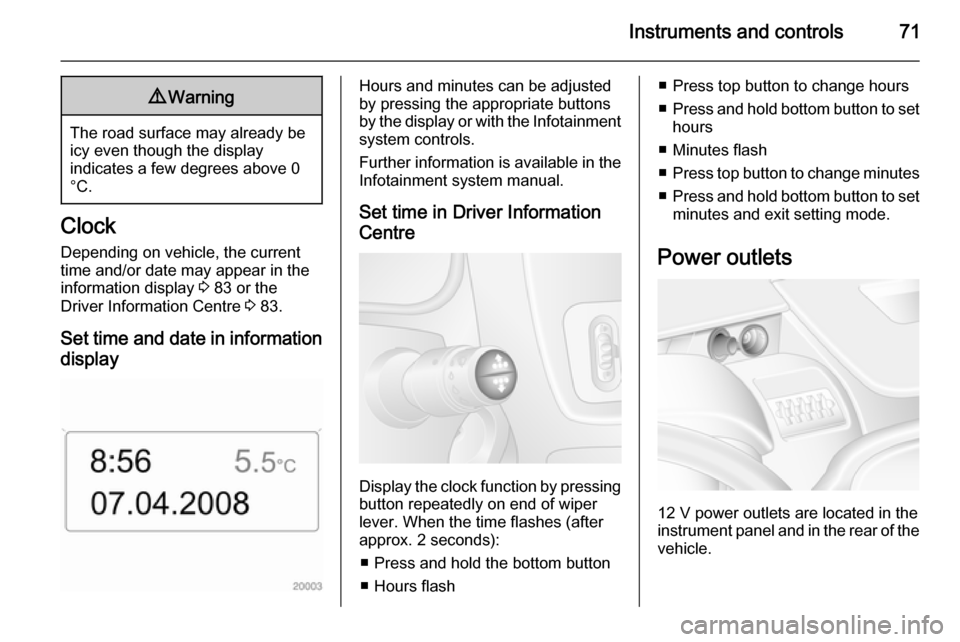
Set time and date in information display
Hours and minutes can be adjusted
by pressing the appropriate buttons
by the display or with the Infotainment
system controls.
Further information is available in the
Infotainment system manual.
Set time in Driver Information
Centre
Display the clock function by pressing button repeatedly on end of wiper
lever. When the time flashes (after
approx. 2 seconds):
■ Press and hold the bottom button
■ Hours flash
■ Press top button to change hours
■ Press and hold bottom button to set
hours
■ Minutes flash
■ Press top button to change minutes
■ Press and hold bottom button to set
minutes and exit setting mode.
Power outlets
12 V power outlets are located in the instrument panel and in the rear of the
vehicle.
Page 75 of 201
Instruments and controls73Warning lights, gauges
and indicators
Instrument cluster
In some versions, the needles of the
instruments briefly rotate to the end
position when the ignition is switched on.
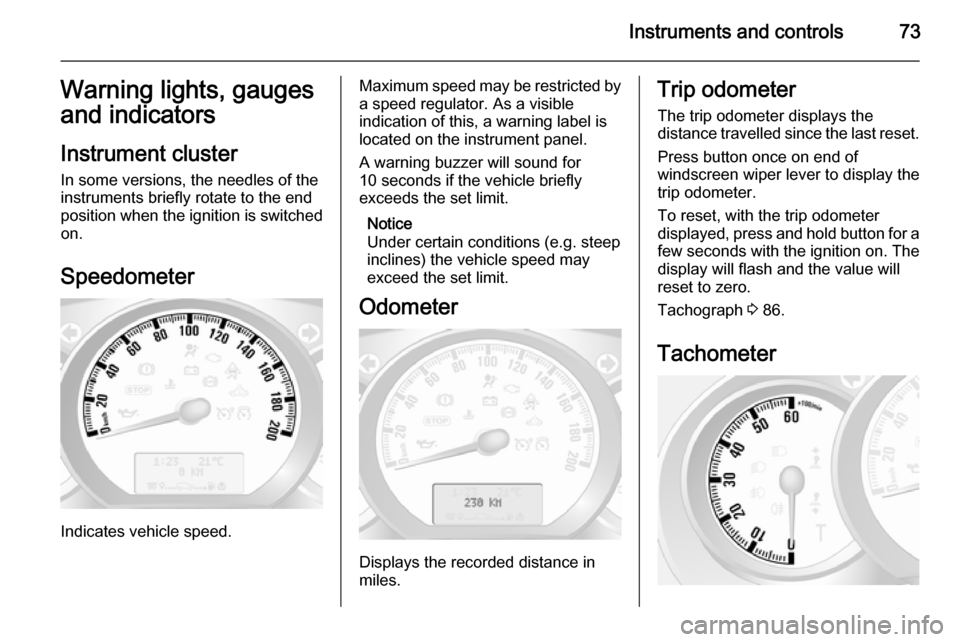
Speedometer
Indicates vehicle speed.
Maximum speed may be restricted by
a speed regulator. As a visible
indication of this, a warning label is
located on the instrument panel.
A warning buzzer will sound for
10 seconds if the vehicle briefly
exceeds the set limit.
Notice
Under certain conditions (e.g. steep
inclines) the vehicle speed may
exceed the set limit.
Odometer
Displays the recorded distance in
miles.
Trip odometer
The trip odometer displays the
distance travelled since the last reset.
Press button once on end of
windscreen wiper lever to display the
trip odometer.
To reset, with the trip odometer
displayed, press and hold button for a few seconds with the ignition on. The
display will flash and the value will
reset to zero.
Tachograph 3 86.
Tachometer
Page 76 of 201
74Instruments and controls
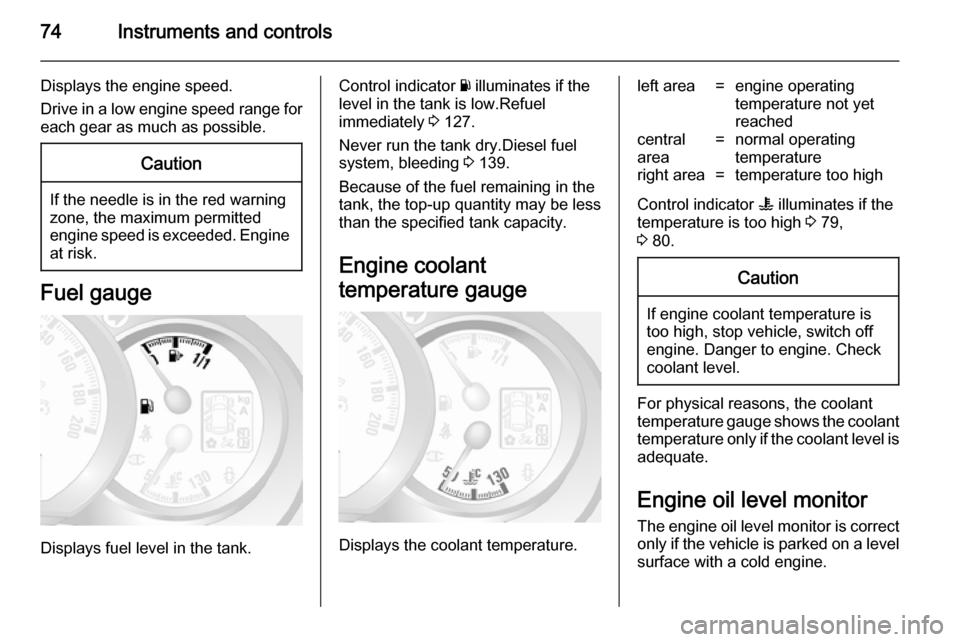
Displays the engine speed.
Drive in a low engine speed range for
each gear as much as possible.Caution
If the needle is in the red warning
zone, the maximum permitted
engine speed is exceeded. Engine at risk.
Fuel gauge
Displays fuel level in the tank.
Control indicator Y illuminates if the
level in the tank is low.Refuel
immediately 3 127.
Never run the tank dry.Diesel fuel
system, bleeding 3 139.
Because of the fuel remaining in the
tank, the top-up quantity may be less
than the specified tank capacity.
Engine coolant
temperature gauge
Displays the coolant temperature.
left area=engine operating
temperature not yet
reachedcentral
area=normal operating
temperatureright area=temperature too high
Control indicator W illuminates if the
temperature is too high 3 79,
3 80.
Caution
If engine coolant temperature is
too high, stop vehicle, switch off
engine. Danger to engine. Check
coolant level.
For physical reasons, the coolant temperature gauge shows the coolant temperature only if the coolant level is adequate.
Engine oil level monitor
The engine oil level monitor is correct
only if the vehicle is parked on a level
surface with a cold engine.
Page 77 of 201

Instruments and controls75
If the engine oil level is correct when
the ignition is switched on OIL LEVEL
CORRECT appears briefly in the
Driver Information Centre.
If the engine oil is above the minimum level, press the trip computer button
on the end of the wiper lever within
30 seconds of switching on the
ignition. The message OIL LEVEL is
displayed in combination with the squares that correspond to the oil
level.
As the oil level diminishes, the
squares in the display are replaced
with dashes.▢▢▢▢▢▢=Maximum level▢▢▢- - -=Intermediate level- - - - - -=Minimum level
If the minimum engine oil level is
reached TOP-UP OIL LEVEL is
displayed in combination with control
indicator A after the ignition is
switched on for 30 seconds. Check
and top up engine oil 3 134.
To exit the oil level monitor display,
press either trip computer button.
Trip computer 3 85.
Service display
When the ignition is switched on, the remaining distance before the next
service is due may be shown briefly in the Driver Information Centre. Based
on driving conditions, the interval at
which a service will be indicated can
vary considerably.
When the remaining distance before
the next service is less than
1800 miles or 2 months, SERVICE
IN appears in the Driver Information
Centre.
When the distance reaches 0 miles or the service date is due, control
indicators o and A illuminate in the
instrument cluster and SERVICE
DUE appears in the Driver
Information Centre.
The vehicle needs a service. Seek the
assistance of a workshop.
Resetting the service displayAfter a service, the service displaymust be reset: if available, select the
distance before service display in the
Driver Information Centre, then press
and hold button on end of wiper leverfor approx. 10 seconds until the
distance before service is displayed
continuously.
Trip computer 3 85.
Driver Information Centre 3 83.
Service information 3 167.
Transmission display
The mode or selected gear of the
manual transmission automated is shown in the transmission display.
R=Reverse gearN=NeutralA=Automatic mode