instrument panel VAUXHALL VIVARO C 2020 User Guide
[x] Cancel search | Manufacturer: VAUXHALL, Model Year: 2020, Model line: VIVARO C, Model: VAUXHALL VIVARO C 2020Pages: 289, PDF Size: 10.16 MB
Page 121 of 289
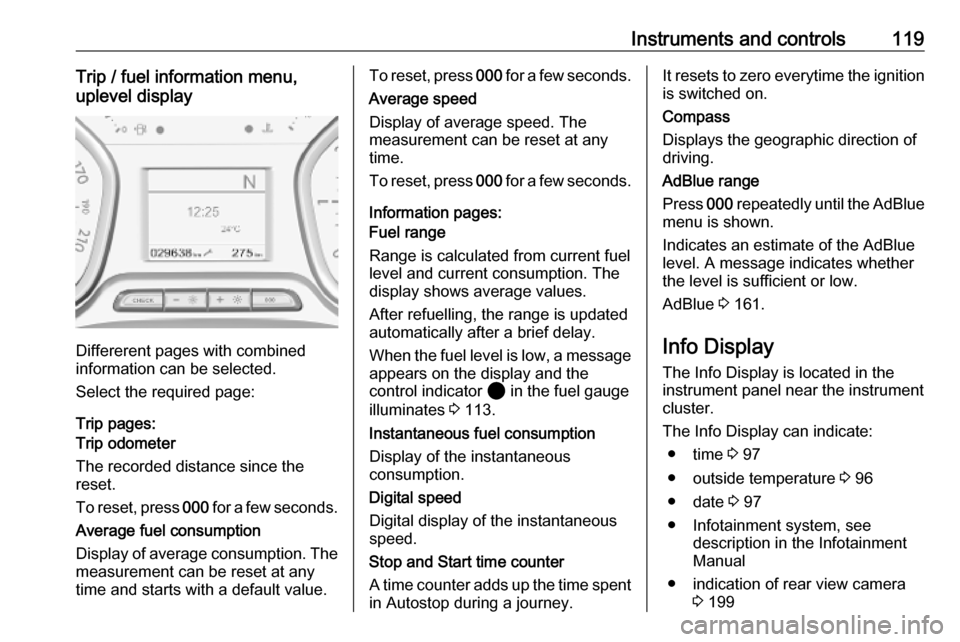
Instruments and controls119Trip / fuel information menu,
uplevel display
Differerent pages with combined
information can be selected.
Select the required page:
Trip pages:
Trip odometer
The recorded distance since the
reset.
To reset, press 000 for a few seconds.
Average fuel consumption
Display of average consumption. The measurement can be reset at any
time and starts with a default value.
To reset, press 000 for a few seconds.
Average speed
Display of average speed. The
measurement can be reset at any
time.
To reset, press 000 for a few seconds.
Information pages:
Fuel range
Range is calculated from current fuel
level and current consumption. The
display shows average values.
After refuelling, the range is updated
automatically after a brief delay.
When the fuel level is low, a message appears on the display and the
control indicator 2 in the fuel gauge
illuminates 3 113.
Instantaneous fuel consumption
Display of the instantaneous
consumption.
Digital speed
Digital display of the instantaneous
speed.
Stop and Start time counter
A time counter adds up the time spent
in Autostop during a journey.It resets to zero everytime the ignition is switched on.
Compass
Displays the geographic direction of
driving.
AdBlue range
Press 000 repeatedly until the AdBlue
menu is shown.
Indicates an estimate of the AdBlue
level. A message indicates whether
the level is sufficient or low.
AdBlue 3 161.
Info Display The Info Display is located in theinstrument panel near the instrument
cluster.
The Info Display can indicate: ● time 3 97
● outside temperature 3 96
● date 3 97
● Infotainment system, see description in the Infotainment
Manual
● indication of rear view camera 3 199
Page 122 of 289
120Instruments and controls● indication of panoramic viewsystem 3 196
● navigation, see description in the
Infotainment Manual
● vehicle and system messages 3 122
● settings for vehicle personalisation 3 123
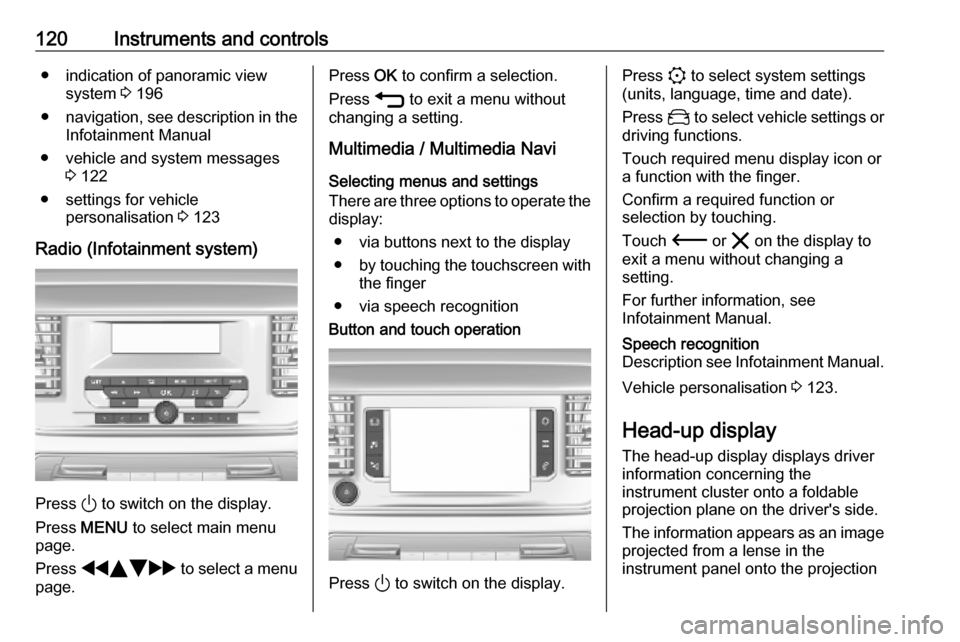
Radio (Infotainment system)
Press ) to switch on the display.
Press MENU to select main menu
page.
Press fYZ g to select a menu
page.
Press OK to confirm a selection.
Press 1 to exit a menu without
changing a setting.
Multimedia / Multimedia Navi
Selecting menus and settings
There are three options to operate the
display:
● via buttons next to the display● by touching the touchscreen with
the finger
● via speech recognitionButton and touch operation
Press ) to switch on the display.
Press : to select system settings
(units, language, time and date).
Press _ to select vehicle settings or
driving functions.
Touch required menu display icon or a function with the finger.
Confirm a required function or
selection by touching.
Touch 3 or & on the display to
exit a menu without changing a
setting.
For further information, see
Infotainment Manual.Speech recognition
Description see Infotainment Manual.
Vehicle personalisation 3 123.
Head-up display The head-up display displays driverinformation concerning the
instrument cluster onto a foldable projection plane on the driver's side.
The information appears as an image
projected from a lense in the
instrument panel onto the projection
Page 124 of 289
122Instruments and controlsUnitsUnits can be changed in vehicle
personalisation menu 3 123.
Care of head-up display
Clean the screen of the head-up
display with a soft cloth sprayed with
glass cleaner. Wipe the lens gently,
then dry it.
System limitations Head-up display may not operate
properly when:
● The lens in the instrument panel is covered by objects or not
clean.
● Display brightness is too dim or bright.
● Image is not adjusted to the proper height.
● The driver wears polarized sunglasses.
If the head-up image is not correct for
other reasons, contact a workshop.Vehicle messages
Messages are indicated in the Driver
Information Centre, in some cases
together with a warning chime.
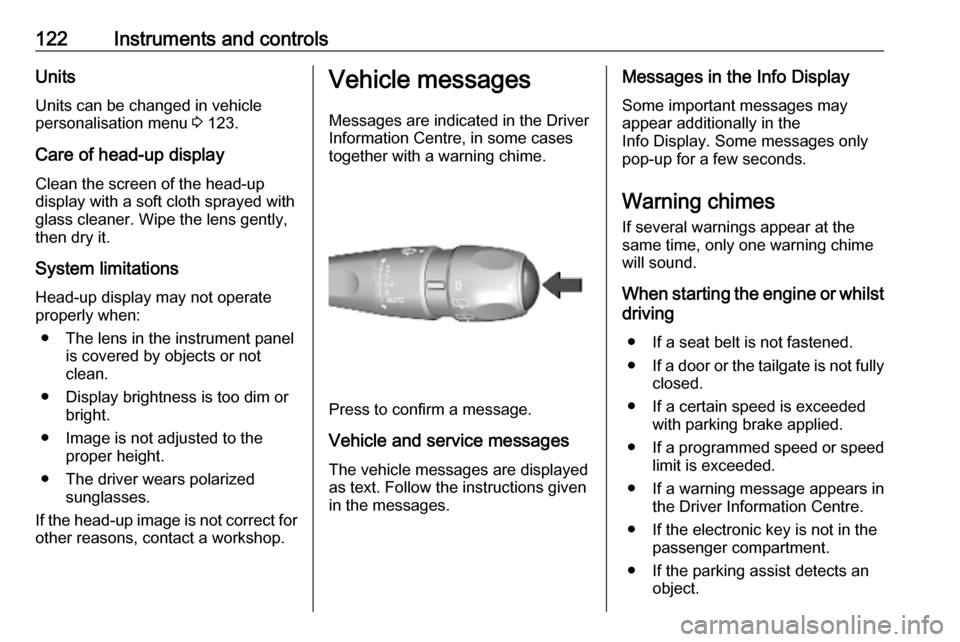
Press to confirm a message.
Vehicle and service messages The vehicle messages are displayed
as text. Follow the instructions given
in the messages.
Messages in the Info Display
Some important messages may
appear additionally in the
Info Display. Some messages only pop-up for a few seconds.
Warning chimes
If several warnings appear at the same time, only one warning chimewill sound.
When starting the engine or whilst driving
● If a seat belt is not fastened.
● If a door or the tailgate is not fully
closed.
● If a certain speed is exceeded with parking brake applied.
● If a programmed speed or speed
limit is exceeded.
● If a warning message appears in the Driver Information Centre.
● If the electronic key is not in the passenger compartment.
● If the parking assist detects an object.
Page 131 of 289
Lighting129LightingExterior lighting.......................... 129
Light switch .............................. 129
Automatic light control .............130
High beam ............................... 130
High beam assist .....................130
Headlight flash ......................... 131
Headlight range adjustment ....131
Headlights when driving abroad .................................... 132
Daytime running lights .............132
Cornering lights .......................132
Hazard warning flashers ..........132
Turn lights ................................ 133
Front fog lights ......................... 133
Rear fog light ........................... 133
Reversing lights .......................134
Misted light covers ...................134
Interior lighting ........................... 134
Instrument panel illumination control ..................................... 134
Interior lights ............................ 134
Reading lights .......................... 135
Sunvisor lights ......................... 136
Lighting features ........................136
Centre console lighting ............136Entry lighting ............................ 136
Exit lighting .............................. 136
Vehicle locator lighting ............137
Peripheral lighting ....................137
Battery discharge protection ....137Exterior lighting
Light switch
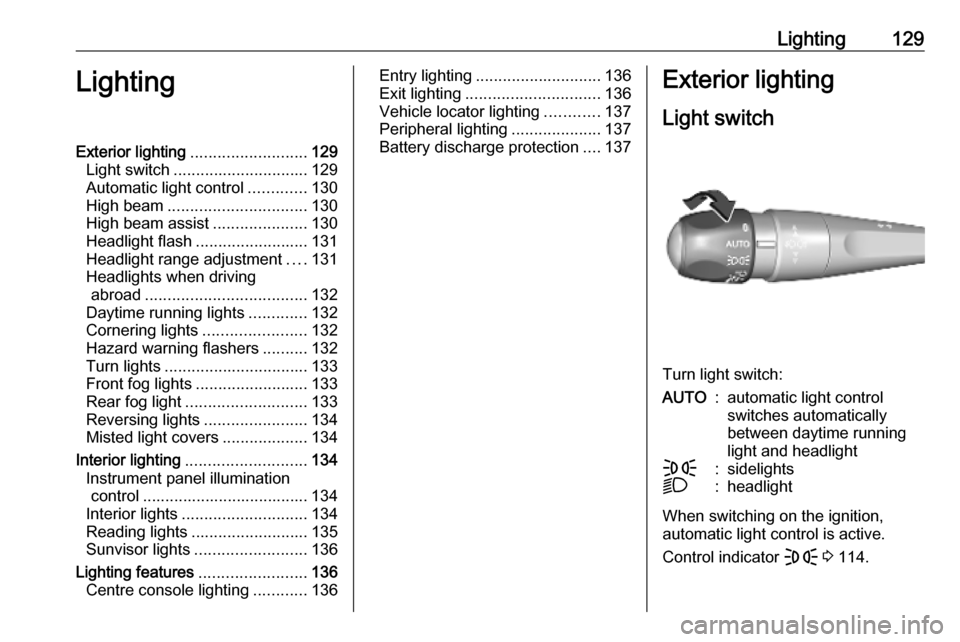
Turn light switch:
AUTO:automatic light control
switches automatically
between daytime running
light and headlightF:sidelightsD:headlight
When switching on the ignition,
automatic light control is active.
Control indicator F 3 114.
Page 136 of 289
134LightingTurn the control wheel twice to
activate or deactivate the rear fog
light.
Light switch in position AUTO:
switching on rear fog light will switch
headlights on automatically.
Reversing lights
The reversing light comes on when
the ignition is on and reverse gear is
selected.
Misted light covers
The inside of the light housing may
mist up briefly in poor, wet and cold weather conditions, in heavy rain or
after washing. The mist disappears
quickly by itself. To help, switch on the headlights.Interior lighting
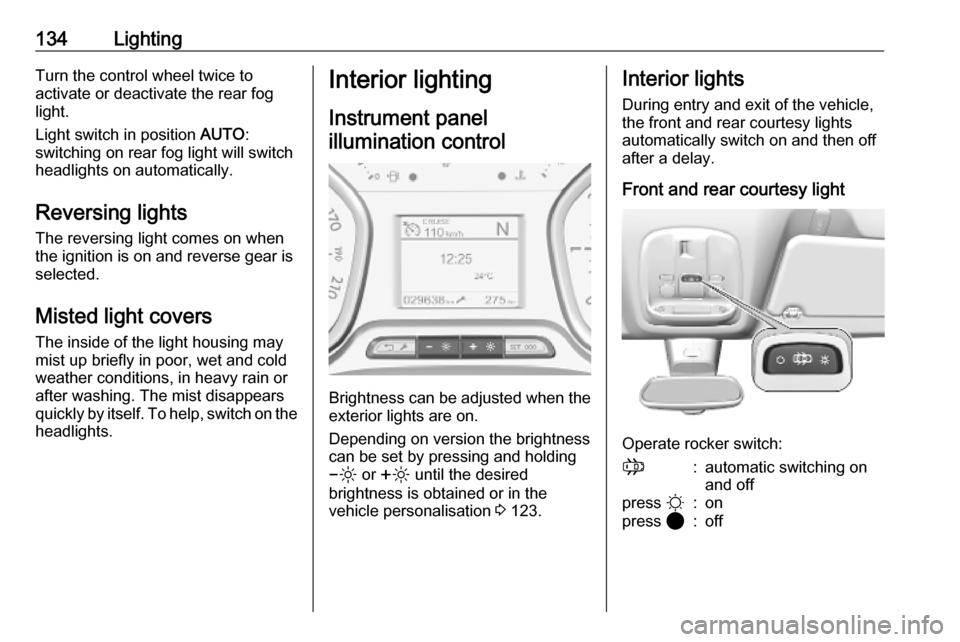
Instrument panel illumination control
Brightness can be adjusted when the exterior lights are on.
Depending on version the brightness
can be set by pressing and holding
0 or ß until the desired
brightness is obtained or in the
vehicle personalisation 3 123.
Interior lights
During entry and exit of the vehicle,
the front and rear courtesy lights
automatically switch on and then off
after a delay.
Front and rear courtesy light
Operate rocker switch:
;:automatic switching on
and offpress §:onpress 2:off
Page 138 of 289

136LightingIllustration shows rear courtesy lights.
Sunvisor lights Illuminates when the cover is opened.Lighting features
Centre console lighting A spotlight integrated in the overheadconsole illuminates the centre
console when headlights are
switched off.
The brightness can be adjusted in the vehicle personalisation 3 123.
Entry lighting
Welcome lighting
Some or all of the following lights are
switched on for a short time by
unlocking the vehicle with the radio
remote control:
● headlights
● tail lights
● interior lights
The number of activated lights
depends on the surrounding light
conditions.
The lighting switches off immediately
when the ignition is switched on.
Starting off 3 18.This function can be activated or
deactivated in the vehicle
personalisation 3 123.
The following lights will additionally
switch on when the driver's door is
opened:
● illumination of some switches
● Driver Information Centre
Exit lighting
The following lights are switched on if
the key is removed from the ignition
switch:
● interior lights
● instrument panel light
They will switch off automatically after
a delay. This function works only in
the dark.
Path lighting Headlights, tail lights and number
plate lights illuminate the surrounding
area for an adjustable time after
leaving the vehicle.
Page 150 of 289
148Climate controlAir vents
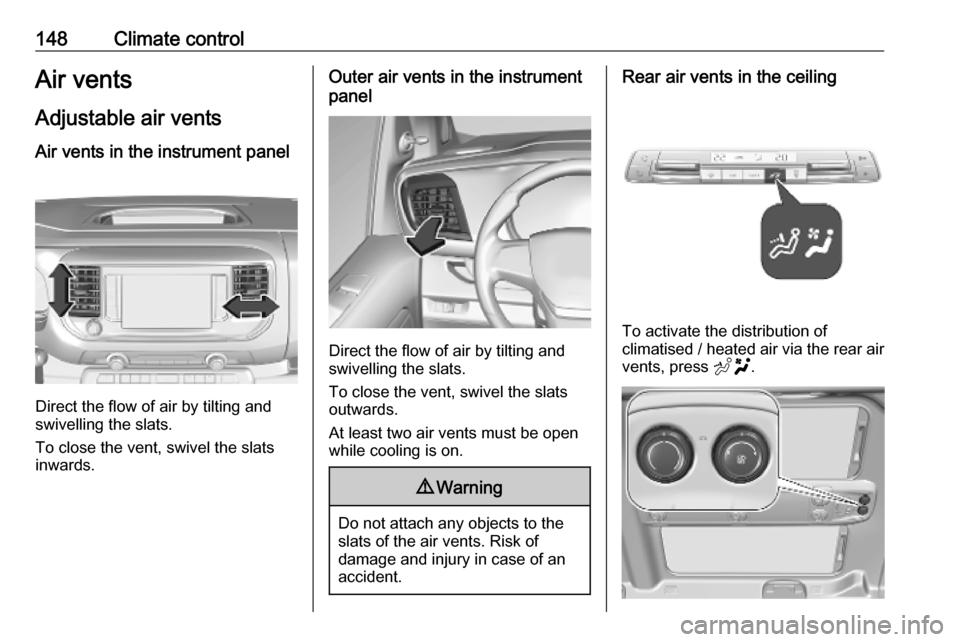
Adjustable air vents Air vents in the instrument panel
Direct the flow of air by tilting and
swivelling the slats.
To close the vent, swivel the slats
inwards.
Outer air vents in the instrument
panel
Direct the flow of air by tilting and
swivelling the slats.
To close the vent, swivel the slats
outwards.
At least two air vents must be open
while cooling is on.
9 Warning
Do not attach any objects to the
slats of the air vents. Risk of
damage and injury in case of an
accident.
Rear air vents in the ceiling
To activate the distribution of
climatised / heated air via the rear air vents, press E.
Page 212 of 289

210Vehicle careVehicle careGeneral Information...................211
Accessories and vehicle modifications .......................... 211
Vehicle storage ........................211
End-of-life vehicle recovery .....212
Vehicle checks ........................... 212
Performing work ......................212
Bonnet ..................................... 213
Engine oil ................................. 213
Engine coolant ......................... 214
Washer fluid ............................ 215
Brakes ..................................... 216
Brake fluid ............................... 216
Vehicle battery ......................... 216
Diesel fuel system bleeding .....218
Wiper blade replacement ........219
Bulb replacement .......................219
Halogen headlights ..................219
Xenon headlights .....................223
Front fog lights ......................... 224
Front turn lights .......................224
Tail lights ................................. 225
Side turn lights ......................... 228
Centre high-mounted brake light ......................................... 228Number plate light...................229
Interior lights ............................ 230
Electrical system ........................230
Fuses ....................................... 230
Engine compartment fuse box . 231
Instrument panel fuse box .......231
Vehicle tools .............................. 234
Tools ........................................ 234
Wheels and tyres .......................236
Winter tyres ............................. 236
Tyre designations ....................236
Tyre pressure .......................... 237
Tyre deflation detection
system .................................... 238
Tread depth ............................. 239
Changing tyre and wheel size . 239
Wheel covers ........................... 240
Tyre chains .............................. 240
Tyre repair kit .......................... 240
Wheel changing .......................244
Spare wheel ............................ 245
Jump starting ............................. 249
Towing ....................................... 251
Towing the vehicle ...................251
Towing another vehicle ...........252
Appearance care .......................253
Exterior care ............................ 253Interior care............................. 255
Floor mats ............................... 256
Page 232 of 289
230Vehicle care2. Pull the bulb from the bulb holderand replace it.
3. Attach the cover.
Interior lights
Have the following lights replaced by
a workshop:
● courtesy light, reading lights
● load compartment light
● instrument panel illuminationElectrical system
Fuses Data on the replacement fuse must
match the data on the defective fuse.
There are two fuse boxes in the
vehicle:
● engine compartment
● instrument panel
Before replacing a fuse, turn off the
respective switch and the ignition.
A blown fuse can be recognised by its melted wire.Caution
Do not replace the fuse until the
cause of the fault has been
remedied.
Some functions are protected by
several fuses.
Fuses may also be inserted without
existence of a function.
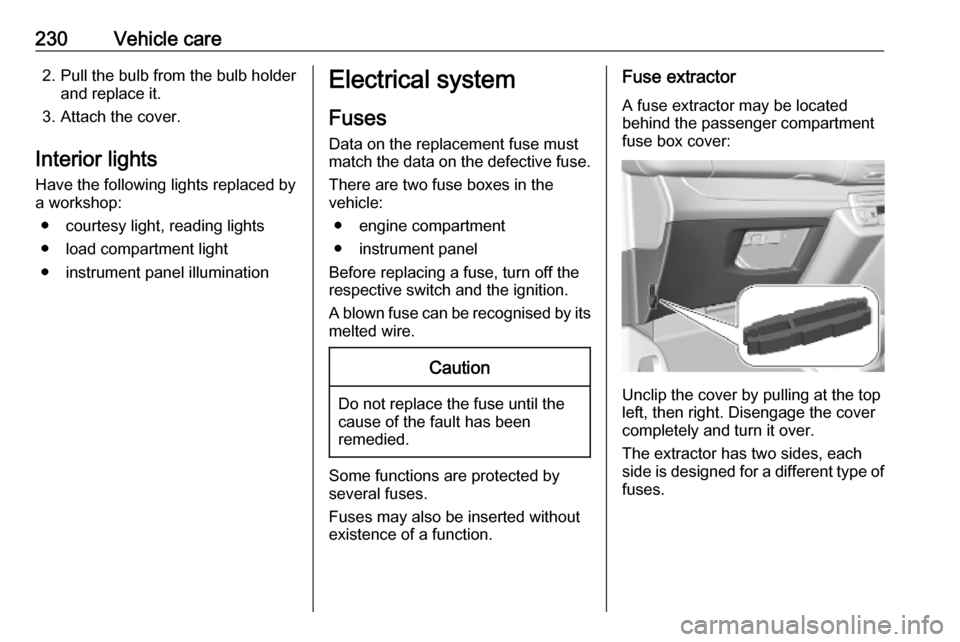
Fuse extractor
A fuse extractor may be located
behind the passenger compartment fuse box cover:
Unclip the cover by pulling at the top
left, then right. Disengage the cover
completely and turn it over.
The extractor has two sides, each side is designed for a different type of
fuses.
Page 233 of 289
Vehicle care231
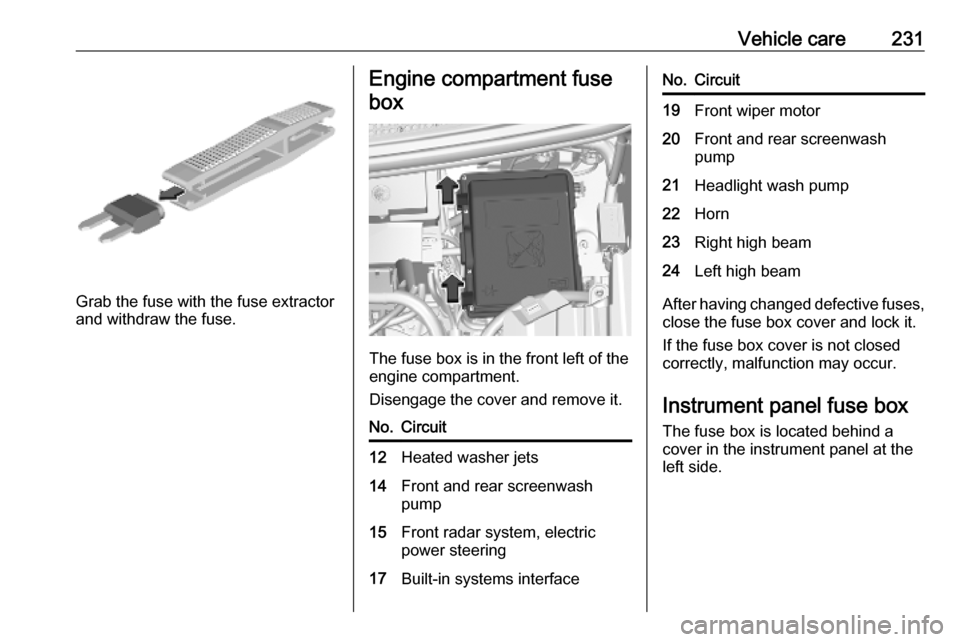
Grab the fuse with the fuse extractor
and withdraw the fuse.
Engine compartment fuse
box
The fuse box is in the front left of the
engine compartment.
Disengage the cover and remove it.
No.Circuit12Heated washer jets14Front and rear screenwash
pump15Front radar system, electric
power steering17Built-in systems interfaceNo.Circuit19Front wiper motor20Front and rear screenwash
pump21Headlight wash pump22Horn23Right high beam24Left high beam
After having changed defective fuses,
close the fuse box cover and lock it.
If the fuse box cover is not closed
correctly, malfunction may occur.
Instrument panel fuse boxThe fuse box is located behind a
cover in the instrument panel at the
left side.